【51单片机】【protues仿真】基于51单片机冰箱系统
目录
一、主要功能
二、使用步骤
三、硬件资源
四、软件设计
五、实验现象
一、主要功能
1、LCD1602液晶显示冷藏冷冻温度值
2、按键设置温度阈值
3、冷藏或冷冻温度高于阈值启动制冷片
4、限位器开关检测门状态,开门过长蜂鸣器警报
5、状态指示灯,串口通信
二、使用步骤
基于51单片机的冰箱控制系统设计通常包含温度监测、照明灯控制、冰箱门检测、数据通信、制冷控制及报警功能等核心模块。
三、硬件资源
1、51单片机核心模块
2、按键模块
3、温度传感器、限位传感器模块
4、蜂鸣器模块,指示灯模块
5、继电器模块
6、LCD1602显示模块
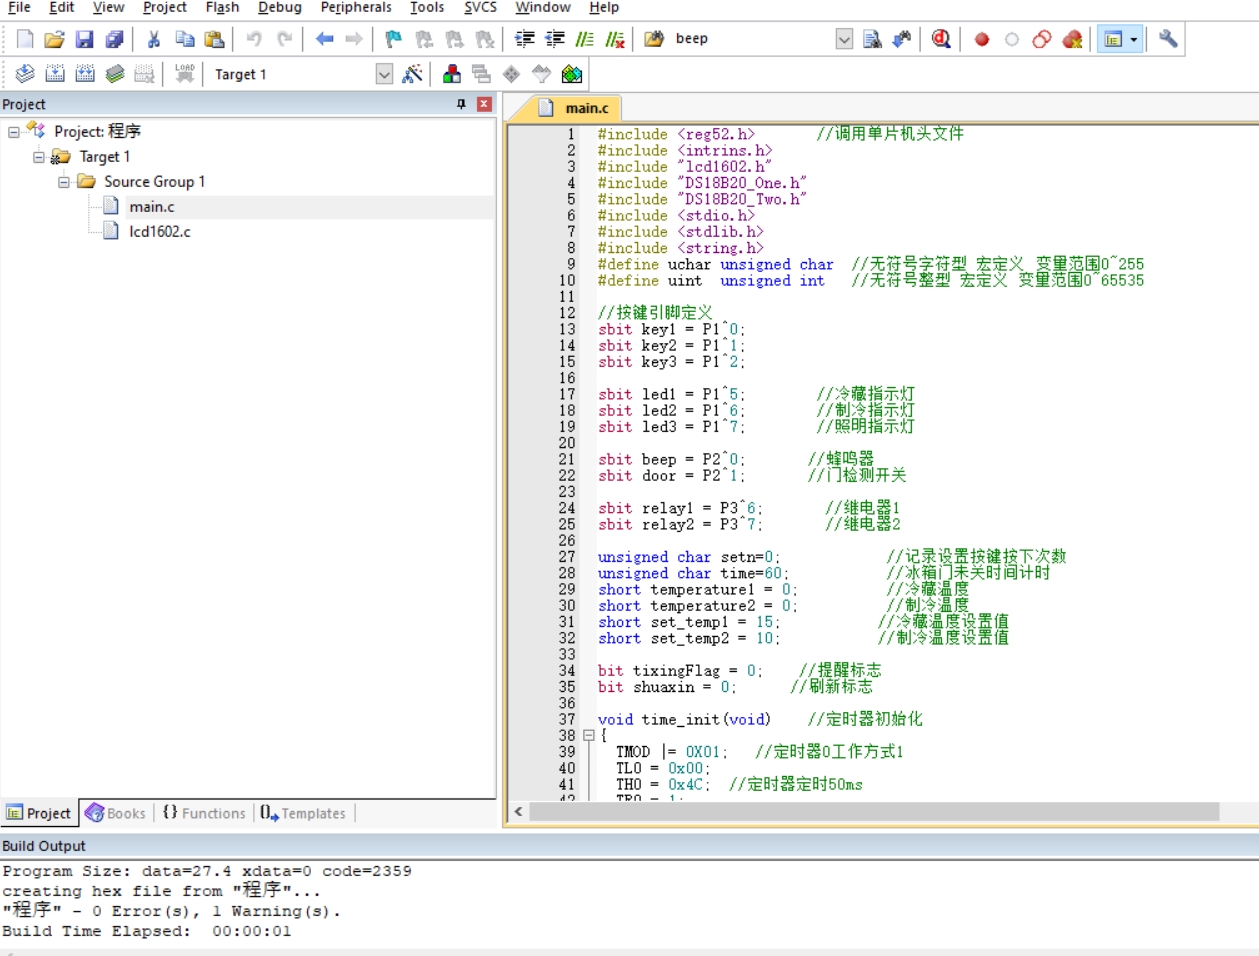
四、软件设计
#include <reg52.h> //调用单片机头文件
#include <intrins.h>
#include "lcd1602.h"
#include "DS18B20_One.h"
#include "DS18B20_Two.h"
#include <stdio.h>
#include <stdlib.h>
#include <string.h>
#define uchar unsigned char //无符号字符型 宏定义 变量范围0~255
#define uint unsigned int //无符号整型 宏定义 变量范围0~65535
//按键引脚定义
sbit key1 = P1^0;
sbit key2 = P1^1;
sbit key3 = P1^2;
sbit led1 = P1^5; //冷藏指示灯
sbit led2 = P1^6; //制冷指示灯
sbit led3 = P1^7; //照明指示灯
sbit beep = P2^0; //蜂鸣器
sbit door = P2^1; //门检测开关
sbit relay1 = P3^6; //继电器1
sbit relay2 = P3^7; //继电器2
unsigned char setn=0; //记录设置按键按下次数
unsigned char time=60; //冰箱门未关时间计时
short temperature1 = 0; //冷藏温度
short temperature2 = 0; //制冷温度
short set_temp1 = 15; //冷藏温度设置值
short set_temp2 = 10; //制冷温度设置值
bit tixingFlag = 0; //提醒标志
bit shuaxin = 0; //刷新标志
unsigned char Fasong1[] = "T1: 00°C";
unsigned char Fasong2[] = "T2: 00°C";
void time_init(void) //定时器初始化
{
TMOD |= 0X01; //定时器0工作方式1
TL0 = 0x00;
TH0 = 0x4C; //定时器定时50ms
TR0 = 1;
ET0 = 1; //开定时器0中断
EA = 1; //开总中断
}
void displaySetValue(short temp1,short temp2) //显示设置的值
{
short value1 = temp1;
short value2 = temp2;
if(temp1 < 0)
{
value1 = -value1;
lcd_write_char(11,0,'-');
}
else
{
lcd_write_char(11,0,' ');
}
lcd_write_char(12,0,value1/10+'0');
lcd_write_char(13,0,value1%10+'0');
if(temp2 < 0)
{
value2 = -value2;
lcd_write_char(11,1,'-');
}
else
{
lcd_write_char(11,1,' ');
}
lcd_write_char(12,1,value2/10+'0');
lcd_write_char(13,1,value2%10+'0');
}
void main()
{
uart_init();
lcd_init();//1602初始化
lcd_write_str(0, 0, "T1: 00 C S: 00 C");
lcd_write_str(0, 1, "T2: 00 C S: 00 C");
lcd_write_char(6,0,0xDF);
lcd_write_char(6,1,0xDF);
lcd_write_char(14,0,0xDF);
lcd_write_char(14,1,0xDF);
displaySetValue(set_temp1,set_temp2);
do{
temperature1 = DS18B20_TF();
delay_ms(100);
}while(temperature1==85);
do{
temperature2 = DS18B20_TF2();
delay_ms(100);
}while(temperature2==85);
time_init();//定时器初始化
while(1)
{
keyscan(); //按键扫描
if(setn == 0 && shuaxin)
{
shuaxin = 0;
temperature1 = DS18B20_TF(); //读取温度
if(temperature1<0)
{
temperature1 = -temperature1;
lcd_write_char(3,0,'-');
}
else
{
lcd_write_char(3,0,' ');
}
lcd_write_char(4,0,temperature1/10+'0'); //显示温度
lcd_write_char(5,0,temperature1%10+'0');
temperature2 = DS18B20_TF2(); //读取温度
if(temperature2<0)
{
temperature2 = -temperature2;
lcd_write_char(3,1,'-');
}
else
{
lcd_write_char(3,1,' ');
}
lcd_write_char(4,1,temperature2/10+'0'); //显示温度
lcd_write_char(5,1,temperature2%10+'0');
}
if(temperature1>set_temp1)led1=0;else led1=1; //冷藏指示灯亮
if(temperature2>set_temp2)led2=0;else led2=1; //制冷指示灯亮
if(temperature1>set_temp1 || temperature2>set_temp2) //当温度超过设定温度,则开启制冷
{
relay1 = relay2 = 0;
}
else
{
relay1 = relay2 = 1;
}
if(door == 0) //冰箱门打开
{
led3 = 0; //照明指示灯亮
}
else //冰箱门关闭
{
led3 = 1; //照明指示关闭
tixingFlag = 0;
beep = 1; //蜂鸣器关闭
time = 60; //时间重新赋值
}
}
}
五、实验现象
演示视频: