Java数据结构——LinkedList
目录
一、链表
1.1链表的概念及结构
1.2 无头双向循环链表的实现
二、LinkedList的使用
2.1 LinkedList的构造方法
2.2 LInkedList的遍历
我们之前已经了解了ArrayList的使用,也已知它的底层是使用数组来储存元素。那么当我们使用ArrayList并且插入元素或者删除元素时,我们都需要移动插入或删除位置的后续元素,时间复杂度为O(n),将耗费大量时间。由此我们得知,如果我们需要对数据频繁插入删除,ArrayList则不适用这种场景。所以我们今天来学习LinkedList,链表结构。
一、链表
1.1链表的概念及结构
LinkedList在物理存储结构上是非连续的存储结构,我们使用引用链接次序实现连续的逻辑顺序。
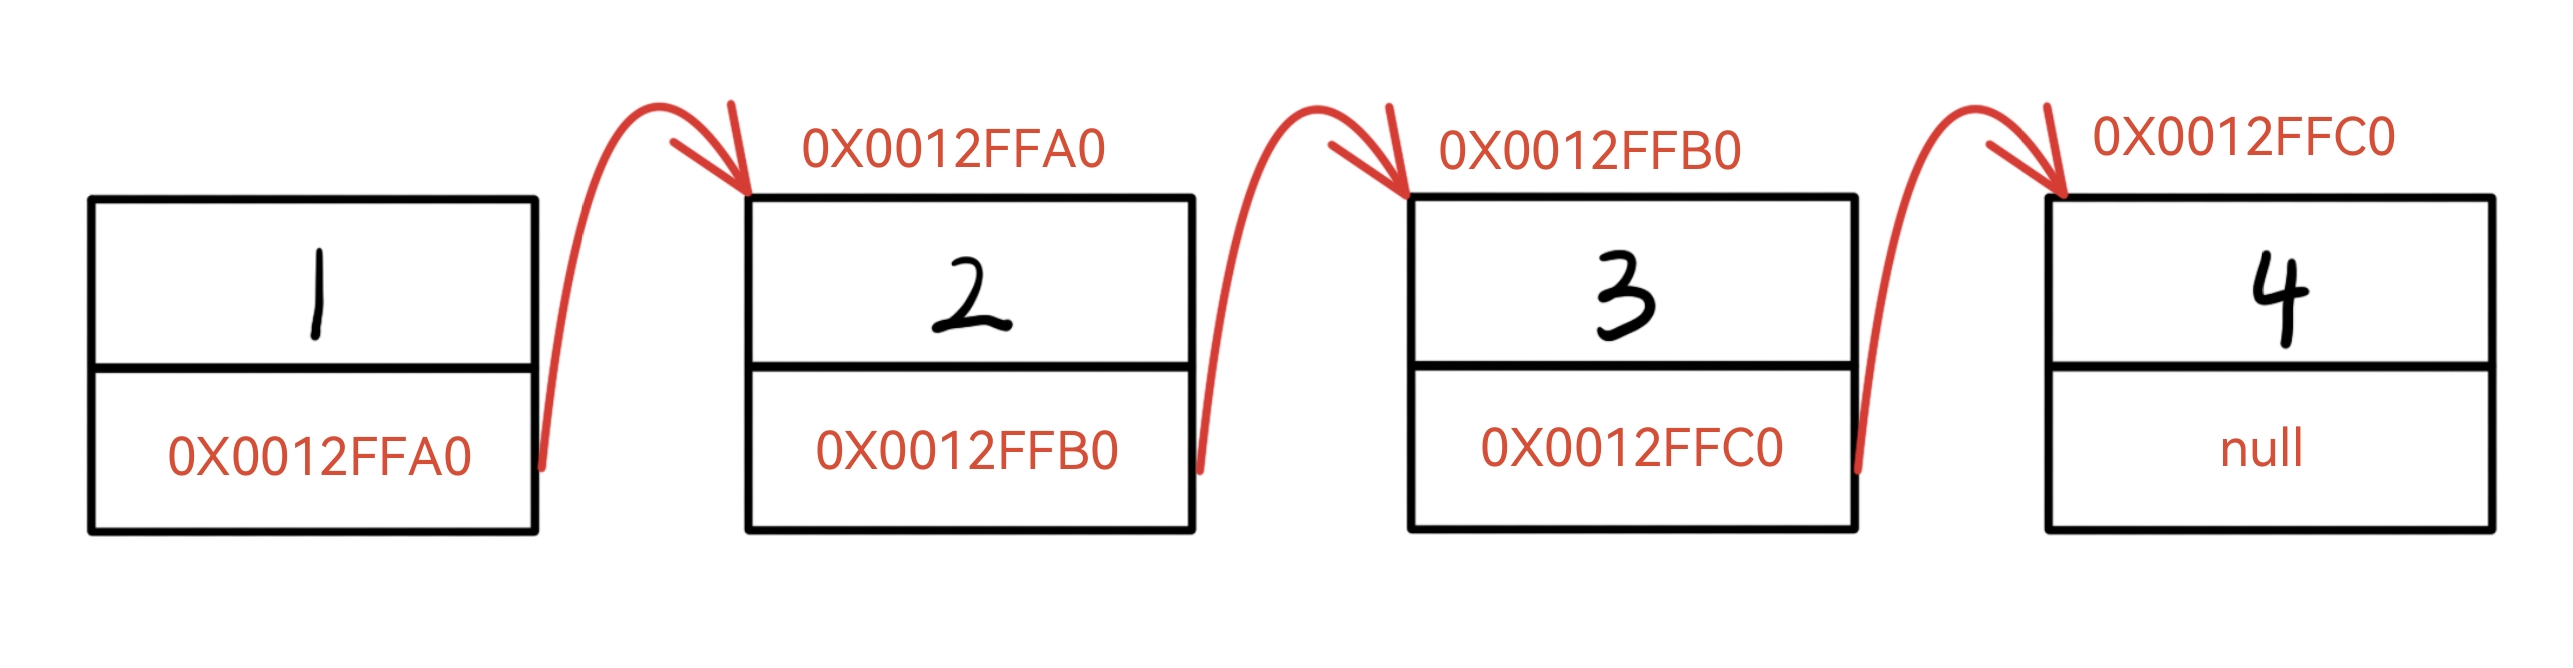
从上图可以看出,链表结构在逻辑上是连续的,但是在物理上不一定连续
根据链表的不同特质,可以分成8种不同的链表结构
1.单向或者双向
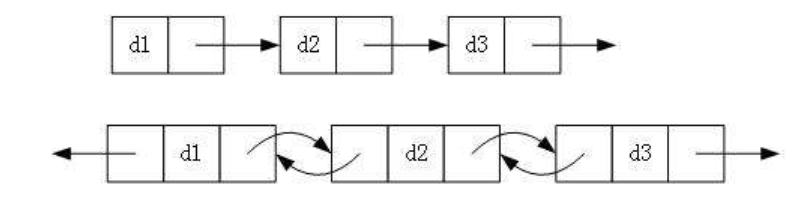
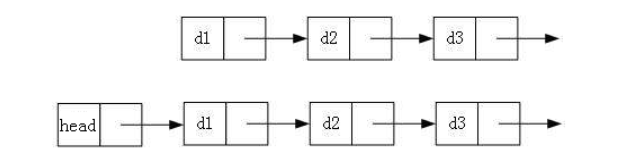
2.带头或者不带头
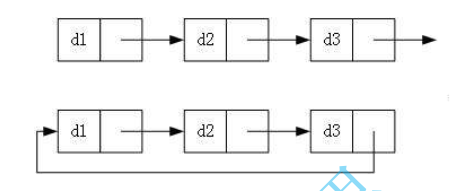
3.循环或者不循环
8种链表结构,我们重点掌握两种:
无头单向非循环链表:结构简单,更多作为其他数据结构的子结构,在笔试面试中出现很多
无头双向循环链表:在Java中LinkedList底层实现的就是无头双向循环链表
1.2 无头双向循环链表的实现
public class LinkedList {static class ListNode{int val;ListNode next;ListNode prev;public ListNode(int val){this.val=val;}}ListNode head;ListNode last;//头插法public void addFirst(int data){ListNode node=new ListNode(data);if(head==null){head=last=node;return;}node.next=head;head=node;}//尾插法public void addLast(int data){ListNode node=new ListNode(data);if(head==null){head=last=node;return;}node.prev=last;last.next=node;last=node;}//任意位置插入,第一个数据节点为0号下标public void addIndex(int index,int data){if(index<0||index>size()){return;}if(index==0){addFirst(data);}else if(index==size()-1){addLast(data);}else{ListNode node=new ListNode(data);ListNode cur=head;int count=0;while(count!=index){count++;cur=cur.next;}node.next=cur;node.prev=cur.prev;node.prev.next=node;cur.prev=node;}}//查找是否包含关键字key是否在单链表当中public boolean contains(int key){ListNode cur=head;while(cur!=null){if(cur.val==key){return true;}}return false;}//删除第一次出现关键字为key的节点public void remove(int key){ListNode cur=head;while(cur!=null){if(cur.val==key){if(cur==head){head=head.next;if(head!=null){head.prev=null;}else{last=null;}}else{if(cur==last){last=cur.prev;cur.prev.next=cur.next;}else{cur.next.prev=cur.prev;cur.prev.next=cur.next;}}return;}else{cur=cur.next;}}}//删除所有值为key的节点public void removeAllKey(int key){ListNode cur=head;while(cur!=null){if(cur.val==key){if(cur==head){head=head.next;if(head!=null){head.prev=null;}else{last=null;}}else{if(cur==last){last=cur.prev;cur.prev.next=cur.next;}else{cur.next.prev=cur.prev;cur.prev.next=cur.next;}}}else{cur=cur.next;}}}//得到单链表的长度public int size(){int count=0;ListNode cur=head;while(cur!=null){count++;cur=cur.next;}return count;}//打印链表public void display(){ListNode cur=head;while(cur!=null) {System.out.println(cur.val + " ");cur = cur.next;}}//清除链表public void clear(){ListNode cur=head;ListNode curN=head.next;while(cur!=null){cur.next=cur.prev=null;cur=curN;curN=curN.next;}head=last=null;}
}
二、LinkedList的使用
2.1 LinkedList的构造方法
| 方法 | 解释 |
| LinkedList( ) | 无参构造 |
| public LinkedList(Collection<? extends E> c) | 使用其他集合容器中元素构造List |
public class Test {public static void main(String[] args) {//无参构造LinkedList<Integer> List1=new LinkedList<>();List1.addFirst(1);List1.addFirst(2);List1.addFirst(3);System.out.println(List1);        //[3, 2, 1]//带参数构造LinkedList<Integer> List2=new LinkedList<>(List1);List2.addFirst(99);System.out.println(List2);        //[99, 3, 2, 1]}
}| 方法 | 解释 |
| boolean add (E e) | 尾插 e |
| void add (int index,E element) | 将e插入到index位置 |
| boolean addAll (Collection<? extends E> c) | 尾插c中的元素 |
| E remove (int index) | 删除index位置元素 |
| boolean remove (Object o) | 删除遇到的第一个o |
| E get (int index) | 获取下标index位置元素 |
| E set (int index,E element) | 将下标index位置元素设置为element |
| void clear () | 清空 |
| boolean contains (Object o) | 判断o是否在线性表 |
| int indexOf (Object o) | 返回第一个o所在下标 |
| int lastIndexOf (Object o) | 返回最后一个o的下标 |
| List<E> subList (int fromIndex,int toIndex) | 截取部分list |
2.2 LInkedList的遍历
public static void main(String[] args) {LinkedList<Integer> list = new LinkedList<>();list.add(1); // add(elem): 表示尾插list.add(2);list.add(3);list.add(4);list.add(5);list.add(6);list.add(7);System.out.println(list.size());// foreach遍历for (int e:list) {System.out.print(e + " "); // 1 2 3 4 5 6 7 }System.out.println();// 使用迭代器遍历---正向遍历ListIterator<Integer> it = list.listIterator();while(it.hasNext()){System.out.print(it.next()+ " "); // 1 2 3 4 5 6 7 }System.out.println();// 使用反向迭代器---反向遍历ListIterator<Integer> rit = list.listIterator(list.size());while (rit.hasPrevious()){System.out.print(rit.previous() +" "); // 7 6 5 4 3 2 1 }System.out.println();}