Excel处理控件Aspose.Cells教程:在Excel 文件中创建、操作和渲染时间线

您可以使用数据透视表时间轴,而无需调整过滤器来显示日期——这是一种动态过滤器选项,可让您轻松按日期/时间进行过滤,并使用滑块控件放大所需的时间段。Microsoft Excel 允许您通过选择数据透视表,然后单击“插入”>“时间轴”来创建时间轴。Aspose.Cells 还允许您使用Worksheet.Timelines.Add()方法创建时间轴 。
Aspose.Cells 最新版下载
创建、操作和渲染时间线
时间线是过滤数据透视表数据的有效方法。您可以将时间线插入 MS Excel,以便快速轻松地过滤数据透视表。Aspose.Cells 现在支持在电子表格中创建、操作和渲染时间线。
在数据透视表中创建时间线
请参阅以下示例代码。它会加载包含数据透视表的示例 Excel 文件。然后,它会根据第一个基本数据透视表字段创建时间线。
// Load sample Excel file containing pivot table.
Workbook wb = new Workbook("input.xlsx");
// Access second worksheet.
Worksheet sheet = wb.Worksheets[1];// Access first pivot table inside the worksheet.
PivotTable pivot = sheet.PivotTables[0];// Add timeline relating to pivot table
int index = sheet.Timelines.Add(pivot, 15, 1, "Ship Date");// Access the newly added timeline from timeline collection.
Timeline timeline = sheet.Timelines[index];wb.Save("output.xlsx");
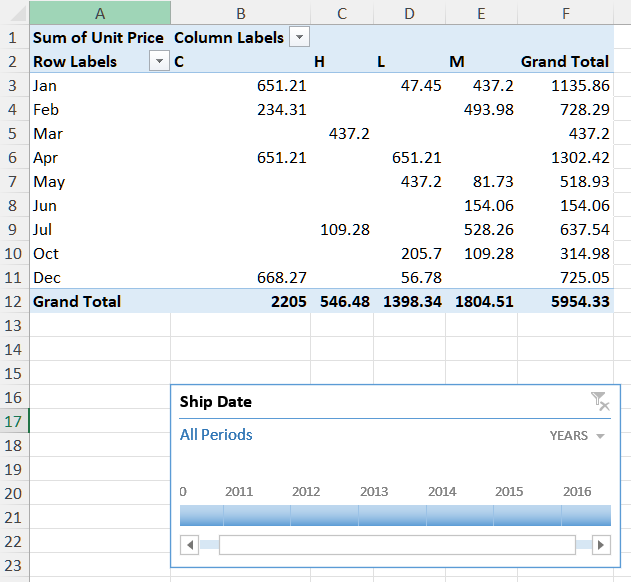
使用 C# 在数据透视表中创建时间线
渲染时间线
Aspose.Cells 还支持时间轴形状的渲染。当您将工作表转换为图像或将工作簿保存为 PDF 或 HTML 格式时,您会看到时间轴已正确渲染。
将时间线渲染为图片
以下示例代码加载包含现有时间线的示例Excel文件,根据时间线名称获取形状对象,然后通过Shape.ToImage()方法将其渲染为图片。
// Load sample Excel file containing timeline.
Workbook wb = new Workbook("input.xlsx");
// Access second worksheet.
Worksheet sheet = wb.Worksheets[1];// Access the first Timeline inside the worksheet.
Timeline timeline = sheet.Timelines[0];ImageOrPrintOptions options = new ImageOrPrintOptions();
options.ImageType = ImageType.Png;// Get timeline shape object by timeline's name
Shape timeLineShape = sheet.Shapes[timeline.Name];timeLineShape.ToImage("out.png", options);
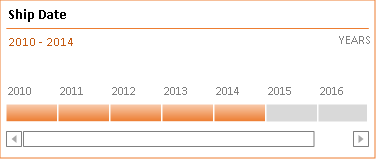
使用 C# 将时间线渲染为图像