JavaScript高级进阶(七)
this对象
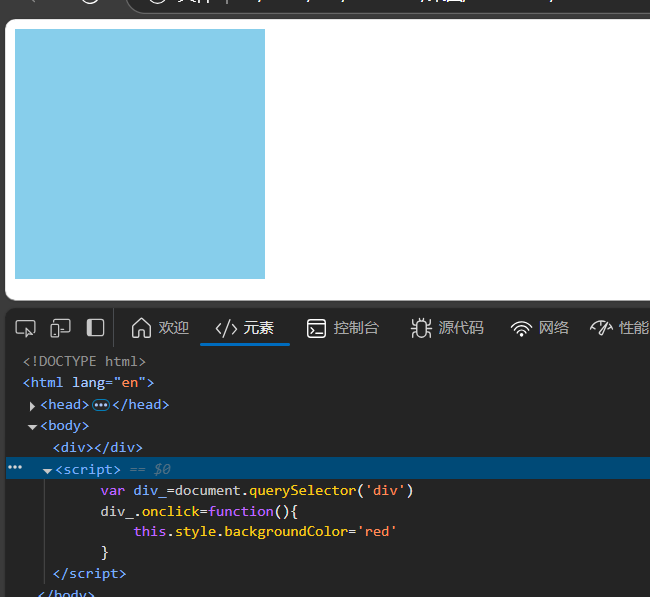
想知道this对象是什么,我们先来看一段简单的小代码:
<style>
div{
width: 200px;
height: 200px;
background-color: skyblue;
}
</style>
</head>
<body>
<div></div>
</body>
<script>
var div_=document.querySelector('div')
div_.οnclick=function(){
div_.style.backgroundColor='red'
}
</script>
一个div,获取到这个div通过点击事件改变其颜色,非常简单,在点击事件中我们也可以改写一处达到相同效果:
div_.οnclick=function(){
this.style.backgroundColor='red'
}
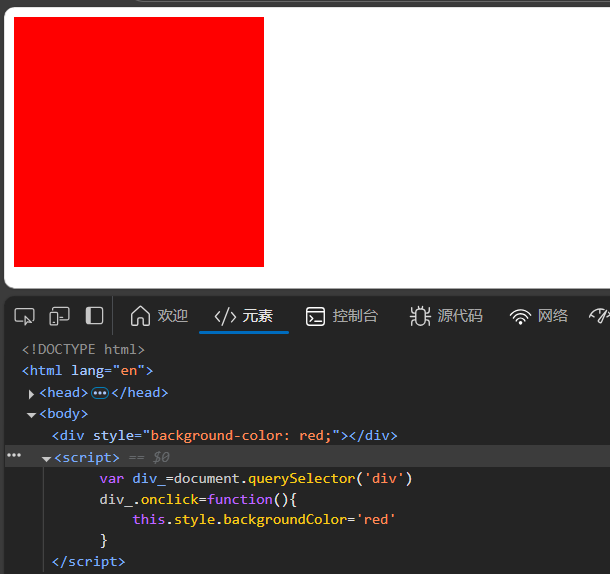
在绑定事件中我们用this代替了div_,效果是相同的。
this指的是当前对象,操作在谁身上就指代谁这也是为什么我们可以通过this拿到div_的属性,此时它在div_身上指代的就是div_。
直接上案例来巩固这个知识,虽然看似还没学什么,但看了一下这个案例就明白了:
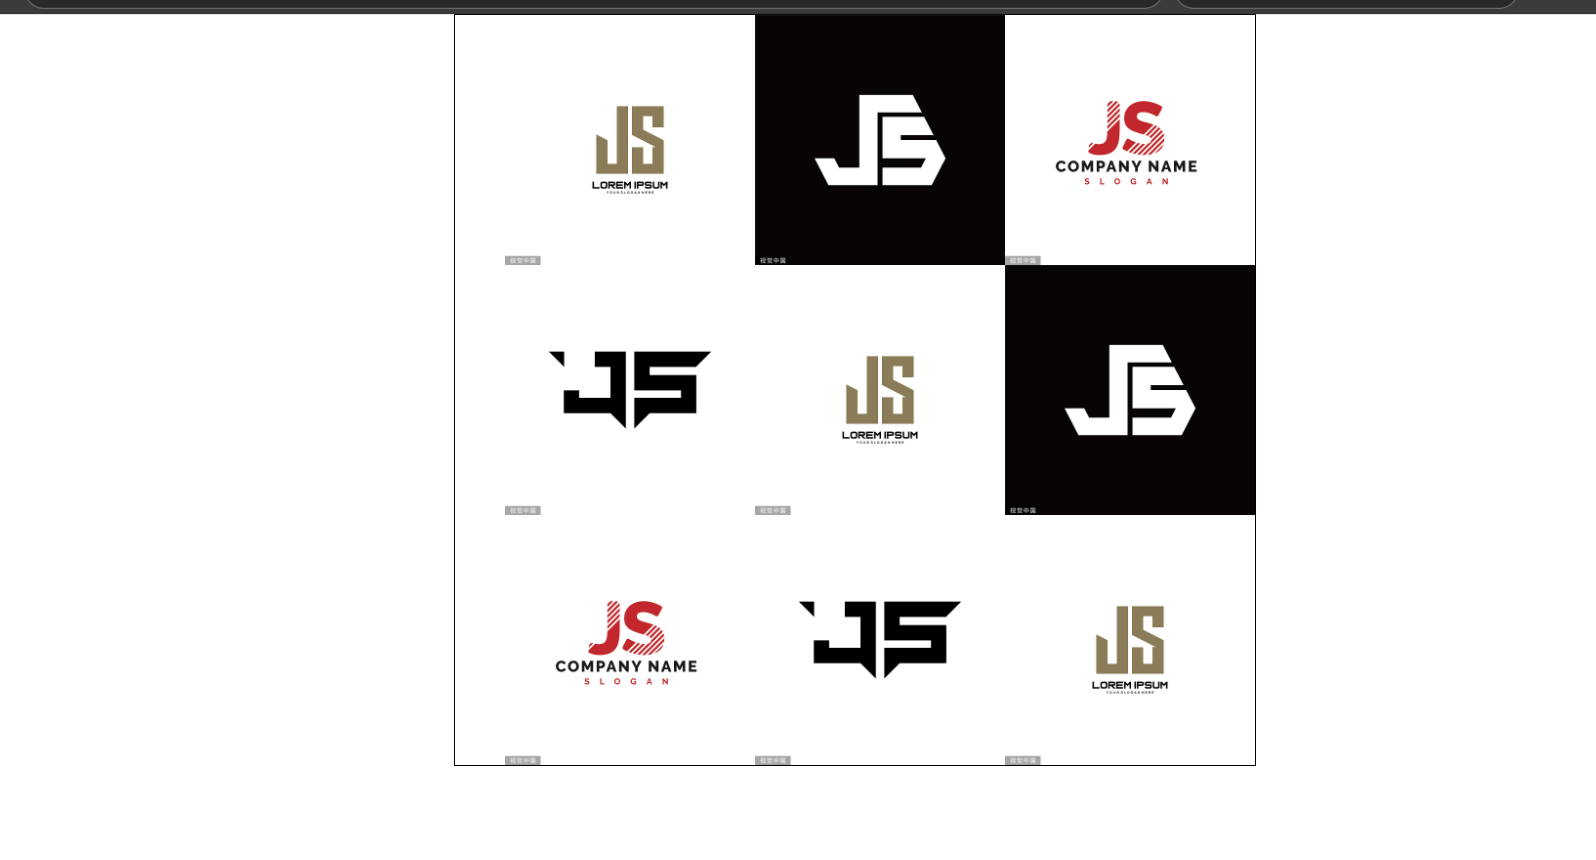
完成一组图片的点击放大效果:
点击之后:
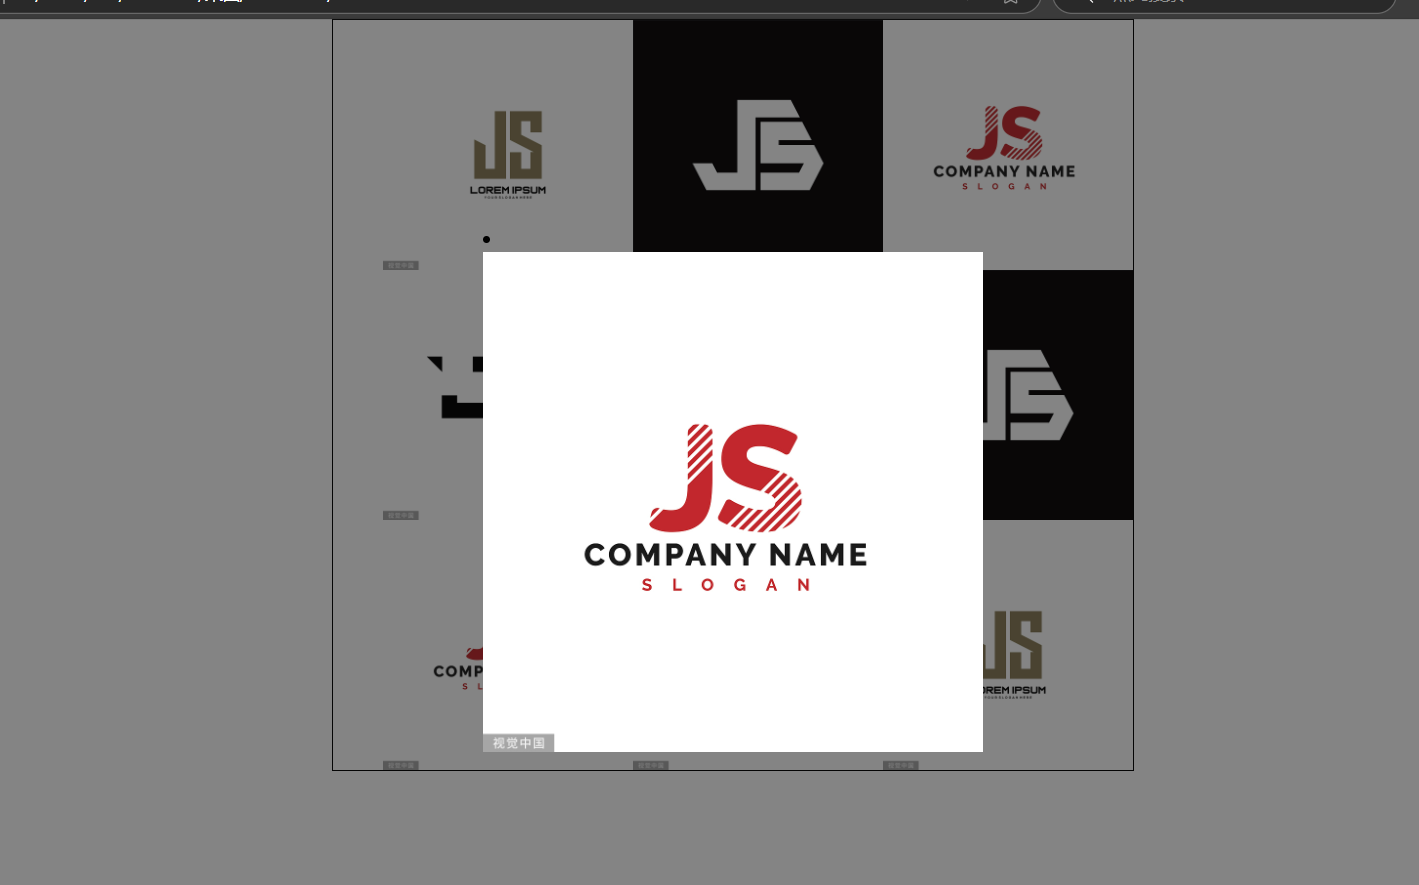
再次点击灰色处就可以退出来。
先上body部分:
<body>
<ul>
<li οnclick="big(this)">< img src="./images/VCG211348662423.jpg" alt=""></li>
<li οnclick="big(this)">< img src="./images/VCG211353794216.jpg" alt=""></li>
<li οnclick="big(this)">< img src="./images/VCG211354390624.jpg" alt=""></li>……
//以上相似的内容重复多组
</ul>
</body>
img套在li中,绑定一个点击事件,通过this将整个li对象传进big这个方法中。
上样式部分,这里省事用个弹性盒,这部分会在移动端部分讲,只是一种相较于传统更简单的布局方式,还没学的同学先了解即可:
<style>
*{
margin: 0;
height: 0;
}
ul{
list-style: none;
width: 600px;
height: 600px;
border:solid 1px black;
margin: auto;
display: flex;//弹性盒
flex-wrap: wrap;
gap: 0; /* 去除子元素间距 */
}
li{
width: 200px;
height: 200px;
}
img{
width: 100%;
height: 100%;
}
.black {
background-color: rgba(10, 10, 10, 0.5);
position: fixed; /* 覆盖整个视窗 */
top: 0;
left: 0;
width: 100%;
height: 100%;
z-index: 100;
display: flex;
justify-content: center;
align-items: center;
}
.active {
width: 400px; /* 放大后的尺寸 */
height: 400px;
z-index: 101;
}
</style>
打眼一看……这里加粗的部分在body中也没有啊?不用着急,看js部分就知道了:
<script>
function big(li_){
console.log(li_);
//拷贝一份当前的节点放大时使用
var li2_=li_.cloneNode(true)
li2_.className='active';
//创建一个div用来做蒙版
var div_=document.createElement('div')
div_.className='black'
//将复制的节点放到蒙版内
div_.appendChild(li2_)
//将div添加到body中
document.body.appendChild(div_);
//点击黑色蒙版处删除添加的节点
div_.οnclick=function(){
document.body.removeChild(div_);
}
}
</script>
这里用il_接收了传来的this,这里就是每个完整的li
通过this,点击哪个li就能拿到哪个li对象,拷贝一份点击的li,给它加上classname,
li2_.className='active';
我们复制的li节点就是style中active样式对应的部分,都是通过点击事件动态创建出来的,
然后创建了一个div作为黑色的蒙板,将复制的li节点添加进div中就成功了,
最后给div绑定一个点击删除事件,移除节点就可以了。
最后关于this这部分,当函数作为对象的方法调用时,this 指向调用它的对象,这是隐式绑定,它还可以通过显式绑定强制指定this的值:
function fn() {
console.log(this);
}
fn()
this在非严格模式中,默认指向全局对象,也就是window
如果启用严格模式('use strict'),this 会是 undefined,这个我们不多聊,我们用显式绑定(通过 call/apply/bind)来改变this的指向:
function fn() {
console.log(this.name);
}
fn()
const user = { name: "Bob" };
fn.call(user); // (this 被显式绑定为 user)
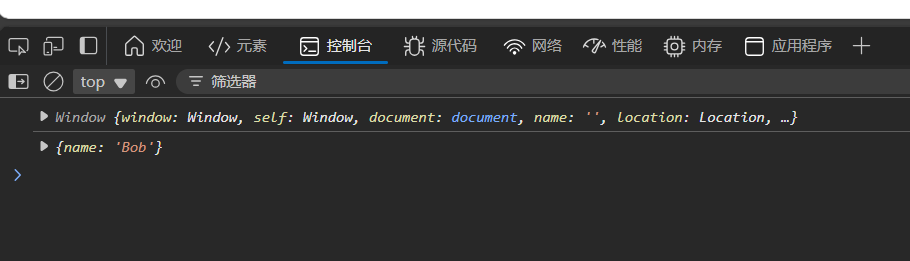
我们可以对比出,用call强制将this绑定到user这个对象上的结果。
style属性
设置样式属性的语法。
html元素.style.样式属性=“值”
例如:
document.getElementById("box").style.color="#fff" document.getElementById("box").style.fontSize="20px"
注意:
驼峰命名:JavaScript中font-size要写成fontSize
单位必需:数值类属性必须加单位(如px, em)
优先级:通过style设置的样式会添加为内联样式,优先级较高
获取限制:只能获取通过style属性设置的值,无法获取样式表中的计算值
前几个很简单,这个号获取限制是什么意思,其实也比较好理解:
<div id="box" style="color: red; font-size: 16px;">Hello</div>
<script>
const box = document.getElementById("box");
console.log(box.style.color); // 输出:"red"(可以获取,因为是内联样式)
console.log(box.style.fontSize); // 输出:"16px"(可以获取,因为是内联样式)
</script>
可以正确获取,因为这些样式是通过 style 属性直接设置的(内联样式)。
<style>
#box {
color: skyblue;
font-size: 25px;
}
</style>
<div id="box">Hello</div>
<script>
const box = document.getElementById("box");
console.log(box.style.color); // 输出:""(空字符串,无法获取)
console.log(box.style.fontSize); // 输出:""(空字符串,无法获取)
</script>
无法获取,因为样式是通过 CSS 样式表设置的,而不是内联样式。
那怎么获取这个计算后的样式呢:
window.getComputedStyle()
例子:
//先获取节点
const box = document.getElementById("box");
//对获取的节点使用window.getComputedStyle()方法
const computedStyle = window.getComputedStyle(box);
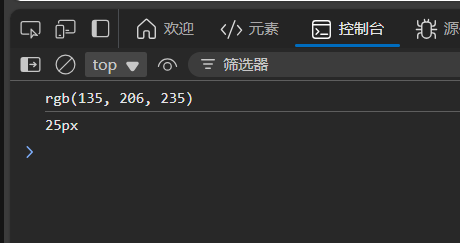
console.log(computedStyle.color); // 输出计算后的颜色值
console.log(computedStyle.fontSize); // 输出计算后的字体大小
document.defaultView.getComputedStyle() 这个方法是和上面的方法完全等效的
document.defaultView 返回当前文档关联的 window 对象
我们可以打印一下看看它们二者到底什么关系:
console.log(document.defaultView.getComputedStyle === window.getComputedStyle);

返回结果是true,两者等效。
为什么会有这么个东西呢,主要用于某些特殊环境(如 iframe 或某些非浏览器环境),确保能正确获取 window 对象;在某些框架和库,在不确定window是否存在时也可以使用。