《Java 程序设计》第 17 章 - 并发编程基础
引言
在当今的软件开发中,并发编程已经成为一项必不可少的技能。随着多核处理器的普及,充分利用系统资源、提高程序运行效率变得越来越重要。Java 提供了强大的并发编程支持,使得开发者能够编写出高效的多线程程序。本章将详细介绍 Java 并发编程的基础知识,包括线程的创建、状态管理、同步机制以及常用的并发工具类。

17.1 Java 多线程简介
多线程是指在一个程序中同时运行多个独立的执行流(线程),每个线程可以执行不同的任务。与单线程相比,多线程具有以下优势:
- 提高程序的响应速度
- 充分利用多核处理器资源
- 便于实现异步操作
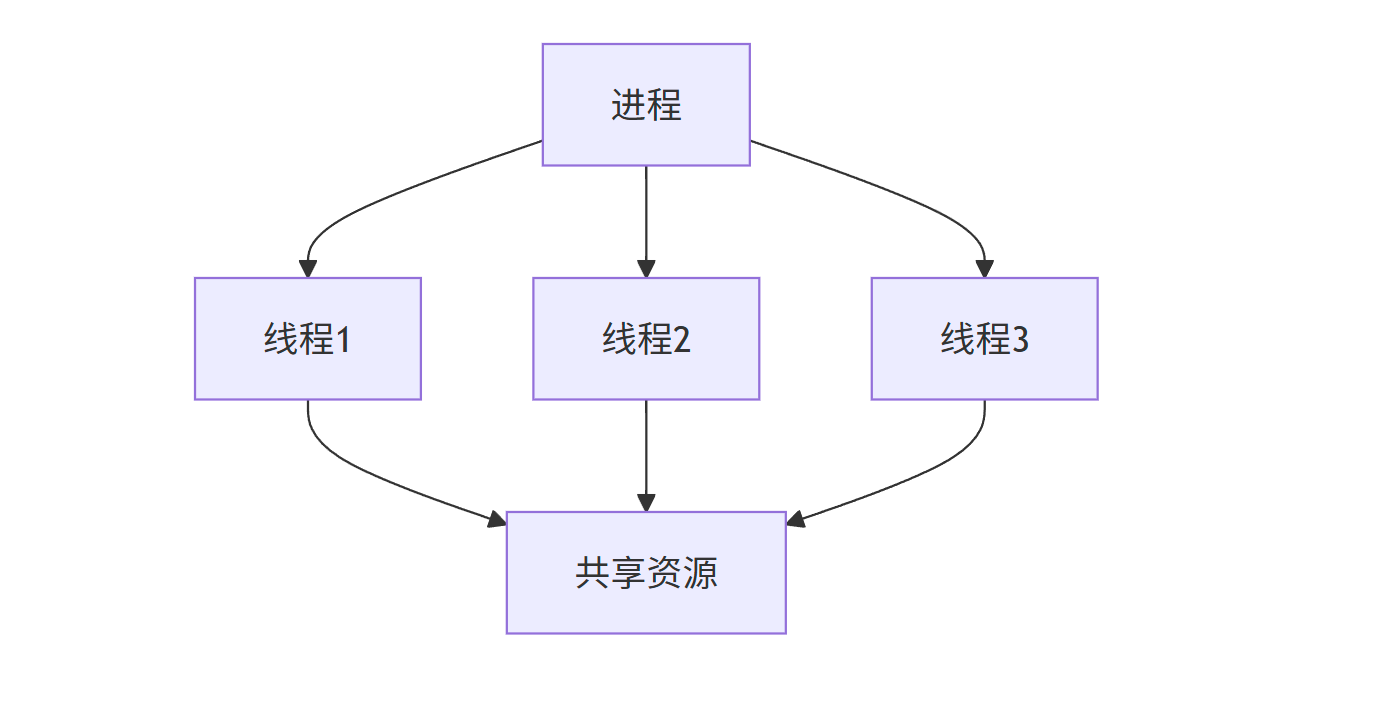
在 Java 中,线程是程序执行的最小单位,一个进程可以包含多个线程,这些线程共享进程的资源,但拥有各自的执行栈和程序计数器。
多线程的应用场景:
- 图形界面应用程序(UI 线程与后台处理线程分离)
- 服务器程序(同时处理多个客户端请求)
- 数据处理(并行处理大量数据)
- 异步任务(如文件下载、数据加载等)
17.2 创建任务和线程
在 Java 中,创建线程主要有两种方式:实现 Runnable 接口和继承 Thread 类。
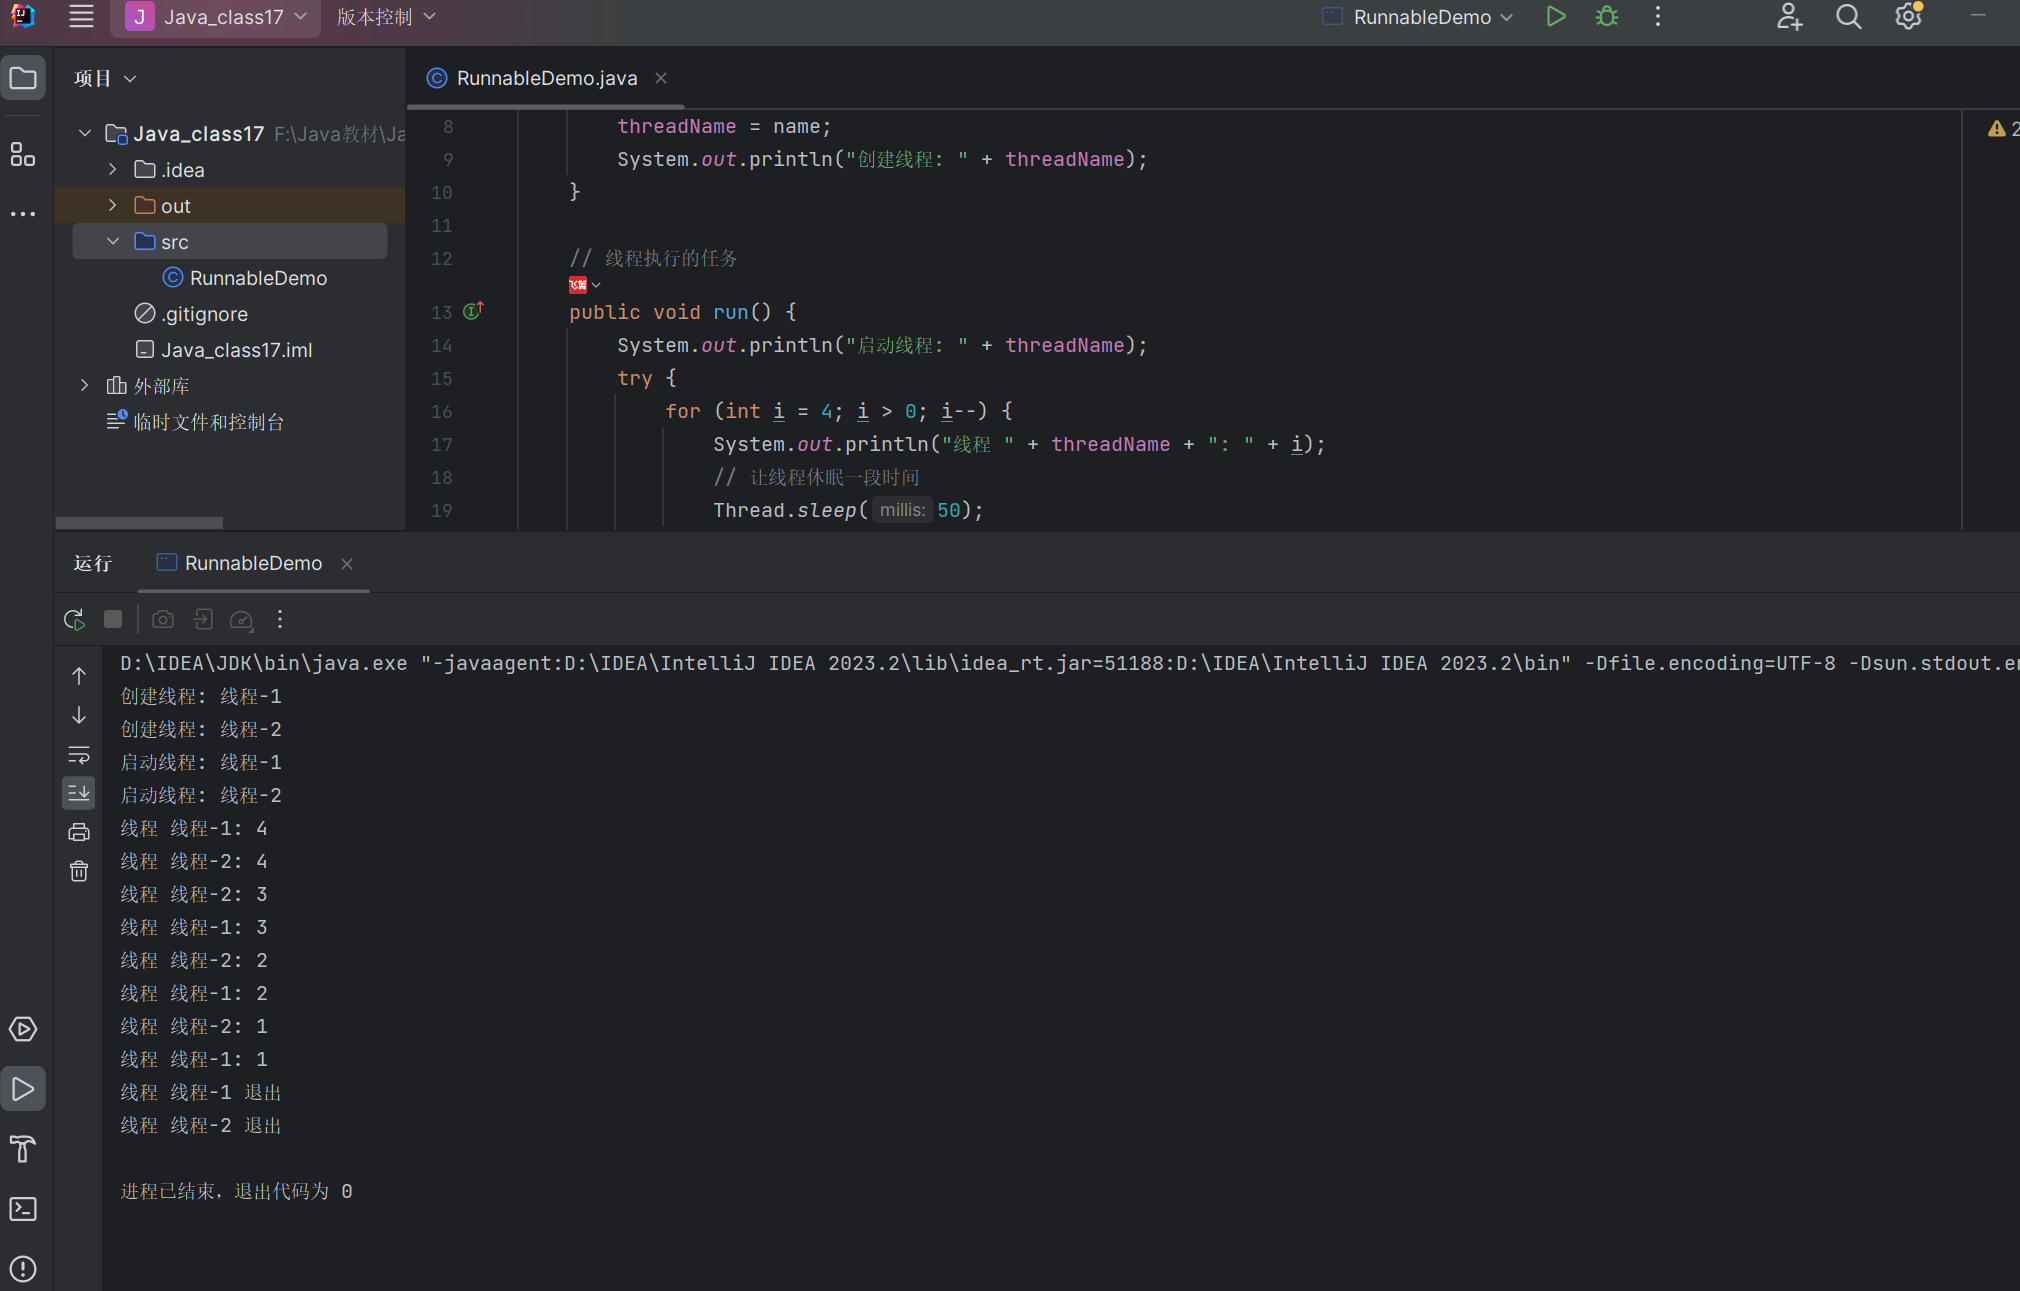
17.2.1 实现 Runnable 接口
Runnable 接口只有一个 run() 方法,用于定义线程要执行的任务。实现 Runnable 接口后,需要将其实例传递给 Thread 类的构造方法,然后调用 start() 方法启动线程。
/*** 实现 Runnable 接口创建线程示例*/
public class RunnableDemo implements Runnable {private String threadName;public RunnableDemo(String name) {threadName = name;System.out.println("创建线程: " + threadName);}// 线程执行的任务public void run() {System.out.println("启动线程: " + threadName);try {for (int i = 4; i > 0; i--) {System.out.println("线程 " + threadName + ": " + i);// 让线程休眠一段时间Thread.sleep(50);}} catch (InterruptedException e) {System.out.println("线程 " + threadName + " 被中断");}System.out.println("线程 " + threadName + " 退出");}public static void main(String args[]) {// 创建 Runnable 实例RunnableDemo R1 = new RunnableDemo("线程-1");// 创建 Thread 实例,并将 Runnable 实例作为参数传入Thread t1 = new Thread(R1);RunnableDemo R2 = new RunnableDemo("线程-2");Thread t2 = new Thread(R2);// 启动线程t1.start();t2.start();}
}
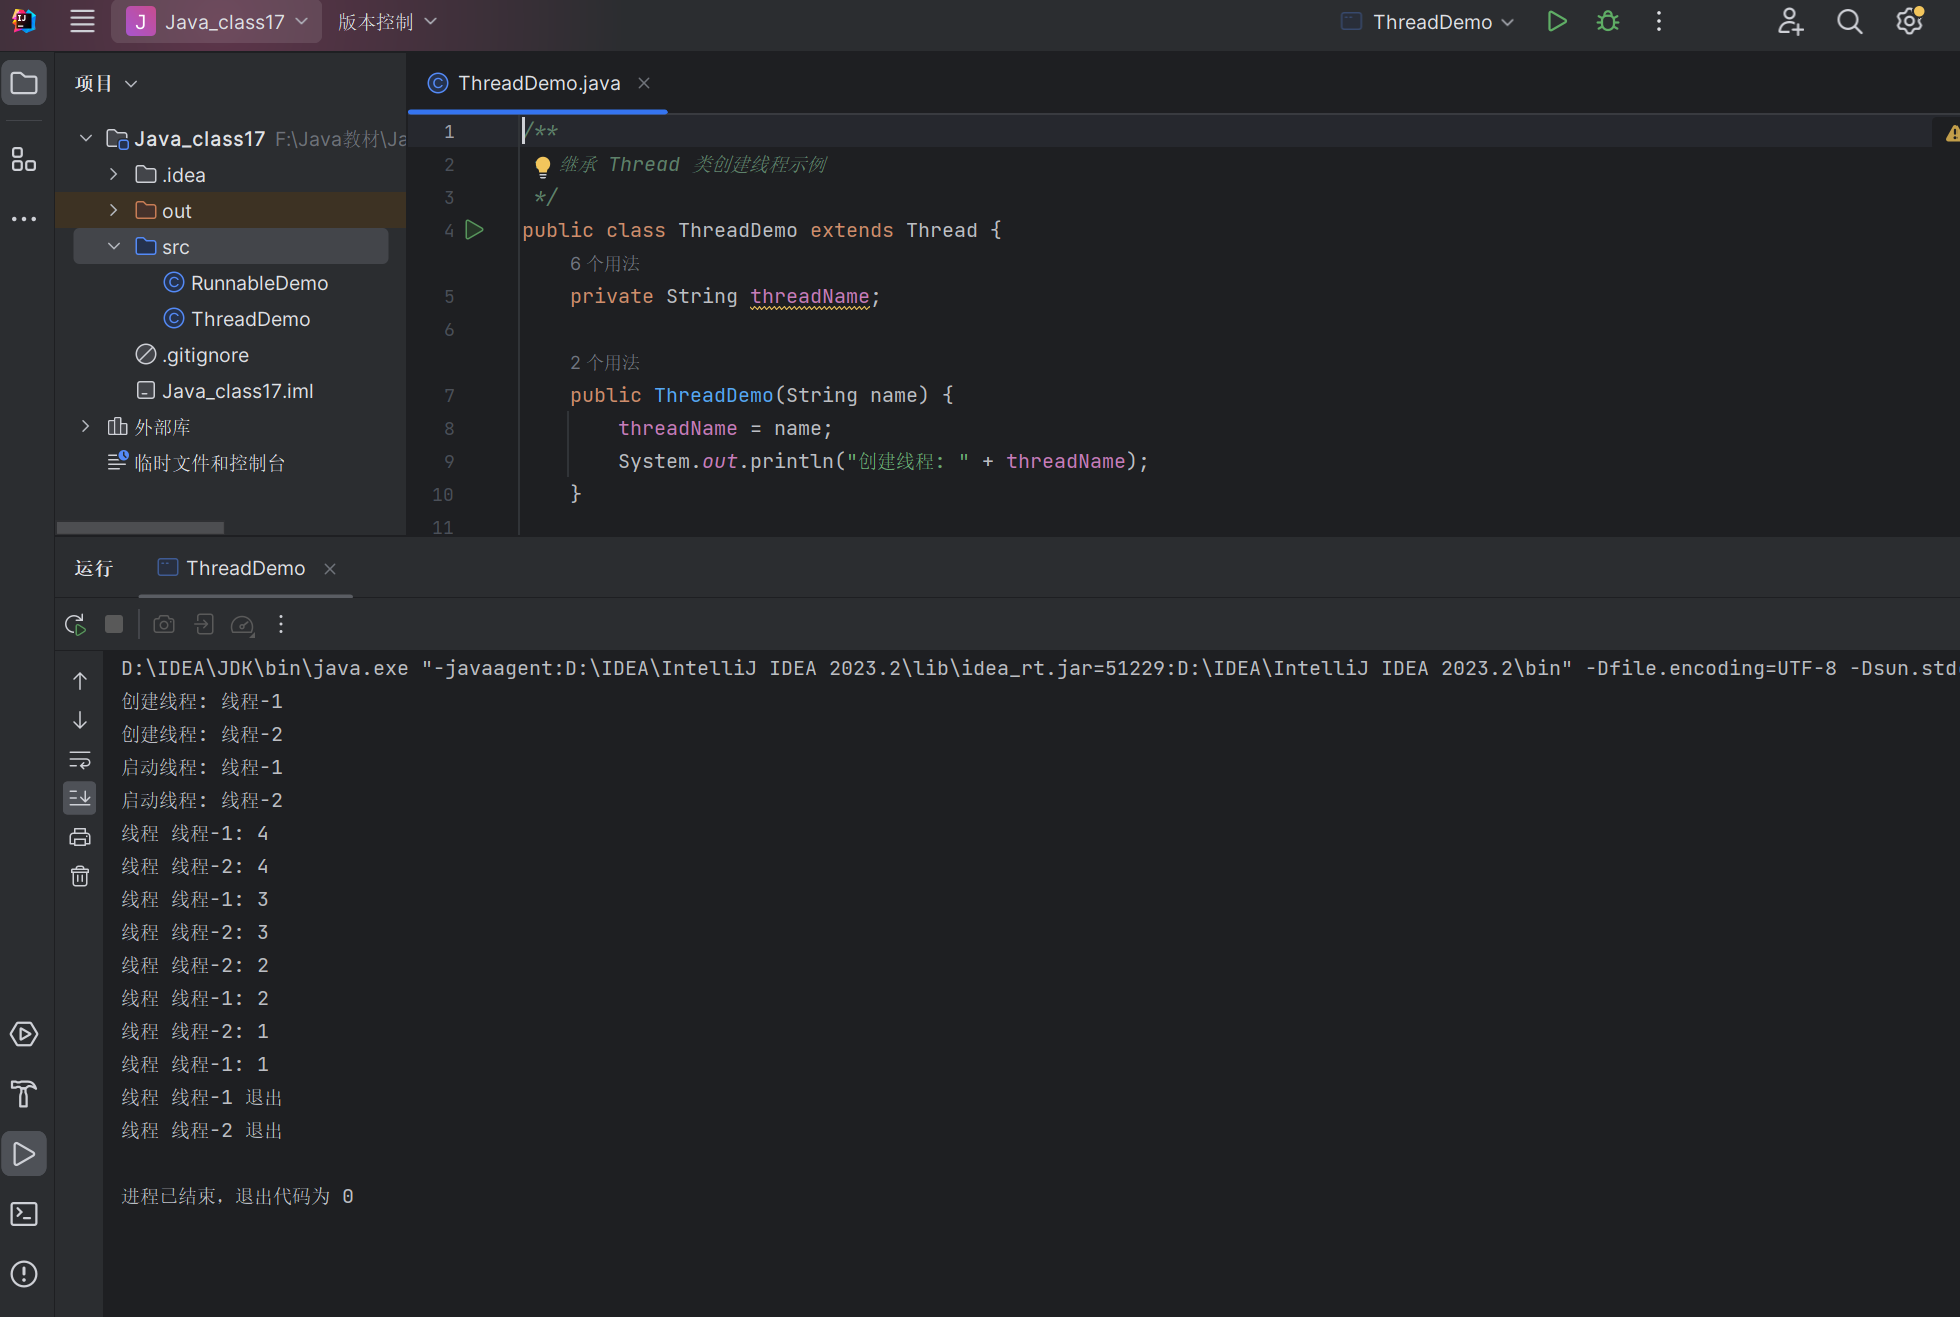
17.2.2 继承 Thread 类
另一种创建线程的方式是继承 Thread 类,并重写其 run() 方法。然后创建该子类的实例并调用 start() 方法启动线程。
/*** 继承 Thread 类创建线程示例*/
public class ThreadDemo extends Thread {private String threadName;public ThreadDemo(String name) {threadName = name;System.out.println("创建线程: " + threadName);}// 重写 run() 方法,定义线程执行的任务public void run() {System.out.println("启动线程: " + threadName);try {for (int i = 4; i > 0; i--) {System.out.println("线程 " + threadName + ": " + i);// 让线程休眠一段时间Thread.sleep(50);}} catch (InterruptedException e) {System.out.println("线程 " + threadName + " 被中断");}System.out.println("线程 " + threadName + " 退出");}public static void main(String args[]) {// 创建线程实例ThreadDemo t1 = new ThreadDemo("线程-1");ThreadDemo t2 = new ThreadDemo("线程-2");// 启动线程t1.start();t2.start();}
}
两种方式的比较:
| 实现 Runnable 接口 | 继承 Thread 类 |
|---|---|
| 可以继承其他类 | 不能再继承其他类 |
| 适合多个线程共享资源 | 资源共享需要额外处理 |
| 代码结构更清晰,符合面向接口编程思想 | 代码相对简单直接 |
17.2.3 主线程
每个 Java 程序都有一个默认的主线程,即 main() 方法所在的线程。主线程是程序的入口点,负责启动其他线程。
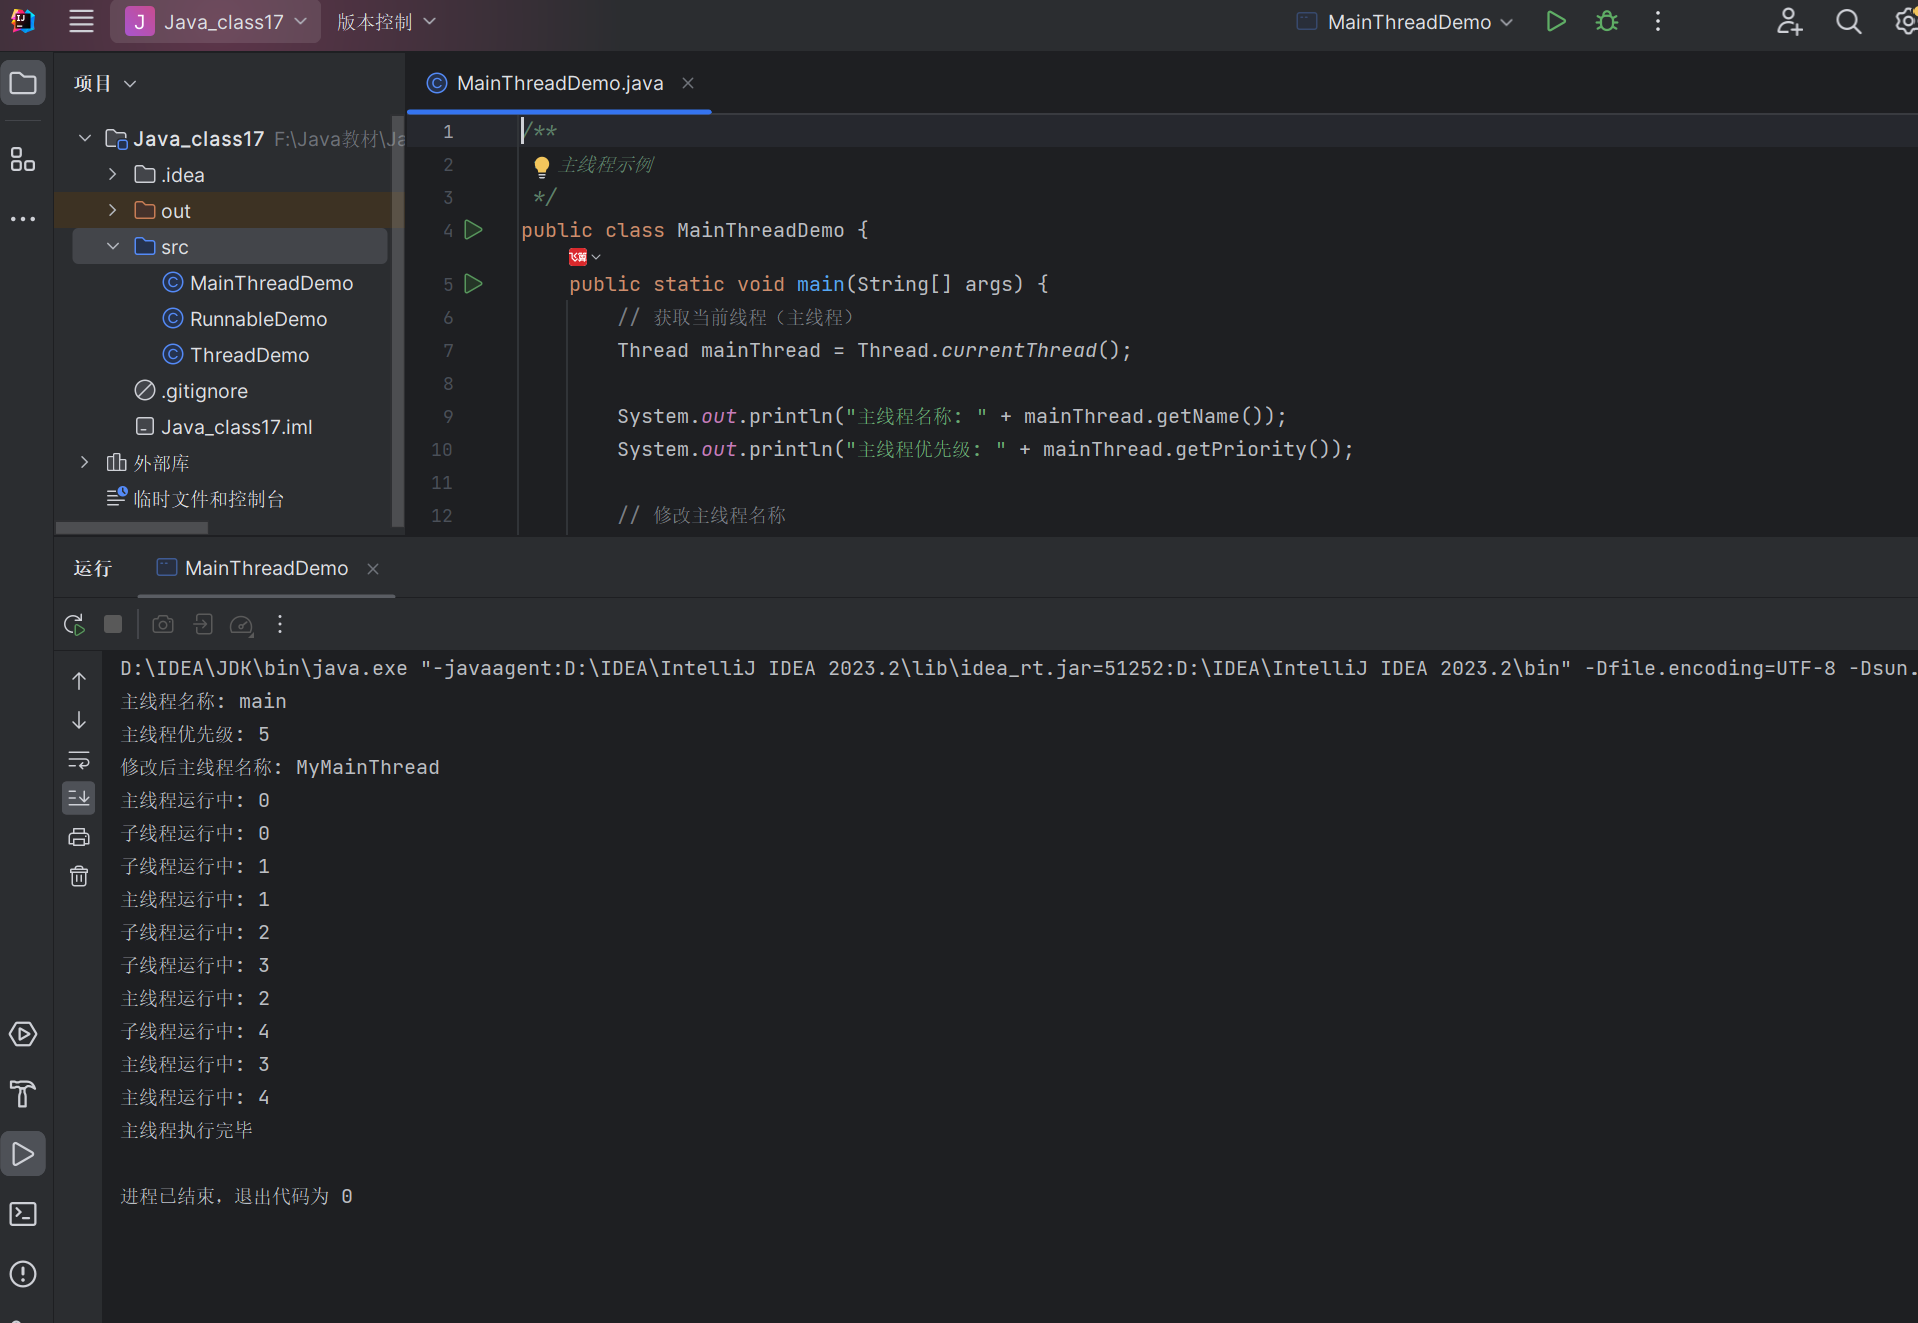
/*** 主线程示例*/
public class MainThreadDemo {public static void main(String[] args) {// 获取当前线程(主线程)Thread mainThread = Thread.currentThread();System.out.println("主线程名称: " + mainThread.getName());System.out.println("主线程优先级: " + mainThread.getPriority());// 修改主线程名称mainThread.setName("MyMainThread");System.out.println("修改后主线程名称: " + mainThread.getName());// 启动一个新线程Thread childThread = new Thread(new Runnable() {public void run() {for (int i = 0; i < 5; i++) {System.out.println("子线程运行中: " + i);try {Thread.sleep(100);} catch (InterruptedException e) {e.printStackTrace();}}}});childThread.start();// 主线程执行任务for (int i = 0; i < 5; i++) {System.out.println("主线程运行中: " + i);try {Thread.sleep(150);} catch (InterruptedException e) {e.printStackTrace();}}System.out.println("主线程执行完毕");}
}
17.3 线程的状态与调度
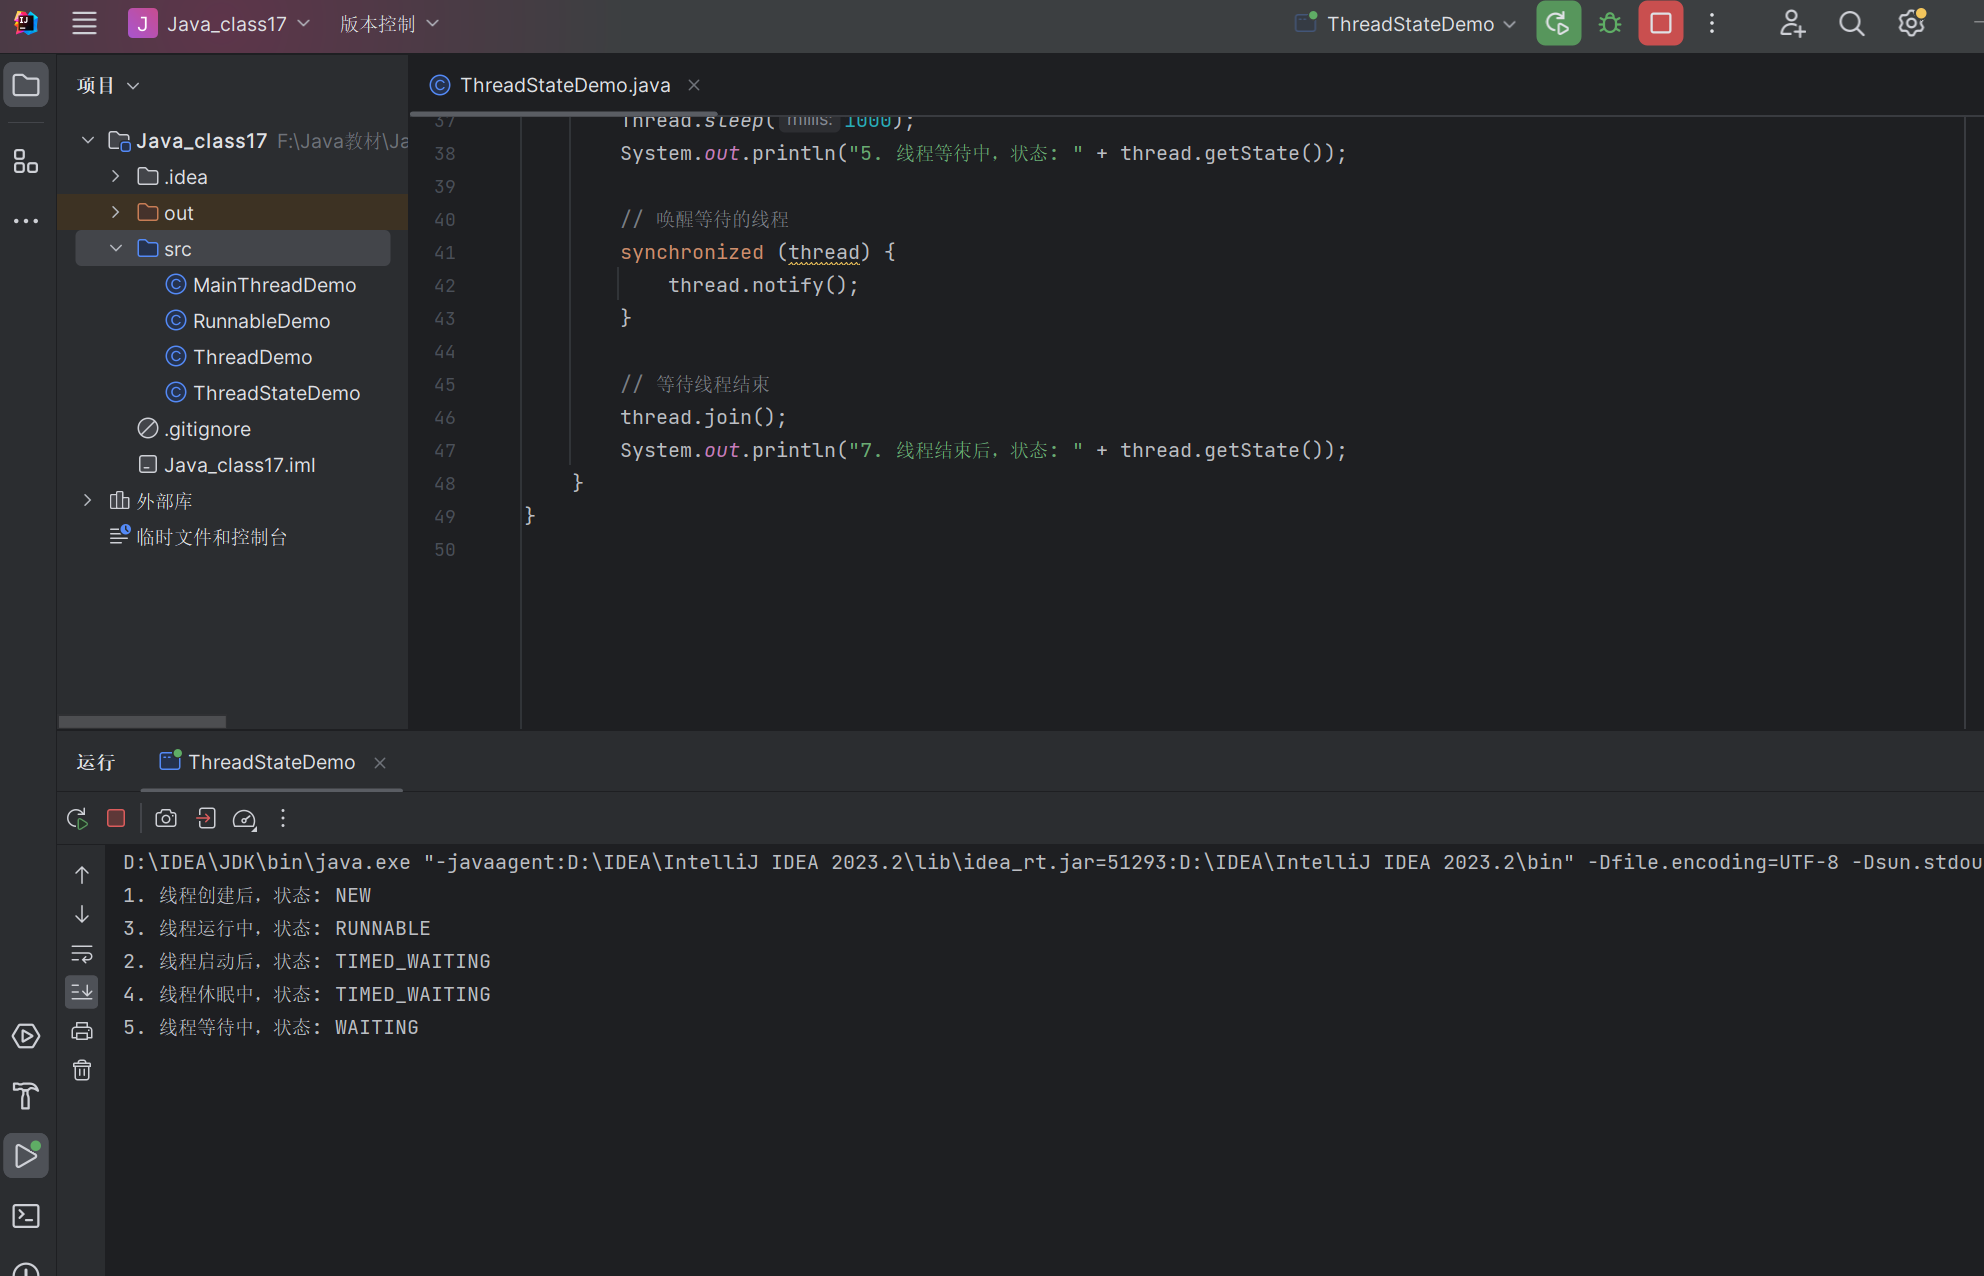
17.3.1 线程的状态
Java 中的线程有以下几种状态,这些状态定义在 Thread.State 枚举中:
- 新建状态(New):线程对象已创建,但尚未调用
start()方法 - 就绪状态(Runnable):线程已启动,正在等待 CPU 资源
- 运行状态(Running):线程正在执行
- 阻塞状态(Blocked):线程等待锁,暂时无法运行
- 等待状态(Waiting):线程等待其他线程的特定操作
- 超时等待状态(Timed Waiting):线程在指定时间内等待
- 终止状态(Terminated):线程已完成执行
线程状态转换示例:
/*** 线程状态示例*/
public class ThreadStateDemo {public static void main(String[] args) throws InterruptedException {Thread thread = new Thread(new Runnable() {public void run() {System.out.println("3. 线程运行中,状态: " + Thread.currentThread().getState());try {// 线程进入超时等待状态Thread.sleep(1000);// 等待另一个线程的通知synchronized (this) {this.wait();}} catch (InterruptedException e) {e.printStackTrace();}System.out.println("6. 线程即将结束,状态: " + Thread.currentThread().getState());}});// 新建状态System.out.println("1. 线程创建后,状态: " + thread.getState());// 启动线程thread.start();Thread.sleep(100); // 等待线程启动System.out.println("2. 线程启动后,状态: " + thread.getState());// 等待线程进入超时等待状态Thread.sleep(200);System.out.println("4. 线程休眠中,状态: " + thread.getState());// 等待线程进入等待状态Thread.sleep(1000);System.out.println("5. 线程等待中,状态: " + thread.getState());// 唤醒等待的线程synchronized (thread) {thread.notify();}// 等待线程结束thread.join();System.out.println("7. 线程结束后,状态: " + thread.getState());}
}
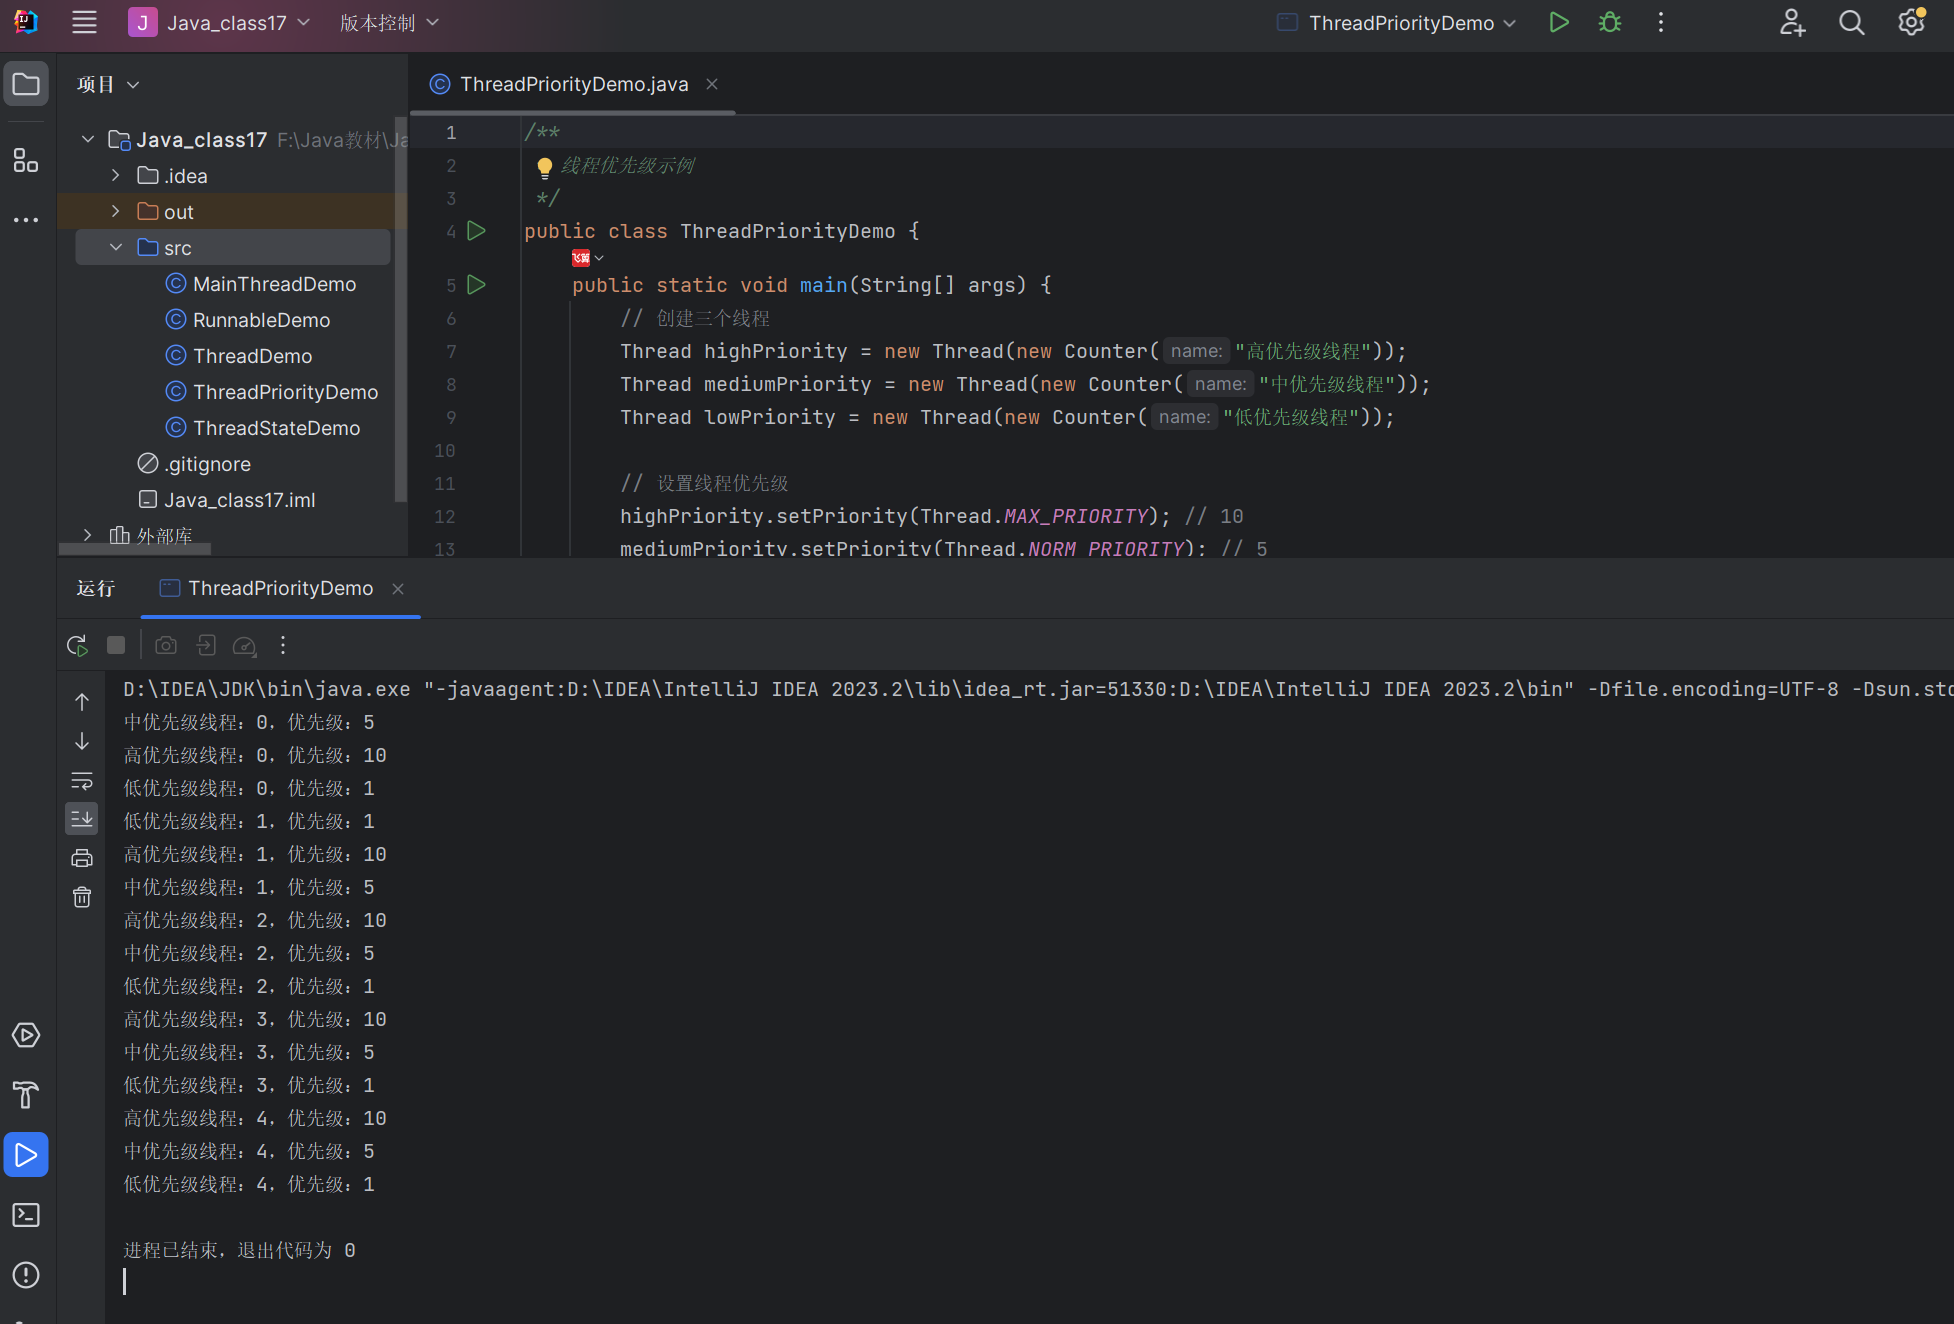
17.3.2 线程的优先级和调度
Java 线程有优先级,范围从 1 到 10,默认优先级为 5。优先级高的线程获得 CPU 资源的概率更高,但这并不意味着一定先执行。
线程调度由 Java 虚拟机(JVM)和操作系统共同完成,Java 提供了两种调度模型:
- 抢占式调度:优先级高的线程可以抢占优先级低的线程的 CPU 资源
- 时间片轮转:每个线程轮流获得 CPU 时间片
/*** 线程优先级示例*/
public class ThreadPriorityDemo {public static void main(String[] args) {// 创建三个线程Thread highPriority = new Thread(new Counter("高优先级线程"));Thread mediumPriority = new Thread(new Counter("中优先级线程"));Thread lowPriority = new Thread(new Counter("低优先级线程"));// 设置线程优先级highPriority.setPriority(Thread.MAX_PRIORITY); // 10mediumPriority.setPriority(Thread.NORM_PRIORITY); // 5lowPriority.setPriority(Thread.MIN_PRIORITY); // 1// 启动线程lowPriority.start();mediumPriority.start();highPriority.start();}static class Counter implements Runnable {private String name;public Counter(String name) {this.name = name;}public void run() {for (int i = 0; i < 5; i++) {System.out.println(name + ":" + i + ",优先级:" + Thread.currentThread().getPriority());try {Thread.sleep(100);} catch (InterruptedException e) {e.printStackTrace();}}}}
}
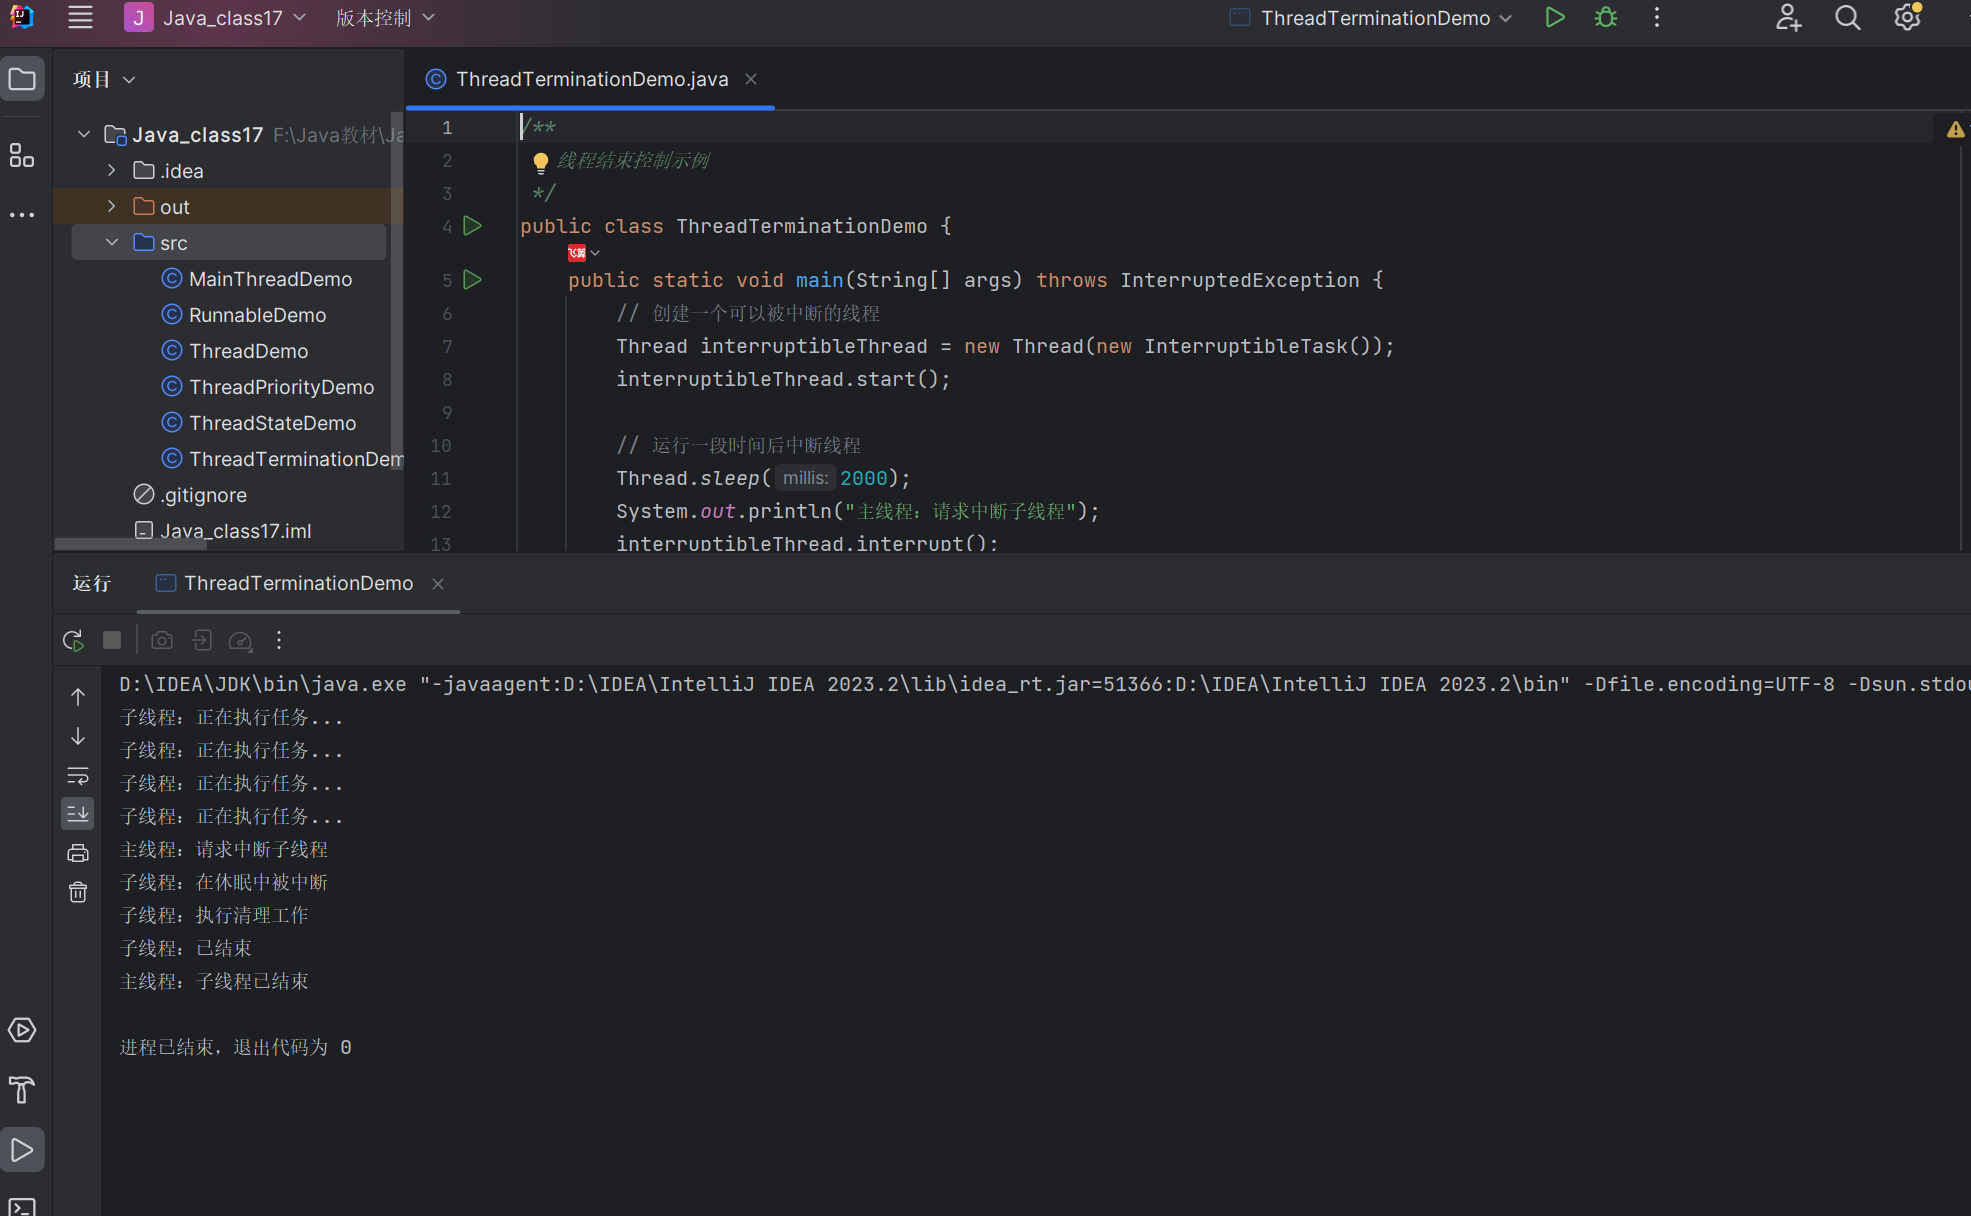
17.3.3 控制线程的结束
线程结束的方式有以下几种:
- 自然结束:线程的
run()方法执行完毕 - 异常结束:线程执行过程中抛出未捕获的异常
- 中断结束:调用
interrupt()方法中断线程
/*** 线程结束控制示例*/
public class ThreadTerminationDemo {public static void main(String[] args) throws InterruptedException {// 创建一个可以被中断的线程Thread interruptibleThread = new Thread(new InterruptibleTask());interruptibleThread.start();// 运行一段时间后中断线程Thread.sleep(2000);System.out.println("主线程:请求中断子线程");interruptibleThread.interrupt();// 等待线程结束interruptibleThread.join();System.out.println("主线程:子线程已结束");}static class InterruptibleTask implements Runnable {public void run() {try {while (!Thread.currentThread().isInterrupted()) {System.out.println("子线程:正在执行任务...");Thread.sleep(500); // 模拟任务执行}System.out.println("子线程:收到中断请求,准备结束");} catch (InterruptedException e) {System.out.println("子线程:在休眠中被中断");// 恢复中断状态Thread.currentThread().interrupt();} finally {System.out.println("子线程:执行清理工作");}System.out.println("子线程:已结束");}}
}
注意:不推荐使用
stop()、suspend()和resume()方法来控制线程,这些方法已经被标记为过时,可能导致资源泄露或线程死锁等问题。
17.4 线程同步与对象锁
17.4.1 线程冲突与原子操作
当多个线程访问共享资源时,如果不加以控制,可能会导致数据不一致的问题,这就是线程冲突。
原子操作是指不可分割的操作,要么全部执行,要么都不执行。Java 提供了 java.util.concurrent.atomic 包来支持原子操作。
/*** 线程冲突示例*/
public class ThreadConflictDemo {// 共享资源private static int count = 0;public static void main(String[] args) throws InterruptedException {// 创建两个线程,同时对 count 进行递增操作Thread thread1 = new Thread(new IncrementTask());Thread thread2 = new Thread(new IncrementTask());thread1.start();thread2.start();// 等待两个线程执行完毕thread1.join();thread2.join();// 预期结果是 20000,但实际可能小于这个值System.out.println("最终计数:" + count);}static class IncrementTask implements Runnable {public void run() {for (int i = 0; i < 10000; i++) {// 非原子操作:读取 -> 修改 -> 写入count++;}}}
}
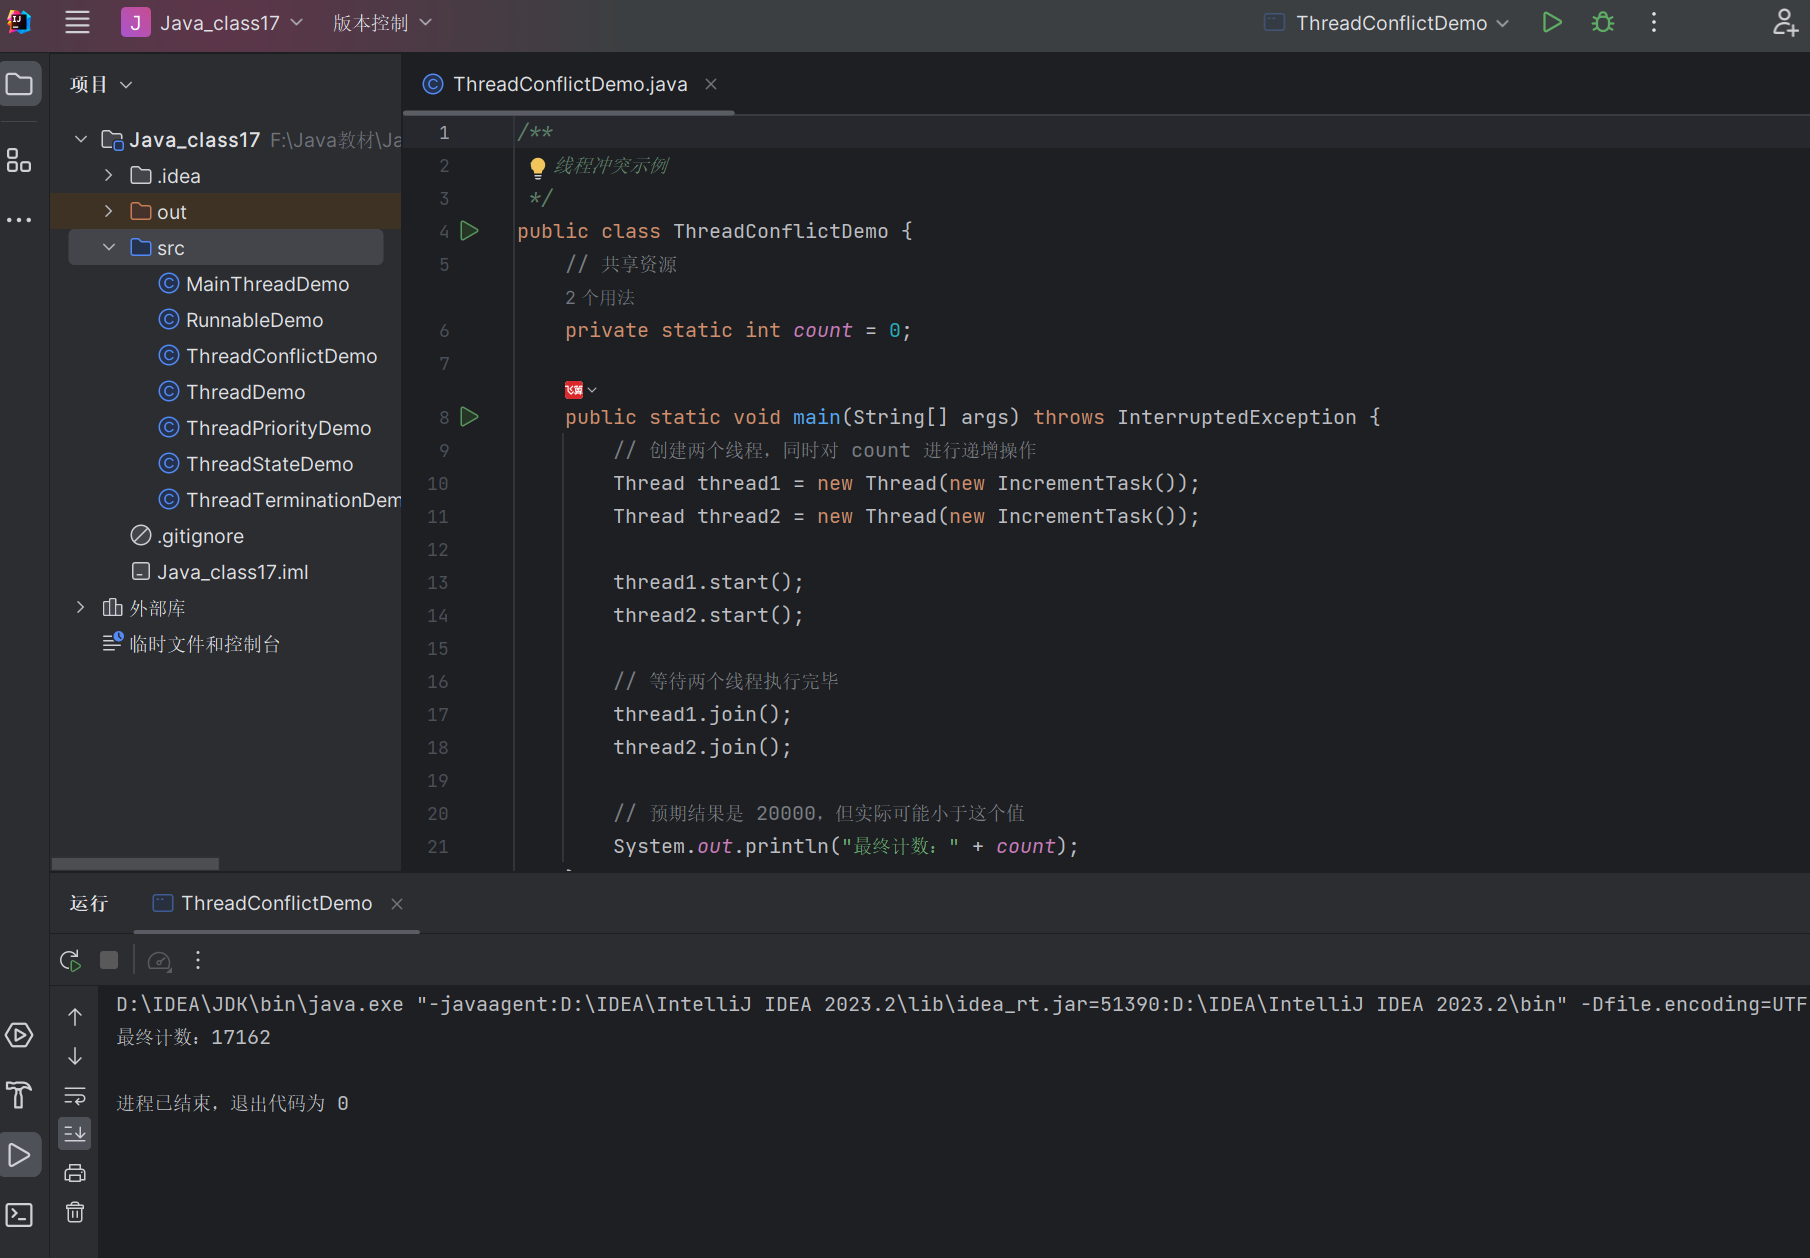
上面的代码中,count++ 不是原子操作,它包含三个步骤:读取 count 的值、将值加 1、将结果写回 count。当两个线程同时执行时,可能会导致计数不正确。
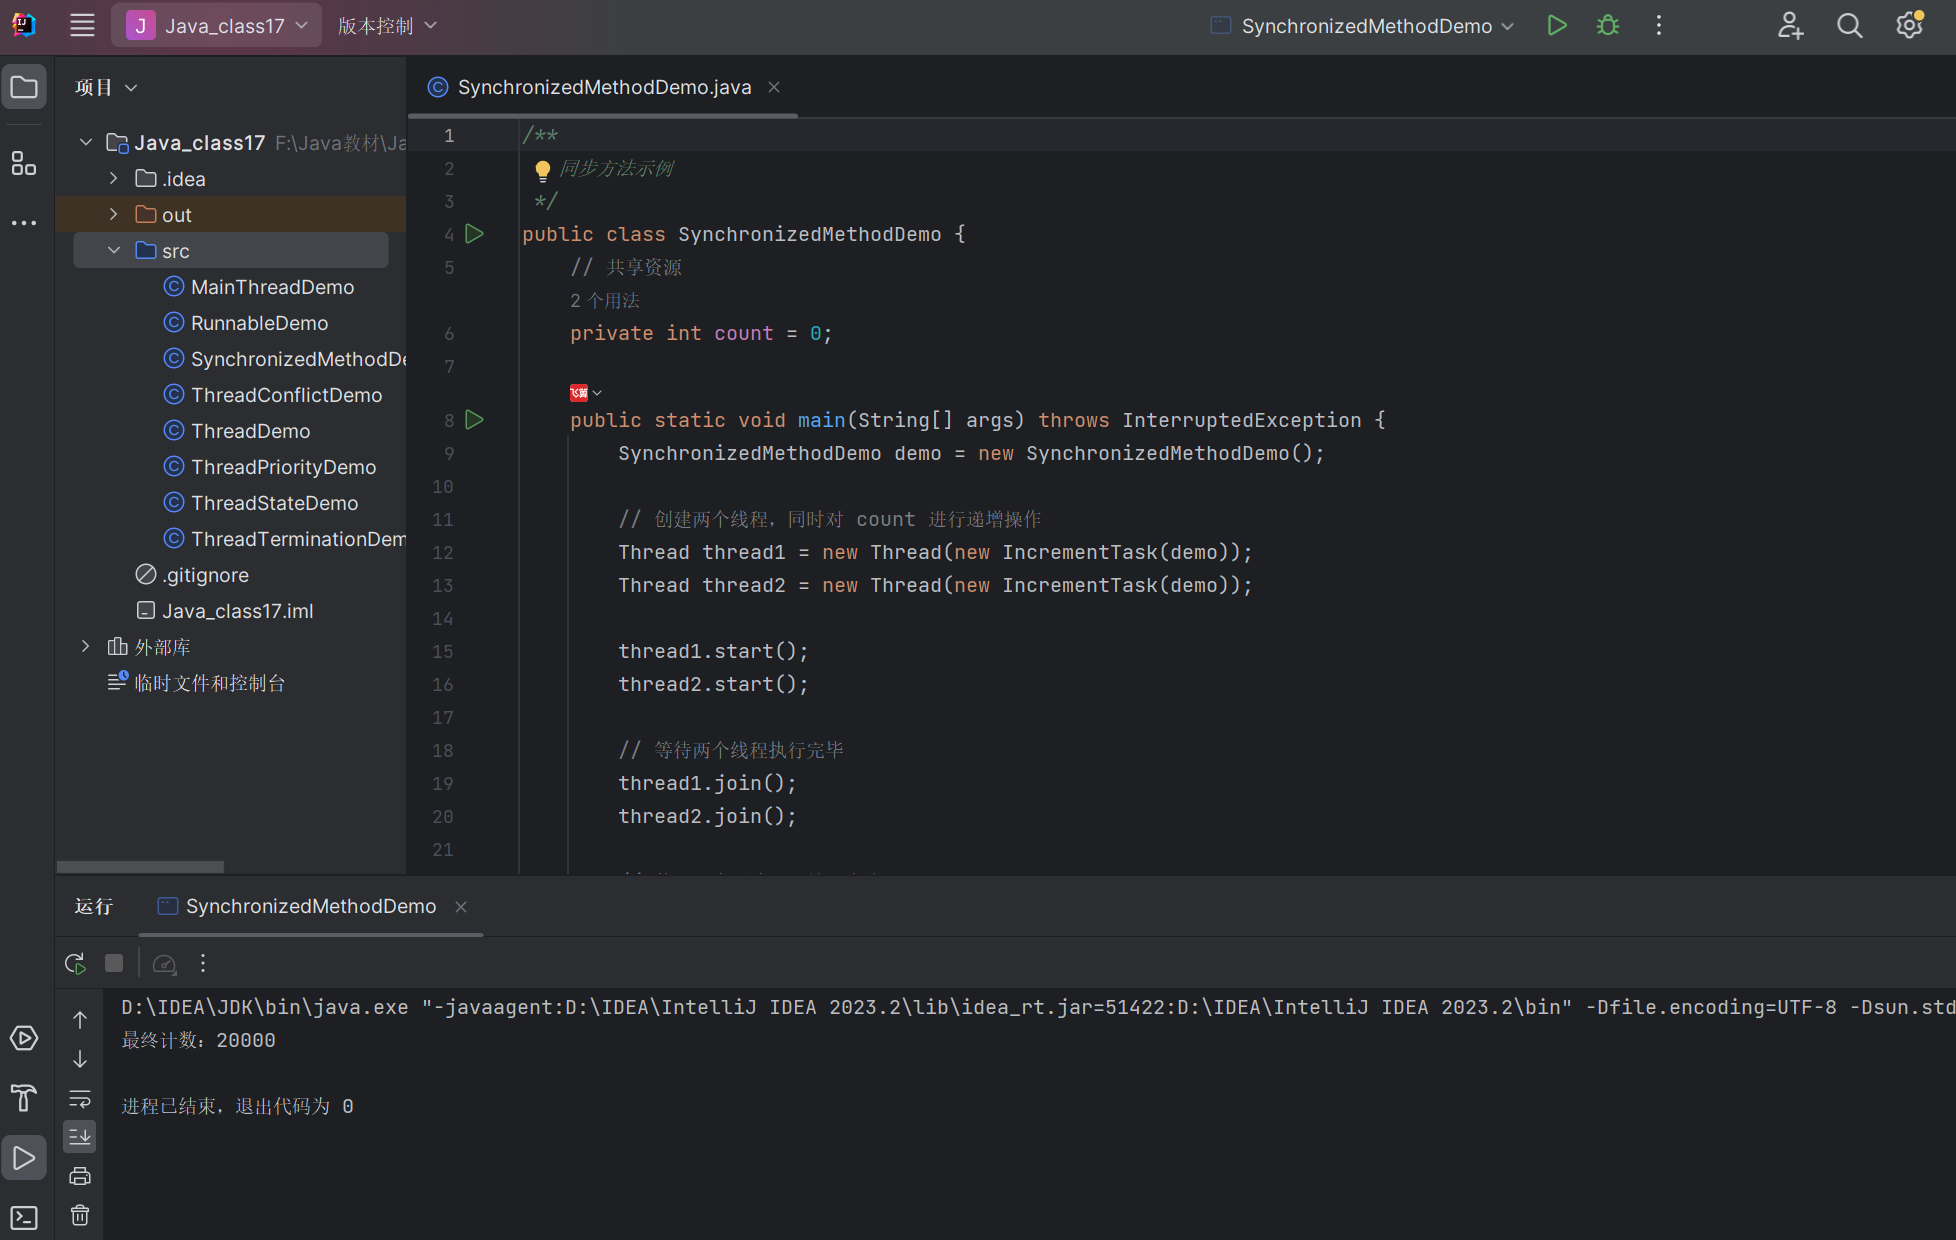
17.4.2 方法同步
使用 synchronized 关键字修饰方法,可以保证同一时间只有一个线程执行该方法,从而避免线程冲突。
/*** 同步方法示例*/
public class SynchronizedMethodDemo {// 共享资源private int count = 0;public static void main(String[] args) throws InterruptedException {SynchronizedMethodDemo demo = new SynchronizedMethodDemo();// 创建两个线程,同时对 count 进行递增操作Thread thread1 = new Thread(new IncrementTask(demo));Thread thread2 = new Thread(new IncrementTask(demo));thread1.start();thread2.start();// 等待两个线程执行完毕thread1.join();thread2.join();// 使用同步方法后,结果应该是 20000System.out.println("最终计数:" + demo.count);}// 同步方法public synchronized void increment() {count++;}static class IncrementTask implements Runnable {private SynchronizedMethodDemo demo;public IncrementTask(SynchronizedMethodDemo demo) {this.demo = demo;}public void run() {for (int i = 0; i < 10000; i++) {demo.increment();}}}
}
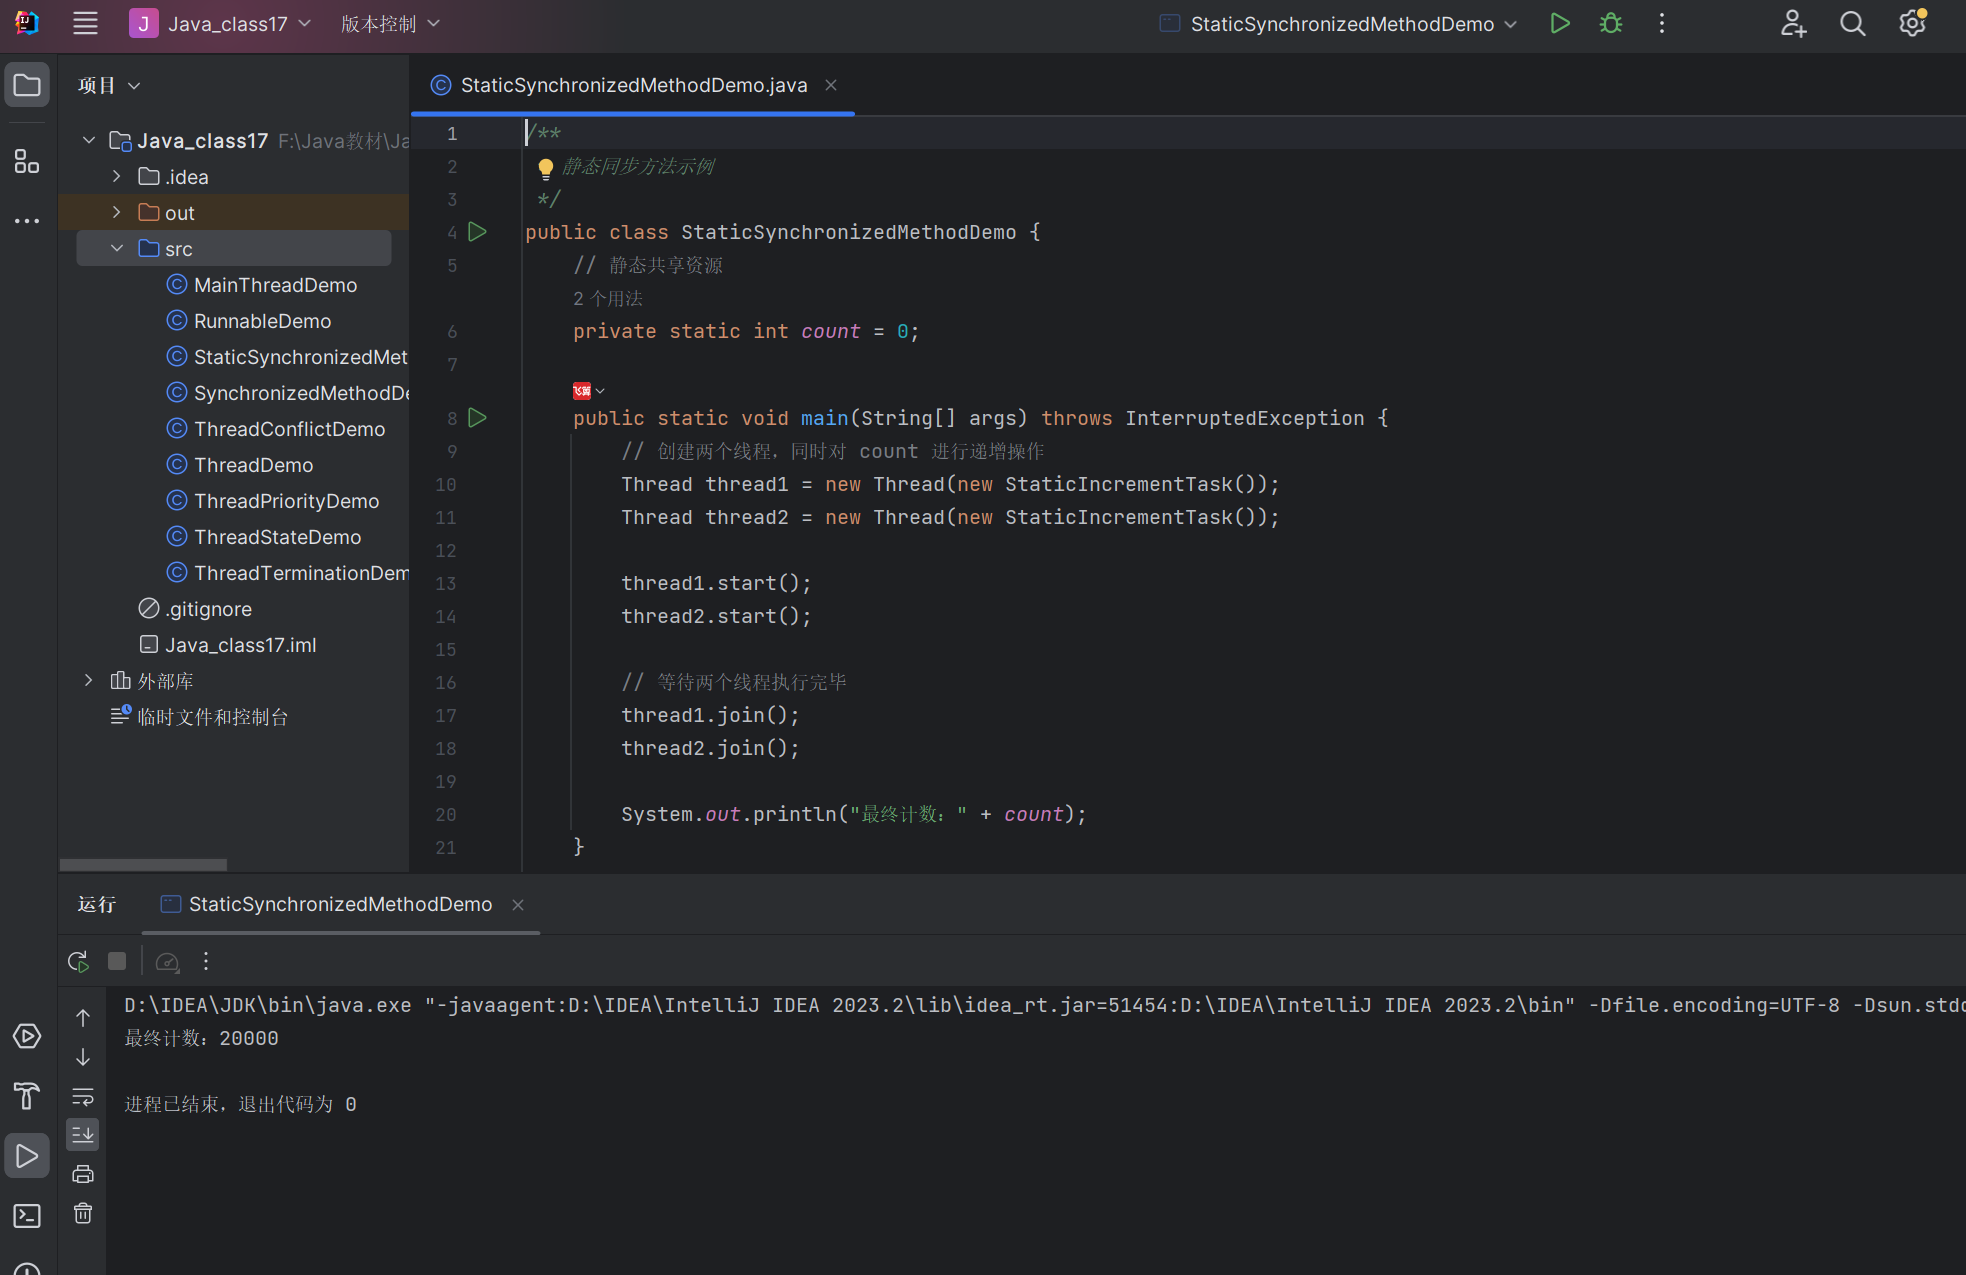
对于静态同步方法,锁是当前类的 Class 对象。
/*** 静态同步方法示例*/
public class StaticSynchronizedMethodDemo {// 静态共享资源private static int count = 0;public static void main(String[] args) throws InterruptedException {// 创建两个线程,同时对 count 进行递增操作Thread thread1 = new Thread(new StaticIncrementTask());Thread thread2 = new Thread(new StaticIncrementTask());thread1.start();thread2.start();// 等待两个线程执行完毕thread1.join();thread2.join();System.out.println("最终计数:" + count);}// 静态同步方法public static synchronized void staticIncrement() {count++;}static class StaticIncrementTask implements Runnable {public void run() {for (int i = 0; i < 10000; i++) {StaticSynchronizedMethodDemo.staticIncrement();}}}
}
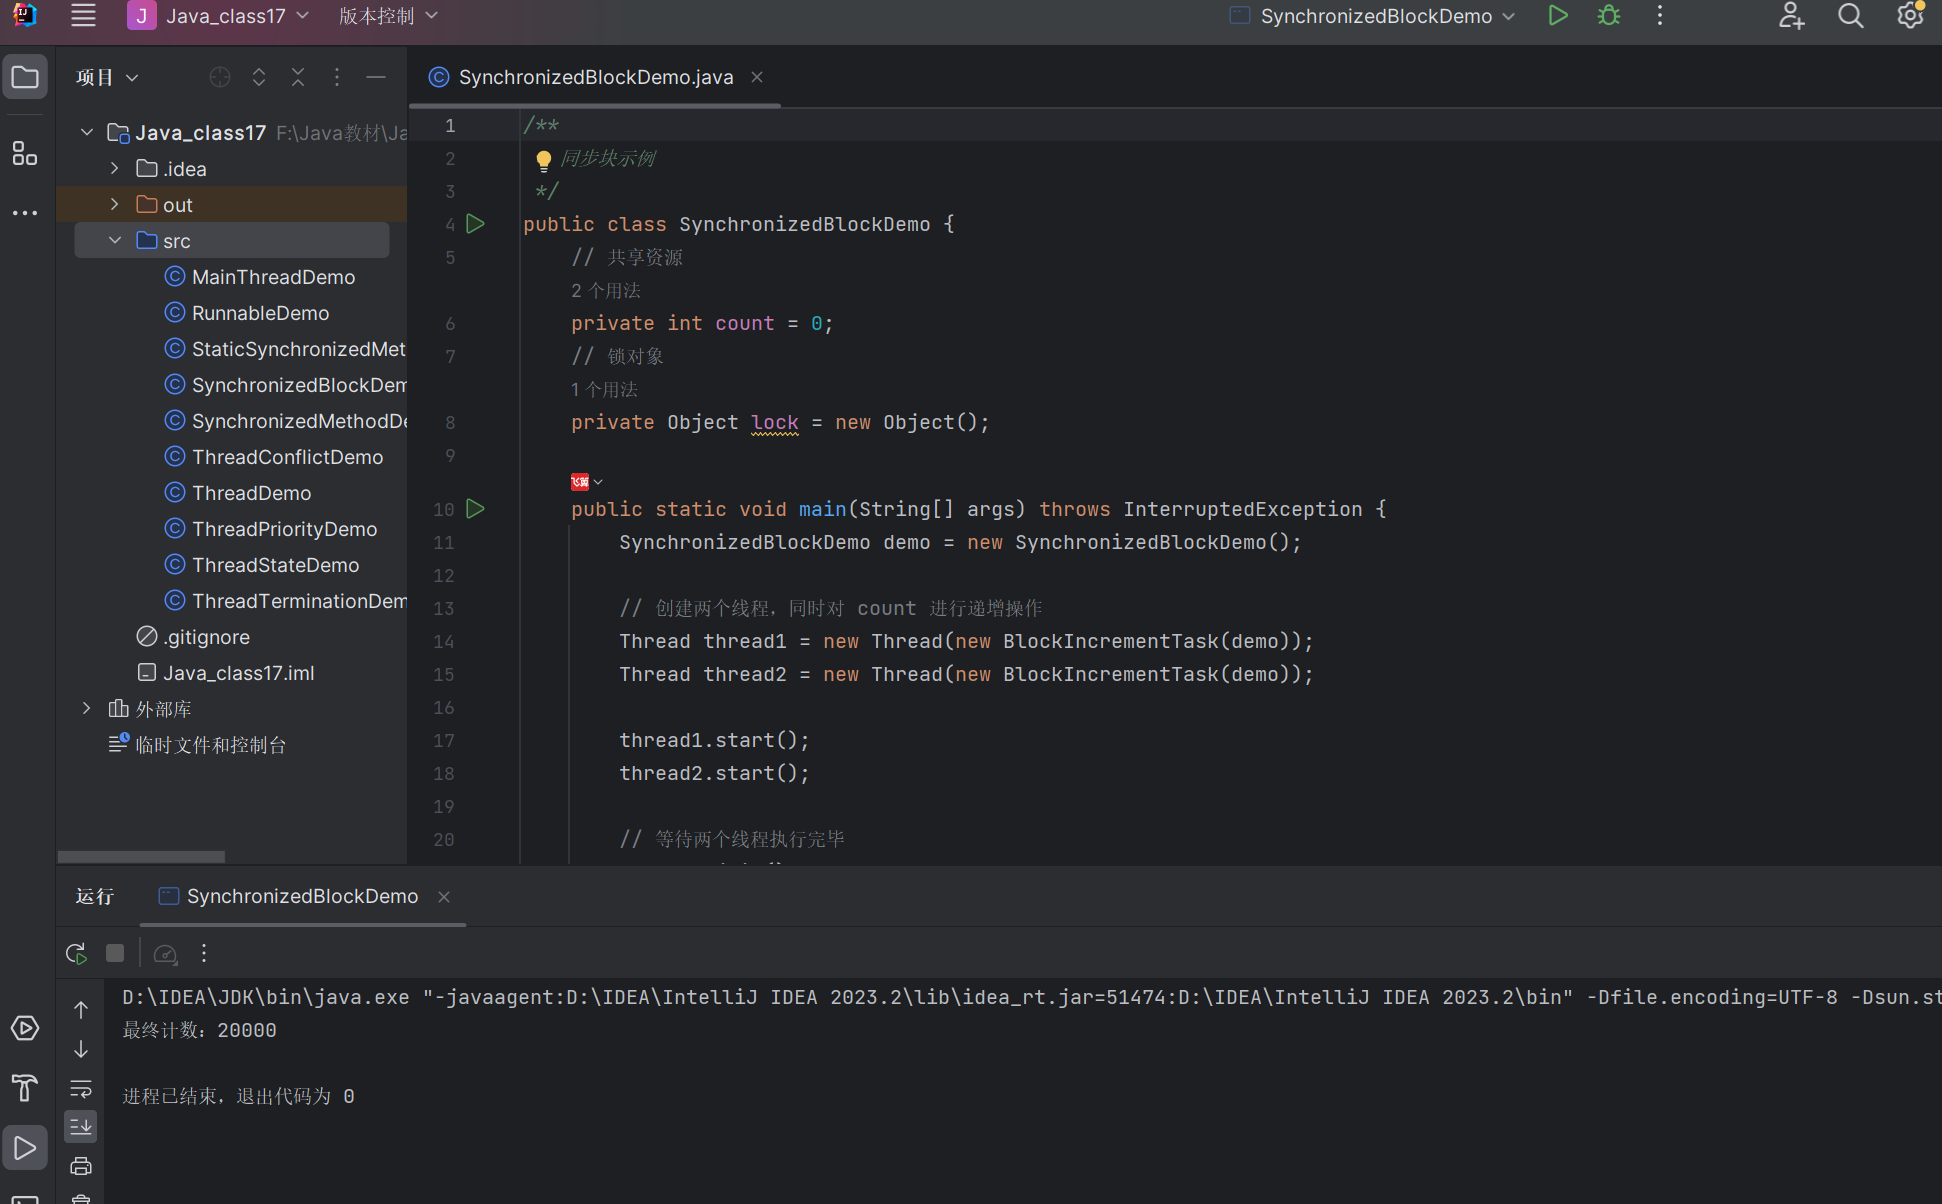
17.4.3 块同步
除了同步整个方法,还可以使用 synchronized 关键字同步代码块,这样可以只同步关键部分,提高程序效率。
/*** 同步块示例*/
public class SynchronizedBlockDemo {// 共享资源private int count = 0;// 锁对象private Object lock = new Object();public static void main(String[] args) throws InterruptedException {SynchronizedBlockDemo demo = new SynchronizedBlockDemo();// 创建两个线程,同时对 count 进行递增操作Thread thread1 = new Thread(new BlockIncrementTask(demo));Thread thread2 = new Thread(new BlockIncrementTask(demo));thread1.start();thread2.start();// 等待两个线程执行完毕thread1.join();thread2.join();System.out.println("最终计数:" + demo.count);}public void blockIncrement() {// 其他非同步操作...// 同步块,使用 lock 对象作为锁synchronized (lock) {count++;}// 其他非同步操作...}static class BlockIncrementTask implements Runnable {private SynchronizedBlockDemo demo;public BlockIncrementTask(SynchronizedBlockDemo demo) {this.demo = demo;}public void run() {for (int i = 0; i < 10000; i++) {demo.blockIncrement();}}}
}
同步方法与同步块的比较:
| 同步方法 | 同步块 |
|---|---|
| 整个方法都被同步 | 只同步代码块部分 |
锁是 this(非静态方法)或类对象(静态方法) | 锁可以是任意对象 |
| 可能降低程序效率 | 可以提高程序效率 |
| 代码简洁 | 更灵活 |
17.5 线程协调
线程协调是指多个线程之间的通信和协作,以完成共同的任务。
17.5.1 不正确的设计
在没有适当协调机制的情况下,线程间的协作可能会出现问题。
/*** 线程协调不当示例*/
public class IncorrectCoordinationDemo {private int data = 0;private boolean dataReady = false;public static void main(String[] args) {IncorrectCoordinationDemo demo = new IncorrectCoordinationDemo();// 生产者线程:生成数据Thread producer = new Thread(new Producer(demo));// 消费者线程:处理数据Thread consumer = new Thread(new Consumer(demo));consumer.start();producer.start();}static class Producer implements Runnable {private IncorrectCoordinationDemo demo;public Producer(IncorrectCoordinationDemo demo) {this.demo = demo;}public void run() {for (int i = 1; i <= 5; i++) {// 生成数据demo.data = i;demo.dataReady = true;System.out.println("生产者:生成数据 " + i);try {Thread.sleep(1000);} catch (InterruptedException e) {e.printStackTrace();}}}}static class Consumer implements Runnable {private IncorrectCoordinationDemo demo;public Consumer(IncorrectCoordinationDemo demo) {this.demo = demo;}public void run() {for (int i = 1; i <= 5; i++) {// 循环等待数据准备好while (!demo.dataReady) {// 忙等待,浪费 CPU 资源}// 处理数据System.out.println("消费者:处理数据 " + demo.data);demo.dataReady = false;}}}
}

上面的代码中,消费者线程使用忙等待的方式等待数据,这会浪费大量的 CPU 资源。
17.5.2 监视器模型
Java 采用监视器(Monitor)模型来实现线程间的协调,主要通过以下方法:
wait():让当前线程进入等待状态,释放对象锁notify():唤醒一个正在等待该对象锁的线程notifyAll():唤醒所有正在等待该对象锁的线程
这些方法必须在同步块或同步方法中使用。
/*** 监视器模型线程协调示例*/
public class MonitorCoordinationDemo {private int data = 0;private boolean dataReady = false;public static void main(String[] args) {MonitorCoordinationDemo demo = new MonitorCoordinationDemo();// 生产者线程:生成数据Thread producer = new Thread(new Producer(demo));// 消费者线程:处理数据Thread consumer = new Thread(new Consumer(demo));consumer.start();producer.start();}// 生产数据public synchronized void produce(int value) {// 等待数据被消费while (dataReady) {try {wait(); // 释放锁,进入等待状态} catch (InterruptedException e) {e.printStackTrace();}}// 生成数据data = value;dataReady = true;System.out.println("生产者:生成数据 " + value);notify(); // 唤醒等待的消费者线程}// 消费数据public synchronized int consume() {// 等待数据准备好while (!dataReady) {try {wait(); // 释放锁,进入等待状态} catch (InterruptedException e) {e.printStackTrace();}}// 处理数据int value = data;dataReady = false;System.out.println("消费者:处理数据 " + value);notify(); // 唤醒等待的生产者线程return value;}static class Producer implements Runnable {private MonitorCoordinationDemo demo;public Producer(MonitorCoordinationDemo demo) {this.demo = demo;}public void run() {for (int i = 1; i <= 5; i++) {demo.produce(i);try {Thread.sleep(1000);} catch (InterruptedException e) {e.printStackTrace();}}}}static class Consumer implements Runnable {private MonitorCoordinationDemo demo;public Consumer(MonitorCoordinationDemo demo) {this.demo = demo;}public void run() {for (int i = 1; i <= 5; i++) {demo.consume();try {Thread.sleep(500);} catch (InterruptedException e) {e.printStackTrace();}}}}
}
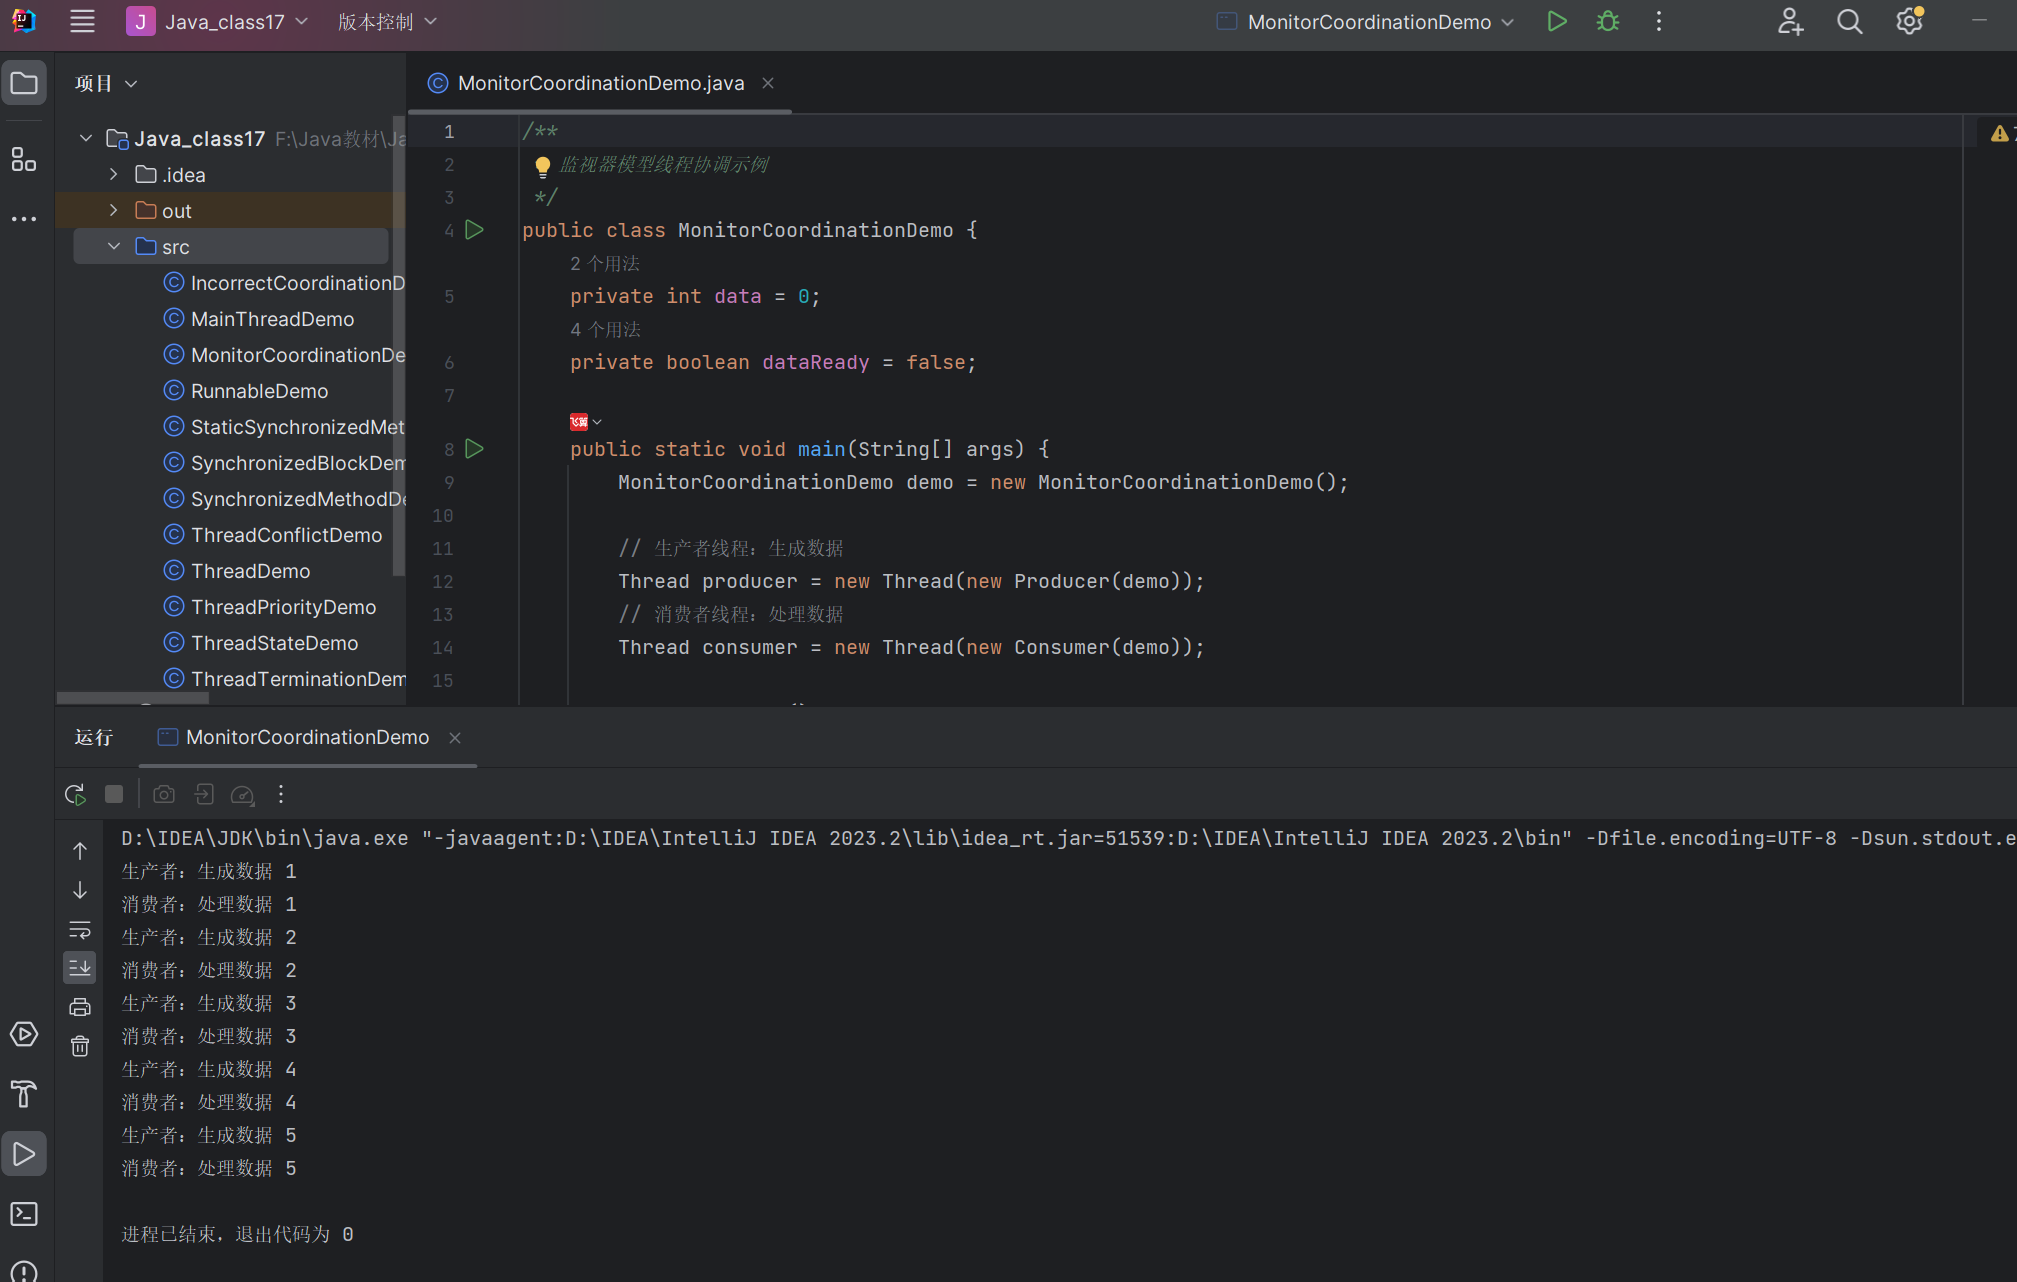
生产者 - 消费者问题是线程协调的经典案例,上面的代码展示了如何使用监视器模型来解决这个问题。
17.6 并发工具
Java 提供了丰富的并发工具类,位于 java.util.concurrent 包中,简化了并发编程的实现。
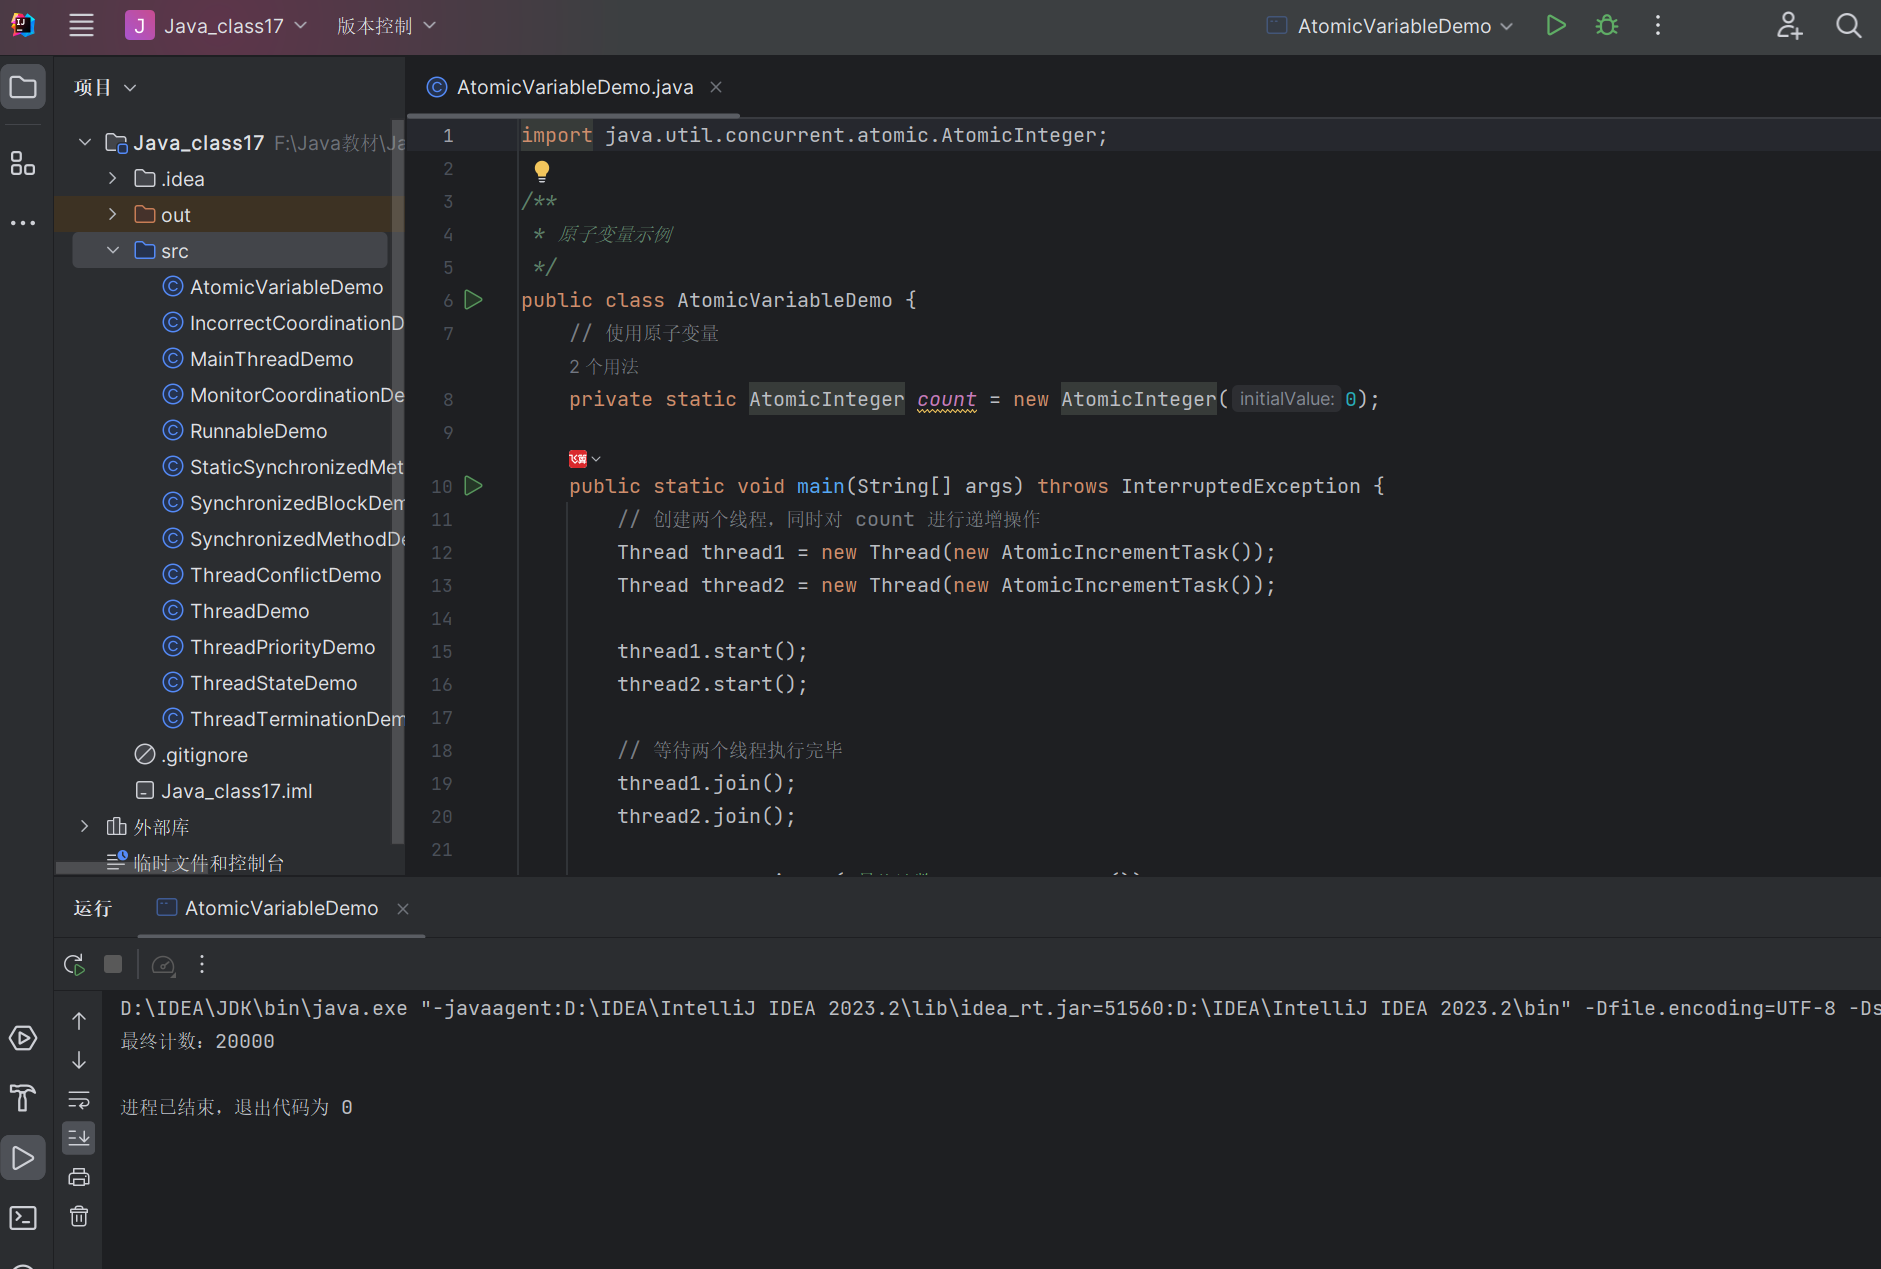
17.6.1 原子变量
java.util.concurrent.atomic 包提供了一系列原子变量类,这些类提供了原子操作,避免了使用 synchronized 关键字的开销。
import java.util.concurrent.atomic.AtomicInteger;/*** 原子变量示例*/
public class AtomicVariableDemo {// 使用原子变量private static AtomicInteger count = new AtomicInteger(0);public static void main(String[] args) throws InterruptedException {// 创建两个线程,同时对 count 进行递增操作Thread thread1 = new Thread(new AtomicIncrementTask());Thread thread2 = new Thread(new AtomicIncrementTask());thread1.start();thread2.start();// 等待两个线程执行完毕thread1.join();thread2.join();System.out.println("最终计数:" + count.get());}static class AtomicIncrementTask implements Runnable {public void run() {for (int i = 0; i < 10000; i++) {// 原子递增操作count.incrementAndGet();}}}
}
常用的原子变量类:
AtomicInteger:原子整数AtomicLong:原子长整数AtomicBoolean:原子布尔值AtomicReference:原子引用
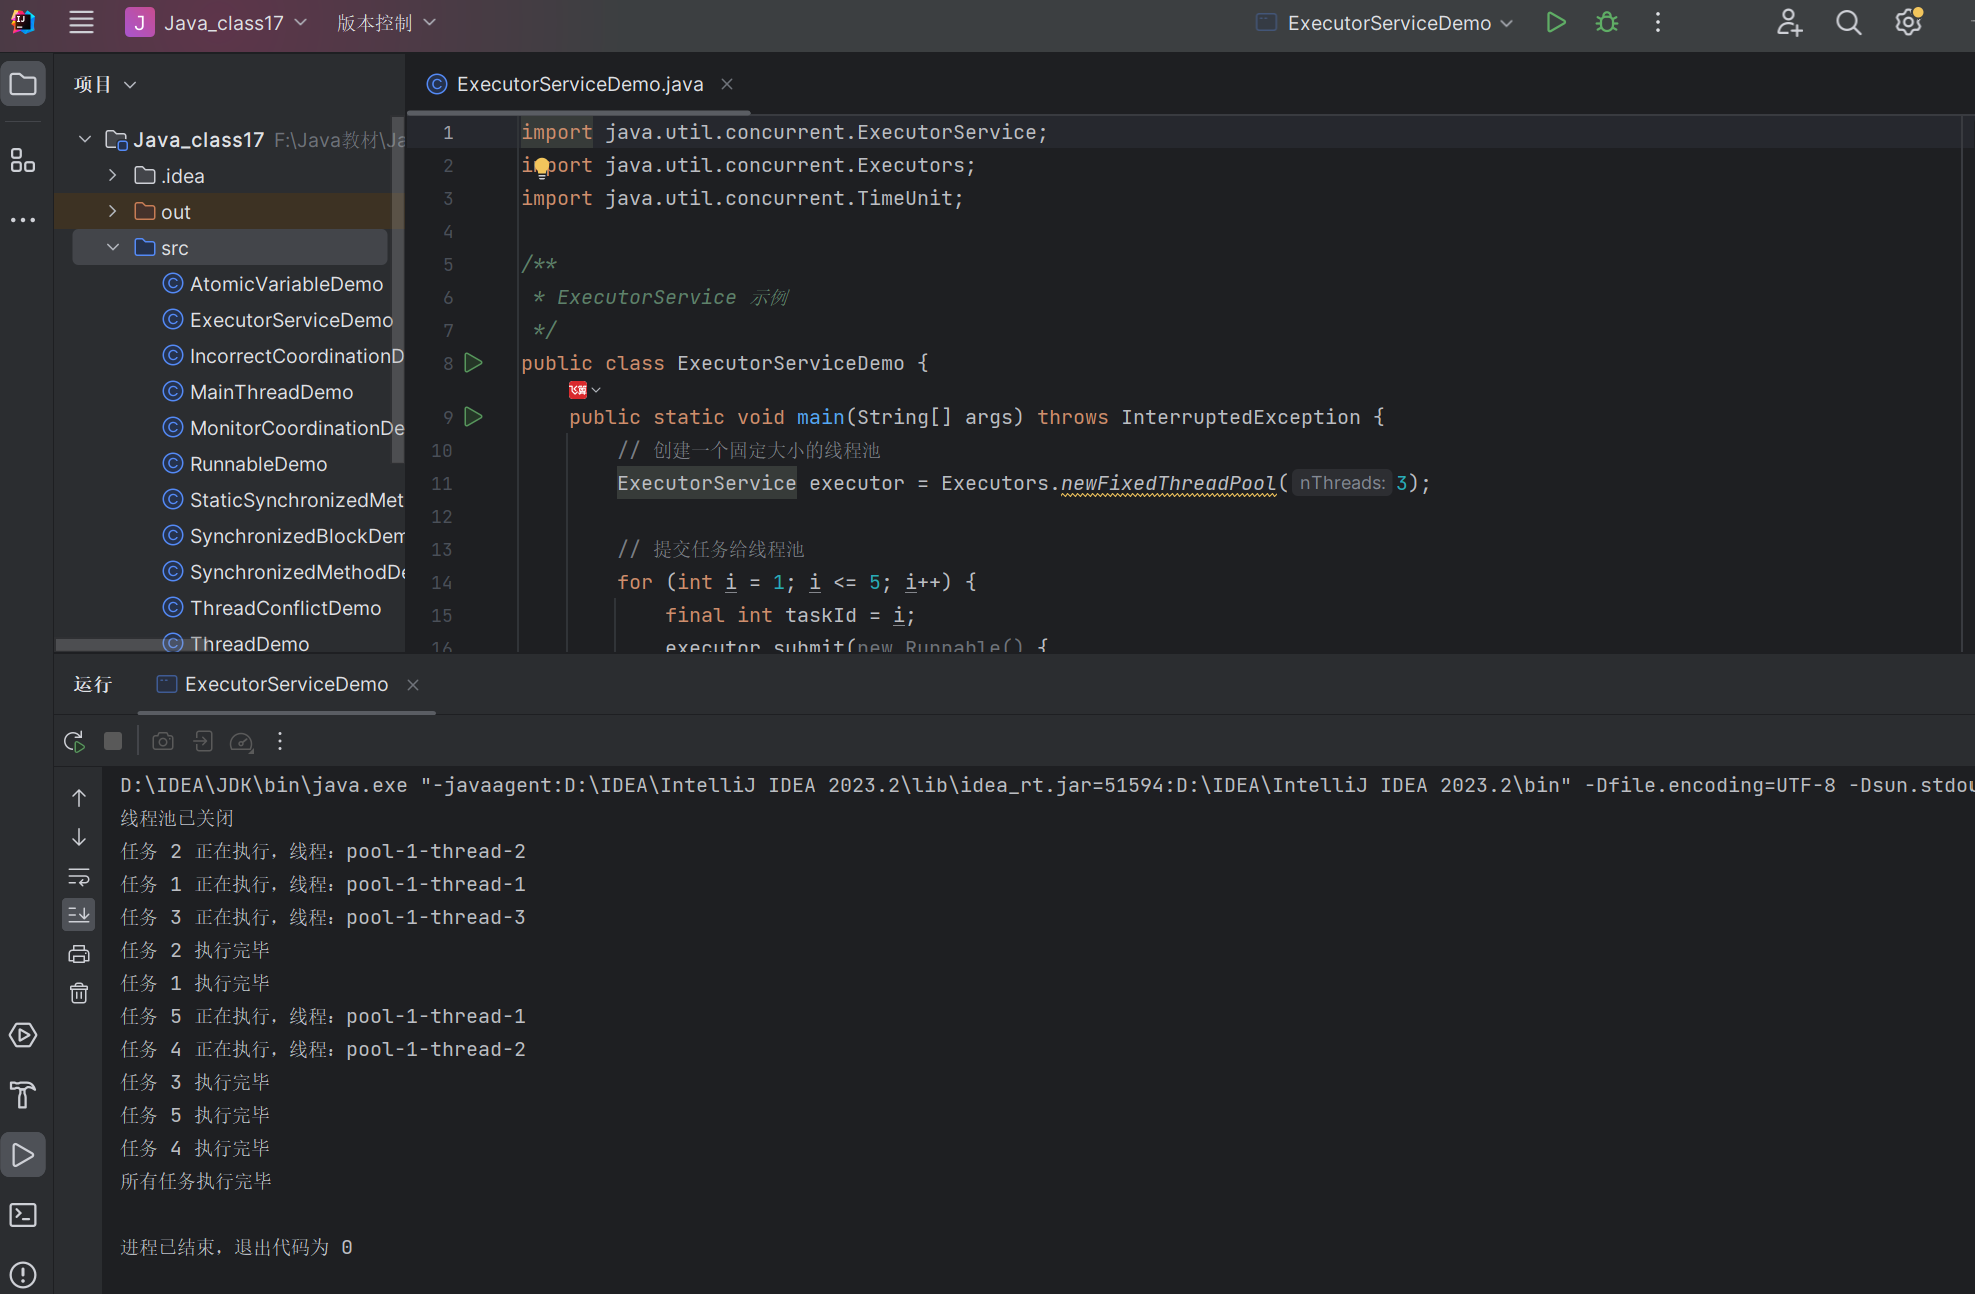
17.6.2 Executor 和 ExecutorService
Executor 框架提供了一种管理和使用线程的机制,避免了直接创建线程的开销。ExecutorService 是 Executor 的子接口,提供了更多的功能。
import java.util.concurrent.ExecutorService;
import java.util.concurrent.Executors;
import java.util.concurrent.TimeUnit;/*** ExecutorService 示例*/
public class ExecutorServiceDemo {public static void main(String[] args) throws InterruptedException {// 创建一个固定大小的线程池ExecutorService executor = Executors.newFixedThreadPool(3);// 提交任务给线程池for (int i = 1; i <= 5; i++) {final int taskId = i;executor.submit(new Runnable() {public void run() {System.out.println("任务 " + taskId + " 正在执行,线程:" + Thread.currentThread().getName());try {Thread.sleep(1000);} catch (InterruptedException e) {e.printStackTrace();}System.out.println("任务 " + taskId + " 执行完毕");}});}// 关闭线程池executor.shutdown();System.out.println("线程池已关闭");// 等待所有任务执行完毕executor.awaitTermination(1, TimeUnit.MINUTES);System.out.println("所有任务执行完毕");}
}
常用的线程池:
newFixedThreadPool(n):创建固定大小的线程池newCachedThreadPool():创建可缓存的线程池newSingleThreadExecutor():创建单线程的线程池newScheduledThreadPool(n):创建可定时执行任务的线程池
17.6.3 Callable 和 Future
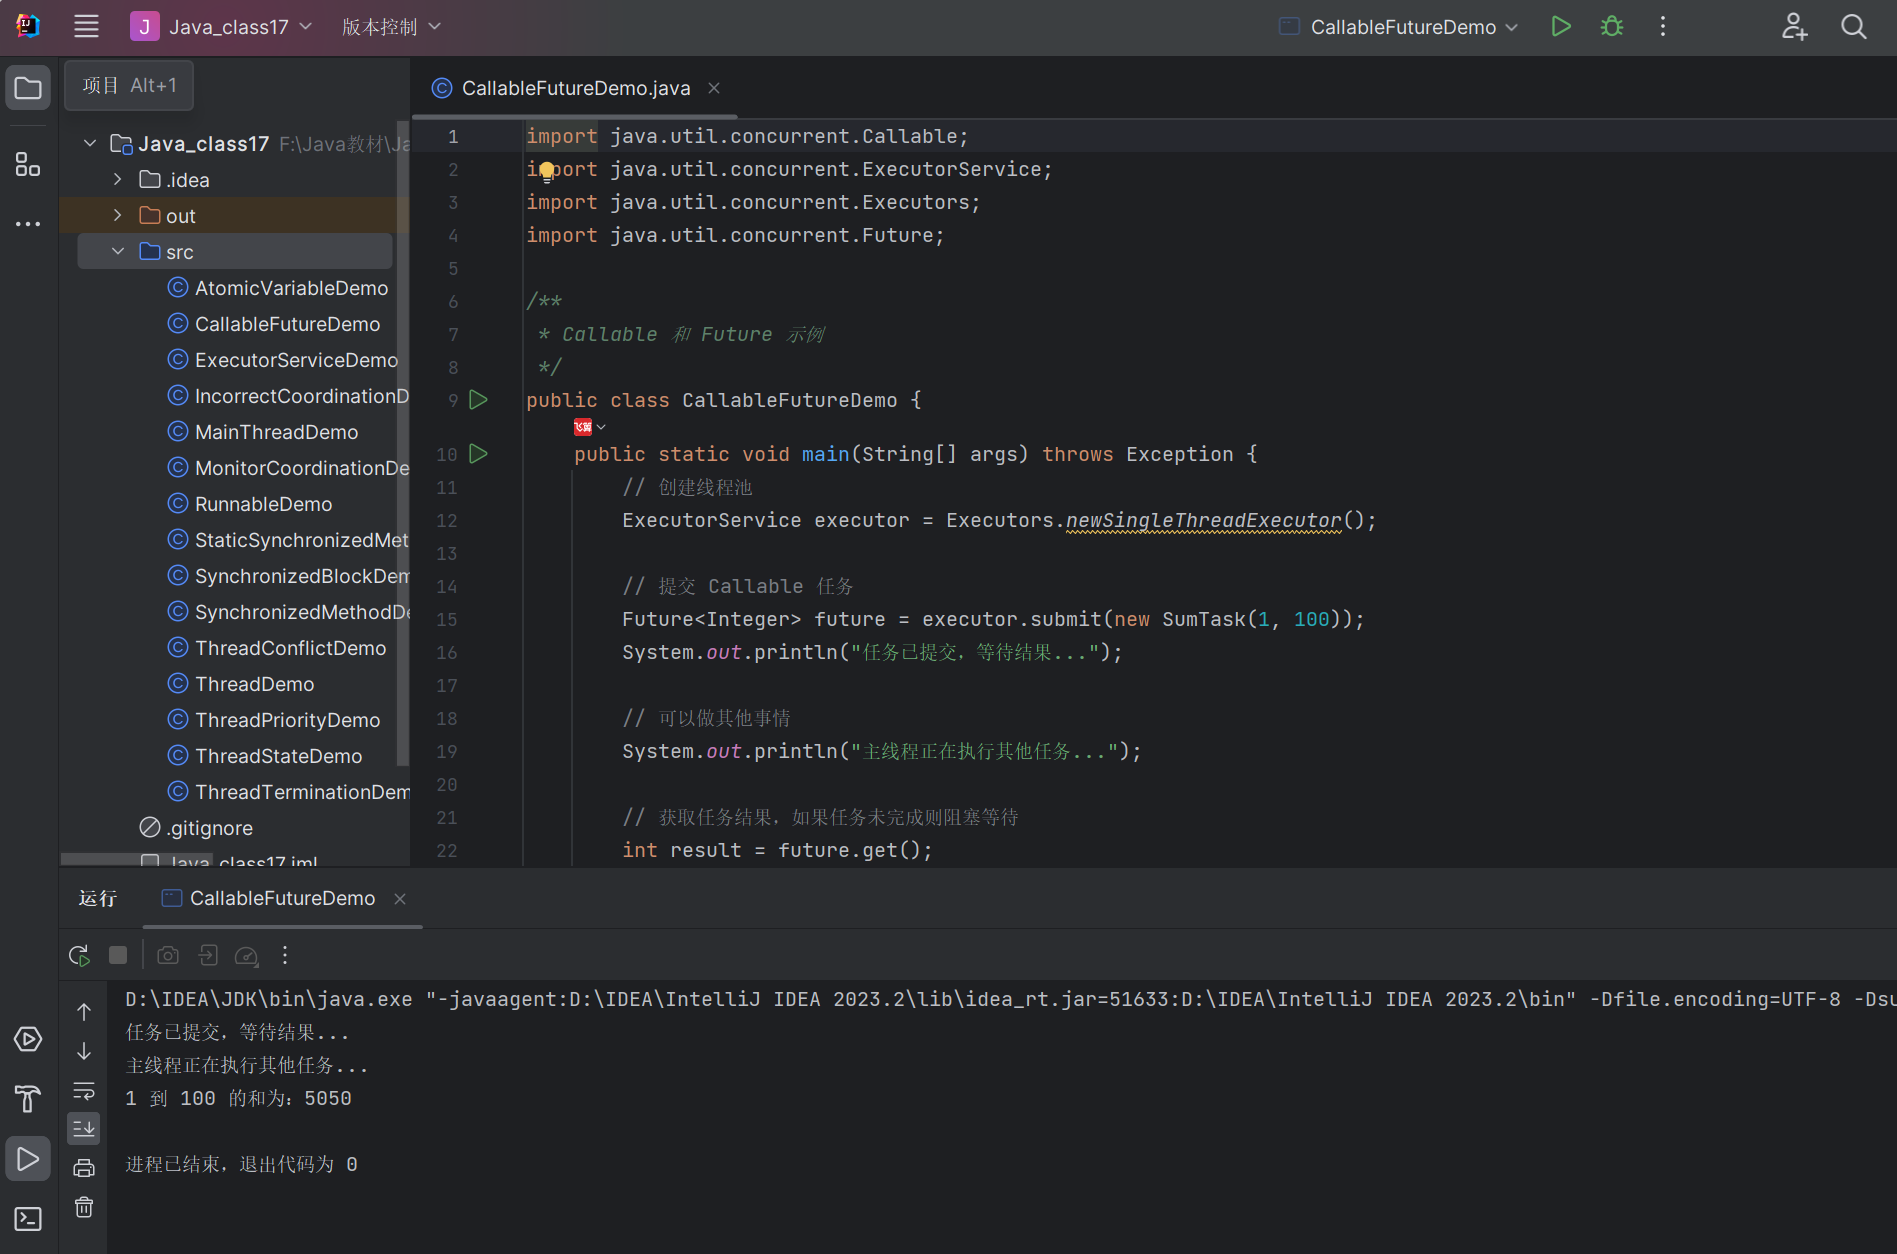
Callable 接口类似于 Runnable,但它可以返回结果,并且可以抛出异常。Future 接口用于获取 Callable 的执行结果。
import java.util.concurrent.Callable;
import java.util.concurrent.ExecutorService;
import java.util.concurrent.Executors;
import java.util.concurrent.Future;/*** Callable 和 Future 示例*/
public class CallableFutureDemo {public static void main(String[] args) throws Exception {// 创建线程池ExecutorService executor = Executors.newSingleThreadExecutor();// 提交 Callable 任务Future<Integer> future = executor.submit(new SumTask(1, 100));System.out.println("任务已提交,等待结果...");// 可以做其他事情System.out.println("主线程正在执行其他任务...");// 获取任务结果,如果任务未完成则阻塞等待int result = future.get();System.out.println("1 到 100 的和为:" + result);// 关闭线程池executor.shutdown();}// 计算从 start 到 end 的和static class SumTask implements Callable<Integer> {private int start;private int end;public SumTask(int start, int end) {this.start = start;this.end = end;}public Integer call() throws Exception {int sum = 0;for (int i = start; i <= end; i++) {sum += i;Thread.sleep(10); // 模拟计算耗时}return sum;}}
}
17.6.4 使用 Lock 锁定对象
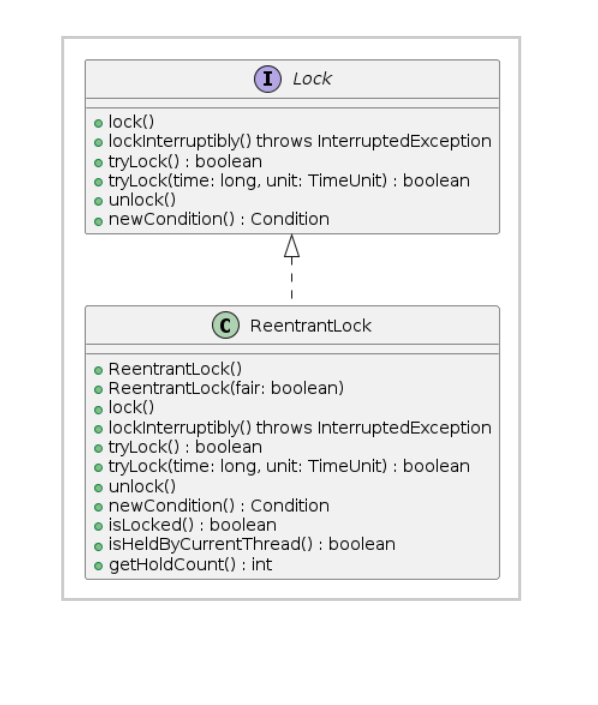
java.util.concurrent.locks 包提供了更灵活的锁定机制,Lock 接口是其中的核心。
@startuml
interface Lock {+ lock()+ lockInterruptibly() throws InterruptedException+ tryLock() : boolean+ tryLock(time: long, unit: TimeUnit) : boolean+ unlock()+ newCondition() : Condition
}class ReentrantLock {+ ReentrantLock()+ ReentrantLock(fair: boolean)+ lock()+ lockInterruptibly() throws InterruptedException+ tryLock() : boolean+ tryLock(time: long, unit: TimeUnit) : boolean+ unlock()+ newCondition() : Condition+ isLocked() : boolean+ isHeldByCurrentThread() : boolean+ getHoldCount() : int
}Lock <|.. ReentrantLock
@enduml
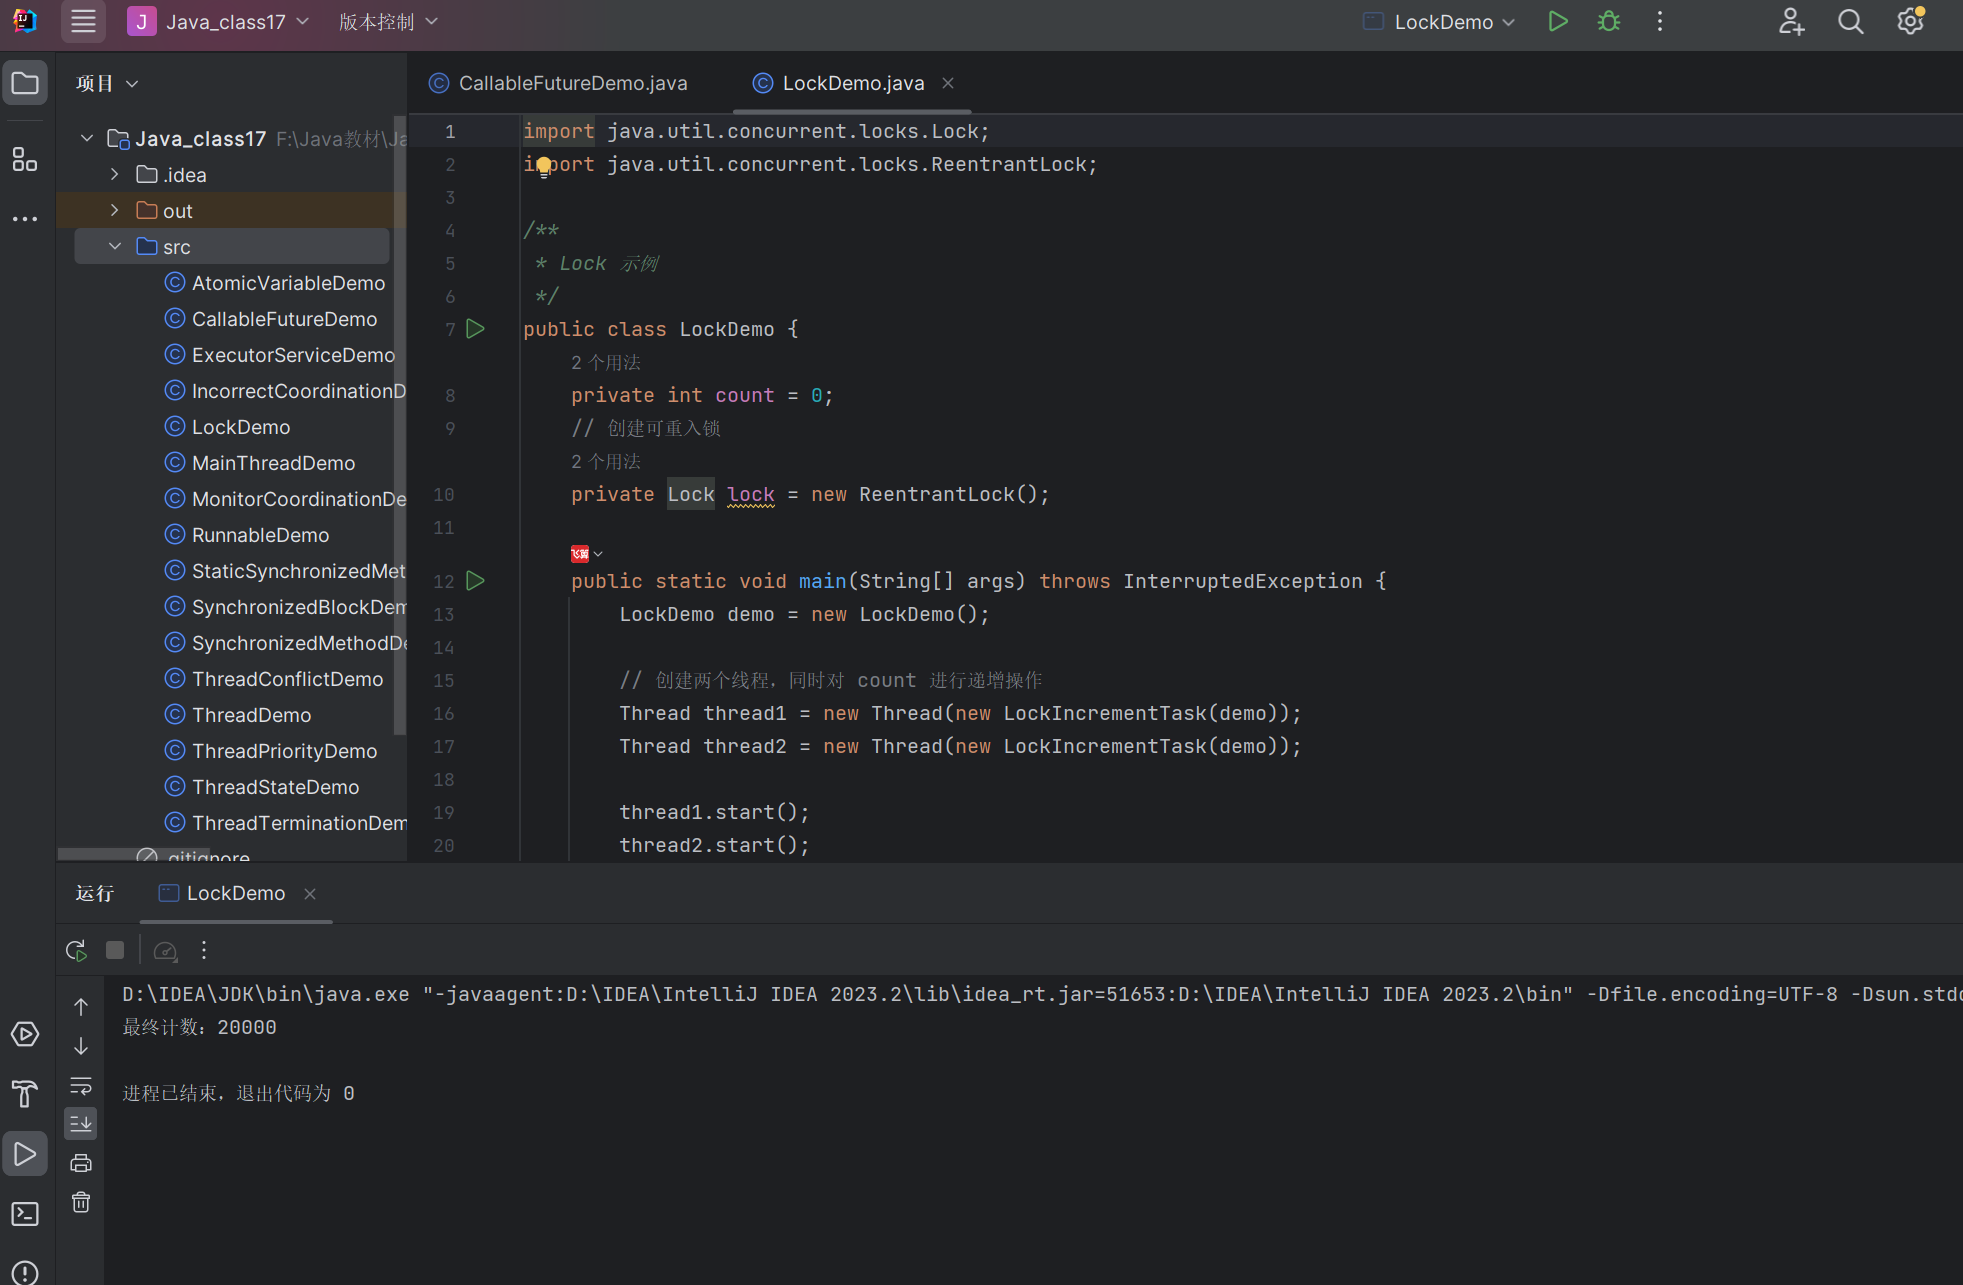
import java.util.concurrent.locks.Lock;
import java.util.concurrent.locks.ReentrantLock;/*** Lock 示例*/
public class LockDemo {private int count = 0;// 创建可重入锁private Lock lock = new ReentrantLock();public static void main(String[] args) throws InterruptedException {LockDemo demo = new LockDemo();// 创建两个线程,同时对 count 进行递增操作Thread thread1 = new Thread(new LockIncrementTask(demo));Thread thread2 = new Thread(new LockIncrementTask(demo));thread1.start();thread2.start();// 等待两个线程执行完毕thread1.join();thread2.join();System.out.println("最终计数:" + demo.count);}public void lockIncrement() {// 获取锁lock.lock();try {// 临界区代码count++;} finally {// 确保锁被释放lock.unlock();}}static class LockIncrementTask implements Runnable {private LockDemo demo;public LockIncrementTask(LockDemo demo) {this.demo = demo;}public void run() {for (int i = 0; i < 10000; i++) {demo.lockIncrement();}}}
}
Lock 与 synchronized 的比较:
| Lock | synchronized |
|---|---|
| 显式获取和释放锁 | 隐式获取和释放锁 |
| 可以尝试获取锁,获取不到时可以做其他事情 | 获取不到锁时会阻塞 |
| 可以响应中断 | 不能响应中断 |
| 可以实现公平锁 | 非公平锁 |
| 可以创建多个条件变量 | 只有一个条件变量 |
17.7 小结
本章介绍了 Java 并发编程的基础知识,主要包括:
- 线程的创建方式:实现
Runnable接口和继承Thread类 - 线程的状态:新建、就绪、运行、阻塞、等待、超时等待和终止
- 线程调度:优先级和调度机制
- 线程同步:使用
synchronized关键字实现方法同步和块同步 - 线程协调:使用
wait()、notify()和notifyAll()方法 - 并发工具:原子变量、
ExecutorService、Callable、Future和Lock
掌握这些基础知识对于编写高效、安全的多线程程序至关重要。在实际开发中,还需要根据具体需求选择合适的并发策略,并注意避免死锁、饥饿等问题。
编程练习
练习 1:多线程下载文件
实现一个多线程文件下载器,将一个大文件分成多个部分,使用多个线程同时下载,最后合并成完整文件。练习 2:线程安全的单例模式
实现一个线程安全的单例模式,确保在多线程环境下只会创建一个实例。练习 3:生产者 - 消费者问题
使用BlockingQueue实现一个生产者 - 消费者模型,生产者生成随机数,消费者计算这些数字的平方。练习 4:线程池应用
使用线程池实现一个任务调度系统,能够提交任务、取消任务和查询任务状态。练习 5:并发集合性能测试
比较ArrayList和CopyOnWriteArrayList在多线程环境下的性能差异。
希望本章的内容能够帮助你理解 Java 并发编程的基础知识。如果有任何疑问或建议,欢迎在评论区留言讨论!