Web转uni-app
一、入手uni-app
官方文档:uni-app官网
1.创建uni-app项目
1.1通过HBuilderX进行创建
官方地址:HBuilderX-高效极客技巧
1.2通过命令行创建
// js 版本的
npx degit dcloudio/uni-preset-vue#vite 项目名
npx degit dcloudio/uni-preset-vue#vite-alpha 项目名// ts版本的
npx degit dcloudio/uni-preset-vue#vite-ts my-vue3-project
js版本的链接:下载仓库 · DCloud/uni-preset-vue - Gitee.com
ts版本的链接:下载仓库 · DCloud/uni-preset-vue - Gitee.com
若使用 npx 下载的时候失败,可以换手机热点试试
注:下面我用的都是uni-app+ts
2.引入组件库
2.1 uni-ui
// uni-ui
pnpm @dcloudio/uni-ui
配置自动导入组件
// pages.json
{// 组件自动导入"easycom": {"autoscan": true,"custom": {// uni-ui 规则如下配置 "^uni-(.*)": "@dcloudio/uni-ui/lib/uni-$1/uni-$1.vue" }},"pages": [// …省略]
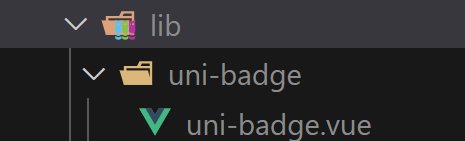
}这个自动导入的方法很好用,在项目中我们有一些组件是在一个模块内,那么我们可以让这些组件有个同样的前缀名,然后通过正则表达式把这些组件整合在一起,然后可以全局调用了,不需要在使用某一个组件的时候再格外调用,减少了一些代码的重复。比如说这里的:^uni-(.*)": "@dcloudio/uni-ui/lib/uni-$1/uni-$1.vue ,意思就是组件以 'uni-' 开头的就会被找到,这个路径就是组件的路径 '$1' 是占位符,所以如果当我想用 uni-badge 的时候,我就不需要再去 impor导入它,直接就能用,因为这个组件的路径是:@dcloudio/uni-ui/lib/uni-badge/uni-badge.vue
举一反三
我们在项目中一般会有一个公共组件对吧,我们就可以用上来,如果结构是这样的
/src/components/LN-compent1.vue/LN-compent2.vue/LN-... 这个时候就可以在custom里面加上,这样使用这些组件的时候就不用苦哈哈的去导入了
"easycom": {"autoscan": true,"custom": {// uni-ui 规则如下配置 "^uni-(.*)": "@dcloudio/uni-ui/lib/uni-$1/uni-$1.vue" ,"^LN-(.*)": "@/components/LN-$1.vue"}2.2安装声明文件
pnpm i -D @uni-helper/uni-app-types@latest @uni-helper/uni-ui-types@latest然后需要在tsconfig.json 里面进行配置
{// "extends": "@vue/tsconfig/tsconfig.json","compilerOptions": {"allowJs": true,"sourceMap": true,"baseUrl": ".","paths": {"@/*": ["./src/*"]},"lib": ["esnext", "dom"],// 从这里开始都是自己配置的"types": ["@dcloudio/types","miniprogram-api-typings","@uni-helper/uni-app-types","@uni-helper/uni-ui-types"]},"vueCompilerOptions": {"plugins": ["@uni-helper/uni-app-types/volar-plugin"]},"include": ["src/**/*.ts", "src/**/*.d.ts", "src/**/*.tsx", "src/**/*.vue"]
}
2.3 pinia
pnpm i pinia-plugin-persistedstate跟之前web端的一样,如果想实现持久化就需要用上persist
{persist:true
}
不过uni-app为了兼容多端的API,需要这么写
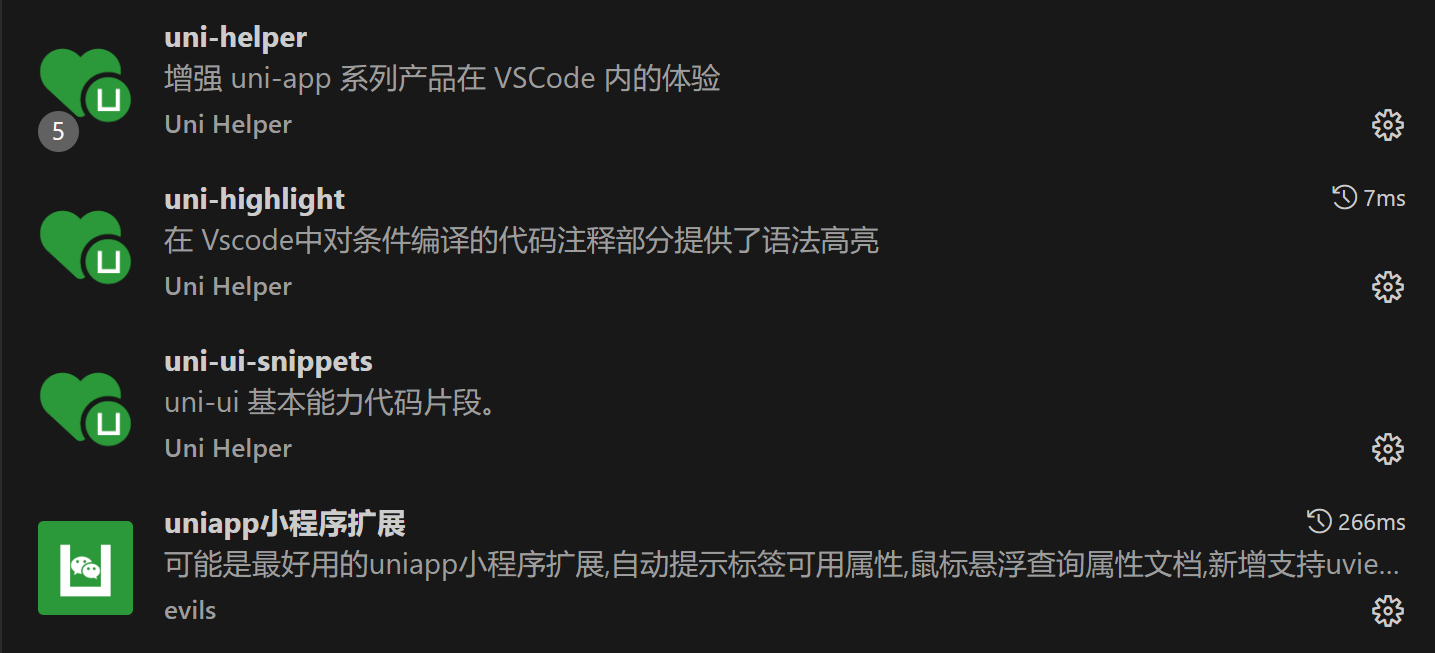
persist: {// 调整为兼容多端的APIstorage: {setItem(key, value) {uni.setStorageSync(key, value) },getItem(key) {return uni.getStorageSync(key) },},}2.4 vscode中的插件
3.拦截器
不管是什么端的拦截器,无非就是响应拦截和请求拦截,区别就是web之前我用的axios,这里用的uni.request
import { useMemberStore } from '@/stores'const baseURL = 'https://pcapi-xiaotuxian-front-devtest.itheima.net'// 拦截器配置
const httpInterceptor = {// 拦截前触发invoke(options: UniApp.RequestOptions) {// 不是以http开头的if (!options.url.startsWith('http')) {options.url = baseURL + options.url}// 请求超时options.timeout = 10000// 添加小程序请求头标识options.header = {'source-client': 'miniapp',...options.header,}// 添加 token 请求头标识const memberStore = useMemberStore()const token = memberStore.profile?.tokenif (token) {options.header.Authorization = token}},
}// 拦截request请求
uni.addInterceptor('request', httpInterceptor)
// 拦截 uploadFile 文件上传
uni.addInterceptor('uploadFile', httpInterceptor)type Data<T> = {code: stringmsg: stringresult: T
}export const http = <T>(options: UniApp.RequestOptions) => {return new Promise<Data<T>>((resolve, reject) => {uni.request({...options,success(res) {if (res.statusCode >= 200 && res.statusCode < 300) {resolve(res.data as Data<T>)} else if (res.statusCode === 401) {// 401错误  清理用户信息,跳转到登录页const memberStore = useMemberStore()memberStore.clearProfile()uni.navigateTo({ url: '/pages/login/login' })reject(res)} else {uni.showToast({icon: 'none',title: (res.data as Data<T>).msg || '请求错误',})reject(res)}},fail(err) {uni.showToast({icon: 'none',title: '网络错误,换个网络试试',})reject(err)},})})
}
二、三大件的写法
1.所有的块级标签都用<view>标签代替了
2.span、label等等所有内联元素替换为text标签
3.img替换成了image
三、路由
1.路由的配置在pages.json
2.路由跳转使用uni.navigateTo而不是router.push()了
四、其他
1.尽量不要用npm,要不然提交发布的时候,如果体积太大会失败
。。。有发现问题继续在这个博文更新