目标检测系列(六)labelstudio实现自动化标注
一、启用图片文件服务
用Nginx启用图片服务,配置好映射路径。
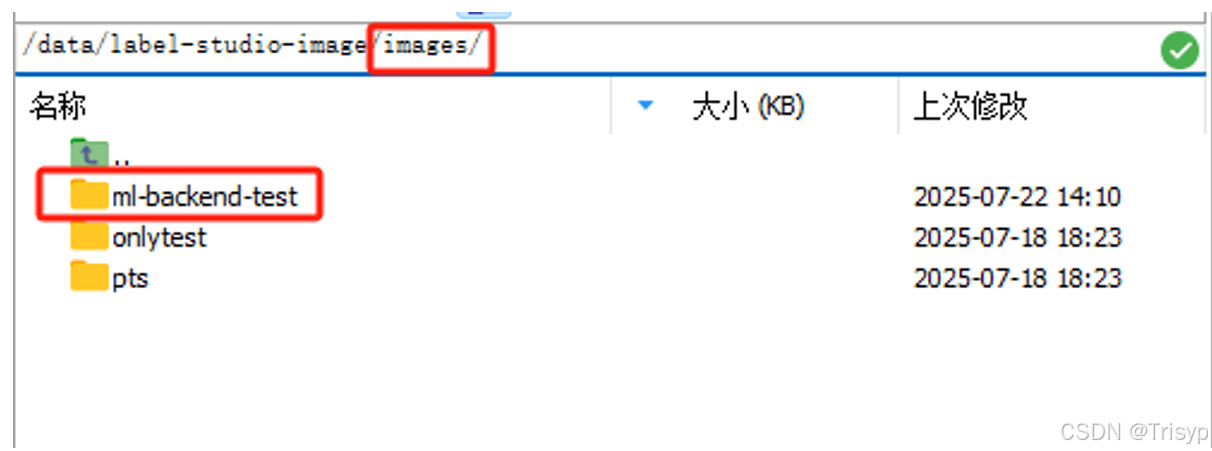
新建图片文件夹,将文件夹下的图片路径存储到txt文件中
访问地址(文件夹):http://112.12.19.122:8081/urls/ml-backend-test/
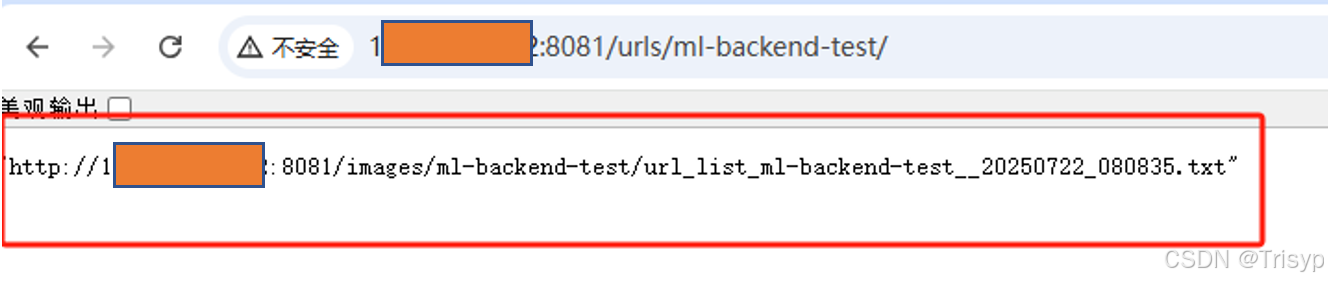
进入labelstudio将txt文件路径填入,点击Add URL将图片导入项目进行标注。

二、启用模型服务
首先pip安装label-studio-ml
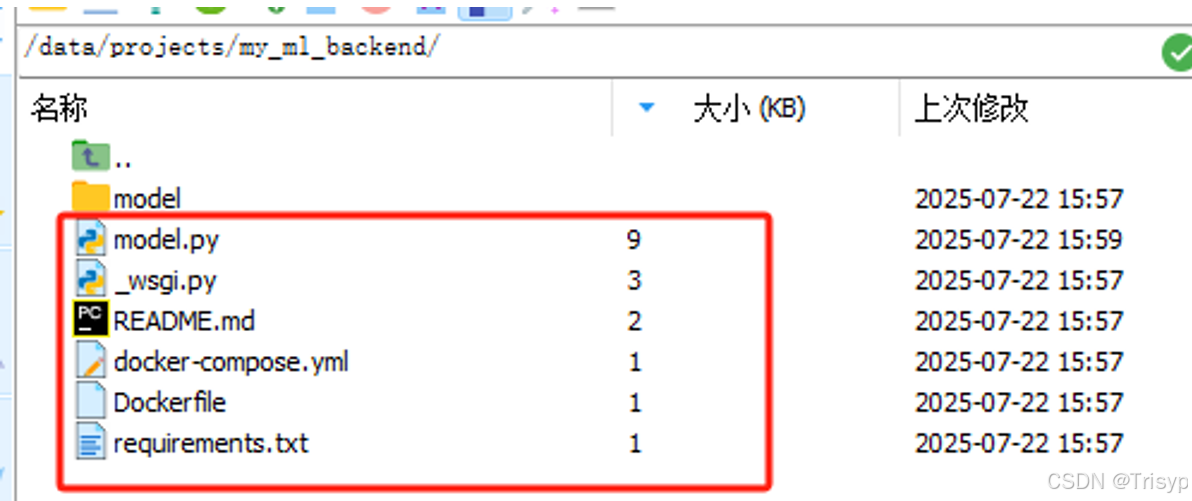
进入到projects文件夹,将init_model.py放入该文件夹,然后执行命令label-studio-ml init my_backend来初始化模型文件夹。init_model.py的代码如下:
#!/user/bin/env python3
# -*- coding: utf-8 -*-
from label_studio_ml.model import LabelStudioMLBaseclass DummyModel(LabelStudioMLBase):def __init__(self, **kwargs):# don't forget to call base class constructorsuper(DummyModel, self).__init__(**kwargs)# you can preinitialize variables with keys needed to extract info from tasks and annotations and form predictionsfrom_name, schema = list(self.parsed_label_config.items())[0]self.from_name = from_nameself.to_name = schema['to_name'][0]self.labels = schema['labels']def predict(self, tasks, **kwargs):""" This is where inference happens: model returnsthe list of predictions based on input list of tasks"""predictions = []for task in tasks:predictions.append({'score': 0.987,  # prediction overall score, visible in the data manager columns'model_version': 'delorean-20151021',  # all predictions will be differentiated by model version'result': [{'from_name': self.from_name,'to_name': self.to_name,'type': 'choices','score': 0.5,  # per-region score, visible in the editor'value': {'choices': [self.labels[0]]}}]})return predictionsdef fit(self, annotations, **kwargs):""" This is where training happens: train your model given list of annotations,then returns dict with created links and resources"""return {'path/to/created/model': 'my/model.bin'}
进入到my_backend文件夹,可以看到下述文件:
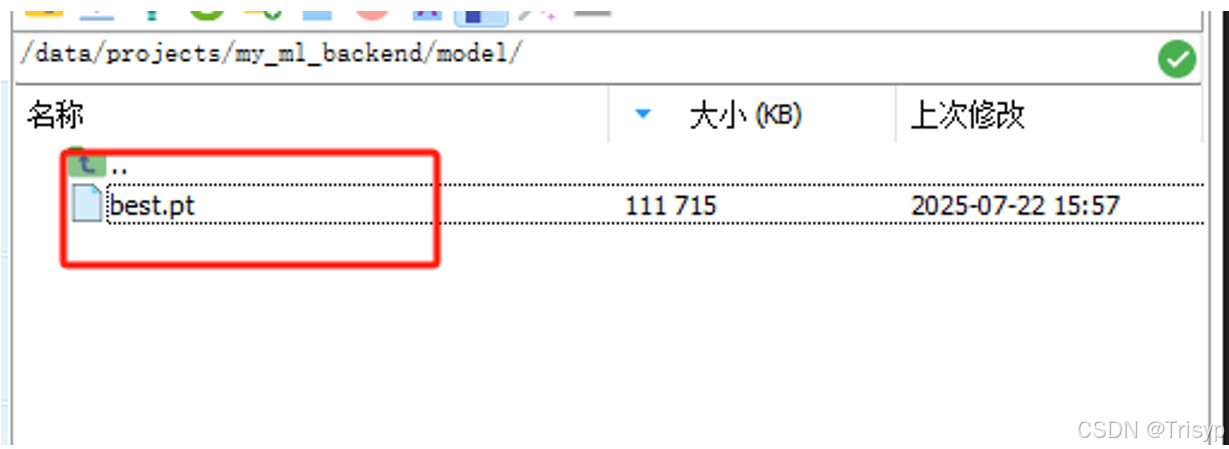
在my_backend文件夹下新建model文件夹,将训练好的YOLO模型文件放入model下:
修改my_backend文件夹下的model.py,代码如下:
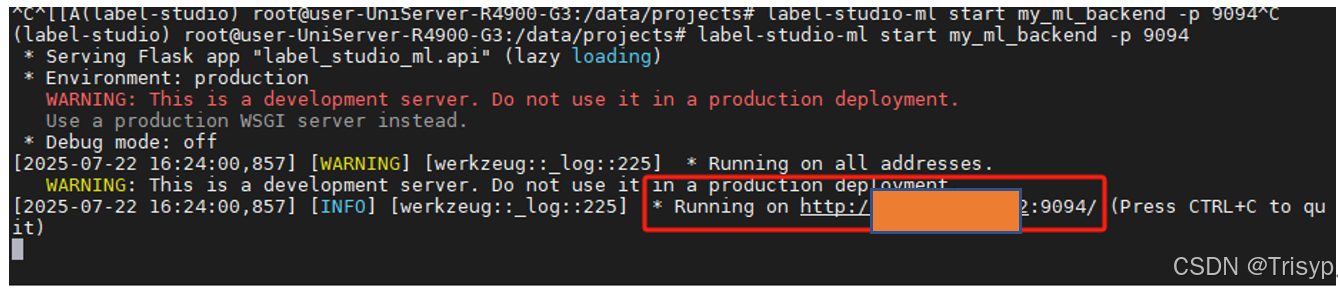
#!/user/bin/env python3# -*- coding: utf-8 -*-import osfrom typing import List, Dict, Optionalimport torchfrom label_studio_ml.model import LabelStudioMLBasefrom label_studio_ml.utils import get_single_tag_keys, get_local_pathimport loggingfrom ultralytics import YOLOfrom PIL import Image# 设置日志logger = logging.getLogger(__name__)logging.basicConfig(level=logging.INFO)MODEL_PATH = os.getenv('MODEL_PATH', '/data/projects/my_ml_backend/model/best.pt')DEVICE = torch.device('cuda' if torch.cuda.is_available() else 'cpu')class DummyModel(LabelStudioMLBase):"""Custom ML Backend model"""def __init__(self, **kwargs):super(DummyModel, self).__init__(**kwargs)from_name, schema = list(self.parsed_label_config.items())[0]self.from_name = from_nameself.to_name = schema['to_name'][0]self.labels = schema['labels']# 训练参数self.train_epochs = int(os.getenv('TRAIN_EPOCHS', 150))self.train_batch_size = int(os.getenv('TRAIN_BATCH_SIZE', 18))def predict(self, tasks: List[Dict], context: Optional[Dict] = None, **kwargs):task = tasks[0]print(f'''\Run prediction on {tasks}Received context: {context}Project ID: {task['id']}Label config: {self.label_config}Parsed JSON Label config: {self.parsed_label_config}''')img_url = task['data']['image']image_path = self.get_local_path(url=img_url)print(f'image_path: {image_path}')# Getting URL and loading imageimage = Image.open(image_path)# Height and width of imageoriginal_width, original_height = image.size# Creating list for predictions and variable for scorespredictions = []scores = 0i = 0# Initialize self variablesself.from_name, self.to_name, self.value, self.classes = get_single_tag_keys(self.parsed_label_config, 'RectangleLabels', 'Image')# 加载自己的yolov11模型logger.info(f"加载YOLO11模型: {MODEL_PATH}")self.model = YOLO(MODEL_PATH)# 检查GPU可用性logger.info(f"使用设备: {'GPU ✅' if DEVICE.type == 'cuda' else 'CPU ⚠️'}")# 改动的地方, 增加了conf配置, 只有conf>=0.5的才会被标记出来# 默认conf是0.25, 不改的话被标注的地方肯能会很多, 根据自己的实际情况配置# Getting prediction using modelresults = self.model.predict(image, conf=0.5)# print(results)# Getting mask segments, boxes from model predictionfor result in results:for i, prediction in enumerate(result.boxes):score = prediction.conf.item()label_index = int(prediction.cls.item())xyxy = prediction.xyxy[0].tolist()# print(f"{i} prediction", prediction)# x_center, y_center, w, h = boxpredictions.append({"id": str(i),"from_name": self.from_name,"to_name": self.to_name,"type": "rectanglelabels","score": score,"original_width": original_width,"original_height": original_height,"image_rotation": 0,"value": {"rotation": 0,# 坐标转换, 只有转换后才能标注在正确的位置"x": xyxy[0] / original_width * 100,"y": xyxy[1] / original_height * 100,"width": (xyxy[2] - xyxy[0]) / original_width * 100,"height": (xyxy[3] - xyxy[1]) / original_height * 100,"rectanglelabels": [self.labels[label_index]]}})scores += scorelogger.info(f"预测完成: 检测到 {len(predictions)} 个对象")# Dict with final dicts with predictionsfinal_prediction = [{"result": predictions,"score": scores / (i + 1),"model_version": "11x"}]return final_predictiondef fit(self, event, data, **kwargs):"""使用新标注数据训练模型参数:event: 事件类型 ('ANNOTATION_CREATED', 'ANNOTATION_UPDATED')data: 包含标注数据的字典**kwargs: 额外参数"""# 检查是否有训练数据if not self.train_output:logger.info("初始化训练数据存储")self.train_output = {'image_paths': [],'labels': []}# 获取标注信息annotation = data['annotation']image_url = annotation['task']['data']['image']image_path = self.get_local_path(image_url)# 解析标注结果bboxes = []for result in annotation['result']:if result['from_name'] == self.from_name:value = result['value']label = value['rectanglelabels'][0]# 获取图像尺寸image = Image.open(image_path)img_width, img_height = image.size# 转换为绝对坐标x = value['x'] * img_width / 100y = value['y'] * img_height / 100width = value['width'] * img_width / 100height = value['height'] * img_height / 100# YOLO格式: [class_idx, x_center, y_center, width, height] (归一化)x_center = (x + width / 2) / img_widthy_center = (y + height / 2) / img_heightnorm_width = width / img_widthnorm_height = height / img_heightclass_idx = self.labels.index(label)bboxes.append([class_idx, x_center, y_center, norm_width, norm_height])# 保存训练数据self.train_output['image_paths'].append(image_path)self.train_output['labels'].append(bboxes)logger.info(f"收到新标注: 图像={image_path}, 标注数={len(bboxes)}")logger.info(f"当前训练集大小: {len(self.train_output['image_paths'])}")# 当有足够数据时开始训练if len(self.train_output['image_paths']) >= 10:logger.info("达到最小训练集大小,开始训练...")self.train_model()# 重置训练数据self.train_output = {'image_paths': [],'labels': []}# 返回新模型信息return {'model_path': MODEL_PATH,'model_version': f"retrained-{len(self.train_output['image_paths'])}"}return {}def train_model(self):"""使用收集的标注数据训练模型"""logger.info("准备训练数据...")# 创建YOLO格式的训练数据目录结构train_dir = 'yolo_train_data'images_dir = os.path.join(train_dir, 'images')labels_dir = os.path.join(train_dir, 'labels')os.makedirs(images_dir, exist_ok=True)os.makedirs(labels_dir, exist_ok=True)# 创建数据集描述文件with open(os.path.join(train_dir, 'dataset.yaml'), 'w') as f:f.write(f"train: {os.path.abspath(images_dir)}\n")f.write(f"nc: {len(self.labels)}\n")f.write(f"names: {self.labels}\n")# 准备训练数据for i, (image_path, bboxes) in enumerate(zip(self.train_output['image_paths'],self.train_output['labels'])):# 复制图像img = Image.open(image_path)img_filename = f'train_{i}.jpg'img.save(os.path.join(images_dir, img_filename))# 创建标签文件label_filename = f'train_{i}.txt'with open(os.path.join(labels_dir, label_filename), 'w') as f:for bbox in bboxes:class_idx, x_center, y_center, width, height = bboxf.write(f"{class_idx} {x_center} {y_center} {width} {height}\n")logger.info(f"训练数据准备完成: {len(self.train_output['image_paths'])} 张图像")# 训练模型 (这里简化了实际训练过程)logger.info(f"开始训练模型 (模拟) - 周期={self.train_epochs}, 批次大小={self.train_batch_size}")# 调用YOLO的训练脚本:# import subprocess# subprocess.run(['python', 'train.py'])# 参数配置: --img 640 --batch {self.train_batch_size} --epochs {self.train_epochs}# --data {os.path.join(train_dir, 'dataset.yaml')} --weights {MODEL_PATH}logger.info("训练完成! 模型已更新")# 重新加载训练后的模型# self.model = YOLO(MODEL_PATH)最后执行命令label-studio-ml start my_ml_backend -p 9094来启动模型后端服务
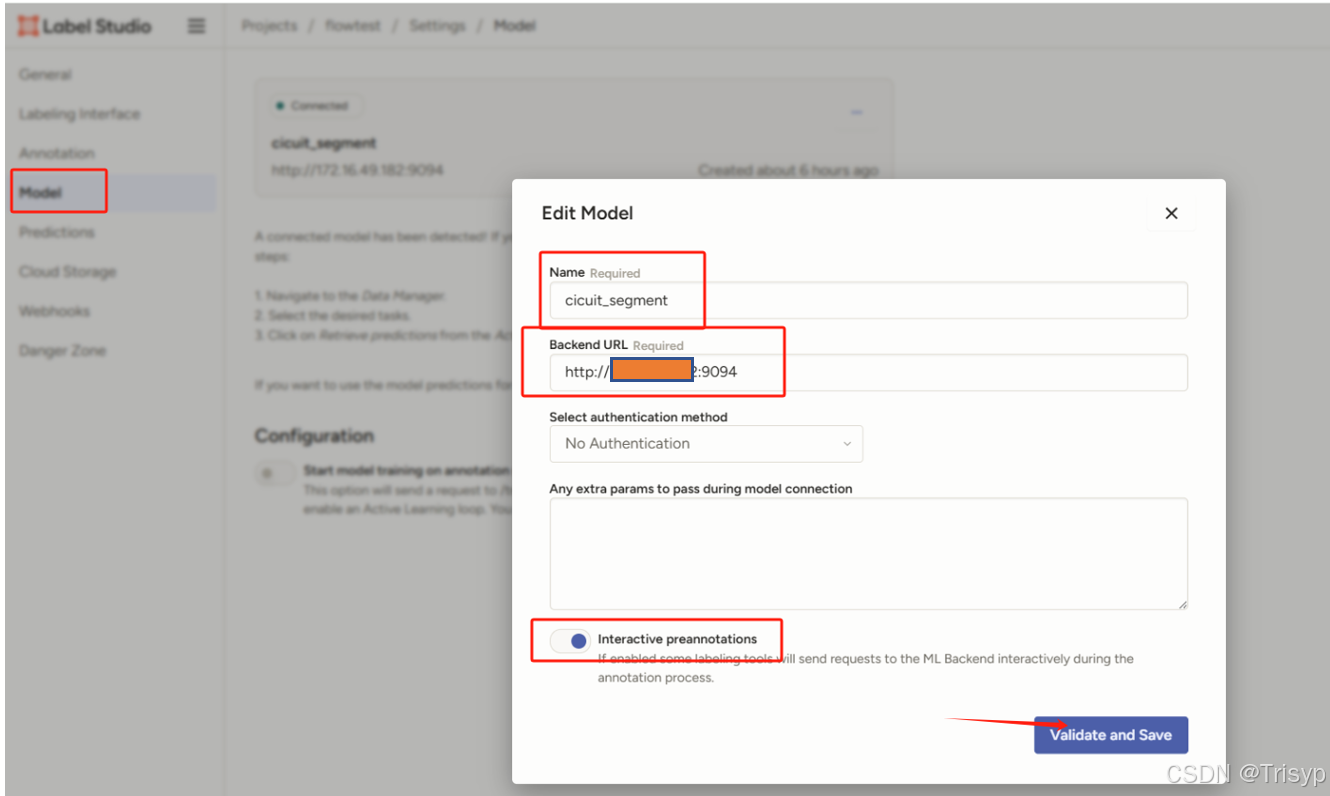
三、labelstudio中配置后端模型服务
进入到项目中点击Model菜单,然后点击connect model,弹框填写配置好服务地址,点击保存即可。

四、逐个点击任务即可完成自动化标注
点击任务后自动加载模型推理,片刻后得到自动化标注结果,基于该标注结果可继续修改标注。
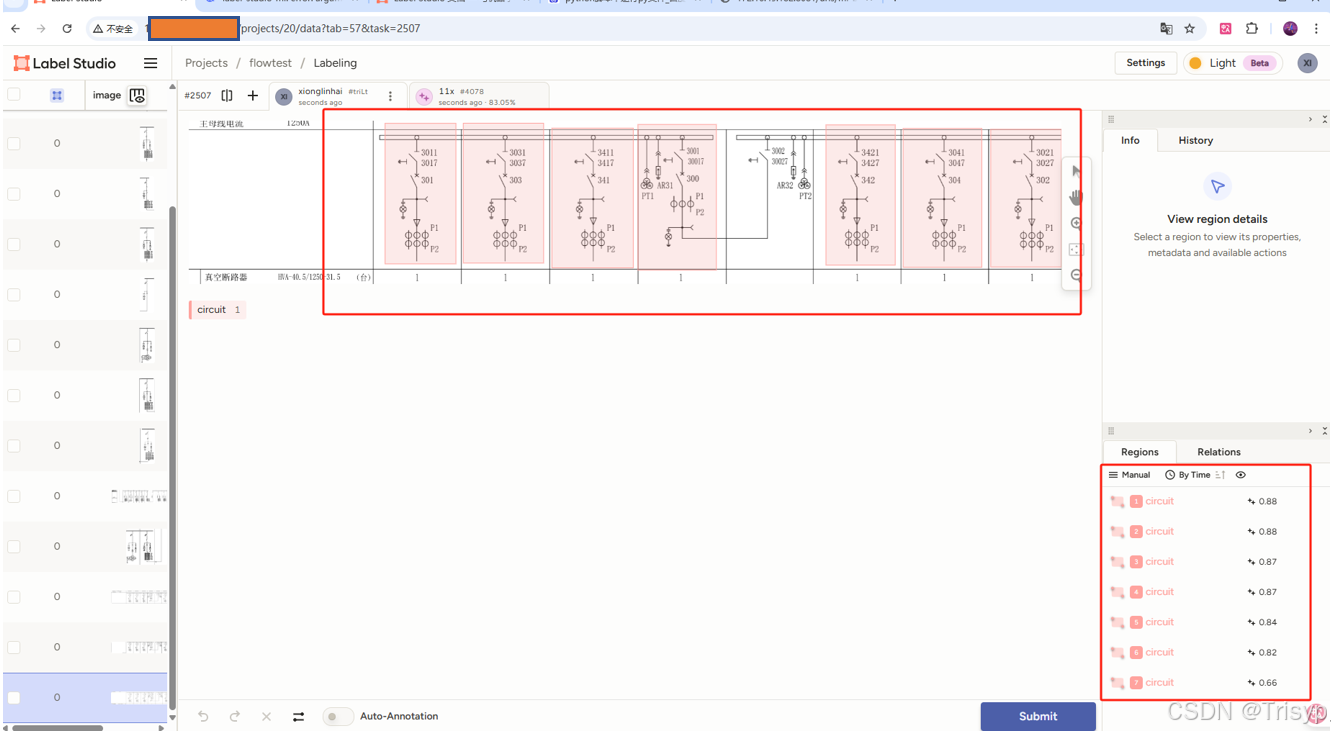
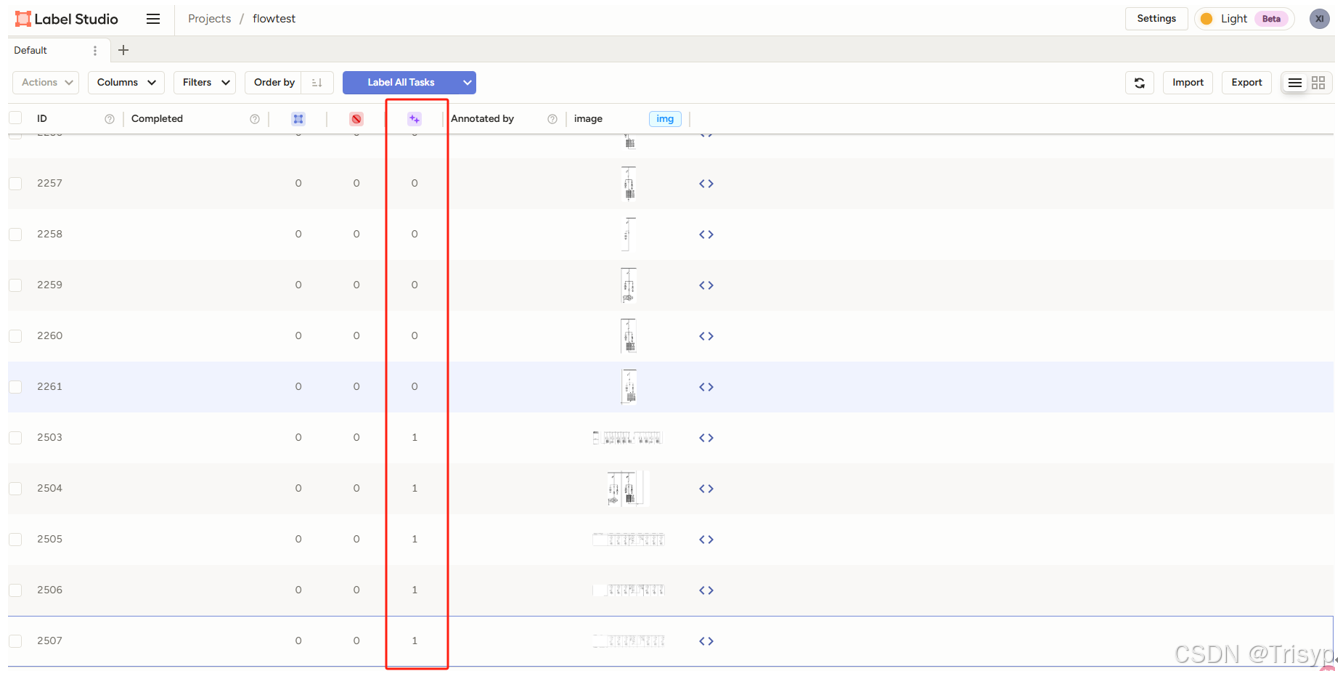
可以看到,预测列为1的表明已经推理完毕。
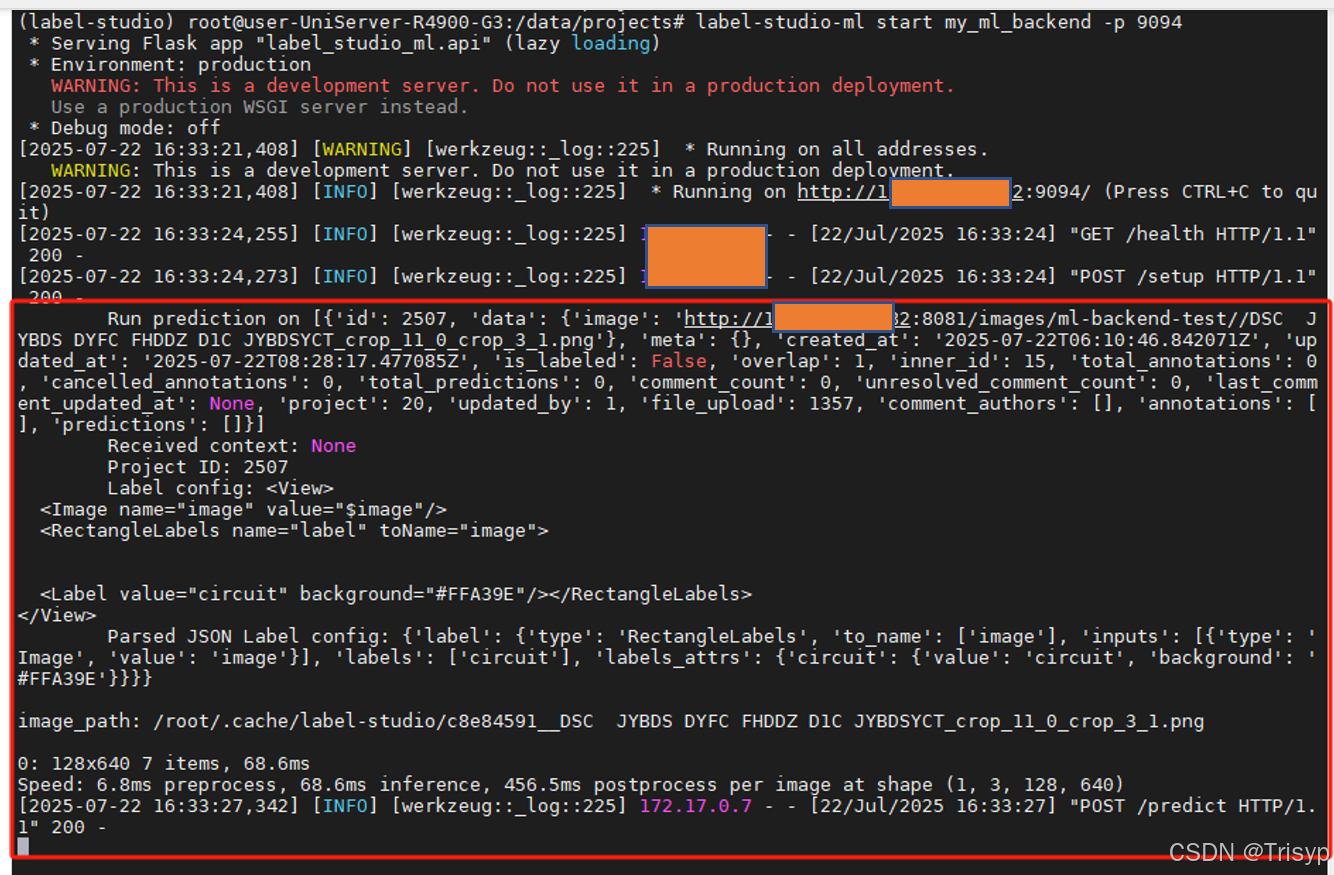
对应的脚本打印信息如下: