【SpringBoot】SpringWeb的开发
文章目录
- 创建一个SpringWeb项目
- 新建项目
- 查看配置
- Web页面
- 首页登录
- 页面跳转
- Controller控制页面跳转
- thymeleaf
- Spring的配置
- 模板引擎
- thymeleaf 语法
- SpringBoot中的SpringMVC
- 视图解析器
- SpringBoot的默认配置
- 转换器和格式化器
- 修改SpringBoot的默认配置
- 全面接管配置类
SpringBoot的核心理念就是自动装配,目的是为了我们简化配置
- AutoConfiguration:向容器里自动配置文件
- Properties:自动配置类,装配配置文件中的自定义内容
Web的开发需要考虑的地方:
- 导入静态资源
- 首页加载
- 模板引擎
- 整合SpringMVC
- 整合JDBC、Mybatis,实现数据的增删改查
- 拦截器的使用
- 国际化的操作
- ··· ···
创建一个SpringWeb项目
新建项目
- 新建项目/模块
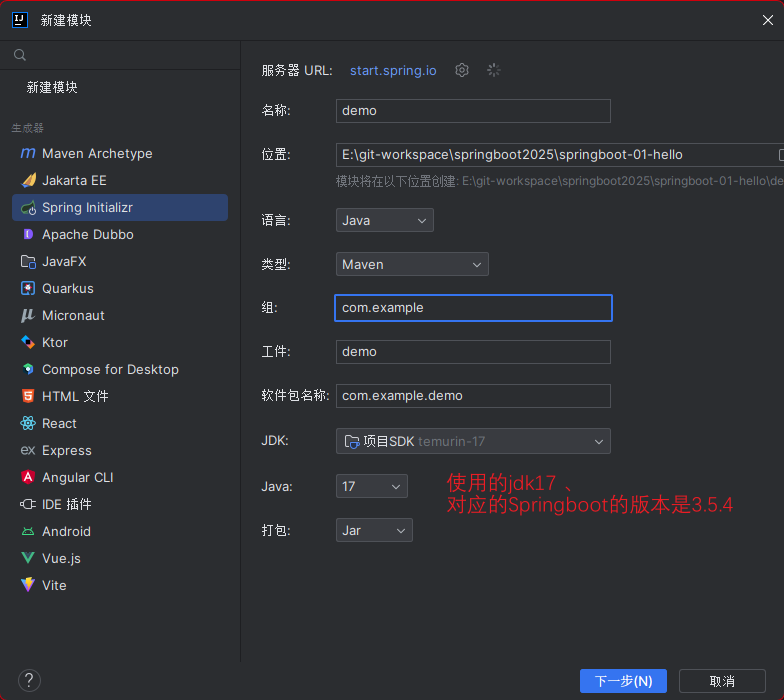
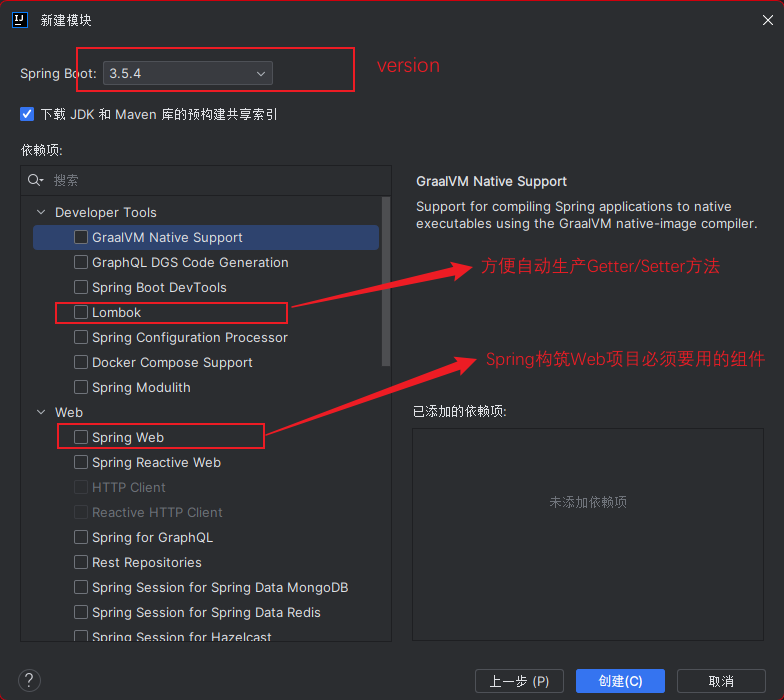
- 选择使用的
version版本,导入所需要的依赖项目,因为使用的Maven创建,其中后续需要再在pom.xml中添加进去;
- 项目创建完成,目录结构如下
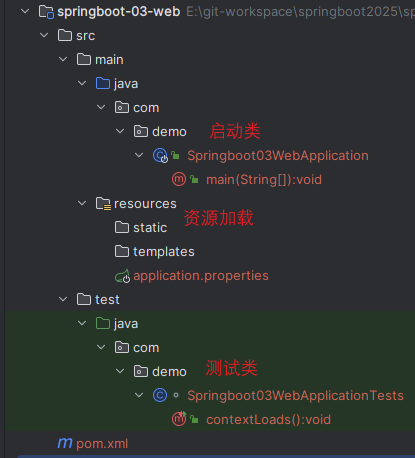
- static : 静态资源(默认使用);
- template; 静态资源加载
- application.properties :配置文件;
查看配置
- 查看WebMVC配置类,检查是否启用默认资源映射
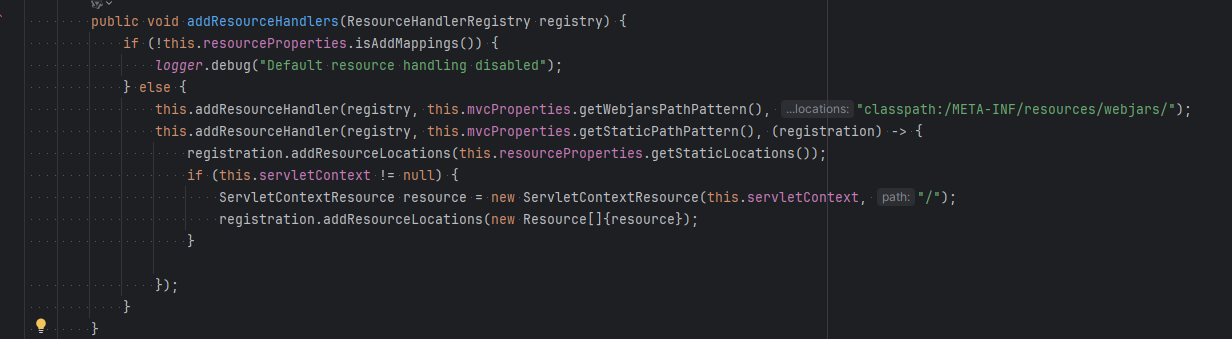
- 启用的场合:
- WebJars资源:处理/webjars/**路径,映射到classpath下的WebJars目录
- 静态资源:处理自定义静态资源路径,映射到配置的静态资源位置和Servlet上下文根路径

- 去webjars的网站查看 WebJars - Web Libraries in Jars,WebJars - Documentation
- 在官网上有所描述使用的方法
- First add a WebJar as a dependency of your application in the pom.xml file, like: (先导入依赖)
- 去webjars的网站查看 WebJars - Web Libraries in Jars,WebJars - Documentation
<dependencies><dependency><groupId>org.webjars</groupId><artifactId>bootstrap</artifactId><version>3.1.0</version></dependency>
</dependencies>
3. Then reference a WebJar asset like:(直接在webjar目录下使用)
<link rel='stylesheet' href='/webjars/bootstrap/3.1.0/css/bootstrap.min.css'>
4. 查看目录

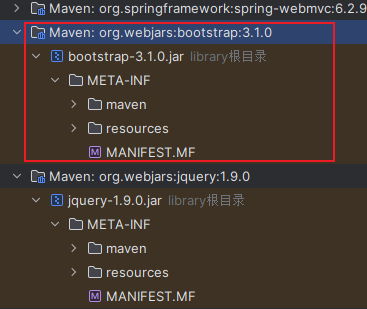
2. 去静态资源路径下,最终去获取这里的资源路径:
1. `"classpath:/META-INF/resources/",`2. `"classpath:/resources/",` 放上传/下载的文件3. `"classpath:/static/",` 放静态资源:图片4. `"classpath:/public/"` 放公共资源:共通的js、css5. 额外在有一个静态资源的跟目录`/`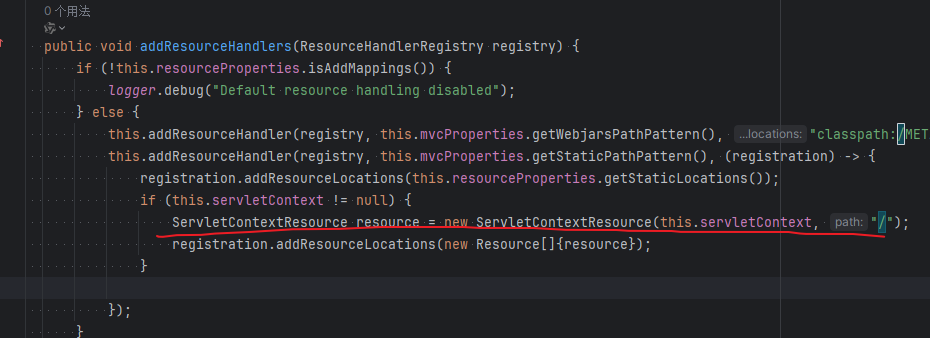
3. 优先级目录:`/META-INF/resources/`>`resources`>`static`>`public` 资源更换会出现缓存,清理干净在测试1. resources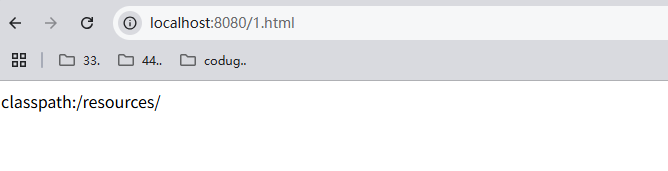2. static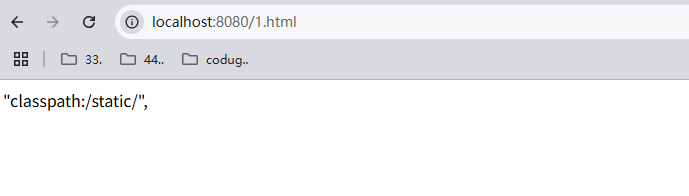3. public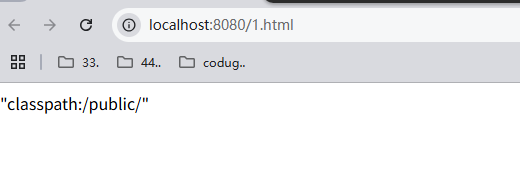
- 自定义静态资源路径
注意:

1. 在配置文件中,不要设置自定义路径映射 ,会失效;
spring.resources.static-locations=classpath:/coding/,classpath:/kuang/
Web页面
首页登录
结合Servlet,在Servlet中设置首页是使用一个<welcome></welcome>,在这个路径下设置了index,所以我们自动去读取index作为首页;
结合者这种思路,去WebMVC的Congeruation里面找 “Welcome”,找到了welcomePageHandlerMapping
- 根据源码找
index在哪里
welcomePageHandlerMapping -->WelcomePageNotAcceptableHandlerMapping --> WelcomePage.resolve --> "forward:index.html"
走到最后,在WelcomePage.resolve里面找到了forward;
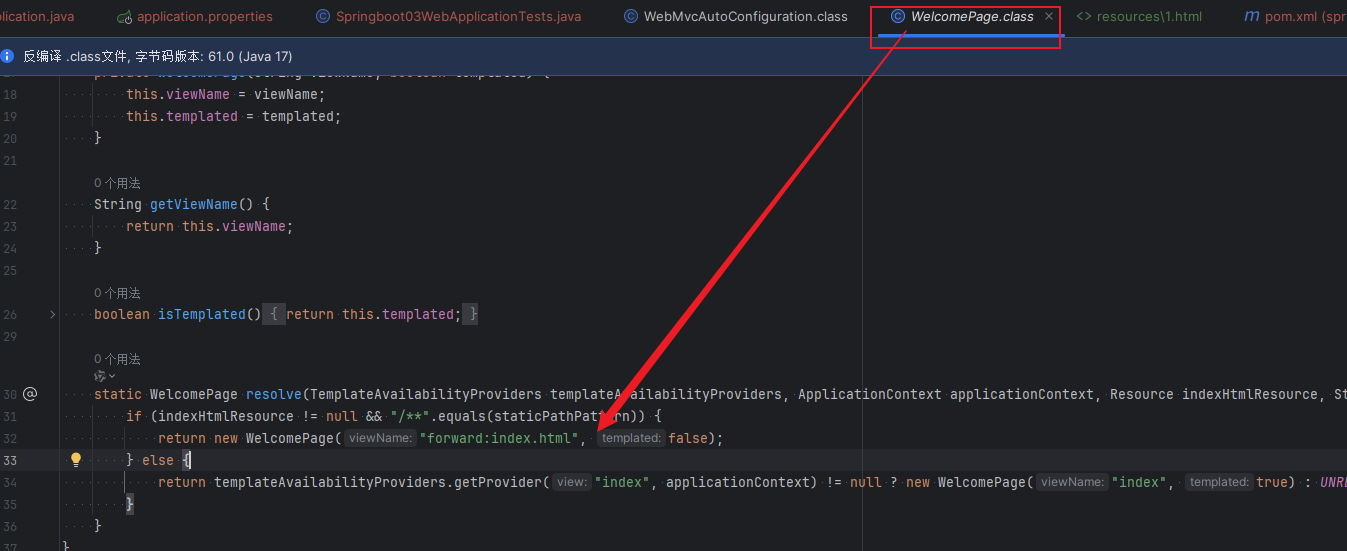
找/**目录下或者 静态资源路径下 的index.html读取
- 编辑
index页面显示
<!DOCTYPE html>
<html lang="en">
<head><meta charset="UTF-8"><title>Title</title>
</head>
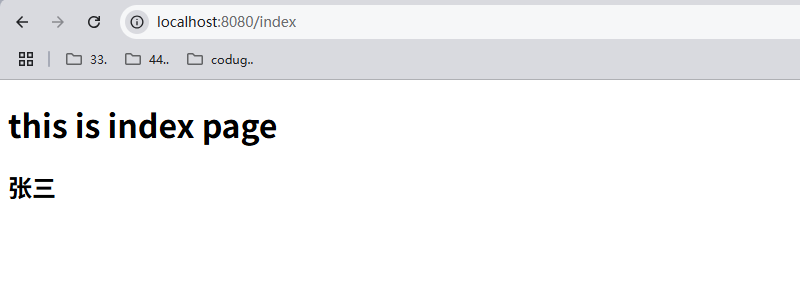
<body><p>this is index page
</p>
</body>
</html>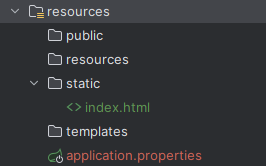
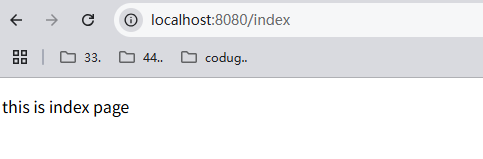
- 显示
index页面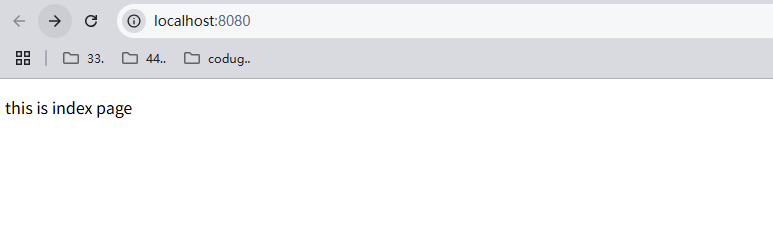
页面跳转
Controller控制页面跳转
- 写一个控制器
@Controller
public class UserController {@RequestMapping("/index")public String index() {return "index";}
}
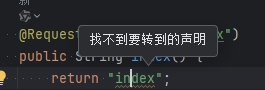
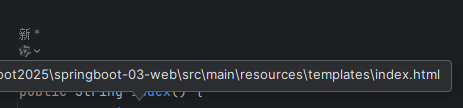
- 在themplates下写一个页面

- 上面说找不到,是因为没有配置
thymeleaf- 在
pom.xml引入
- 在
<dependency><groupId>org.springframework.boot</groupId><artifactId>spring-boot-starter-thymeleaf</artifactId>
</dependency>
2. 规则就是` spring-boot-starter-`+ `thymeleaf`
- 嘿嘿,找到了
- 启动页面测试,妥 !
thymeleaf
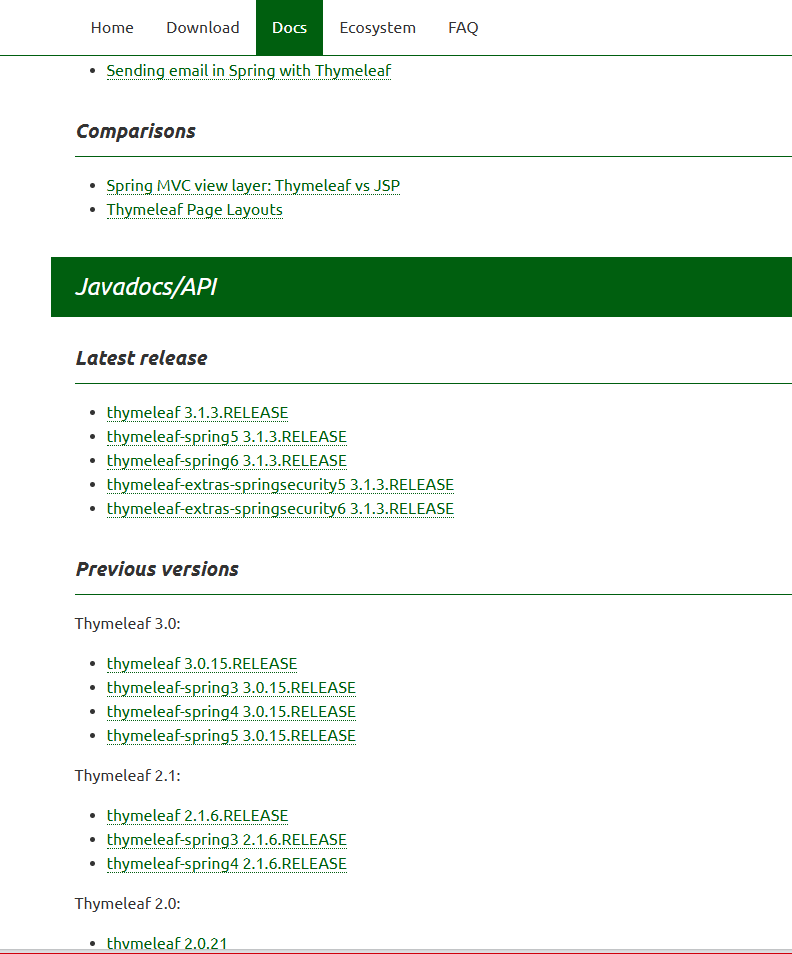
看官网 Thymeleaf 有我们的使用说明文档,根据目前所使用的版本选择要参考学习的文档
Spring的配置
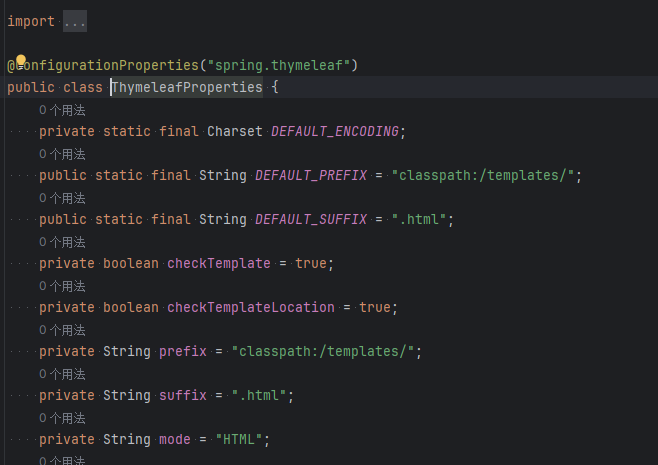
放到"classpath:/templates/"里面,读取.html文件
模板引擎
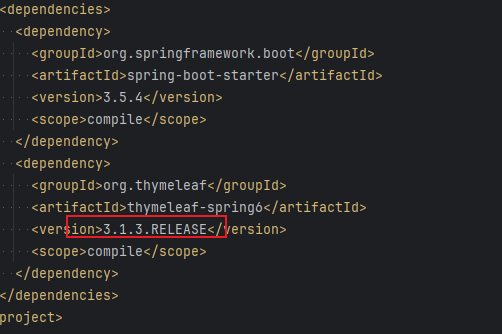
导入thymeleaf 有两种方法,一种是使用 SpringBoot导入模板引擎,SpringBoot官方会引入一个相对应当前版本的依赖,如上图所示,导入的依赖版本为3.1.3.RELEASE; 一种是直接引入所需要的包
- 使用SpringBoot内嵌
- 引入方式方式有两种:
- 在创建时,直接选择thymeleaf;
- 在pom中后期插入依赖
<dependency><groupId>org.springframework.boot</groupId><artifactId>spring-boot-starter-thymeleaf</artifactId>
</dependency>
- 单独依赖管理
<dependency><groupId>org.thymeleaf</groupId><artifactId>thymeleaf</artifactId><version>3.1.2.RELEASE</version>
</dependency>
<dependency><groupId>org.thymeleaf</groupId><artifactId>thymeleaf-spring5</artifactId><version>3.1.2.RELEASE</version>
</dependency>
参照:Spring 整合 Thymeleaf 模板引擎
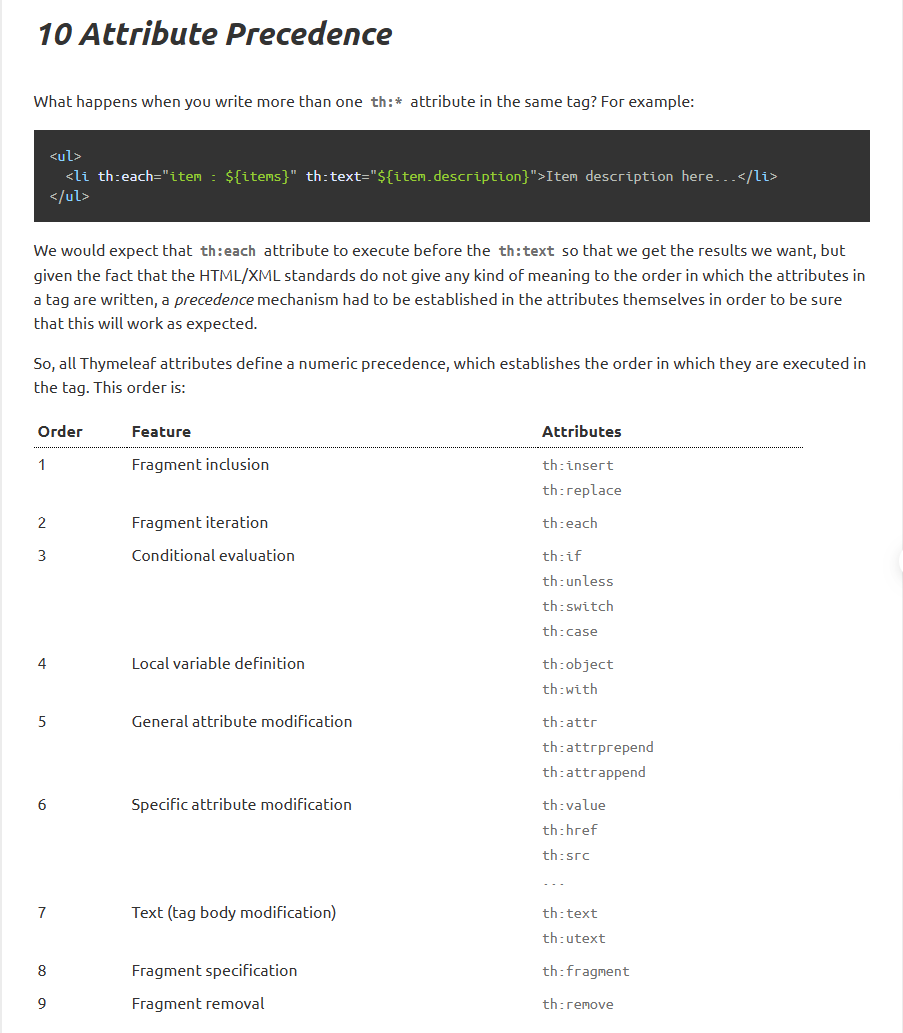
thymeleaf 语法
所有的html的标签,thymeleaf都也接管
参照 : https://www.thymeleaf.org/doc/tutorials/3.1/usingthymeleaf.html

- 在Controller写一个字段
@RequestMapping("/index")public String index(Model model) {model.addAttribute("name", "张三");return "index";}
- 在页面上使用这个字段
<body><h1>this is index  page
</h1>
<h2 th:text="${name}"></h2>
</body>
</html>
- 测试显示
- 循环遍历
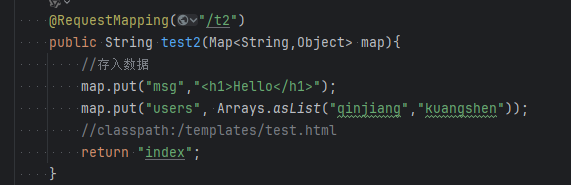
map.put("users", Arrays.asList("qinjiang","kuangshen"));

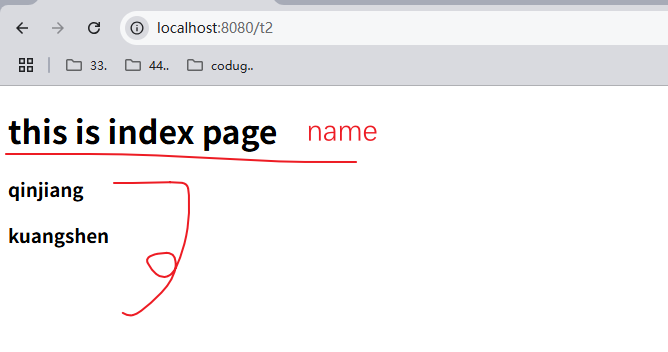
- 测试显示
没效果,清除下缓存,或者ctrl+F5强制刷新一下;
属性 内容可以和标签绑定的情况,不要拆离开来用行内;
<span th:each="user:${users}" th:text="${user}"></span><span th:each="user:${users}>[[${user}]]</span>
SpringBoot中的SpringMVC


导入了@EnableWebMvc之后是使用了这个
视图解析器
参考官方文档(中文翻译版):web.servlet.spring-mvc
如下:
实现了视图解析接口的类,我们就可以把他看做视图解析器;
// 所有的类都会经过DispatchServlet进行拦截,
// 然后交给DispatchServlet进行分发,
// DispatchServlet会调用所有的处理器映射器,
// 处理器映射器会调用所有的处理器适配器,
// 处理器适配器会调用所有的处理器,处理器会处理请求,然后 返回结果给DispatchServlet,
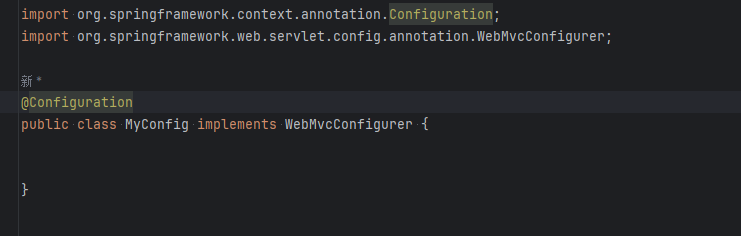
@Configuration
public class MyConfig implements WebMvcConfigurer {@Bean //将这个对象交给spring容器管理public ViewResolver myViewResolver(){return new MyViewResolver();}//我们写一个静态内部类,视图解析器就需要实现ViewResolver接口private static class MyViewResolver implements ViewResolver {@Overridepublic View resolveViewName(String s, Locale locale) throws Exception {return null;}}
}
Spring所有的东西都在IOC容器中
测试要在 doDispatch 打断点;
测试方式参照 MVC自动配置原理
我们如果想要使用自己定制化的东西,我们只需要给容器中添加这个组件就好了!剩下的事情SpringBoot就会帮我们做了!
SpringBoot的默认配置
依旧参照 MVC自动配置原理,结合B站【【狂神说Java】SpringBoot最新教程IDEA版通俗易懂】学习
bilibili
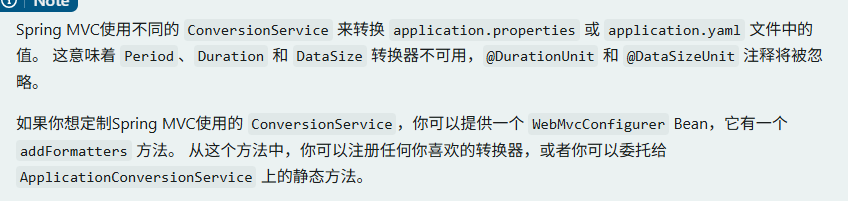
转换器和格式化器
- 找到格式化转换器:
SpringBoot 2.*
@Bean
@Override
public FormattingConversionService mvcConversionService() {// 拿到配置文件中的格式化规则WebConversionService conversionService = new WebConversionService(this.mvcProperties.getDateFormat());addFormatters(conversionService);return conversionService;
}
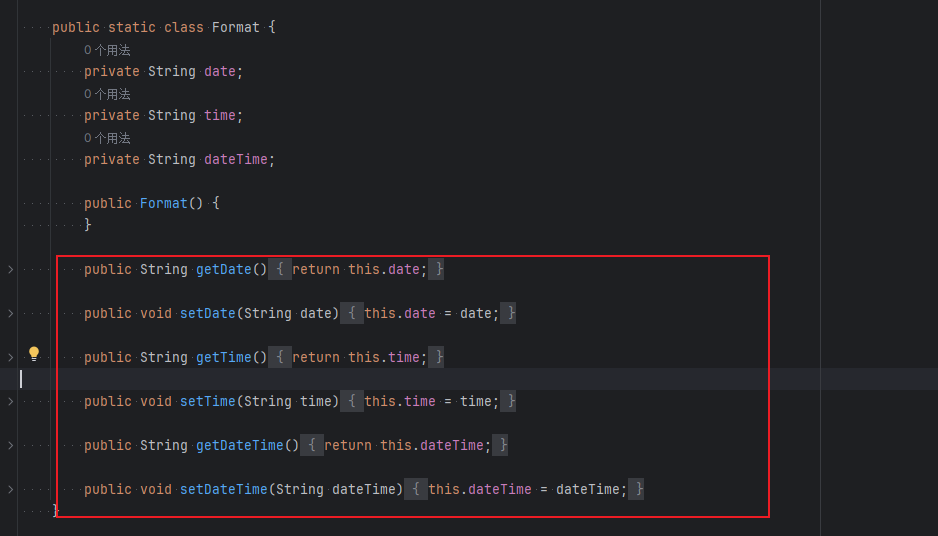
2. `SpringBoot 3.*`
@Bean
public FormattingConversionService mvcConversionService() {WebMvcProperties.Format format = this.mvcProperties.getFormat();WebConversionService conversionService = new WebConversionService((new DateTimeFormatters()).dateFormat(format.getDate()).timeFormat(format.getTime()).dateTimeFormat(format.getDateTime()));this.addFormatters(conversionService);return conversionService;
}
- 可以看到在我们的Properties文件中,我们可以进行自动配置它!
public String getDateFormat() {return this.dateFormat;
}/**
* Date format to use. For instance, `dd/MM/yyyy`. 默认的*/
private String dateFormat;
- 在配置文件中

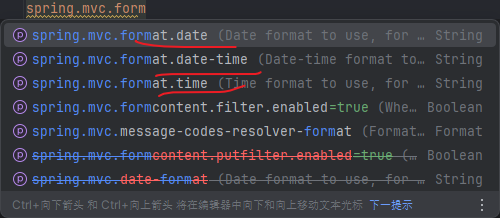
配置了自己的格式化方式,就会注册到Bean中生效,我们可以在配置文件中配置日期格式化的规则:
dd/MM/yyyy 是默认的一种

修改SpringBoot的默认配置
WebMVC的自动配置原理分析;
SpringBoot的底层,大量用到了这些设计细节思想,所以,没事需要多阅读源码!得出结论;
SpringBoot在自动配置很多组件的时候,先看容器中有没有用户自己配置的(如果用户自己配置@bean),如果有就用用户配置的,如果没有就用自动配置的;
如果有些组件可以存在多个,比如我们的视图解析器,就将用户配置的和自己默认的组合起来!
我们要扩展SpringMVC,官方就推荐我们这么去使用,既保SpringBoot留所有的自动配置,也能用我们扩展的配置!
我们可以去分析一下原理:
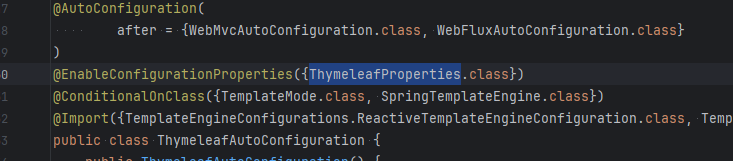
1、WebMvcAutoConfiguration 是 SpringMVC的自动配置类,里面有一个类WebMvcAutoConfigurationAdapter
2、这个类上有一个注解,在做其他自动配置时会导入:@Import(EnableWebMvcConfiguration.class)
3、我们点进EnableWebMvcConfiguration这个类看一下,它继承了一个父类:DelegatingWebMvcConfiguration
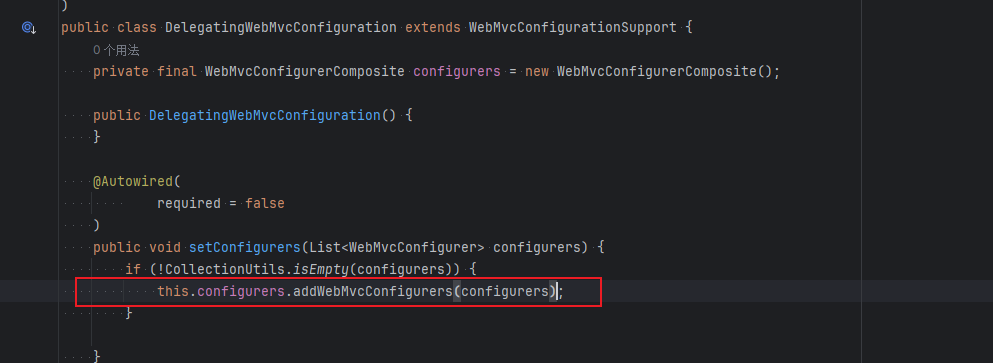
- 我们可以在这个类中去寻找一个我们刚才设置的
viewController当做参考,上面最后有去调用了一个addWebMvcConfigurers,
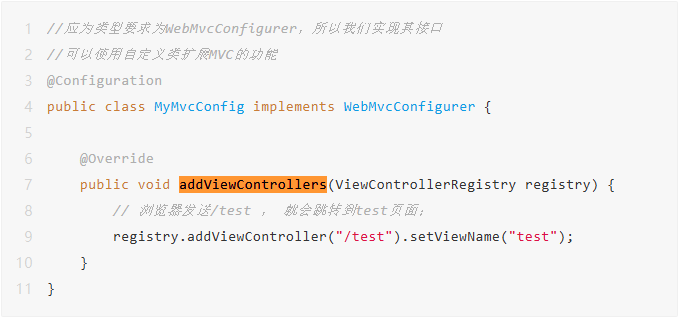
使用
viewController可以对请求地址进行改动下,请求时/test到test,这样看可能有误解,可以把/test换成/rrrst就很明显了;
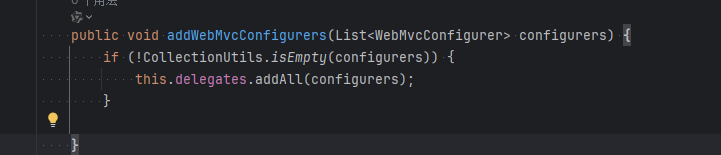
- 在有
addWebMvcConfigurers的这个class中 找addViewControllers,再进去delegate.addViewControllers(registry);到头了;
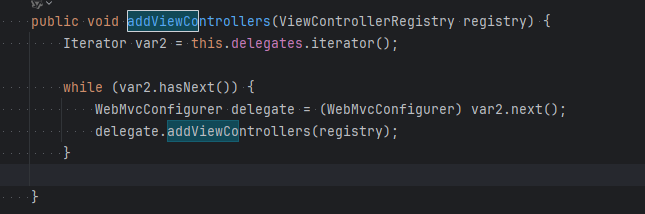
所有的WebMvcConfiguration都会被作用,不止Spring自己的配置类,我们自己的配置类当然也会被调用;
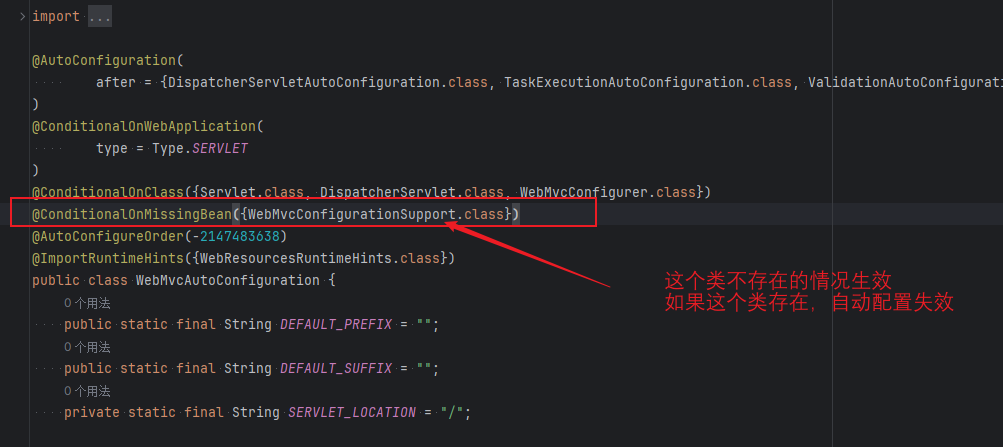
全面接管配置类
在我们的配置类中要加一个@EnableWebMvc。
@EnableWebMvc将WebMvcConfigurationSupport组件导入进来了;
而导入的WebMvcConfigurationSupport只是SpringMVC最基本的功能!
到处都不推荐使用全面接管SpringMVC