前端验证下跨域问题(npm验证)
文章目录
- 一、背景
- 二、效果展示
- 三、代码展示
- 3.1)index.html
- 3.2)package.json
- 3.3) service.js
- 3.4)service2.js
- 四、使用说明
- 4.1)安装依赖
- 4.2)启动服务器
- 4.3)访问前端页面
- 五、跨域解决方案说明
- 六、测试场景
一、背景
在公司的开发中,有时候遇到前端接口请求非本域名下的接口,不处理的话,会存在跨域的问题,常见的解决办法有做nginx的代理转发,接口提供者的服务端做白名单等,还有一种是仅适用get请求的 jsonp的方式,今天我用js代码演示下跨域的情况
二、效果展示
关闭cros配置时的效果,存在跨域
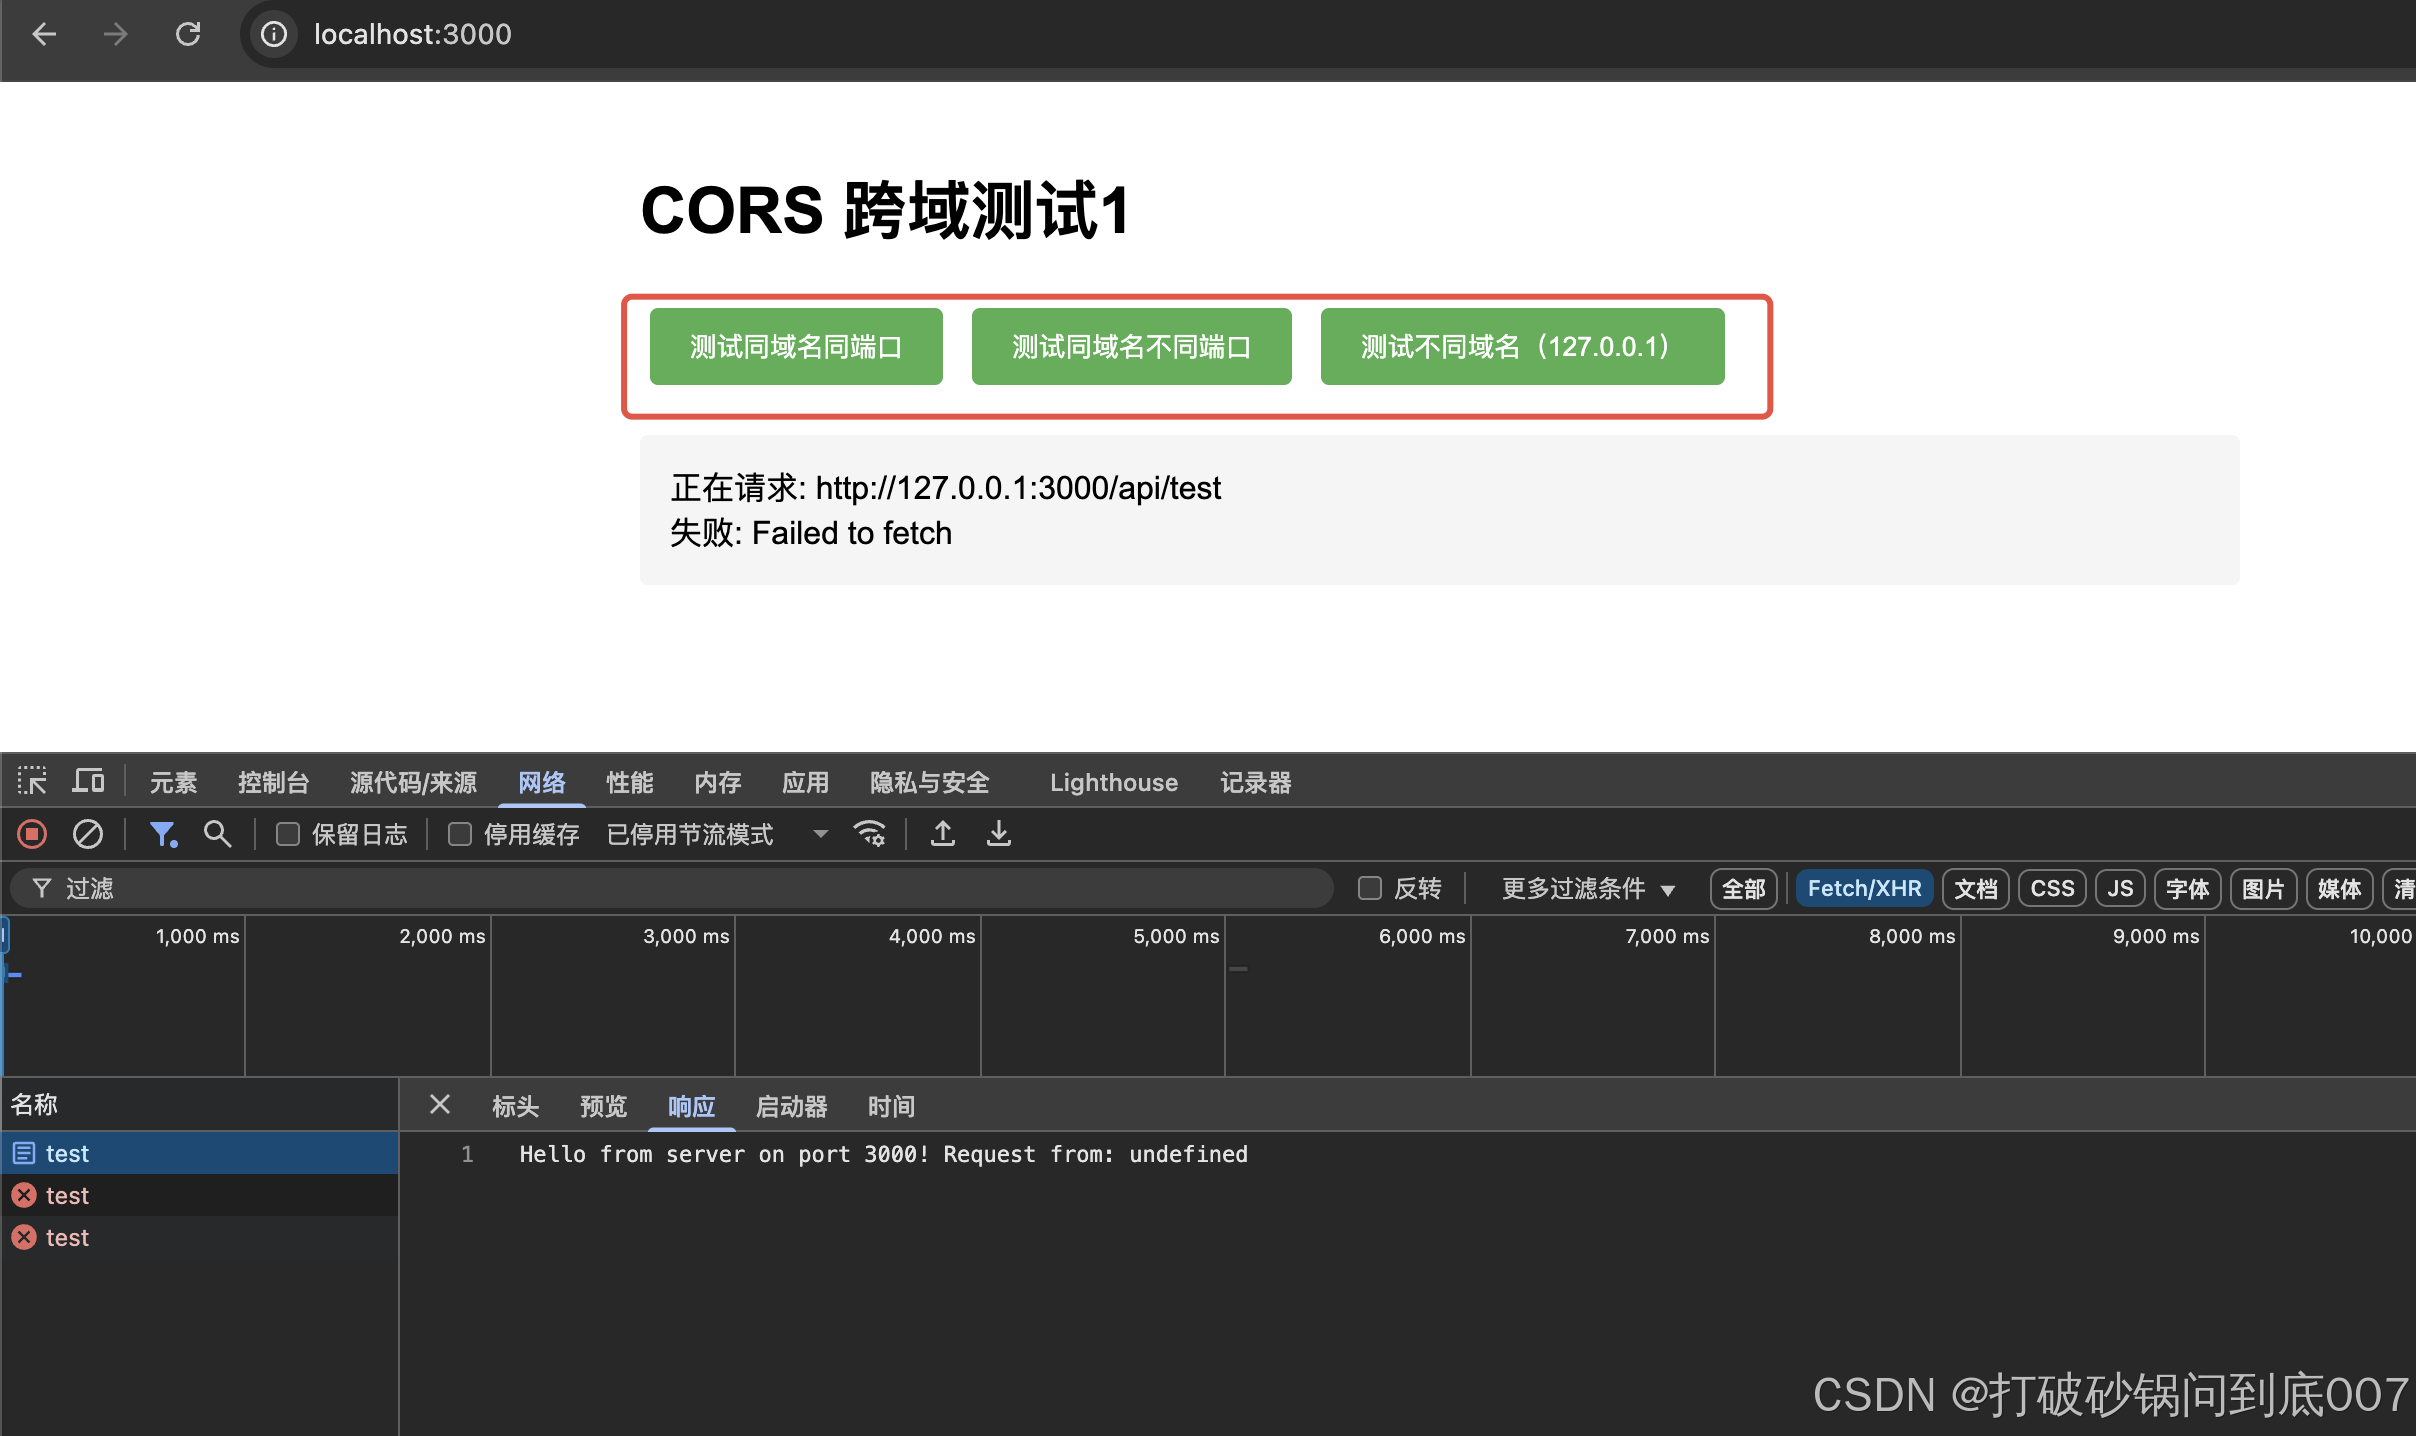
三个按钮的链接依次是:
http://localhost:3000/api/test
http://localhost:4000/api/test
http://127.0.0.1:3000/api/test
三、代码展示
前端页面 (index.html)
后端服务器 (server.js)
不同端口的后端服务器 (server2.js)
3.1)index.html
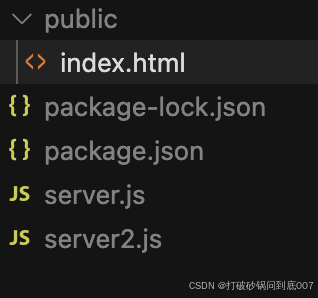
是前端文件,路径是 public下面
代码如下
<!DOCTYPE html>
<html lang="zh-CN">
<head><meta charset="UTF-8"><meta name="viewport" content="width=device-width, initial-scale=1.0"><title>CORS 跨域测试</title><style>body {font-family: Arial, sans-serif;max-width: 800px;margin: 0 auto;padding: 20px;}.button-group {margin: 20px 0;}button {padding: 10px 20px;margin: 5px;cursor: pointer;background-color: #4CAF50;color: white;border: none;border-radius: 4px;}button:hover {background-color: #45a049;}#result {background-color: #f5f5f5;padding: 15px;border-radius: 4px;white-space: pre-wrap;}</style>
</head>
<body><h1>CORS 跨域测试1</h1><div class="button-group"><button onclick="testCors('http://localhost:3000/api/test')">测试同域名同端口</button><button onclick="testCors('http://localhost:4000/api/test')">测试同域名不同端口</button><button onclick="testCors('http://127.0.0.1:3000/api/test')">测试不同域名(127.0.0.1)</button></div><div id="result">结果将显示在这里...</div><script>async function testCors(url) {const resultDiv = document.getElementById('result');resultDiv.textContent = `正在请求: ${url}\n`;try {const response = await fetch(url);const data = await response.text();resultDiv.textContent += `成功: ${data}`;} catch (error) {resultDiv.textContent += `失败: ${error.message}`;}}</script>
</body>
</html>
3.2)package.json
{"name": "cors-demo","version": "1.0.0","description": "CORS demonstration with different scenarios","main": "server.js","scripts": {"start": "node server.js","start2": "node server2.js"},"dependencies": {"express": "^4.18.2","cors": "^2.8.5"}
}
3.3) service.js
const express = require('express');
const cors = require('cors');
const path = require('path');
const app = express();// 提供静态文件服务
app.use(express.static(path.join(__dirname, 'public')));// 启用 CORS
// app.use(cors({
//     origin: ['http://localhost:3000', 'http://localhost:4000', 'http://127.0.0.1:3000'],
//     methods: ['GET', 'POST'],
//     credentials: true
// }));app.get('/api/test', (req, res) => {res.send(`Hello from server on port 3000! Request from: ${req.headers.origin}`);
});const PORT = 3000;
app.listen(PORT, () => {console.log(`Server running on http://localhost:${PORT}`);
});
3.4)service2.js
const express = require('express');
const cors = require('cors');
const app = express();// 启用 CORS
// app.use(cors({
//     origin: ['http://localhost:3000', 'http://localhost:4000', 'http://127.0.0.1:3000'],
//     methods: ['GET', 'POST'],
//     credentials: true
// }));app.get('/api/test', (req, res) => {res.send(`Hello from server on port 4000! Request from: ${req.headers.origin}`);
});const PORT = 4000;
app.listen(PORT, () => {console.log(`Server running on http://localhost:${PORT}`);
});
四、使用说明
4.1)安装依赖
npm install
4.2)启动服务器
打开两个终端窗口,分别运行:
# 终端 1
npm start    # 启动端口 3000 的服务器# 终端 2
npm run start2    # 启动端口 4000 的服务器
4.3)访问前端页面
使用浏览器打开 index.html 文件,你会看到三个按钮:
“测试同域名同端口”:请求 http://localhost:3000/api/test
“测试同域名不同端口”:请求 http://localhost:4000/api/test
“测试不同域名”:请求 http://127.0.0.1:3000/api/test
五、跨域解决方案说明
CORS 配置
在服务器端,我们使用了 cors 中间件来配置跨域访问:
app.use(cors({origin: ['http://localhost:3000', 'http://localhost:4000', 'http://127.0.0.1:3000'],methods: ['GET', 'POST'],credentials: true
}));
其他跨域解决方案
除了 CORS,还有其他解决方案:
使用代理服务器
JSONP(仅支持 GET 请求)
使用 WebSocket
使用 postMessage 进行跨窗口通信
六、测试场景
同域名同端口
访问 http://localhost:3000/api/test
预期结果:成功,因为同源
同域名不同端口
访问 http://localhost:4000/api/test
预期结果:成功,因为配置了 CORS
不同域名
访问 http://127.0.0.1:3000/api/test
预期结果:成功,因为配置了 CORS