jenkins部署slave动态节点
1.制作slave镜像
1.下载agent.jar,访问自己的jenkins加上jnlpJars/agent.jar 下载jar包
http://jenkins.lapis.com/jnlpJars/agent.jar
2.然后把jar包放在slave节点要使用的镜像的/usr/share/jenkins/路径下
Dockerfile
ARG version=3192.v713e3b_039fb_e-6
ARG JAVA_MAJOR_VERSION=17
FROM harbor.laisontech.com/lapis/jenkins-2.432:s1
ARG user=jenkins
USER root
COPY agent.jar /usr/share/jenkins/agent.jar
RUN chmod +x  /usr/share/jenkins/agent.jar
COPY jenkins-agent /usr/local/bin/jenkins-agent
RUN chmod +x /usr/local/bin/jenkins-agent &&\ln -s /usr/local/bin/jenkins-agent /usr/local/bin/jenkins-slave
USER ${user}
ENTRYPOINT ["/usr/local/bin/jenkins-agent"]
3.制作上传镜像
docker build -t harbor.laisontech.com/lapis/jenkins-slave:1 ./
docker push harbor.laisontech.com/lapis/jenkins-slave:1
2.配置集群
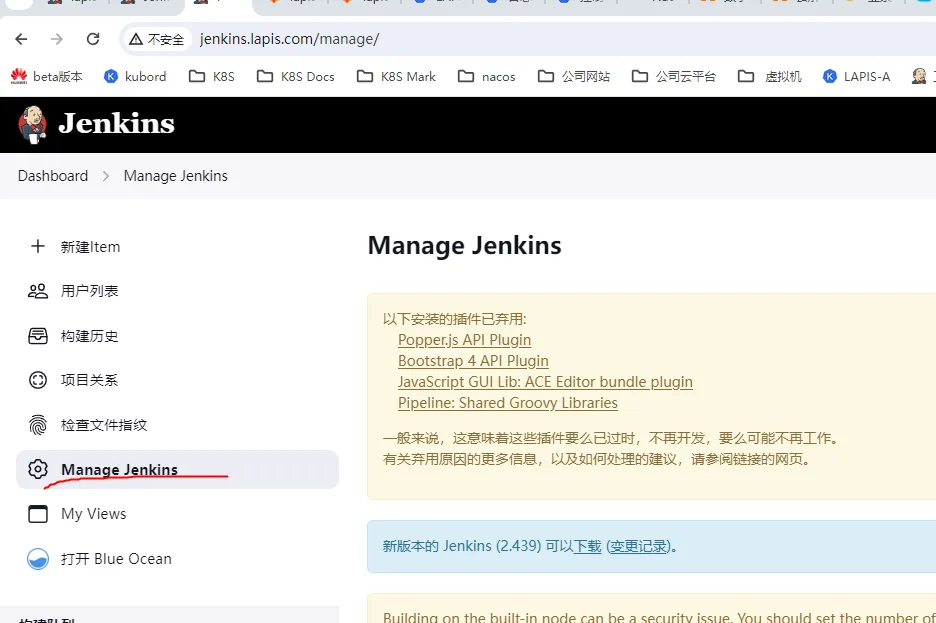
1.进入jenkins的系统管理页面
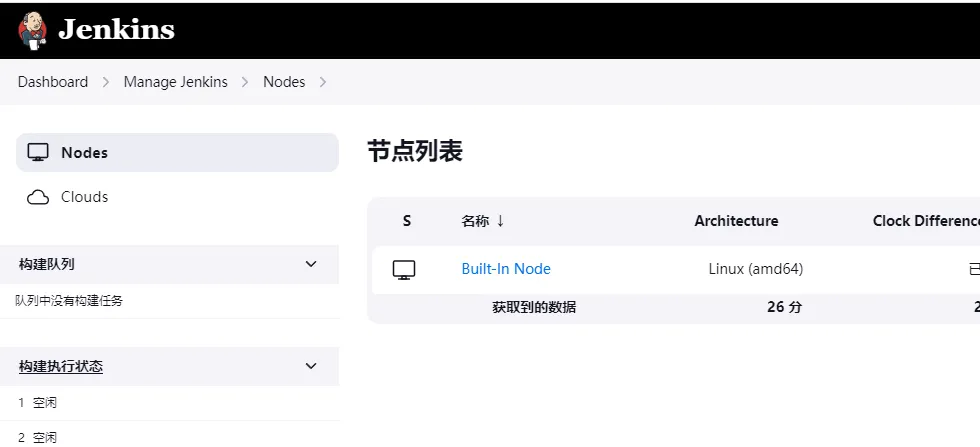
2.进入节点管理
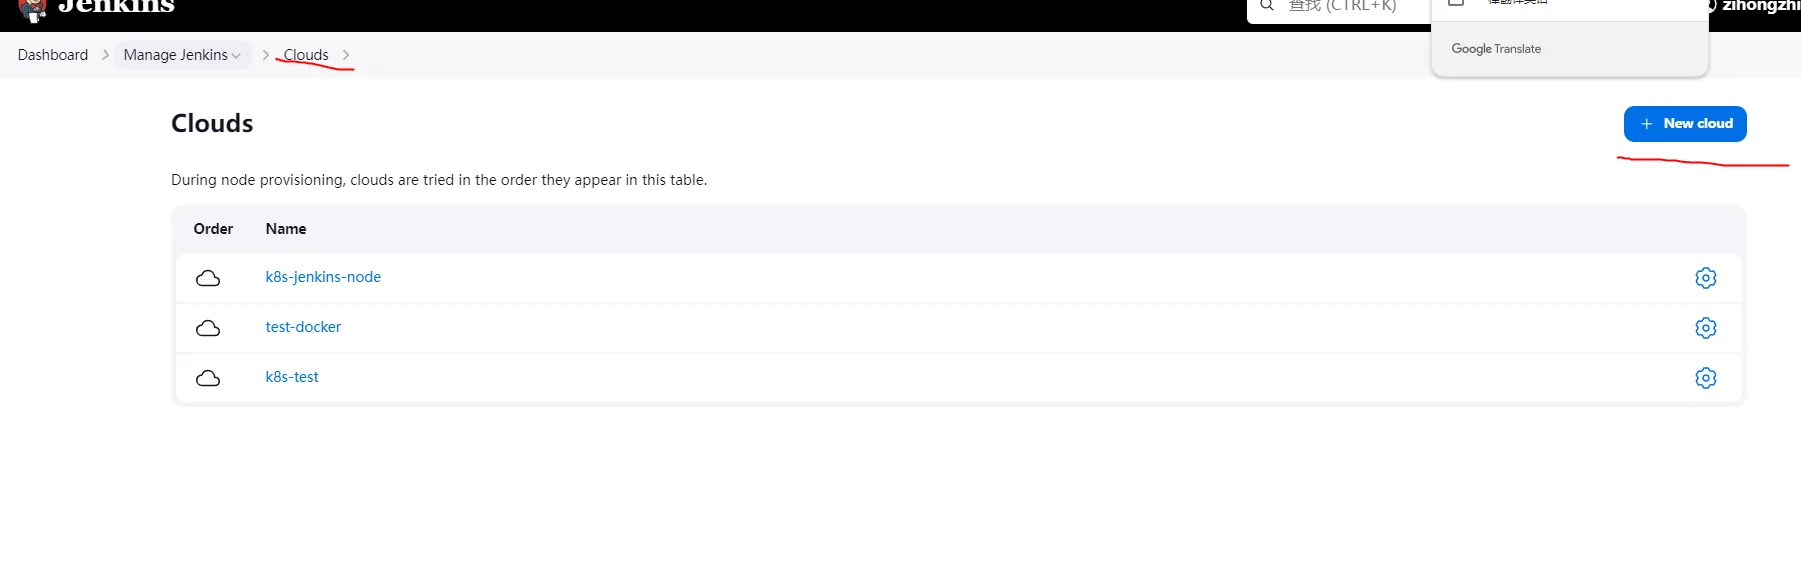
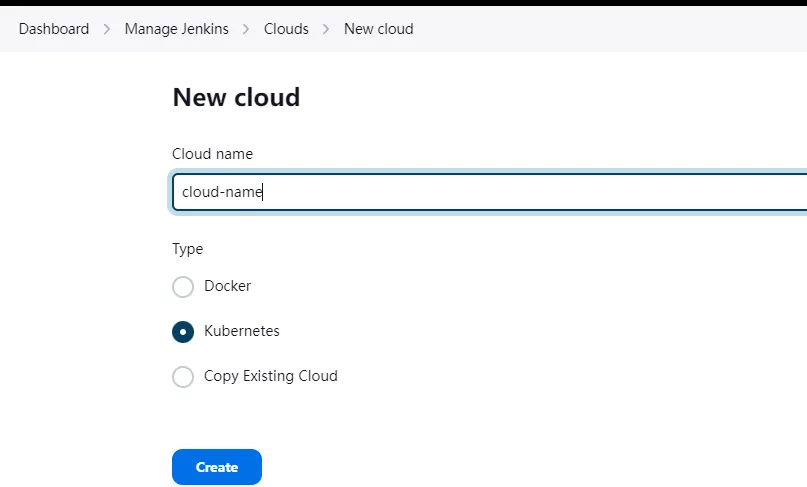
3.选择clouds,创建新的cloud
4.选择K8S,输入集群名创建集群
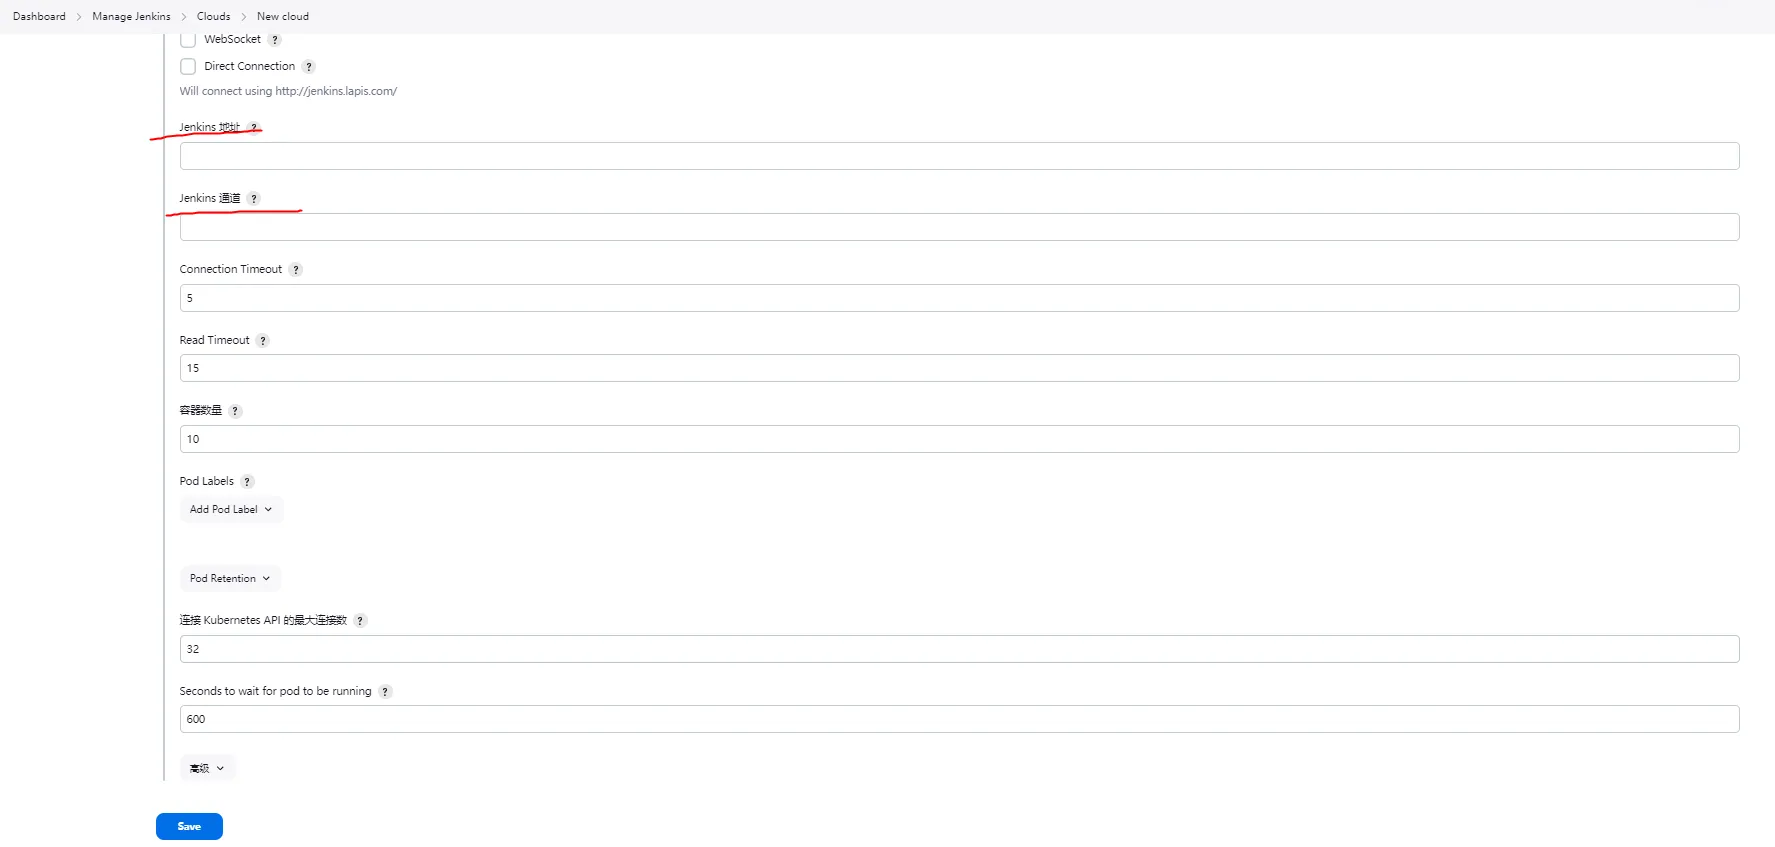
5.填写K8S地址,证书,命名空间,然后点击测试连接看是否会出现K8S版本号,出现说明连接正常。如果jenkins是部署在K8S集群内,则不需要证书和地址。

6.配置jenkins地址和jenkins通道,jenkins通道的默认端口是50000
3.配置pod模板
1.选择pod templates

2.选择添加pod模板

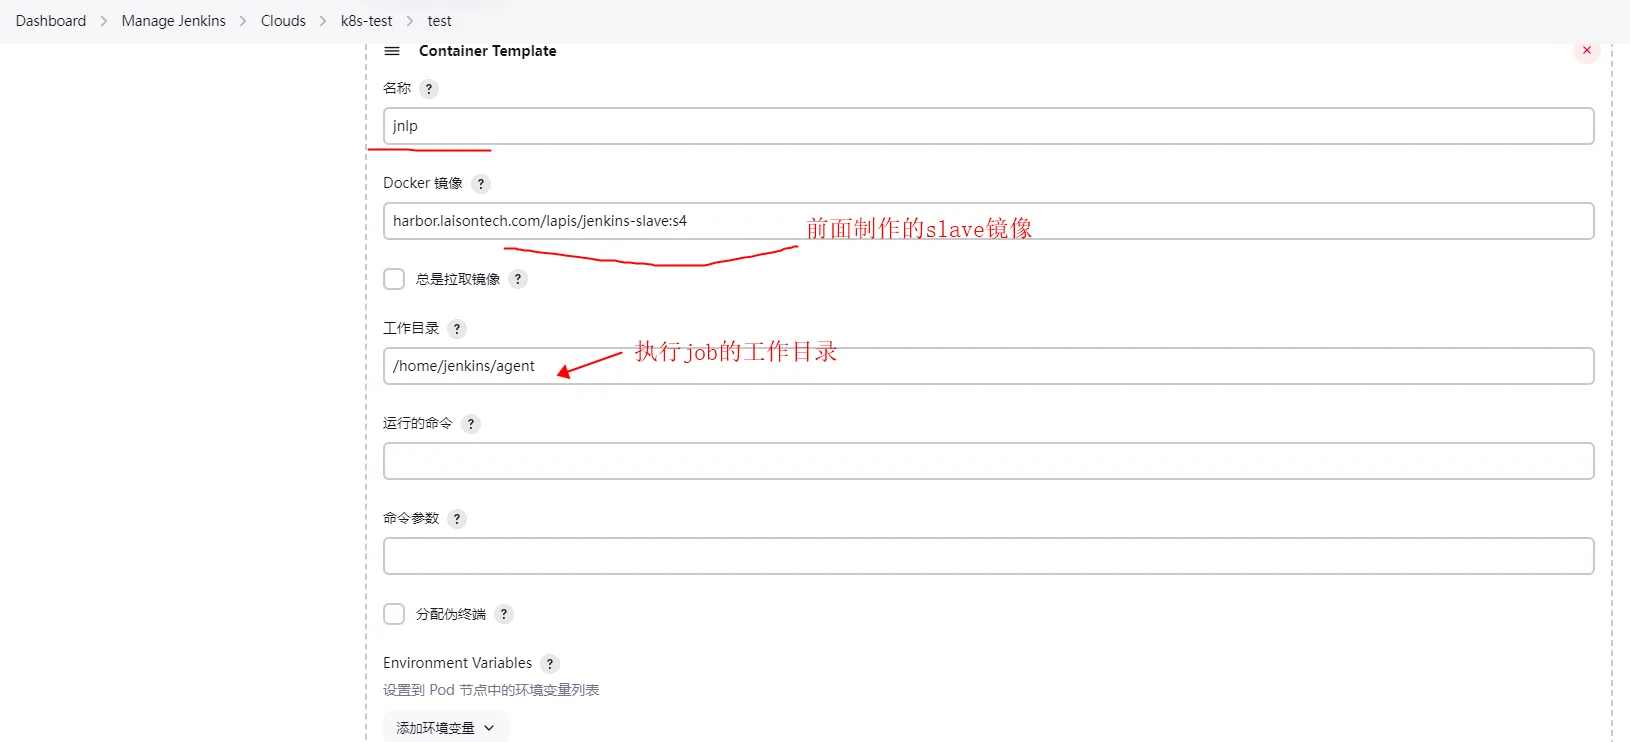
3.配置pod模板
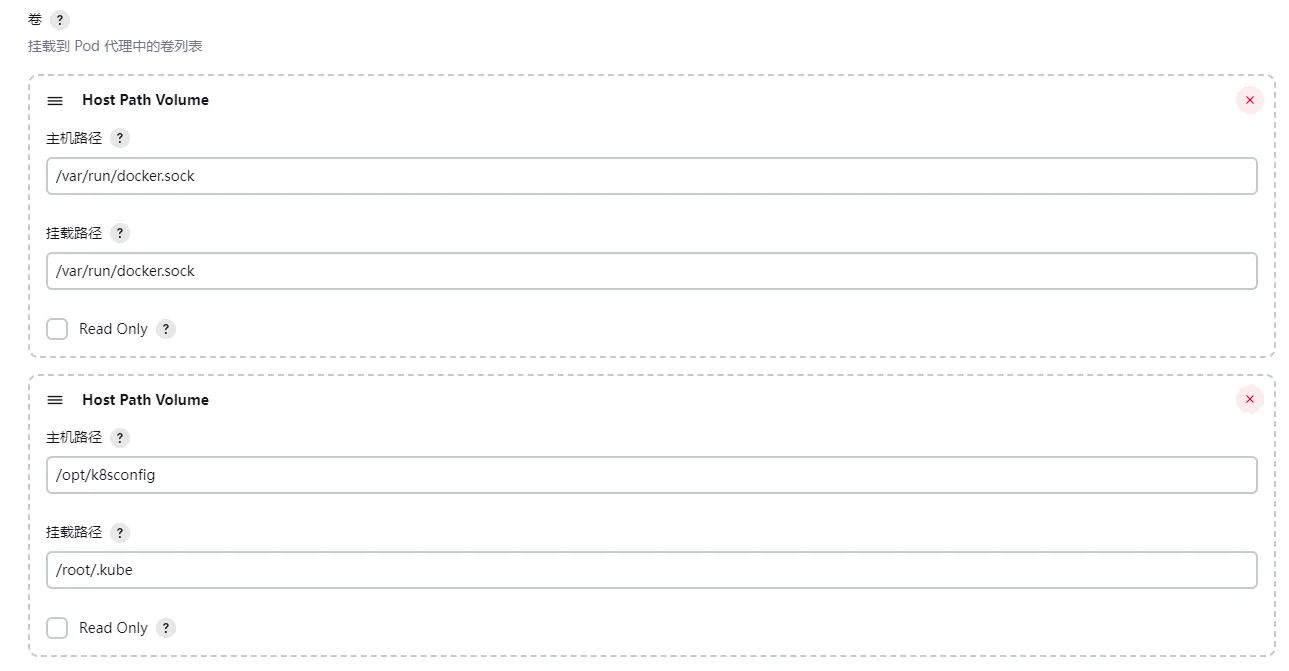
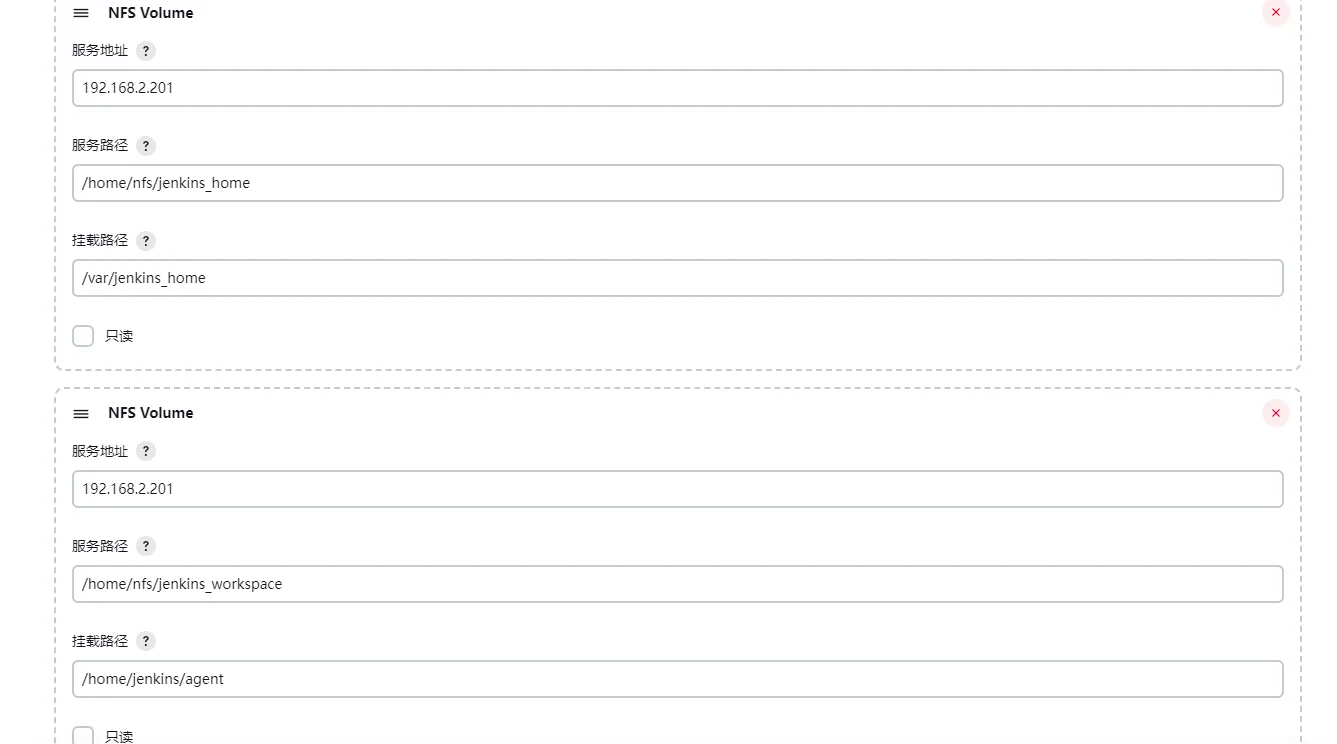
4.配置挂载卷
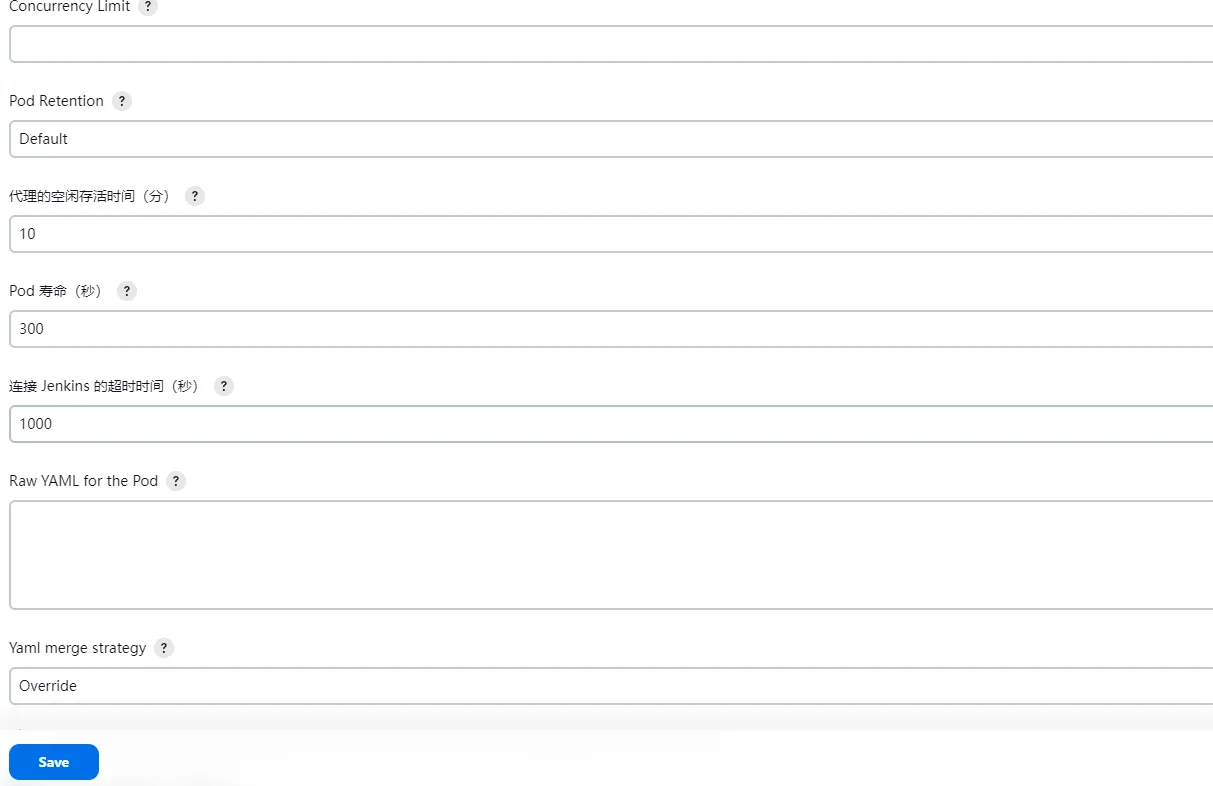
5.配置pod寿命
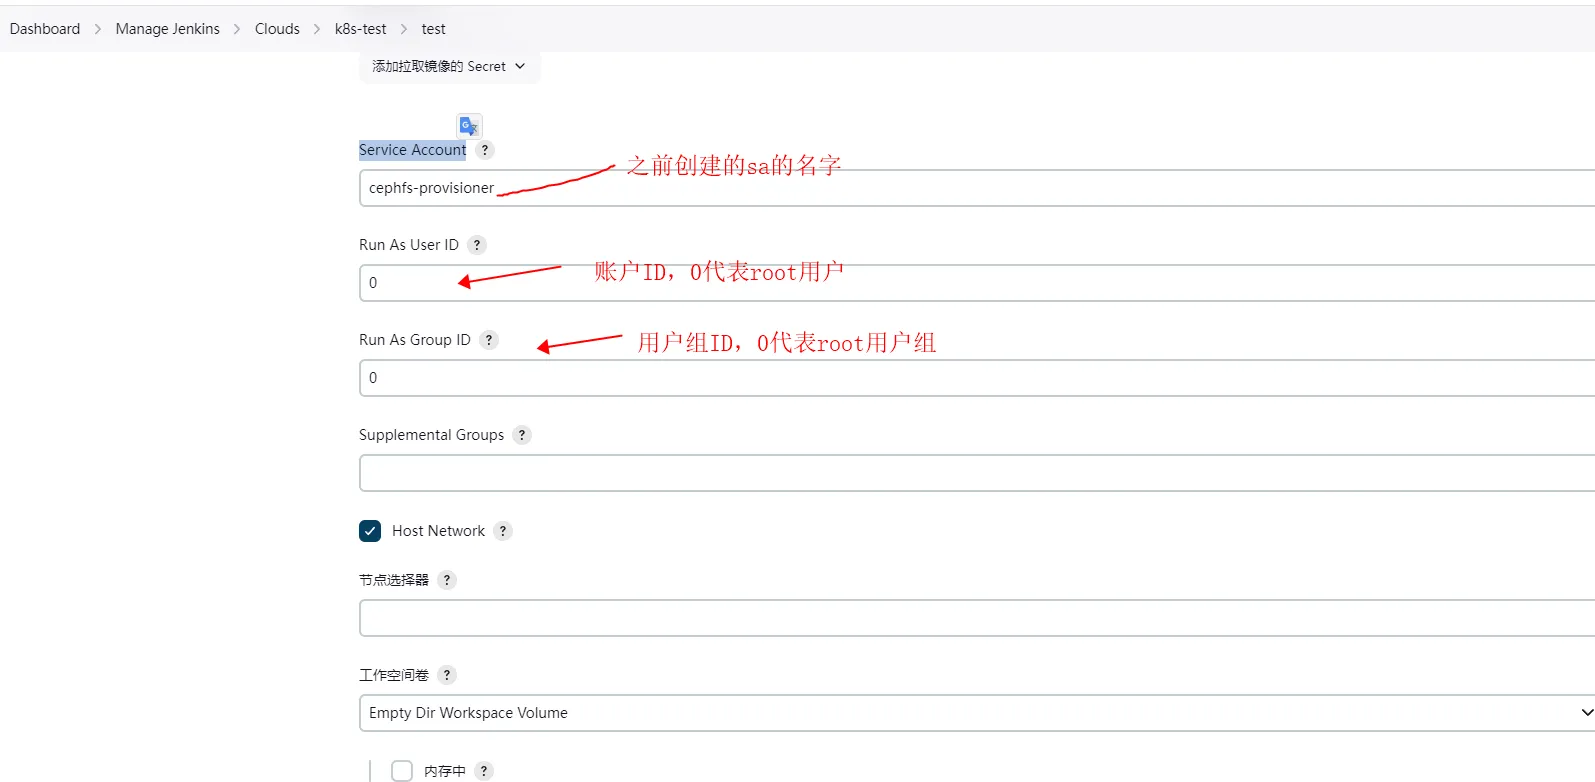
4.配置使用root启动pod
1.一定要配置使用root启动pod,不然可能导致没有权限或权限错误
在K8S中创建一个sa和secert一般使用jenkins的sa就行
apiVersion: v1
kind: ServiceAccount
metadata:name: nfs-client-provisioner# replace with namespace where provisioner is deployednamespace: es        #根据实际环境设定namespace,下面类同
---
kind: ClusterRole
apiVersion: rbac.authorization.k8s.io/v1
metadata:name: nfs-client-provisioner-runner
rules:- apiGroups: [""]resources: ["persistentvolumes"]verbs: ["get", "list", "watch", "create", "delete"]- apiGroups: [""]resources: ["persistentvolumeclaims"]verbs: ["get", "list", "watch", "update"]- apiGroups: ["storage.k8s.io"]resources: ["storageclasses"]verbs: ["get", "list", "watch"]- apiGroups: [""]resources: ["events"]verbs: ["watch", "create", "update", "patch"]- apiGroups: [""]resources: ["services"]verbs: ["get"]- apiGroups: ["extensions"]resources: ["podsecuritypolicies"]resourceNames: ["nfs-provisioner"]verbs: ["use"]- apiGroups: [""]resources: ["endpoints"]verbs: ["get", "list", "watch", "create", "update", "patch"]
---
kind: ClusterRoleBinding
apiVersion: rbac.authorization.k8s.io/v1
metadata:name: run-nfs-client-provisioner
subjects:- kind: ServiceAccountname: nfs-client-provisioner# replace with namespace where provisioner is deployednamespace: es
roleRef:kind: ClusterRolename: nfs-client-provisioner-runnerapiGroup: rbac.authorization.k8s.io
---
kind: Role
apiVersion: rbac.authorization.k8s.io/v1
metadata:name: leader-locking-nfs-client-provisioner# replace with namespace where provisioner is deployednamespace: es
rules:- apiGroups: [""]resources: ["endpoints"]verbs: ["get", "list", "watch", "create", "update", "patch"]
---
kind: RoleBinding
apiVersion: rbac.authorization.k8s.io/v1
metadata:name: leader-locking-nfs-client-provisioner
subjects:- kind: ServiceAccountname: nfs-client-provisioner# replace with namespace where provisioner is deployednamespace: es
roleRef:kind: Rolename: leader-locking-nfs-client-provisionerapiGroup: rbac.authorization.k8s.io
kubectl apply -f sa.yaml
2.配置容器模板的Service Account
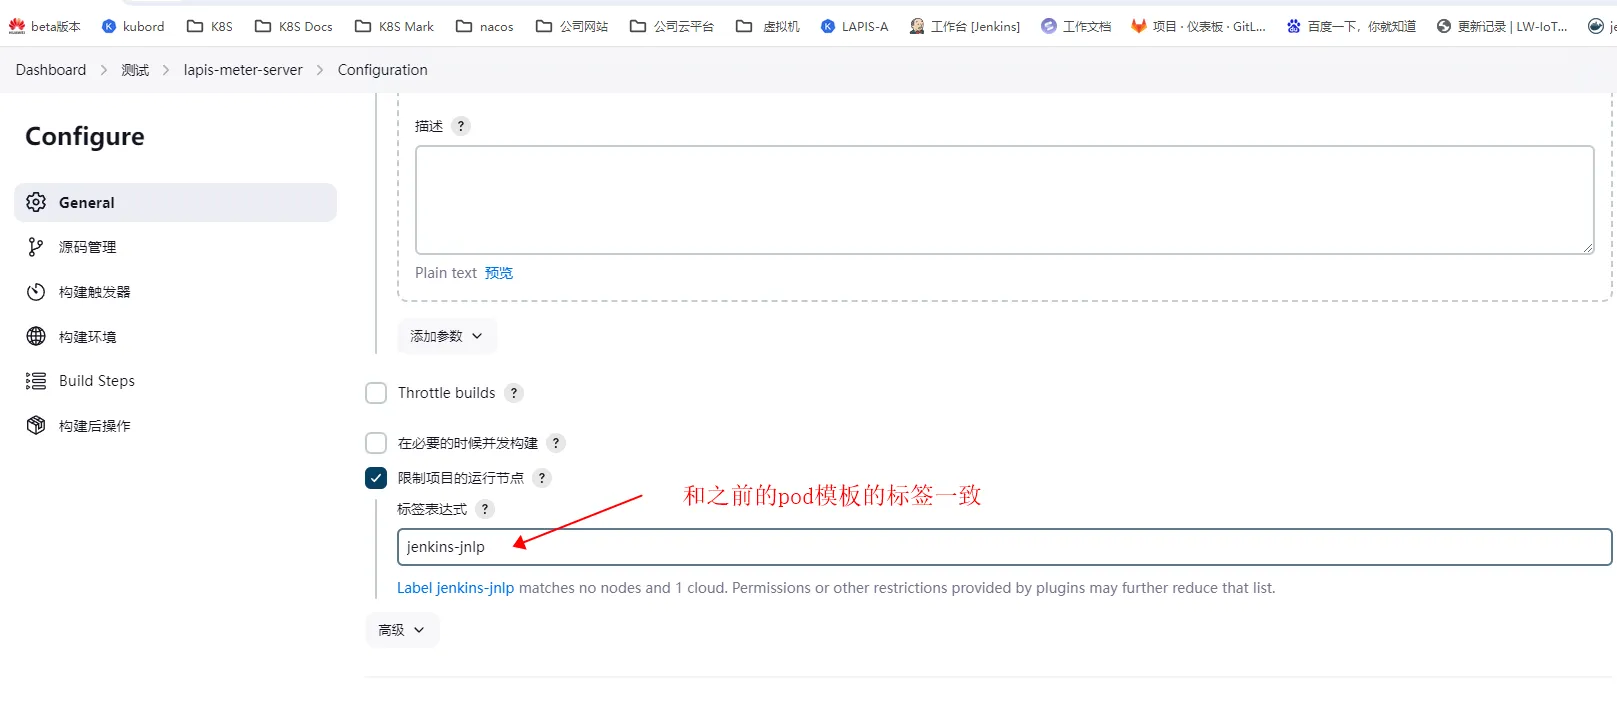
5.配置job使用slave节点
1.进入job配置找到