QT5.14版本加载在线地图(天地图)
-
在pro文件中添加:QT += webenginewidgets

-
添加头文件:也可以自定义一个QWebEngineView
-
#include <QWebEngineHistory> #include <QWebEngineHistoryItem> #include <QWebEnginePage> #include <QWebEngineView> #include <QtWebEngineWidgets/QtWebEngineWidgets> -
自定义的头文件和源文件
#include "cmywebengineview.h"CMyWebEngineView::CMyWebEngineView(QWidget *parent) : QWebEngineView(parent)
{m_pContextMenu = new QMenu;m_pBackAct = new QAction(QIcon::fromTheme(QStringLiteral("go-previous")), QStringLiteral("返回"));m_pForwardAct = new QAction(QIcon::fromTheme(QStringLiteral("go-next")), QStringLiteral("前进"));m_pReloadAct = new QAction(QIcon::fromTheme(QStringLiteral("view-refresh")), QStringLiteral("刷新"));m_pContextMenu->addAction(m_pBackAct);m_pContextMenu->addAction(m_pForwardAct);m_pContextMenu->addAction(m_pReloadAct);connect(m_pBackAct, &QAction::triggered, this, &QWebEngineView::back);connect(m_pForwardAct, &QAction::triggered, this, &QWebEngineView::forward);connect(m_pReloadAct, &QAction::triggered, this, &QWebEngineView::reload);setContextMenuPolicy(Qt::DefaultContextMenu);
}CMyWebEngineView::~CMyWebEngineView()
{
}void CMyWebEngineView::contextMenuEvent(QContextMenuEvent* event)
{m_pBackAct->setEnabled(this->history()->canGoBack());m_pForwardAct->setEnabled(this->history()->canGoForward());m_pContextMenu->exec(QCursor::pos());
}```cpp
头文件:
#ifndef CMYWEBENGINEVIEW_H
#define CMYWEBENGINEVIEW_H#include <QWebEngineView>
#include <QMenu>
#include <QAction>
#include <QIcon>
#include <QWebEngineHistory>class CMyWebEngineView : public QWebEngineView
{Q_OBJECT
public:CMyWebEngineView(QWidget* parent = nullptr);~CMyWebEngineView();
protected:void contextMenuEvent(QContextMenuEvent* event);
private:QMenu*      m_pContextMenu;QAction*    m_pBackAct;QAction*    m_pForwardAct;QAction*    m_pReloadAct;
};#endif // CMYWEBENGINEVIEW_H
-
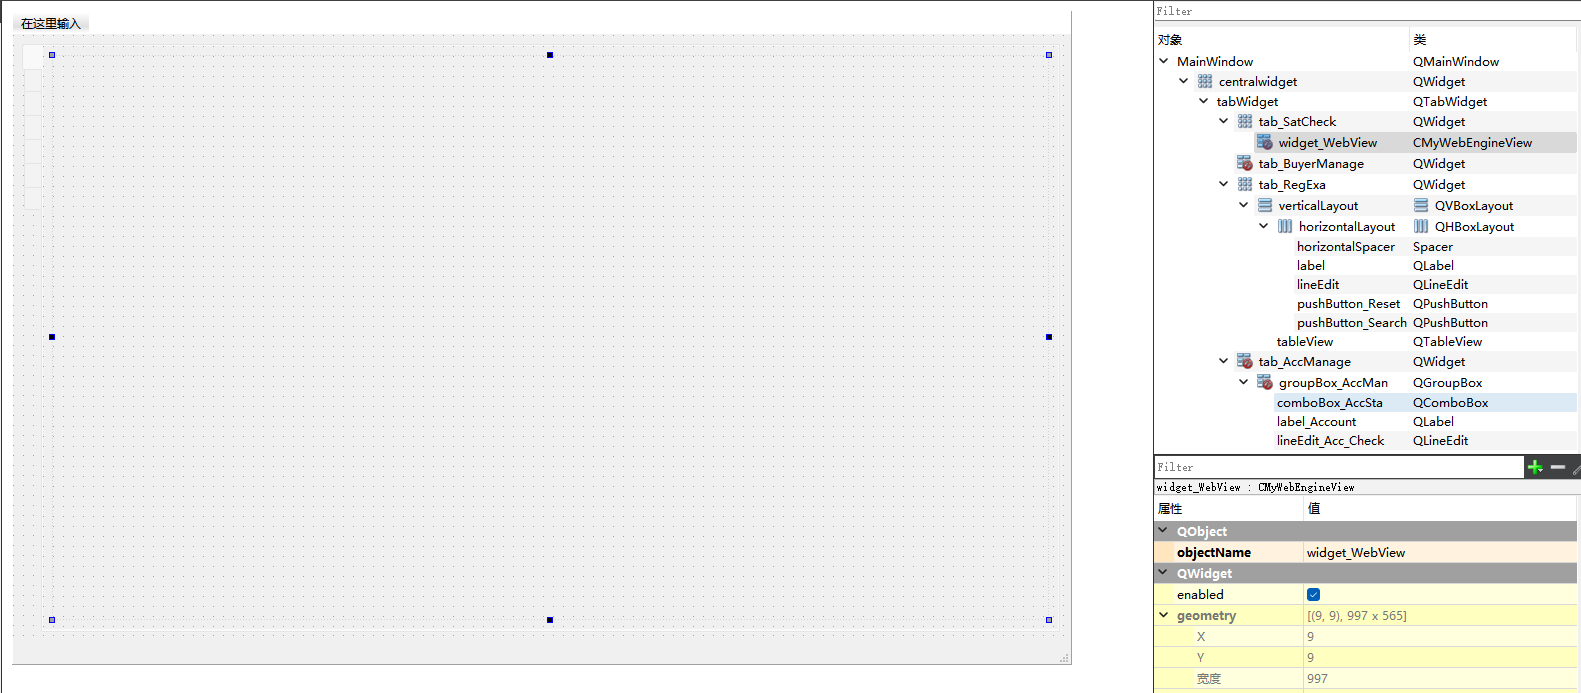
在ui界面拖一个Qwidget然后提升空间为上面的QEngineView
-
到地图开放平台上申请一个key值用于以下html:
<!DOCTYPE html>
<html>
<head><meta http-equiv="content-type" content="text/html; charset=utf-8"/><meta name="keywords" content="天地图"/><title>天地图-地图API-范例-经纬度直投地图</title><script type="text/javascript" src="http://api.tianditu.gov.cn/api?v=4.0&tk=你的Key值"></script><script type="text/javascript" src="qwebchannel.js"></script>   <!-- 与qt交互 --><style type="text/css">body,html{width:100%;height:100%;margin:0;font-family:"Microsoft YaHei"}#mapDiv{width:100%;height:640px}input,b,p{margin-left:5px;font-size:14px}</style><script>var map;var zoom = 12;function onLoad() {map = new T.Map('mapDiv', {projection: 'EPSG:4326'});map.centerAndZoom(new T.LngLat(116.40769, 39.89945), zoom);//允许鼠标双击放大地图map.enableScrollWheelZoom();//创建标注工具对象markerTool = new T.MarkTool(map, {follow: true});}function getMapCenter() {alert("当前地图中心点:" + map.getCenter().getLng() + "," + map.getCenter().getLat());
}function editMarker() {var markers = markerTool.getMarkers()for (var i = 0; i < markers.length; i++) {markers[i].enableDragging();}}function endeditMarker() {var markers = markerTool.getMarkers()for (var i = 0; i < markers.length; i++) {markers[i].disableDragging();}}// qt交互注册new QWebChannel(qt.webChannelTransport,function(channel){window.JSInterface = channel.objects.JSInterface; // 注册});</script>
</head>
<body onLoad="onLoad()">
<div id="mapDiv"></div>
</body>
</html>
要与qt交互也要确保有js文件,可到qt源代码例程中找到复制过来:(如果没下载的话建议在MaintenanceTool.exe中添加源文件和QWebEngine,没下就不支持)

- 在初始化函数中加载网页:
QString CoreStr = QCoreApplication::applicationDirPath();QString htmlPath = CoreStr + "/Js_Map/tiandituMapView.html";QUrl testUrl(CoreStr + "/Js_Map/");QFile file(htmlPath);if (!file.open(QIODevice::ReadOnly)){return;}QString htmlData = file.readAll().constData();file.close();m_WebChannel = new QWebChannel(ui->widget_WebView->page());//创建与一个网页交互的通道ui->widget_WebView->page()->setWebChannel(m_WebChannel);m_WebChannel->registerObject(QString("JSInterface"), ui->widget_WebView);//注册通道,ID为JSInterface,将在js文件中引用ui->widget_WebView->page()->load(QUrl(htmlPath));//加载网页,必须在通道注册后
最后即可显示:
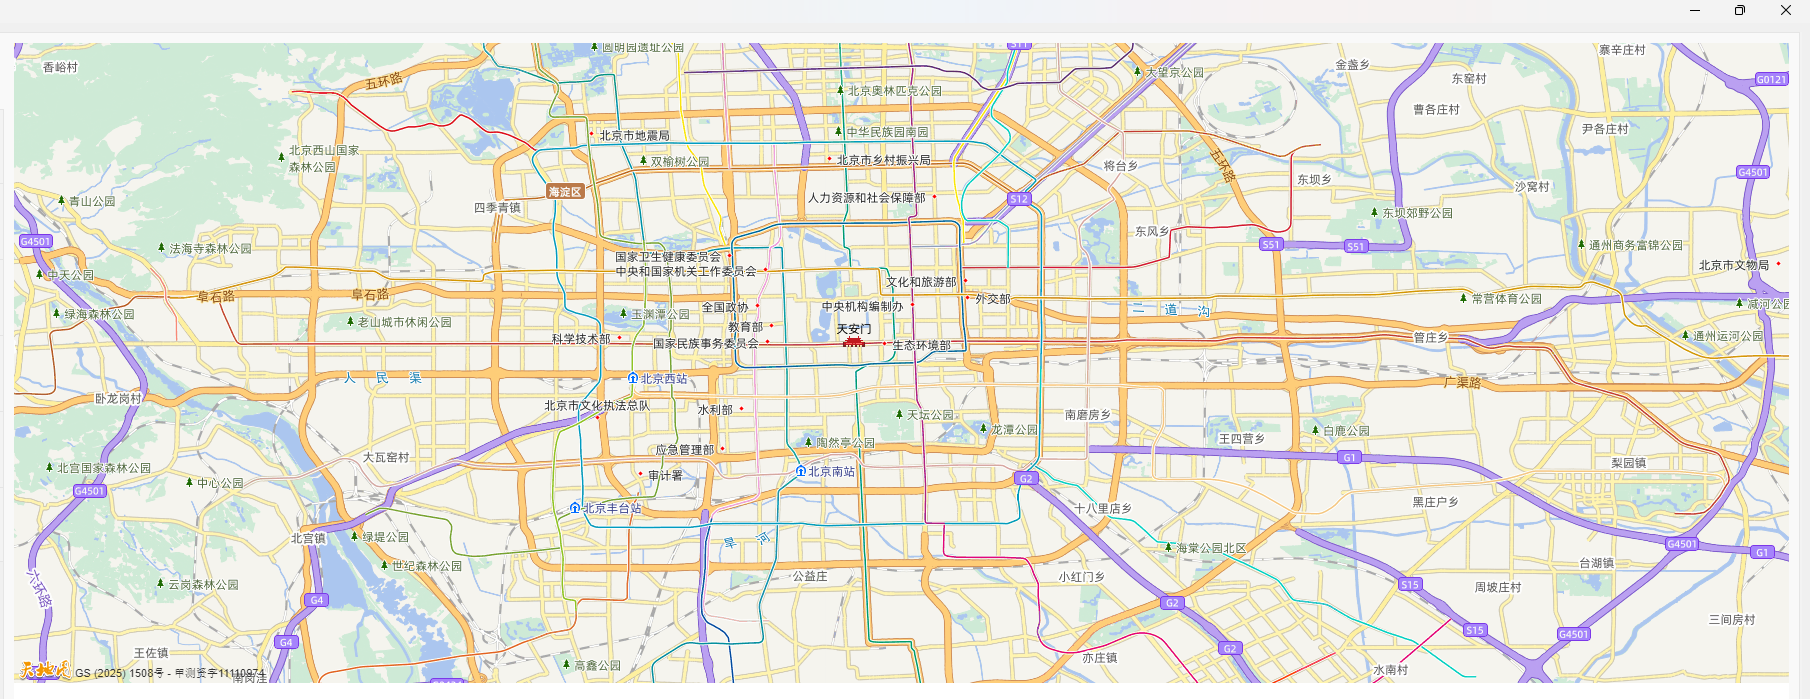
目前刚接触到地图这块,后续具体功能未知,一般来说可在开放的api中设置,挺强大的
天地图API例子