[SpringBoot]Spring MVC(4.0)
获取Header
传统获取 header
从 HttpServletRequest 中获取
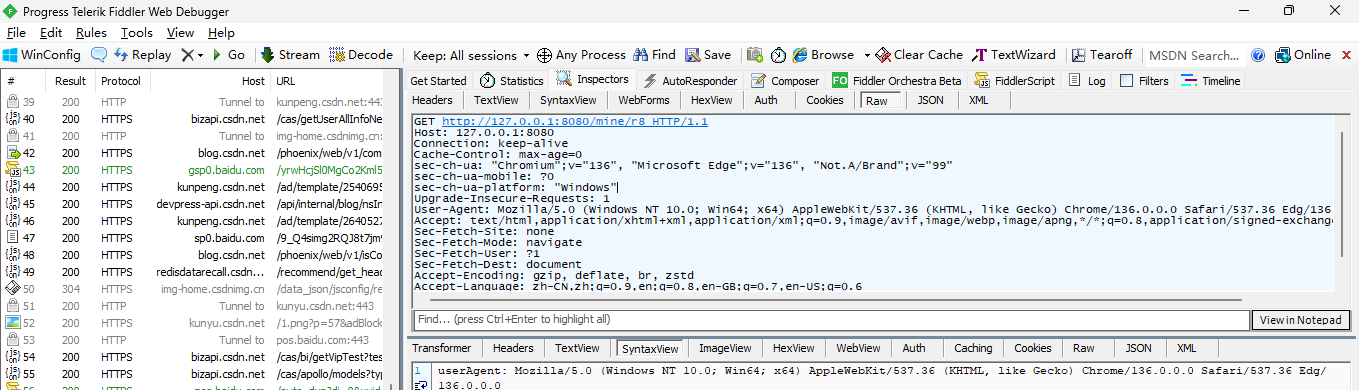
@RequestMapping("/r8")public String r8(HttpServletRequest request) {String userAgent = request.getHeader("User-Agent");return "userAgent: "+userAgent;}
使用浏览器访问后,得到如下:

通过Fiddler观察, 获取的 User-Agent 是否正确。
 使用@RequestHeader注解 简洁获取Header
@RequestMapping("/r9")public String r9(@RequestHeader("User-Agent") String userAgent) {return userAgent;}

关于SpringMVC 响应传递信息
返回静态页面
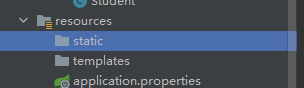
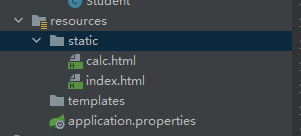
创建前端页面 index.html(注意是在resources/static 目录下)。
创建一个前端代码html文件
<!doctype html>
<html lang="en"><head><meta charset="UTF-8"><meta name="viewport"content="width=device-width, user-scalable=no, initial-scale=1.0, maximum-scale=1.0, minimum-scale=1.0"><meta http-equiv="X-UA-Compatible" content="ie=edge"><title>用户登录首页</title>
</head><body>我是Index页面。
</body></html>
后端代码:
package com.bit.demo;import org.springframework.web.bind.annotation.RequestMapping;
import org.springframework.web.bind.annotation.RestController;@RequestMapping("/res")
@RestController
public class ResponseController {@RequestMapping("/index")public String index() {return "/index.html";}
}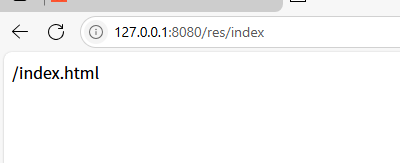
发现, 页面未正确返回, http 响应把 “/index.html” 当做了 http响应正文的数据。
那Spring MVC如何才能识别出来 index.html 是一个静态页面, 并进行返回呢?
把 @RestController 改为 @Controller

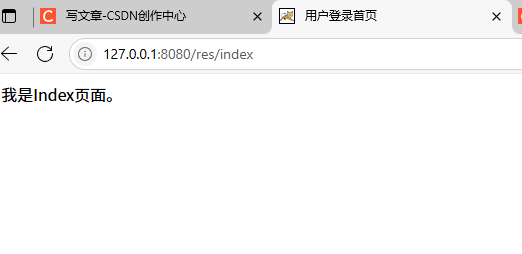
发现页面正确展示了。
@RestController 和 @Controller 有着什么样的关联和区别呢?
我们来看@RestController 的源码
@Target({ElementType.TYPE})
@Retention(RetentionPolicy.RUNTIME)
@Documented
@Controller
@ResponseBody
public @interface RestController {@AliasFor(annotation = Controller.class)String value() default "";
}
不难发现有如下关系:
@RestController = @Controller + @ResponseBody。
@RestController 返回的是数据 。 @Controller 返回的是视图(页面)。可以推出@ResponseBody返回的是数据。
返回数据@ResponseBody
上面讲到, @ResponseBody 表示返回数据。我们来验证下:
import org.springframework.stereotype.Controller;
import org.springframework.web.bind.annotation.RequestMapping;
import org.springframework.web.bind.annotation.ResponseBody;@RequestMapping("/res")
@Controller
@ResponseBody
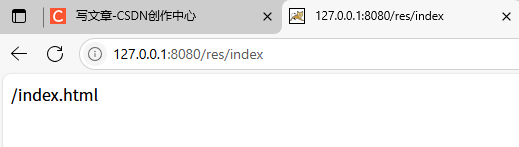
public class ResponseController {@RequestMapping("/index")public String index() {return "/index.html";}
}
加上 @ResponseBody 该方法就会把“/index.html" 当做一个数据返回给前端。
@ResponseBody 既是类注解, 又是方法注解。
如果作用在类上, 表示该类的所有方法, 返回的都是数据, 如果作用在方法上, 表示该方法返回的是数据。
返回HTML代码片段
后端返回数据时, 如果数据中有HTML代码, 也会被浏览器解析。
@RequestMapping("/returnHtml")@ResponseBodypublic String html() {return "<h1>Hello,HTML</h1>";}
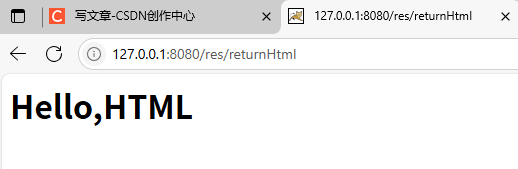
观察响应的信息

响应中的 Content-Type 常见取值有以下几种:
1.text/html : body 数据格式是 HTML。
2.text/css : body 数据格式是 CSS。
3. application/javascript : body 数据格式是 JavaScript。
4. application/json : body 数据格式是 JSON。
设置Header(了解即可)
Http 响应报头也会向客户端传递一些附加信息, 比如服务程序的名称,请求的资源已移动到新地址等, 如:
Content-Type, Local等.
综合练习
加法计算器
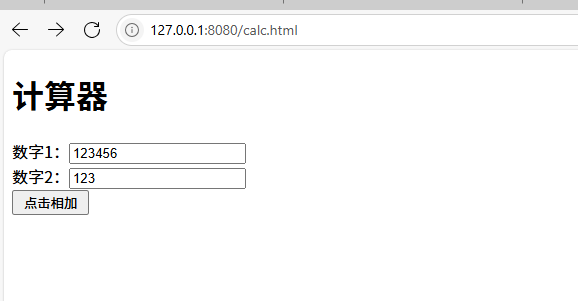
需求: 输入两个整数, 点击 “点击相加” 按钮 就显示计算结果.
1.准备工作
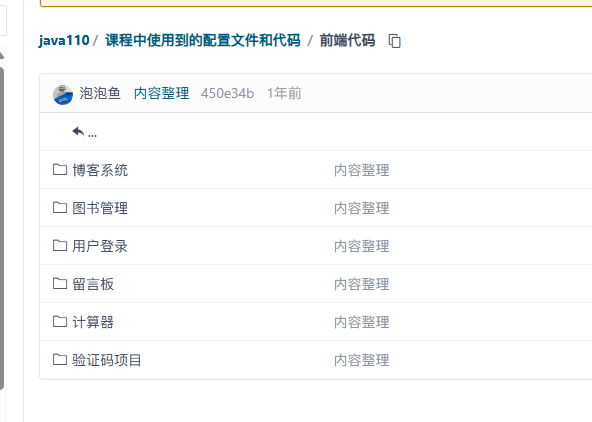
并把 calc.html 复制到static 目录下
这个文件去码云上下载即可Java110期: Java110期JavaEE进阶 版书+代码
2. 约定前后端交互接口
接口设计:(其实也就是前端和后端进行协商)
1. 接收什么是看后端完成这个功能需要什么.
2. 返回什么是看前端页面展示需要什么.
可以得出
路径: calc/sum
参数: num1 和 num2
返回值: sum
3.服务器代码
import org.springframework.web.bind.annotation.RequestMapping;
import org.springframework.web.bind.annotation.RestController;@RequestMapping("/calc")
@RestController
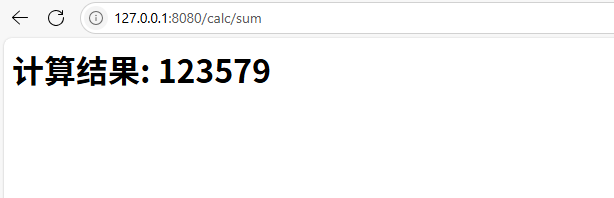
public class CalcController {@RequestMapping("/sum")public String sum(Integer num1,Integer num2) {Integer sum = num1+num2;return "<h1>计算结果: "+sum+"</h1>";}
}
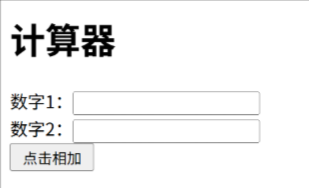
4. 前端页面代码
<!DOCTYPE html>
<html lang="en">
<head><meta charset="UTF-8"><meta name="viewport" content="width=device-width, initial-scale=1.0"><title>Document</title>
</head>
<body><form action="calc/sum" method="post"><h1>计算器</h1>数字1:<input name="num1" type="text"><br>数字2:<input name="num2" type="text"><br><input type="submit" value=" 点击相加 "></form>
</body></html>
注意点: 前端接收的参数为num1 和 num2, 那么后端方法参数也必须是 num1 和 num2.(顺序无所谓,名字必须和前端保持一致
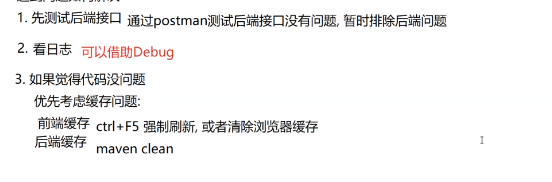
当我们遇到报错的时候,我们的解决方法一般如下:
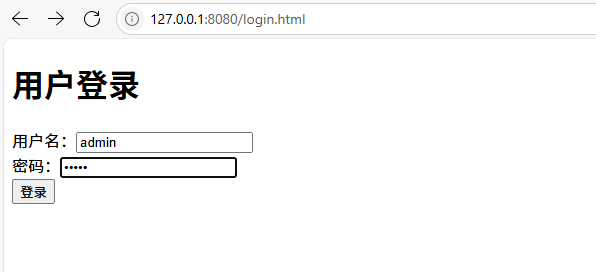
用户登录
需求: 用户输入账号和密码, 后端进行校验密码是否正确.
1. 如果不正确, 前端进行用户告知.
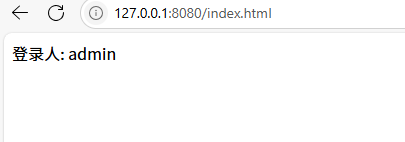
2. 如果正确, 跳转到首页. 首页显示当前登录用户.
3. 后续再访问首页, 可以获取到登录用户信息.

1.准备工作
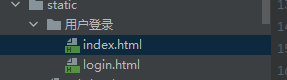
首先像之前一样把前端代码导入
2.约定前后端交互接口
用户登录:
url: /user/login
参数: userName,password
返回结果: true / false
获取当前登录用户:
url: /user/index
参数: 无
返回结果: userName
3.实现服务器端代码
package com.bit.demo;import jakarta.servlet.http.HttpSession;
import org.springframework.util.StringUtils;
import org.springframework.web.bind.annotation.RequestMapping;
import org.springframework.web.bind.annotation.RestController;
import org.springframework.web.bind.annotation.SessionAttribute;@RequestMapping("/user")
@RestController
public class LoginController {@RequestMapping("/login")public Boolean login(String userName, String password, HttpSession session) {//校验用户名和密码是否为空
//        if(userName == null || userName.length() == 0 || password == null || password.length() == 0) {
//            return false;
//        }//上面代码可以改写成 ↓, 其实和上面的代码是类似的if(!StringUtils.hasLength(userName) || !StringUtils.hasLength(password)) {return false;}//注意接下来的写法, 由于已经对 userName进行判断处理, 所以userName不会为null.if("admin".equals(userName) && "admin".equals(password)) {//从需求上看: 如果成功登录就需要 获取用户名,// 所以这里得先设置 session, 将用户名放到session中, 后面得方法通过session 来获取.session.setAttribute("userName",userName);return true;}return false;}@RequestMapping("/index")public String getUserName(@SessionAttribute("userName") String userName) {return userName;}
}
4.前端页面代码
login.html :
<!DOCTYPE html>
<html lang="en"><head><meta charset="UTF-8"><title>登录页面</title>
</head><body><h1>用户登录</h1>用户名:<input name="userName1" type="text" id="userName"><br>密码:<input name="password1" type="password" id="password"><br><input type="button" value="登录" onclick="login()"><script src="https://cdn.bootcdn.net/ajax/libs/jquery/3.6.4/jquery.min.js"></script><script>//下列代码需要自己写,ajax必须要会:function login() {$.ajax({url:"/user/login",type:"post",data: {userName: $("#userName").val(),password: $("#password").val()},//http响应成功success:function(result) {if(result==true) {//页面跳转location.href = "index.html";//也可以写成// location.assign("index.html");}else {alert("密码错误");}}});}</script>
</body></html>