vLLM 本地部署Qwen大模型
1. 安装
pip install -U xformers torch torchvision torchaudio triton --index-url https://download.pytorch.org/whl/cu121
pip install modelscope vllm
2. 下载模型并测试
/root/t.py
from vllm import LLM, SamplingParams
import torch# 1. 加载模型(强制使用 float16)
llm = LLM(model='Qwen/Qwen2.5-1.5B-Instruct',dtype=torch.float16,  # 关键修正!trust_remote_code=True  # 如果模型需要自定义代码
)# 2. 配置生成参数
sampling_params = SamplingParams(temperature=0.7,top_p=0.9,max_tokens=100
)# 3. 生成文本
outputs = llm.generate(["请用中文解释人工智能的工作原理。"], sampling_params)# 4. 打印结果
for output in outputs:print(output.outputs[0].text)
启动 vLLM 的 OpenAI 兼容服务
命令行输入 vllm serve Qwen/Qwen2.5-1.5B-Instruct --port 9999 --dtype float16
参数说明:
-
--port 9999:指定服务端口(默认为8000)。 -
--dtype float16:强制使用float16精度(适配您的 V100 GPU)。
查看模型详情
curl http://localhost:9999/v1/models验证服务(列出模型)
在新终端运行:
curl http://localhost:9999/v1/models

调用服务
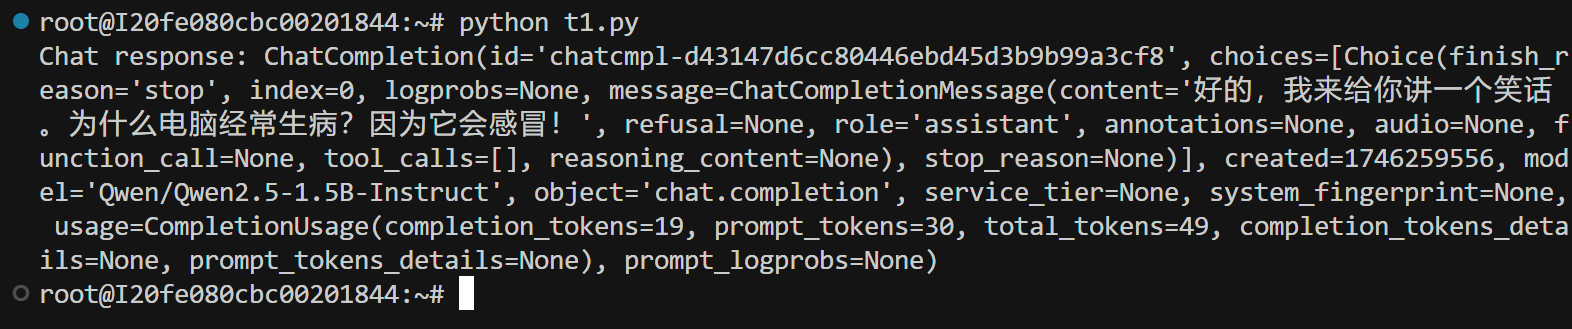
/root/t1.py
from openai import OpenAI
# Set OpenAI's API key and API base to use vLLM's API server.
openai_api_key = "EMPTY"
openai_api_base = "http://localhost:9999/v1"client = OpenAI(api_key=openai_api_key,base_url=openai_api_base,
)chat_response = client.chat.completions.create(model="Qwen/Qwen2.5-1.5B-Instruct",messages=[{"role": "system", "content": "You are a helpful assistant."},{"role": "user", "content": "你好,我失业了,给我讲个笑话吧"},]
)
print("Chat response:", chat_response)