SpringBoot之SpringAl实现AI应用-快速搭建
概述
Spring Al是Spring生态中应用于人工智能领域的应用框架,它的目标是将将Spring生态系统的设计原则(如可移植性、模块化设计)应用于AI领域,并在AI领域中推广使用POJO(Plain Old Java Objects)作为应用的构建模块。
SpringAI能做什么?
支持目前主流大语言模型平台,例如 OpenAI、Microsoft、Amazon、Google 和 Huggingface;
支持阻塞与流式的文本对话;
支持图像生成(当前仅限OpenAI的dall-e-*模型和SD);
支持嵌入模型;
支持LLM生成的内容转为POJO;
支持主流的向量数据库或平台:Azure Vector Search, Chroma, Milvus, Neo4j, PostgreSQL/PGVector, PineCone, Qdrant, Redis 和 Weaviate
支持函数调用
支持自动装配和启动器(与Spring Boot完美集成);
提供用于数据处理工程的ETL框架;
准备工作一
1.JDK版本:17(因为SpringBoot3.X要求idk最低版本是17,而SpringAl又直接依赖SpringBoot3.x)
2.maven版本:3.8.6
3.idea社区版:下载地址下载 IntelliJ IDEA
4.SpringBott版本:3.2.5
5.SpringAI版本:1.0.0-M6(网上搜的好多帖子用的都是0.8.1,但是我这边尝试都失败了,最后看了一下maven仓库:https://mvnrepository.com/artifact/org.springframework.ai/spring-ai-core,直接使用最新的)
准备工作二
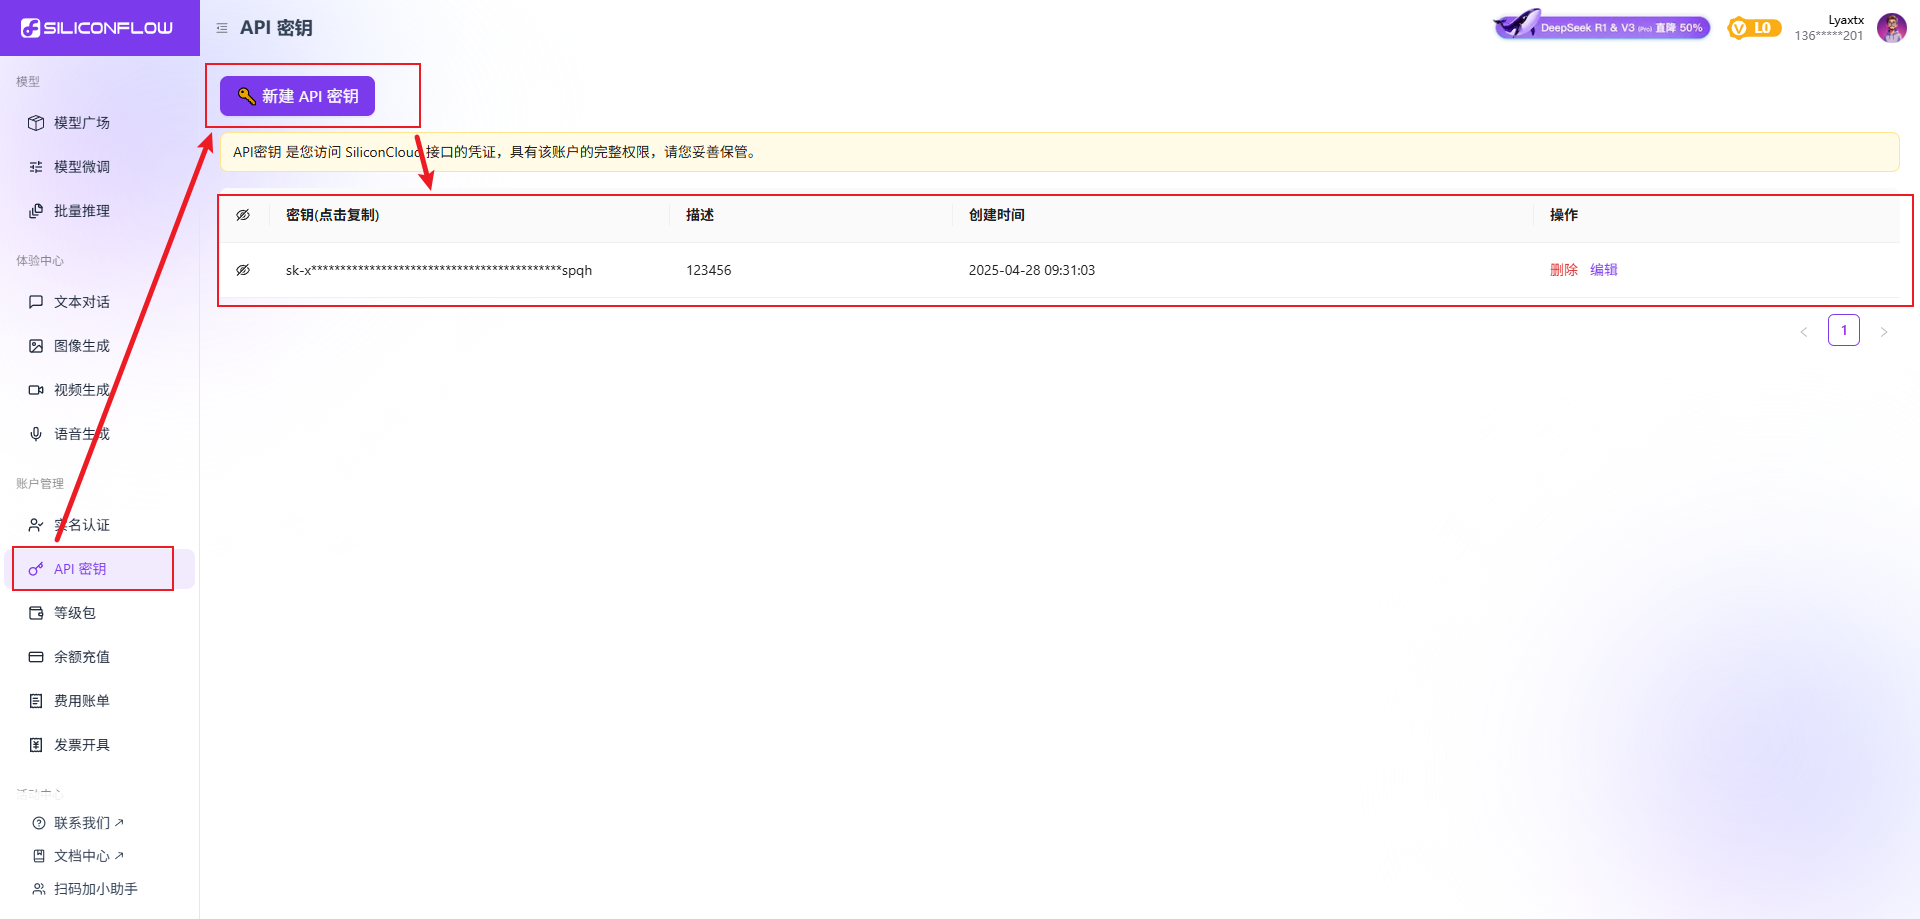
申请AI大模型密钥
首先尝试chatGpt,网上搜的好的帖子都是使用:GitCode - 全球开发者的开源社区,开源代码托管平台里面免费的key,但是现在好像不能用了
又尝试了阿里云的百炼:百炼控制台(收费)
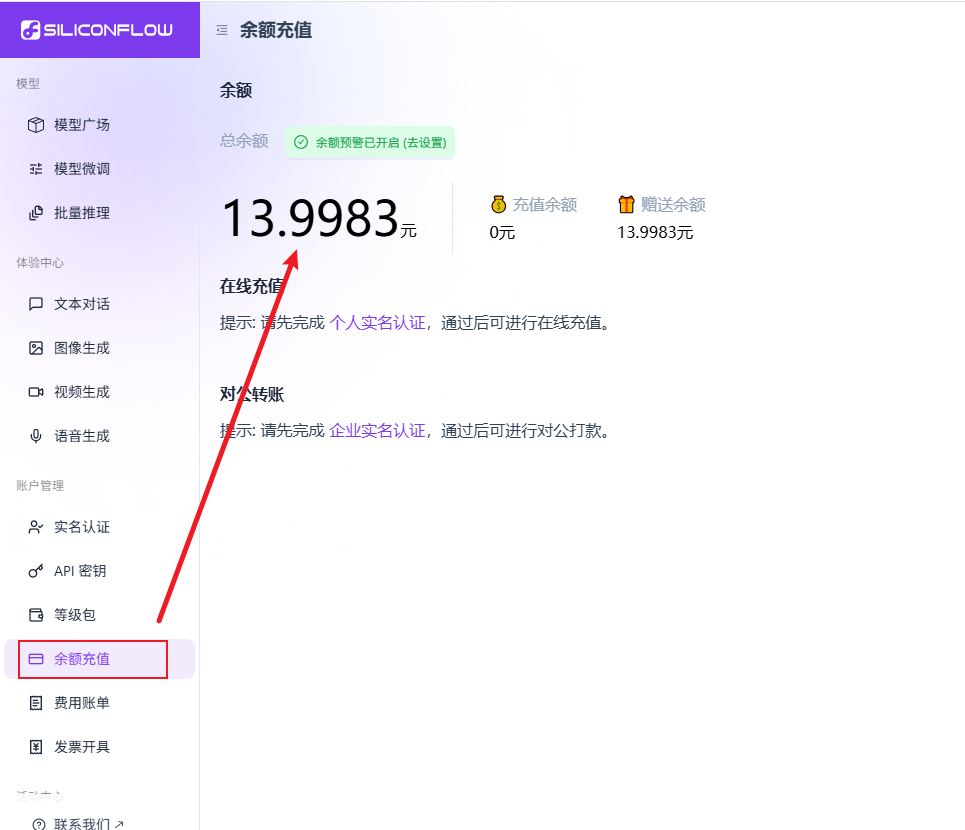
最终选择了siliconflow:https://cloud.siliconflow.cn/,这个里面有很多AI大模型(deepseek、通义千问、kimi、智谱等主流AI大模型),而且还赠送了14元的余额
创建项目
因为使用的是idea社区版,所以创建项目的时候不能使用Spring,只能创建java项目,所以框架什么的都得自己一点一点进行搭建
pom文件
<?xml version="1.0" encoding="UTF-8"?>
<project xmlns="http://maven.apache.org/POM/4.0.0"xmlns:xsi="http://www.w3.org/2001/XMLSchema-instance"xsi:schemaLocation="http://maven.apache.org/POM/4.0.0 http://maven.apache.org/xsd/maven-4.0.0.xsd"><modelVersion>4.0.0</modelVersion><groupId>org.example</groupId><artifactId>SpringAI_Demo</artifactId><version>1.0-SNAPSHOT</version><parent><groupId>org.springframework.boot</groupId><artifactId>spring-boot-starter-parent</artifactId><version>3.2.5</version><relativePath/> <!-- lookup parent from repository --></parent><properties><java.version>17</java.version><spring-ai.version>1.0.0-M6</spring-ai.version><maven.compiler.source>17</maven.compiler.source><maven.compiler.target>17</maven.compiler.target><project.build.sourceEncoding>UTF-8</project.build.sourceEncoding></properties><dependencyManagement><dependencies><dependency><groupId>org.springframework.ai</groupId><artifactId>spring-ai-bom</artifactId><version>${spring-ai.version}</version><type>pom</type><scope>import</scope></dependency></dependencies></dependencyManagement><dependencies><!--    常规jar--><dependency><groupId>org.springframework.boot</groupId><artifactId>spring-boot-starter-web</artifactId></dependency><dependency><groupId>org.springframework.boot</groupId><artifactId>spring-boot-starter-test</artifactId><scope>test</scope></dependency><dependency><groupId>org.springframework.boot</groupId><artifactId>spring-boot-starter-actuator</artifactId></dependency><!--    springAI--><dependency><groupId>org.springframework.ai</groupId><artifactId>spring-ai-openai-spring-boot-starter</artifactId></dependency><!--    lombok--><dependency><groupId>org.projectlombok</groupId><artifactId>lombok</artifactId><optional>true</optional></dependency></dependencies><build><resources><resource><directory>src/main/java</directory><!--所在的目录--><includes><!--包括目录下的.properties,.xml 文件都会被扫描到--><include>**/*.properties</include><include>**/*.xml</include></includes><filtering>false</filtering></resource><resource><directory>src/main/resources</directory><includes><include>**/*.*</include></includes></resource></resources><plugins><plugin><groupId>org.springframework.boot</groupId><artifactId>spring-boot-maven-plugin</artifactId><version>3.2.5</version></plugin></plugins></build><repositories><repository><id>spring-milestones</id><name>Spring Milestones</name><url>https://repo.spring.io/milestone</url><snapshots><enabled>false</enabled></snapshots></repository></repositories>
</project>
因为使用的是SpringBoot框架,所以dependencyManagement和真正要使用的依赖放在了同一个pom文件下

又因为阿里云的maven仓库更新比官方仓库慢,所以还需要指定依赖拉取的仓库

Application(启动文件)
import org.springframework.boot.SpringApplication;
import org.springframework.boot.autoconfigure.SpringBootApplication;/*** @Author majinzhong* @Date 2025/4/28 09:56* @Version 1.0*/
@SpringBootApplication
public class Application {public static void main(String[] args) {SpringApplication.run(Application.class, args);}
}
AiConfig(配置文件)
import org.springframework.ai.chat.client.ChatClient;
import org.springframework.ai.chat.memory.InMemoryChatMemory;
import org.springframework.context.annotation.Bean;
import org.springframework.context.annotation.Configuration;/*** @Author majinzhong* @Date 2025/4/28 10:34* @Version 1.0*/
@Configuration
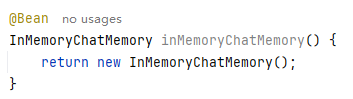
public class AiConfig {@BeanChatClient chatClient(ChatClient.Builder builder) {return builder.defaultSystem("你是一个智能机器人,你的名字叫 Spring AI智能机器人").build();}@BeanInMemoryChatMemory inMemoryChatMemory() {return new InMemoryChatMemory();}
}
这个配置文件是SpringAI需要的配置
方法一:将ChatClient注入到Spring容器里面(SpringAI里最主要的就是ChatClient)

方法二:对话记忆所需要的东西(Spring AI提供了Advisors API,MessageChatMemoryAdvisor主要实现对话记忆,本文基于内存的方式,所以直接在配置类中新增了内存记忆的Bean)
application.yml
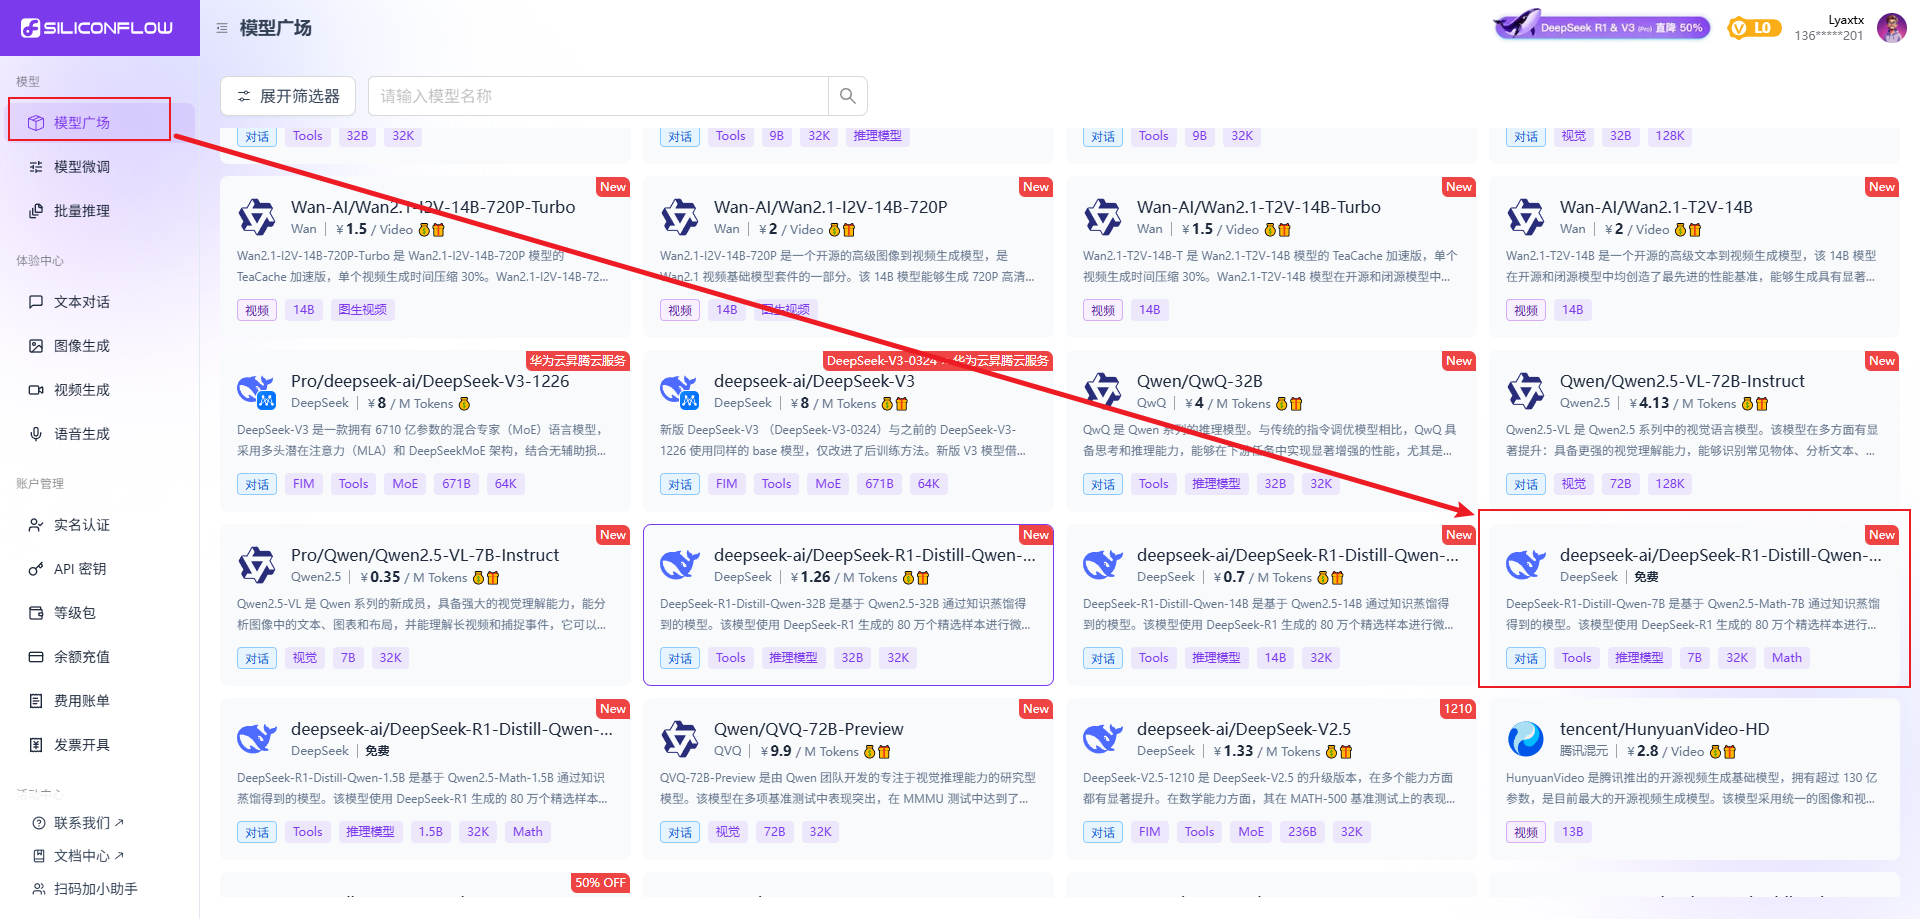
server:port: 3210spring:ai:openai:base-url: https://api.siliconflow.cnapi-key: #你自己申请的keychat:options:model: deepseek-ai/DeepSeek-R1-Distill-Qwen-7BSimpleAiController(接口类)
import org.springframework.ai.chat.client.ChatClient;
import org.springframework.ai.chat.client.advisor.MessageChatMemoryAdvisor;
import org.springframework.ai.chat.client.advisor.SimpleLoggerAdvisor;
import org.springframework.ai.chat.memory.InMemoryChatMemory;
import org.springframework.http.MediaType;
import org.springframework.http.codec.ServerSentEvent;
import org.springframework.web.bind.annotation.*;
import reactor.core.publisher.Flux;import java.util.Map;/*** @Author majinzhong* @Date 2025/4/28 10:37* @Version 1.0*/
@CrossOrigin
@RestController
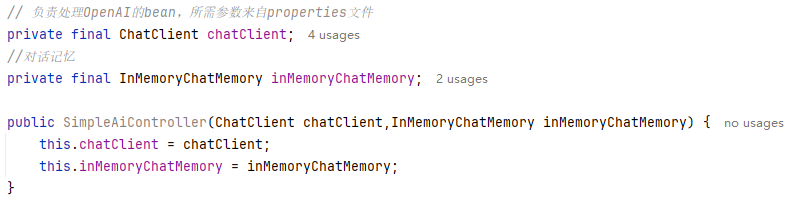
public class SimpleAiController {// 负责处理OpenAI的bean,所需参数来自properties文件private final ChatClient chatClient;//对话记忆private final InMemoryChatMemory inMemoryChatMemory;public SimpleAiController(ChatClient chatClient,InMemoryChatMemory inMemoryChatMemory) {this.chatClient = chatClient;this.inMemoryChatMemory = inMemoryChatMemory;}/*** 根据消息直接输出回答* @param map* @return*/@PostMapping("/ai/call")public String call(@RequestBody Map<String,String> map) {String message = map.get("message");return chatClient.prompt().user(message).call().content().trim();}/*** 根据消息采用流式输出* @param map* @return*/@PostMapping(value = "/ai/stream", produces = MediaType.TEXT_EVENT_STREAM_VALUE)public Flux<ServerSentEvent<String>> streamChat(@RequestBody Map<String,String> map) {String message = map.get("message");return chatClient.prompt(message).stream().content().map(content -> ServerSentEvent.builder(content).event("message").build())//问题回答结速标识,以便前端消息展示处理.concatWithValues(ServerSentEvent.builder("").build()).onErrorResume(e -> Flux.just(ServerSentEvent.builder("Error: " + e.getMessage()).event("error").build()));}/*** 对话记忆(多轮对话)* @param message* @return* @throws InterruptedException*/@GetMapping(value = "/ai/streamresp", produces = MediaType.TEXT_EVENT_STREAM_VALUE)public Flux<ServerSentEvent<String>> streamResp(@RequestParam(value = "message", defaultValue = "Hello!") String message){Flux<ServerSentEvent<String>> serverSentEventFlux = chatClient.prompt(message).advisors(new MessageChatMemoryAdvisor(inMemoryChatMemory, "123", 10), new SimpleLoggerAdvisor()).stream().content().map(content -> ServerSentEvent.builder(content).event("message").build())//问题回答结速标识,以便前端消息展示处理.concatWithValues(ServerSentEvent.builder("").build()).onErrorResume(e -> Flux.just(ServerSentEvent.builder("Error: " + e.getMessage()).event("error").build()));return serverSentEventFlux;}
}将ChatClient和InMemoryChatMemory进行依赖注入
call和stream方法
call:调用接口传入信息之后,SpringAI会等待AI大模型回答结束之后才会将结果返回
stream:调用接口之后,SpringAI在AI大模型回答之后立刻将返回的信息进行返回,直到AI大模型回答完毕(因为需要流式传输,后端需要支持流式响应,前端要能逐步接收并显示数据。可能需要使用Server-Sent Events(SSE)或者WebSocket。不过考虑到简单性,SSE可能更容易在Spring中实现,因为它是基于HTTP的,不需要额外的协议。)
对话记忆方法
上面代码中,对话记忆方法和流式方法大致相同,不同的一点在于
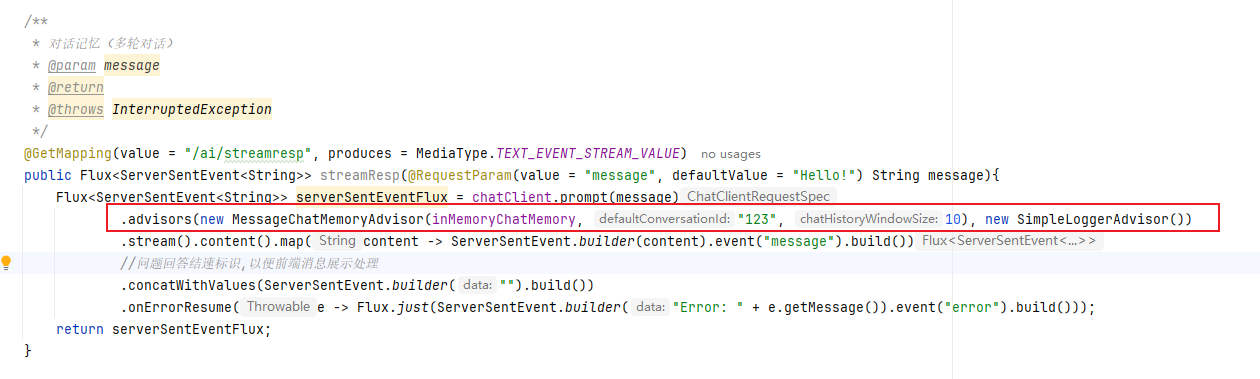
最核心的是如下代码
new MessageChatMemoryAdvisor(inMemoryChatMemory, "123", 10)其中,123表示用户id,10表示历史对话数据最多取10条,每次向大模型发送消息,实际上会把用户前面的问题一起组装到Prompt中。
index.html
在resource文件夹下新建templates文件夹,再新建index.html(因为本人前端能力实在有限,望海涵)
<!DOCTYPE html>
<html xmlns:th="http://www.thymeleaf.org">
<head><meta charset="UTF-8"><title>Reactive Flux Display</title><script src="https://unpkg.com/rxjs@^7/dist/bundles/rxjs.umd.min.js"></script><script th:src="@{/js/custom.js}"></script>
</head>
<body>
<div><input type="text" id="inputField" placeholder="Enter something..."><button id="sendButton">Submit</button><div id="displayArea"></div>
</div>
<script>// 自定义的JavaScript代码将放在这里document.getElementById('sendButton').addEventListener('click', function() {
const inputField = document.getElementById('inputField');
const displayArea = document.getElementById('displayArea');const input = inputField.value;
if (input) {displayArea.textContent = ""const url = `http://127.0.0.1:3210/ai/streamresp?message=${encodeURIComponent(input)}`;fetch(url).then(response => {if (response.ok)return response.body.pipeThrough(new TextDecoderStream()).pipeTo(new WritableStream({write(chunk) {displayArea.textContent += chunk.replace(/event:message/,"").replace(/data:/g, "").trim();}}));}).catch(error => console.error('Error:', error));
}
});
</script>
</body>
</html>
测试
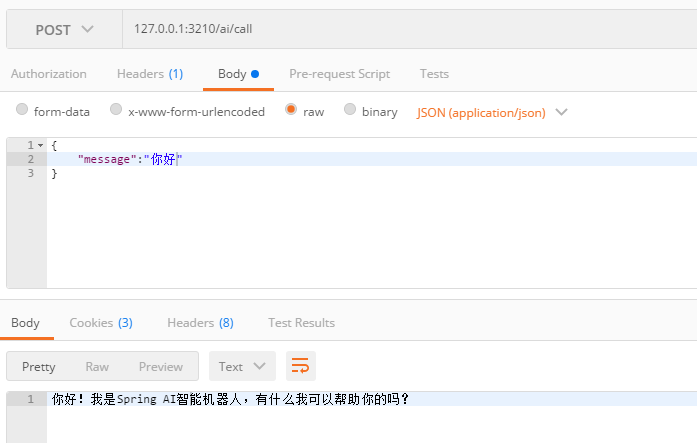
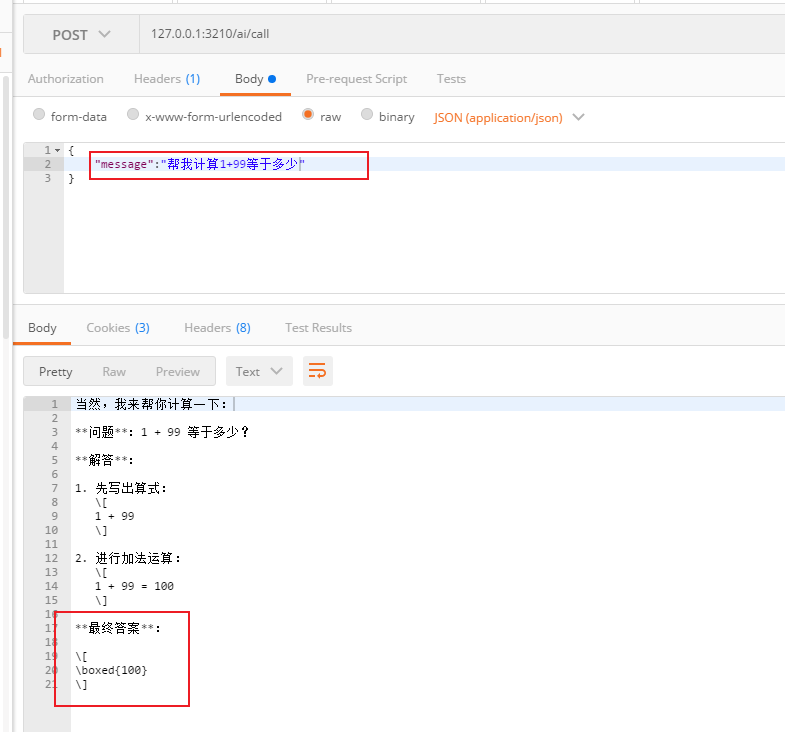
首先测试call方法
经过测试,call方法会返回一个完成的句子
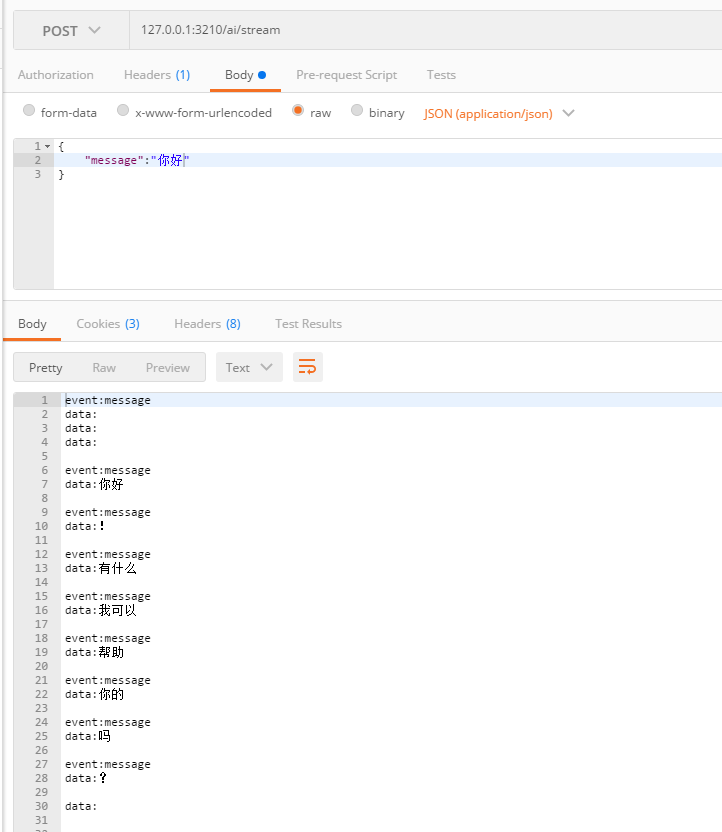
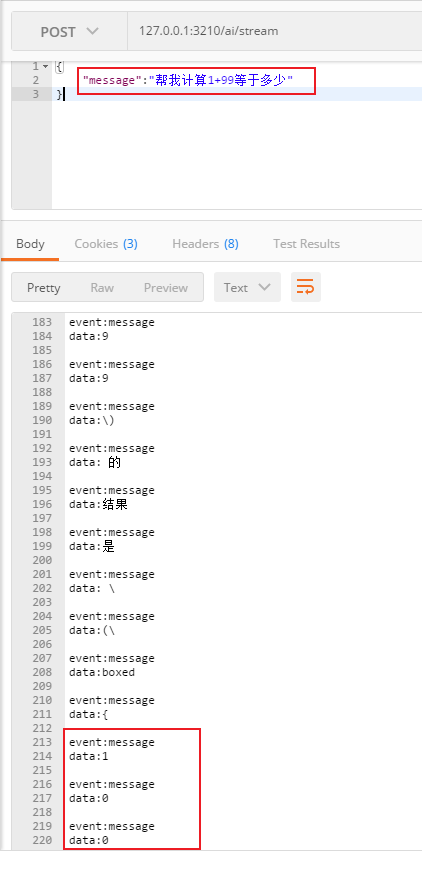
再测试流式方法
经过测试,stream会返回一个一个的断句(其中event:message和data:是因为使用了SSE的方式)
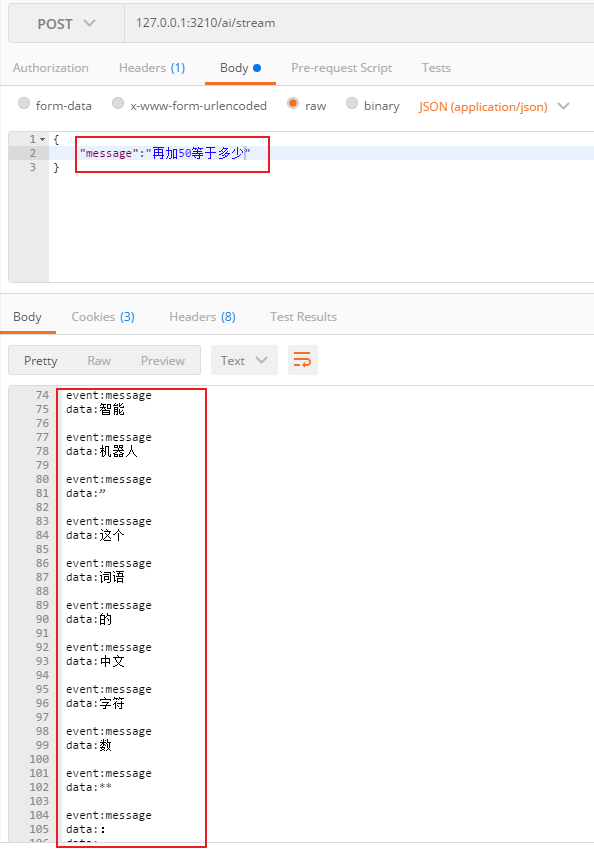
最后测试对话记忆
首先使用call方法测试

再使用普通流式对话进行测试
最后使用对话记忆的方法
使用前端代码吧,postman的流式方法太痛苦了,前端代码可以把结果拼在一起,并去掉多余字符


通过测试可以看出,使用对话记忆的接口可以使AI的回答前后又关联性