Linux服务器安全配置与NTP时间同步
Linux服务器安全配置与NTP时间同步
- 前言
- 一、服务器初始化配置
- 1.1. 配置国内Yum源
- 1.1.1. 下载阿里云CentOS 7源
- 1.1.2. 系统更新与基础工具安装
- 1.1.3. 网络连接验证
- 1.1.4. 主机名配置
- 二、时间同步配置
- 2.1. NTP服务配置
- 2.2. chrony服务配置(推荐)
- 三、防火墙安全配置
- 3.1. iptables配置方案
- 3.2. firewalld配置方案
- 四、SSH密钥认证配置
- 4.1. Linux客户端配置
- 4.2. Windows Xshell配置
- 五、SELinux安全管理
- 5.1. SELinux概述
- 5.2. SELinux工作模式
- 5.3. SELinux状态管理
- 5.4. SELinux工作原理
- 结语
前言
在企业级Linux服务器运维中,系统安全配置和时间同步是两项基础但至关重要的任务。本文将全面介绍如何从零开始配置一个安全的CentOS服务器环境,包括Yum源优化、基础工具安装、网络验证、主机名设置、时间同步(NTP与chrony)、防火墙配置(iptables与firewalld)、SSH密钥认证以及SELinux管理等核心内容。通过本文的指导,您将能够构建一个既安全又稳定的Linux服务器环境。
一、服务器初始化配置
1.1. 配置国内Yum源
#备份原有源文件
sudo mv /etc/yum.repos.d/CentOS-Base.repo /etc/yum.repos.d/CentOS-Base.repo.backup
1.1.1. 下载阿里云CentOS 7源
sudo curl -o /etc/yum.repos.d/CentOS-Base.repo https://mirrors.aliyun.com/repo/Centos-7.repo
# 安装EPEL源并配置阿里云镜像
sudo yum install -y epel-release
sudo sed -e 's|^metalink=|#metalink=|g' \-e 's|^#baseurl=|baseurl=|g' \-e 's|^//download.fedoraproject.org/pub|//mirrors.aliyun.com|g' \-i /etc/yum.repos.d/epel.repo /etc/yum.repos.d/epel-testing.repo
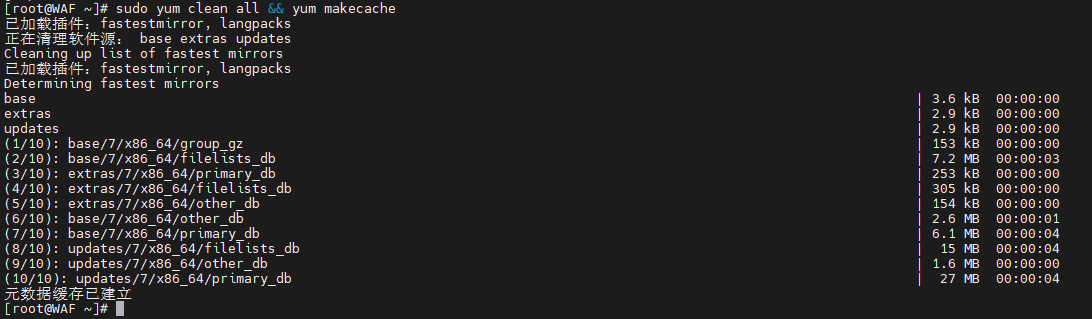
# 清理缓存并生成新缓存
sudo yum clean all && yum makecache
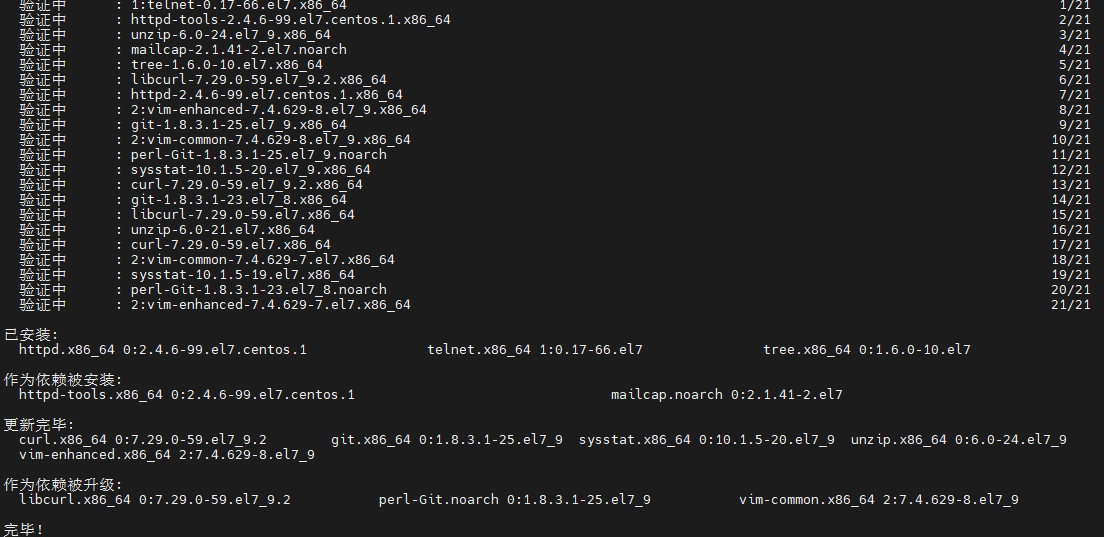
1.1.2. 系统更新与基础工具安装
# 更新整个系统
sudo yum update -y
# 安装常用工具集
sudo yum install -y vim-enhanced wget curl telnet net-tools bash-completion lsof sysstat htop tree git unzip lrzsz
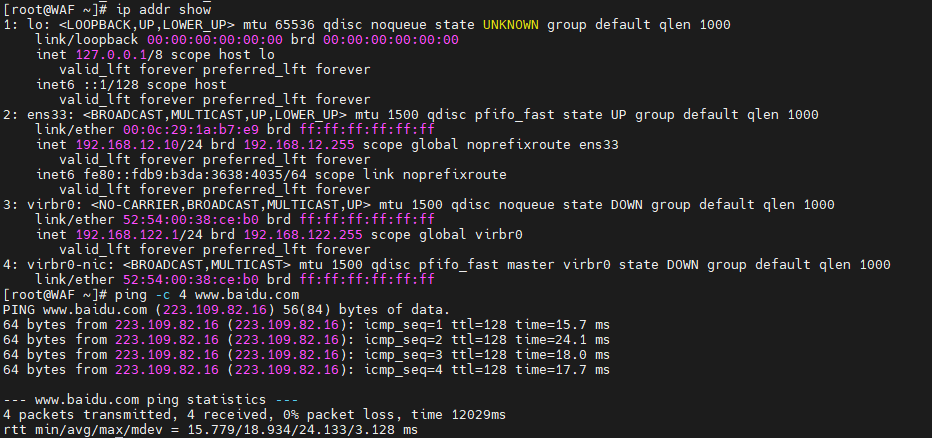
1.1.3. 网络连接验证
# 查看IP地址
ip addr show
# 测试DNS解析
ping -c 4 www.baidu.com
# 测试外网连通性
ping -c 4 114.114.114.114

1.1.4. 主机名配置
sudo hostnamectl set-hostname centos7-master
# 修改hosts文件
sudo vim /etc/hosts
# 添加:127.0.0.1 centos7-master

注:可以选择之前的配置。Linux配置本地及网络yum源
二、时间同步配置
2.1. NTP服务配置
安装NTP服务:
yum install -y ntp ntpdate
配置文件详解(/etc/ntp.conf)
# 权限控制
restrict [IP] mask 255.255.255.0 nomodify notrap
# 配置NTP服务器
server ntp1.aliyun.com
server ntp2.aliyun.com prefer
#服务管理:
systemctl start ntpd
systemctl enable ntpd
#状态检查:
ntpq -p
ntpstat
2.2. chrony服务配置(推荐)
# 安装chrony
sudo yum install -y chrony
# 启动服务
sudo systemctl start chronyd
sudo systemctl enable chronyd
# 强制同步
sudo chronyc -a makestep
# 查看状态
sudo chronyc sources -v

三、防火墙安全配置
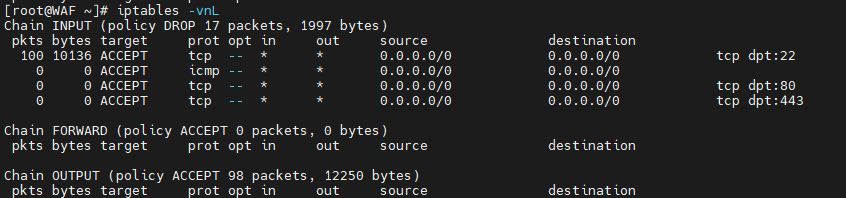
3.1. iptables配置方案
# 停止firewalld
systemctl stop firewalld
systemctl disable firewalld
# 安装iptables-services
yum install -y iptables-services
# 设置默认策略
iptables -P INPUT DROP
iptables -P FORWARD DROP
iptables -P OUTPUT ACCEPT
iptables -A INPUT -i lo -j ACCEPT
iptables -A INPUT -m state --state ESTABLISHED,RELATED -j ACCEPT
# 添加放行规则
iptables -A INPUT -p tcp --dport 22 -j ACCEPT    # SSH
iptables -A INPUT -p icmp -j ACCEPT              # ICMP
iptables -A INPUT -p tcp --dport 80 -j ACCEPT    # HTTP
iptables -A INPUT -p tcp --dport 443 -j ACCEPT   # HTTPS
# 保存并启用
service iptables save
systemctl start iptables
systemctl enable iptables
3.2. firewalld配置方案
# 启动firewalld
sudo systemctl start firewalld
sudo systemctl enable firewalld
# 放行常用服务
sudo firewall-cmd --permanent --add-service=ssh
sudo firewall-cmd --permanent --add-service=http
sudo firewall-cmd --permanent --add-service=https
# 重新加载配置
sudo firewall-cmd --reload
# 查看规则
sudo firewall-cmd --list-all
四、SSH密钥认证配置
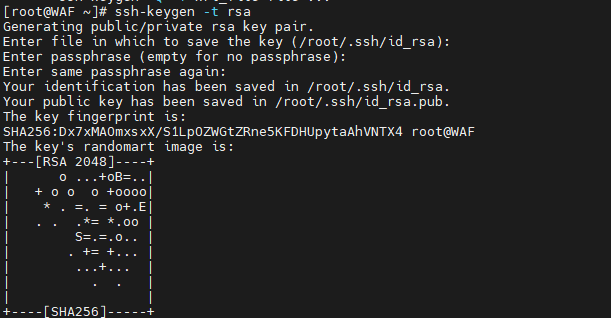
4.1. Linux客户端配置
# 生成密钥对
#Xshell
ssh-keygen -t rsa -P '' -f /root/.ssh/id_rsa
#MobaX
ssh-keygen -t rsa
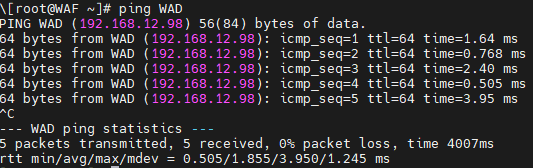
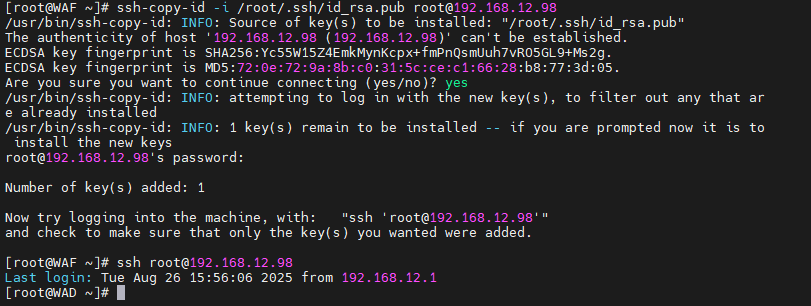
# 复制公钥到远程主机
ssh-copy-id -i /root/.ssh/id_rsa.pub root@192.168.12.98
# 测试登录
ssh root@192.168.10.23
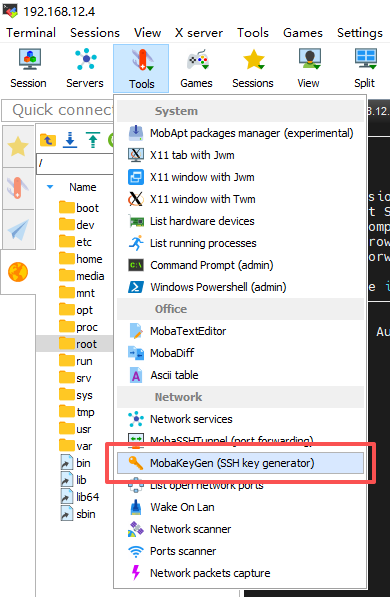
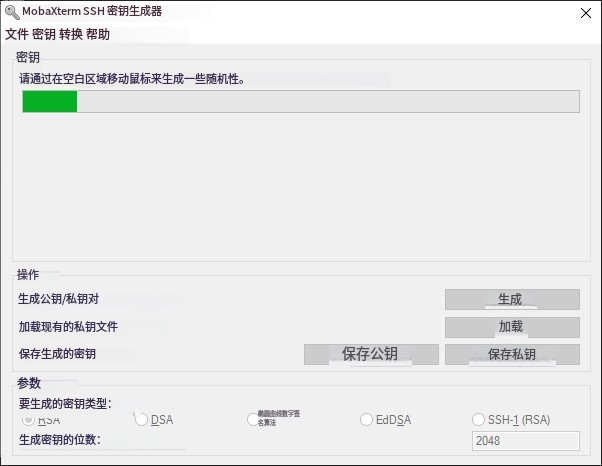
4.2. Windows Xshell配置
1.打开Xshell > 工具 > 用户密钥管理者 > 生成
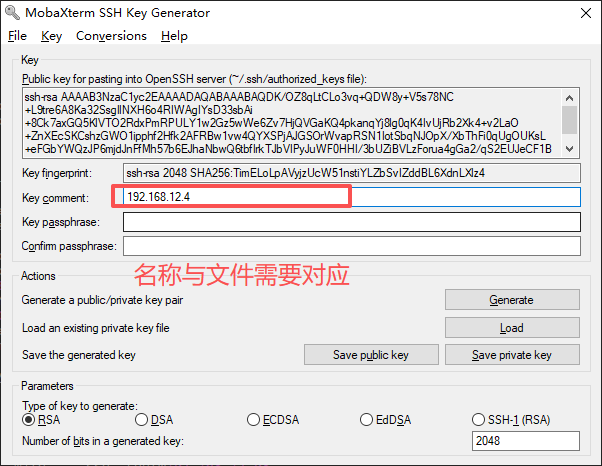
2.选择RSA算法,密钥长度2048位
3.密钥加密密码留空
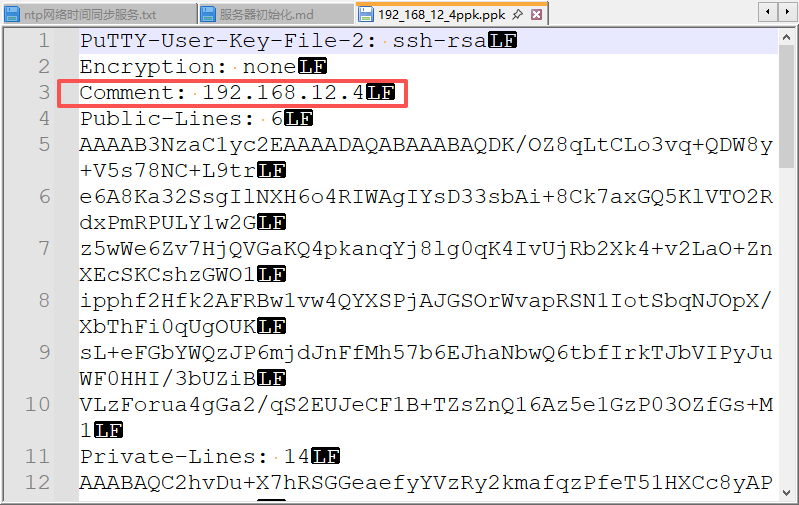
4.复制公钥到目标主机的/root/.ssh/authorized_keys文件
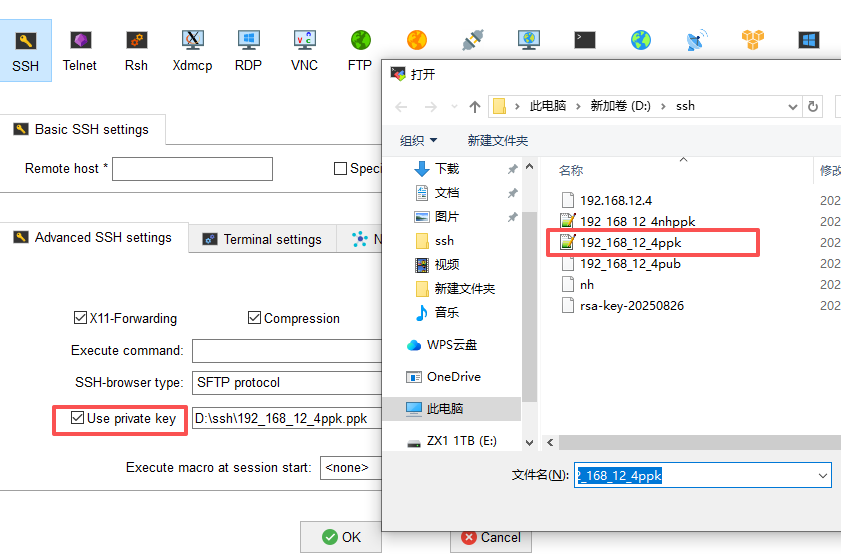
5.配置Xshell使用公钥认证连接
注:此处截图使用的是MobaXterm,公钥内容需要拷贝到的文件一致,仅需要注意登录选择对应的私钥文件和用户。
五、SELinux安全管理
5.1. SELinux概述
SELinux(Security Enhanced Linux)由美国国家安全局(NSA)开发,构建于Kernel之上,提供灵活的强制性访问控制结构,相当于B1级的军事安全性能。
5.2. SELinux工作模式
- enforcing:强制模式,违反策略的操作将被阻止
- permissive:警告模式,违反策略的操作将被记录但允许执行
- disabled:完全禁用SELinux
5.3. SELinux状态管理
# 查看当前状态
getenforce
# 临时切换模式
setenforce 0  # 切换为permissive
setenforce 1  # 切换为enforcing
# 永久修改需编辑配置文件
vim /etc/sysconfig/selinux
# SELINUX=enforcing|permissive|disabled
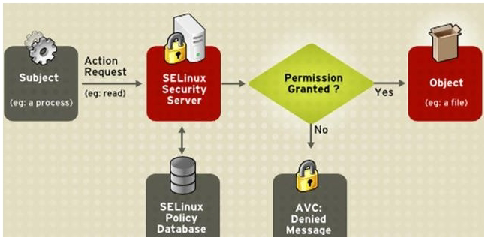
5.4. SELinux工作原理
结语
通过本文的系统性介绍,我们完成了从服务器初始化到安全加固的全过程配置。这些配置包括:
1.优化软件源加速安装过程
2.安装必备工具提升运维效率
3.配置精确的时间同步服务
4.构建严密的防火墙防护
5.实现安全的SSH密钥认证
6.启用SELinux增强系统安全
这些配置不仅提高了服务器的安全性,也为后续服务的稳定运行奠定了基础。建议在实际生产环境中,根据具体需求调整配置参数,并定期检查各项安全措施的运行状态。
记住,安全是一个持续的过程,而非一次性的任务。保持系统更新、定期审查日志、及时修补漏洞,才能确保服务器长期稳定安全地运行。