SpringBoot学习day1-SpringBoot的简介与搭建
- springboot
- 回顾spring
- springboot
- springboot搭建(新闻为例)
- springboot中的配置文件
- spring集成jdbc,mybatis,阿里巴巴数据源
- **SpringBoot 集成日志功能**(了解)
- 常用日志组件
- 日志级别
- springboot统一异常处理
springboot
回顾spring
spring是一个轻量级的IOC和AOP的一站式框架,为简化企业级应用开发而生.
优点:
轻量级
IOC
AOP
解耦 (代码之间的耦合度降低了, 例如IOC,由框架创建管理对象, AOP可以将业务代码和非业务代码分离)
一站式 (数据访问层 数据连接对象管理,mybatis,事务), 对web层的Servlet进行封装
开源
很方便的集成其他的框架
缺点:
1.配置是重量级的,而且大量是模板化配置
<!--属于很啰嗦的模板化配置--><!--开启aop自动代理--><aop:aspectj-autoproxy></aop:aspectj-autoproxy><!-- 开启注解事务管理 --><tx:annotation-driven transaction-manager="transactionManager"/><!--开启web层的注解--><mvc:annotation-driven></mvc:annotation-driven>2.项目中需要导入很多相关的依赖坐标(例如 json组件, 跨域过滤器…)
springboot
springboot是在spring的基础上,对spring应用的搭建进行简化,基于约定大于配置的思想(大家公认的做法,那么框架也就默认把一些功能直接实现了,例如我们现在都用注解开发),可以创建一个企业级应用程序, 内嵌服务器(tomcat),有量大核心功能:起步依赖: 当我们使用spring基本的依赖时, 自动就会将相关的依赖导入进来。自动配置: spring启动时,可以根据我们项目中配置的相关依赖,自动加载配置.
Spring Boot makes it easy to create stand-alone, production-grade Spring based Applications that you can "just run".
Wetake an opinionated view of the Spring platform and third-party libraries so you can get started with minimum fuss. Most Spring Boot applications need minimal Spring configuration
springboot搭建(新闻为例)
1.创建一个普通的maven项目
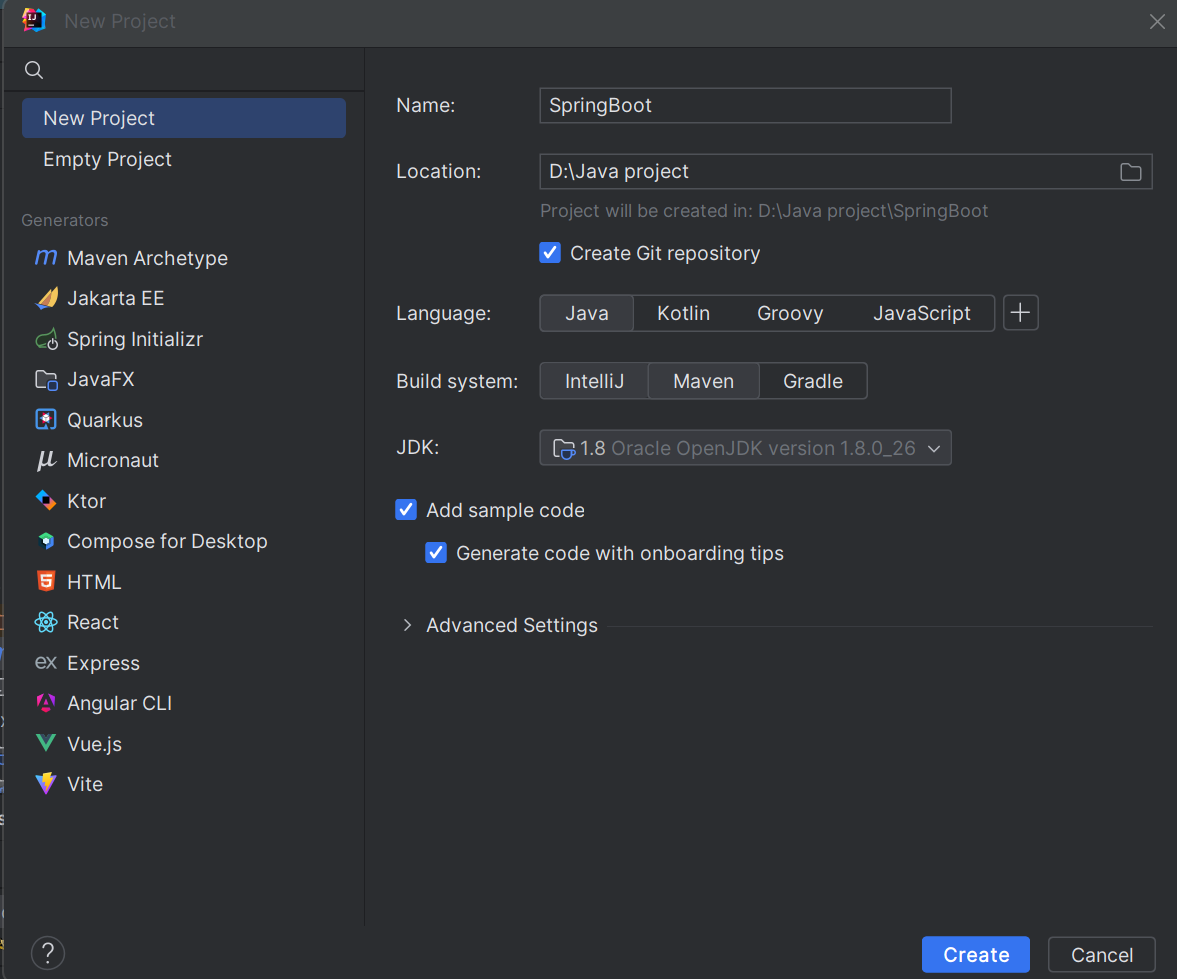
2.配置 pom.xml文件
<?xml version="1.0" encoding="UTF-8"?>
<project xmlns="http://maven.apache.org/POM/4.0.0"xmlns:xsi="http://www.w3.org/2001/XMLSchema-instance"xsi:schemaLocation="http://maven.apache.org/POM/4.0.0 http://maven.apache.org/xsd/maven-4.0.0.xsd"><modelVersion>4.0.0</modelVersion><groupId>org.example</groupId><artifactId>SpringBoot</artifactId><version>1.0-SNAPSHOT</version><properties><maven.compiler.source>8</maven.compiler.source><maven.compiler.target>8</maven.compiler.target><project.build.sourceEncoding>UTF-8</project.build.sourceEncoding><!--指定 jdk 版本--><java.version>1.8</java.version></properties><!--依赖的父级工程--><parent><groupId>org.springframework.boot</groupId><artifactId>spring-boot-starter-parent</artifactId><version>2.6.6</version><relativePath/></parent><!--添加基本的 springweb 依赖--><dependencies><dependency><groupId>org.springframework.boot</groupId><artifactId>spring-boot-starter-web</artifactId></dependency></dependencies><!--打包插件--><build><plugins><plugin><groupId>org.springframework.boot</groupId><artifactId>spring-boot-maven-plugin</artifactId><version>2.6.6</version></plugin></plugins></build></project>
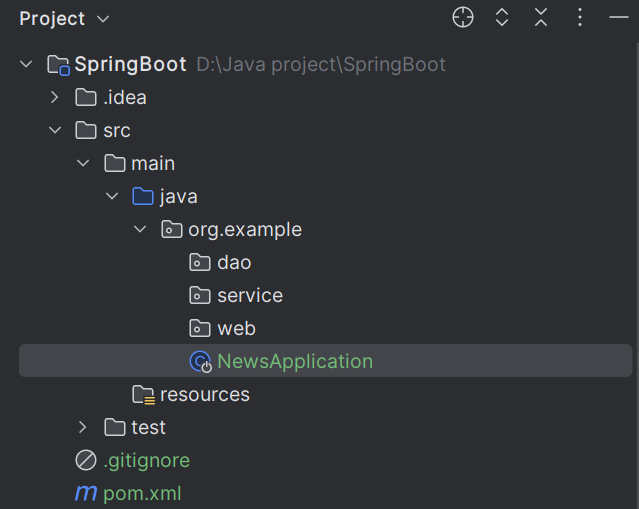
创建启动类NewsApplication
package org.example;import org.springframework.boot.autoconfigure.SpringBootApplication;
import org.springframework.boot.SpringApplication;
@SpringBootApplicationpublic class NewsApplication {public static void main(String[] args) {SpringApplication.run(NewsApplication.class);}
}
3.创建自定义的处理器(web包)
@RestController
@RequestMapping(path = "/loginCtl")
public class LoginController {@RequestMapping(path = "/login")public String login(){System.out.println("aaaaaaaaaaaaa");return "success";}
}
启动mian
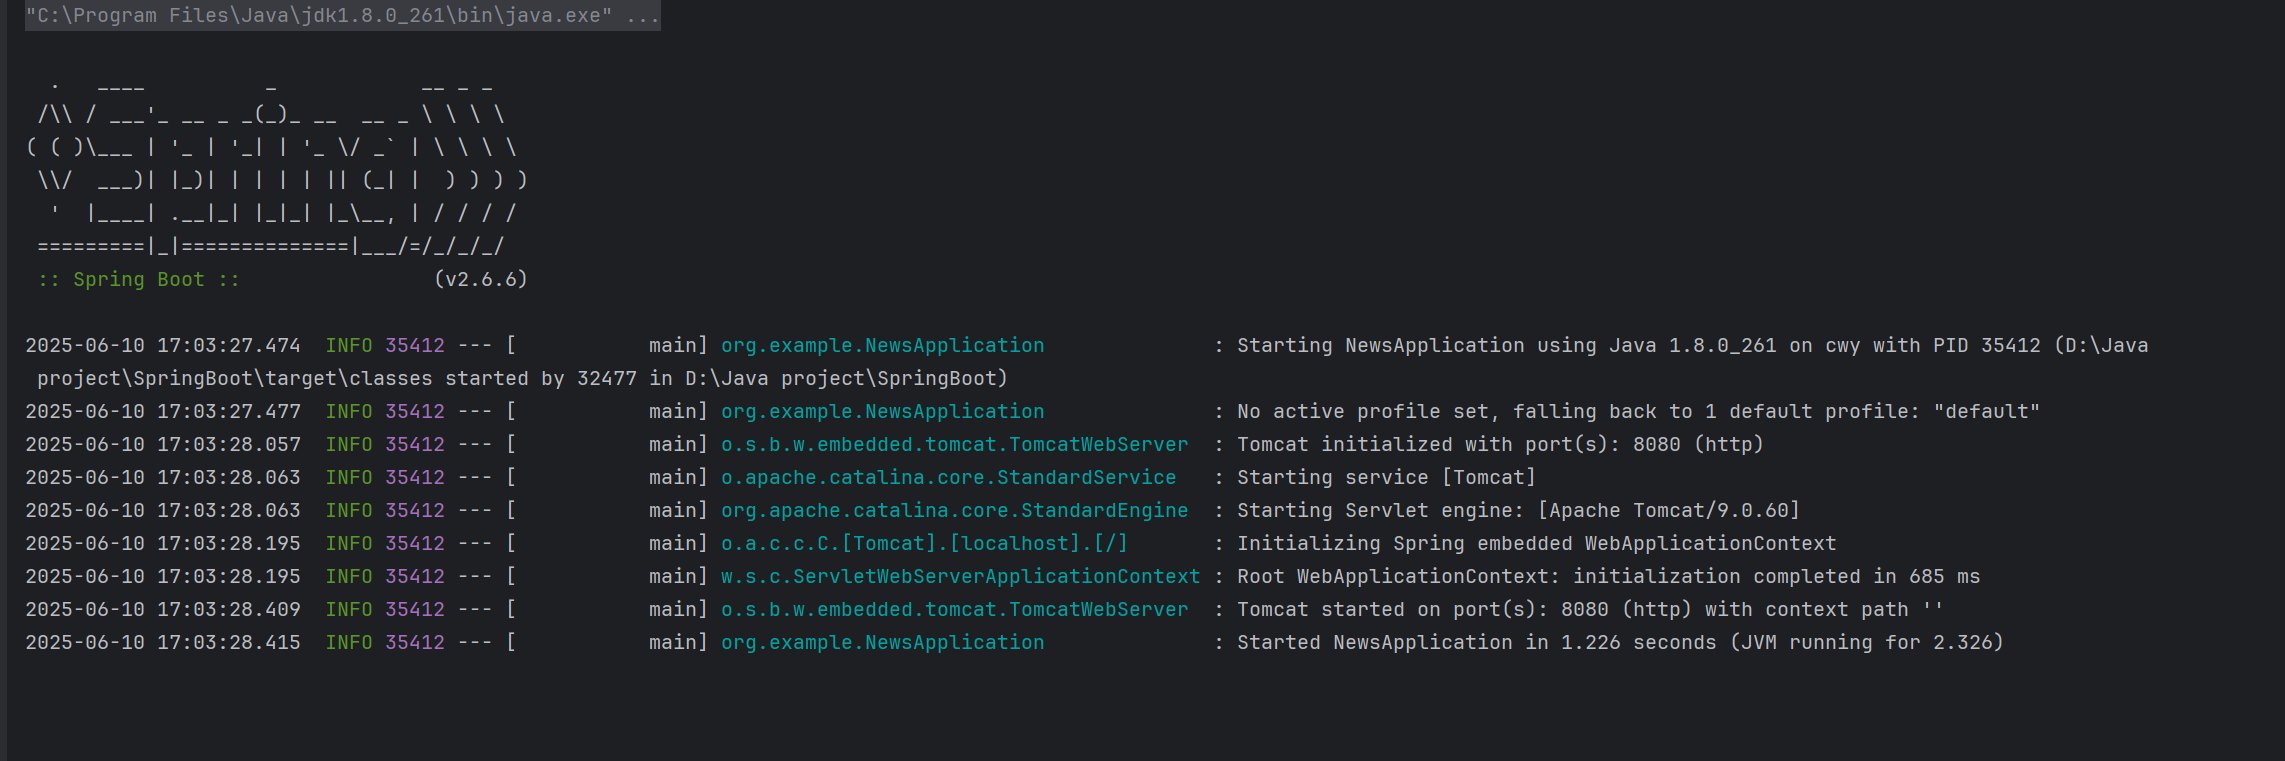
启动成功!!!
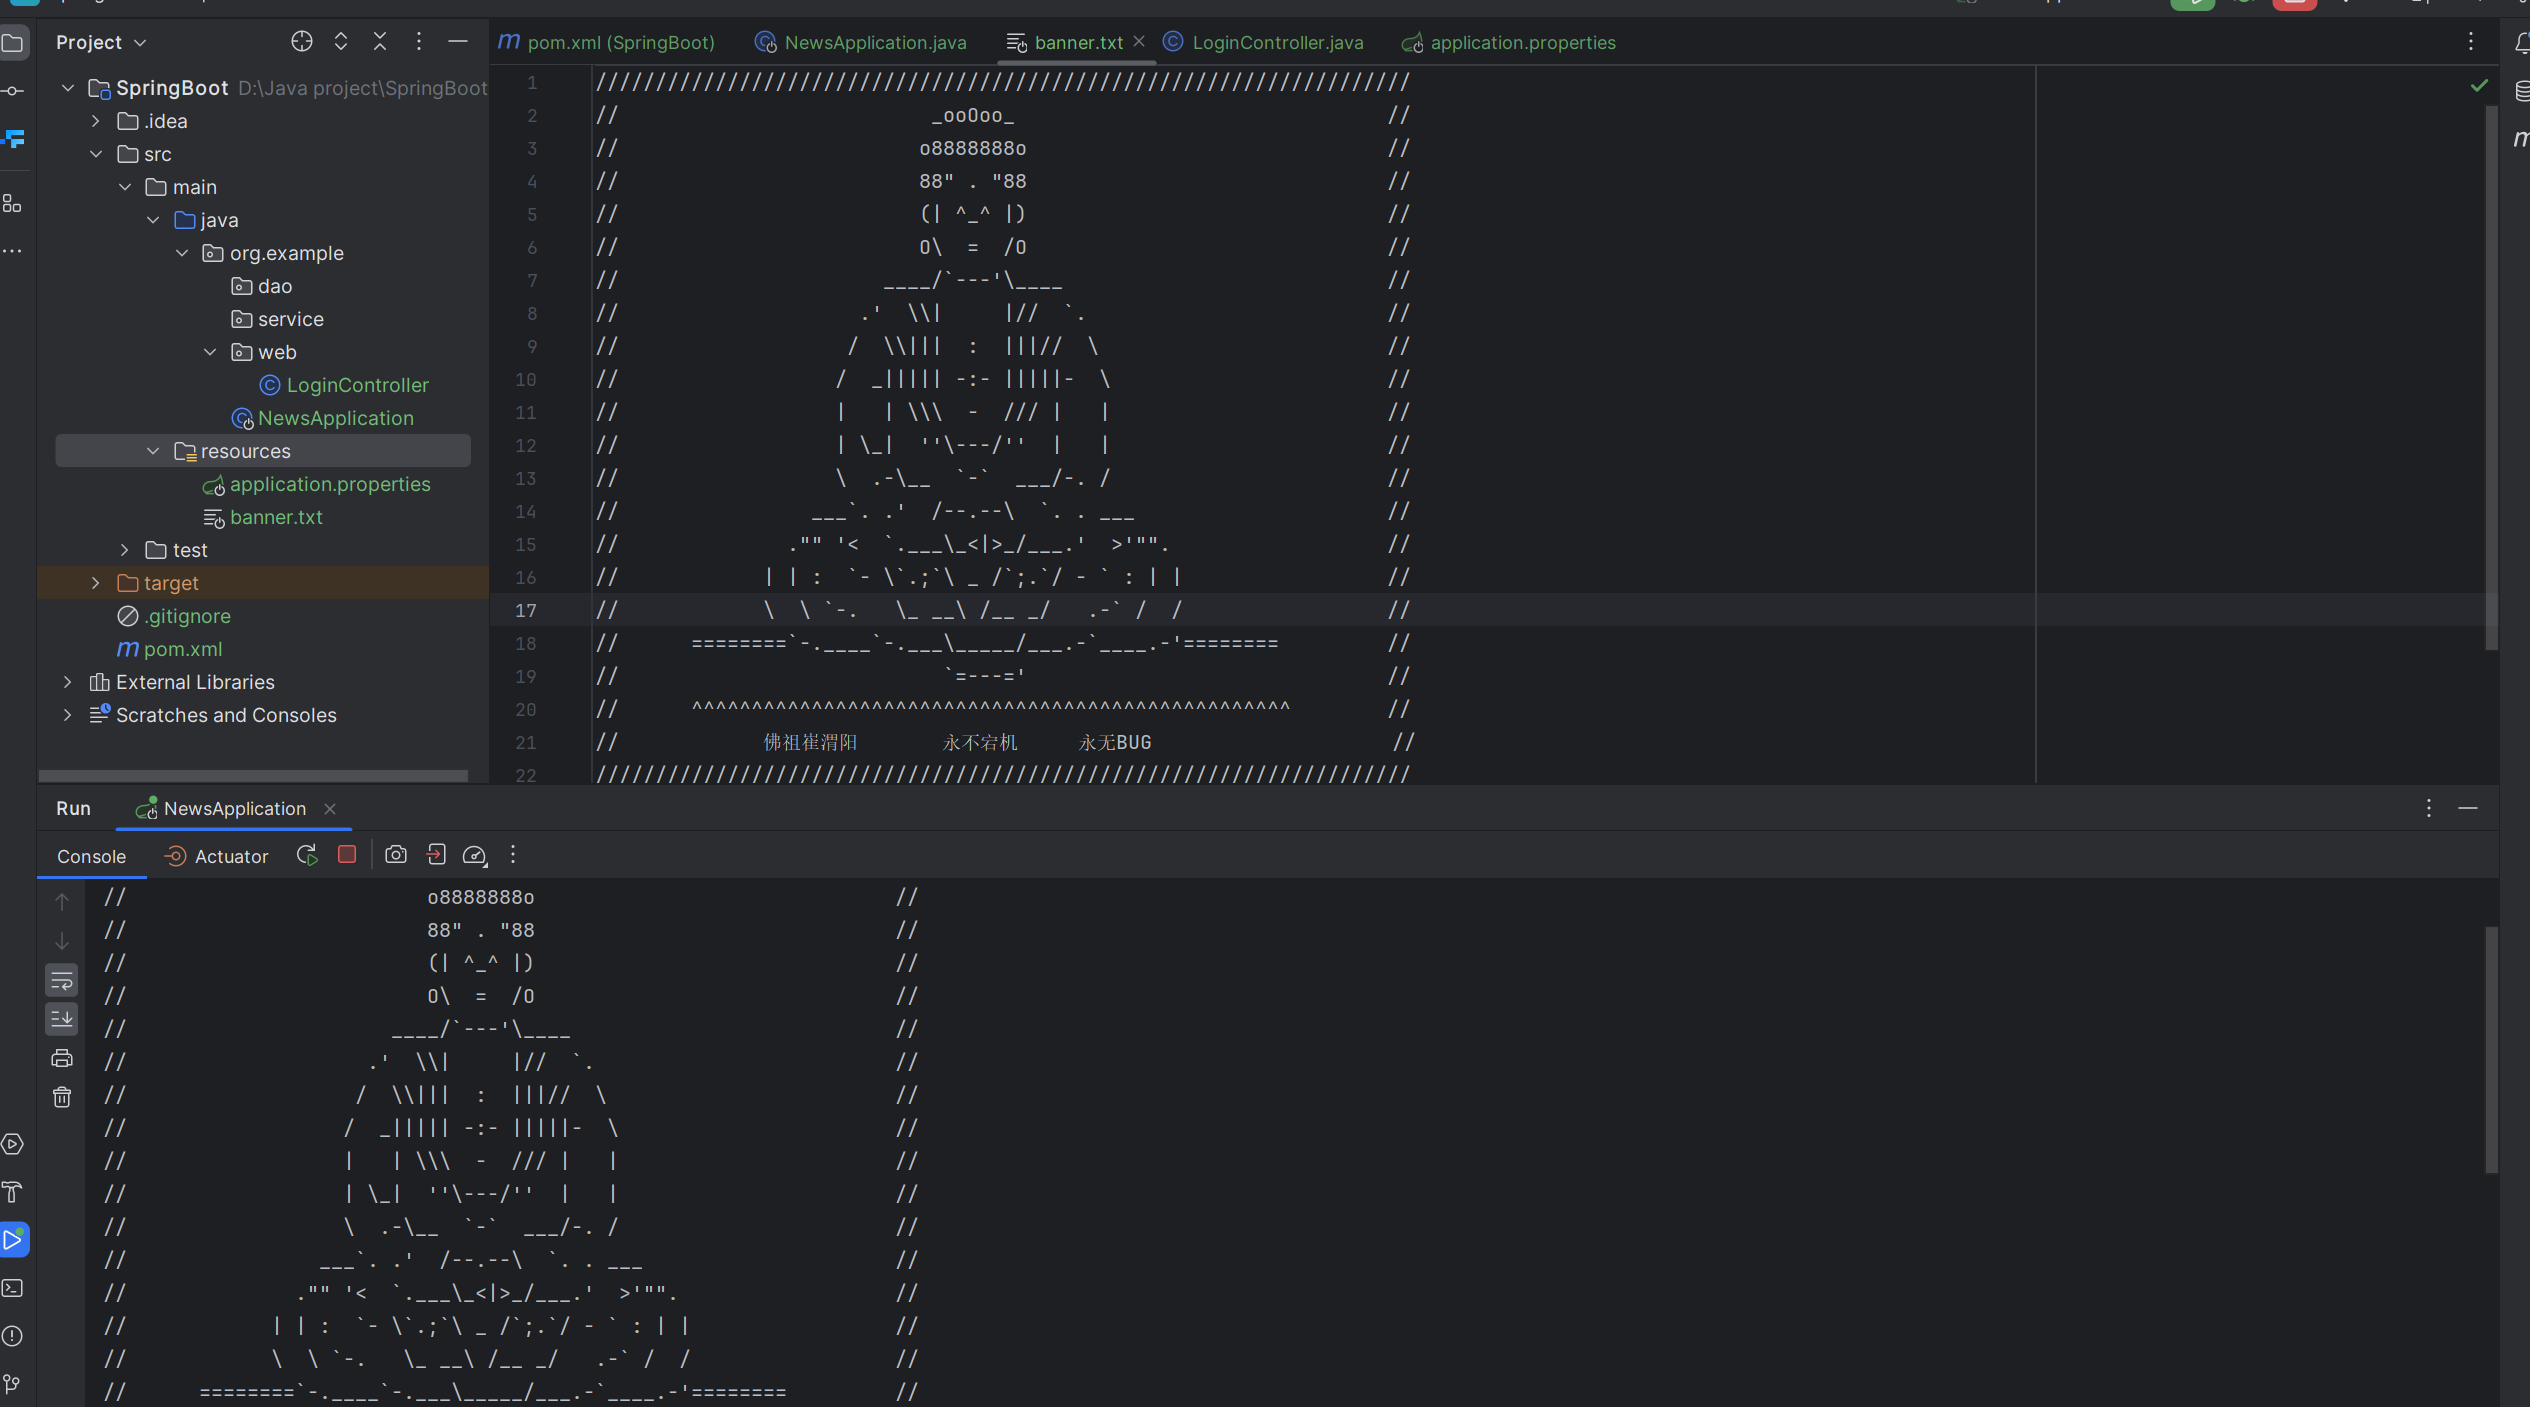
tips:可以在Ascii艺术字实现个性化Spring Boot启动banner图案,轻松修改更换banner.txt文件内容,收集了丰富的banner艺术字和图,并且支持中文banner下载,让你的banner好玩儿更有意思。-bootschool.net网站下载启动时候的图案
4.访问
ip:端口/处理地址/方法地址
springboot中的配置文件
springboot中的配置文件,严格意义上不是配置文件, 是用来存储配置参数的文件(里面放的是参数值).
配置文件有两种格式:
-
属性文件 .properties
键 = 值
server.port=8089
spring.datasource.driver-class-name=
spring.datasource.url=
spring.activemq.password=
spring.datasource.username=
2.yml
#配置服务器端口
server:port: 8088spring:datasource:driver-class-name:url:username:password:
spring集成jdbc,mybatis,阿里巴巴数据源
1.导入依赖
<dependency><groupId>org.springframework.boot</groupId><artifactId>spring-boot-starter-jdbc</artifactId>
</dependency><!--mysql-->
<dependency><groupId>mysql</groupId><artifactId>mysql-connector-java</artifactId><version>8.0.16</version>
</dependency><!-- 阿里巴巴数据源 -->
<dependency><groupId>com.alibaba</groupId><artifactId>druid</artifactId><version>1.1.10</version>
</dependency><dependency><groupId>org.mybatis.spring.boot</groupId><artifactId>mybatis-spring-boot-starter</artifactId><version>2.1.4</version>
</dependency>
2.application.yml配置文件(在resource文件夹内)
# 端口号
server:port: 8080
# 数据库配置
spring:datasource:driver-class-name: com.mysql.cj.jdbc.Driverurl: jdbc:mysql://127.0.0.1:3306/spring_demo?serverTimezone=Asia/Shanghaiusername: rootpassword: root# 使用阿里巴巴的druid连接池type: com.alibaba.druid.pool.DruidDataSourcedruid:initial-size: 5min-idle: 5max-active: 20max-wait: 60000
# mybatis配置
mybatis:# 扫描mapper包type-aliases-package: org.example.model# mapper.xml文件位置mapper-locations: classpath:mapper/*Mapper.xml# 加载全局配置文件configuration:# 驼峰命名map-underscore-to-camel-case: true# 自动加载mapper.xmlcache-enabled: true# 打印sql语句log-impl: org.apache.ibatis.logging.stdout.StdOutImpl
对启动类进行配置@MapperScan("org.example.dao") // This line is used to scan the DAO package for SQL mappers
package org.example;import org.mybatis.spring.annotation.MapperScan;
import org.springframework.boot.autoconfigure.SpringBootApplication;
import org.springframework.boot.SpringApplication;// This is the main class of the News Application
@SpringBootApplication
@MapperScan("org.example.dao") // This line is used to scan the DAO package for SQL mapperspublic class NewsApplication {public static void main(String[] args) {SpringApplication.run(NewsApplication.class);}
}
3.创建服务类
package org.example.service;import org.example.dao.LoginDao;
import org.example.model.Admin;
import org.springframework.beans.factory.annotation.Autowired;
import org.springframework.stereotype.Service;
import org.springframework.transaction.annotation.Transactional;@Service
// 这个注解表示这是一个服务类,并且在事务中进行操作,如果出现异常,则回滚事务
@Transactional(rollbackFor = Exception.class)
public class LoginService {@AutowiredLoginDao loginDao;public Admin login(Admin admin) {return loginDao.login(admin);}
}
编写LoginController类
package org.example.web;import org.example.model.Admin;
import org.example.service.LoginService;
import org.springframework.beans.factory.annotation.Autowired;
import org.springframework.web.bind.annotation.RequestBody;
import org.springframework.web.bind.annotation.RequestMapping;
import org.springframework.web.bind.annotation.RestController;@RestController
@RequestMapping("/loginCtl")
public class LoginController {@AutowiredLoginService loginService;@RequestMapping(path = "/login")public Admin login(@RequestBody Admin admin){Admin admin1 = loginService.login(admin);System.out.println("aaaaaaaaaaaaa");return admin1;}}
使用ApiPost测试


成功!!
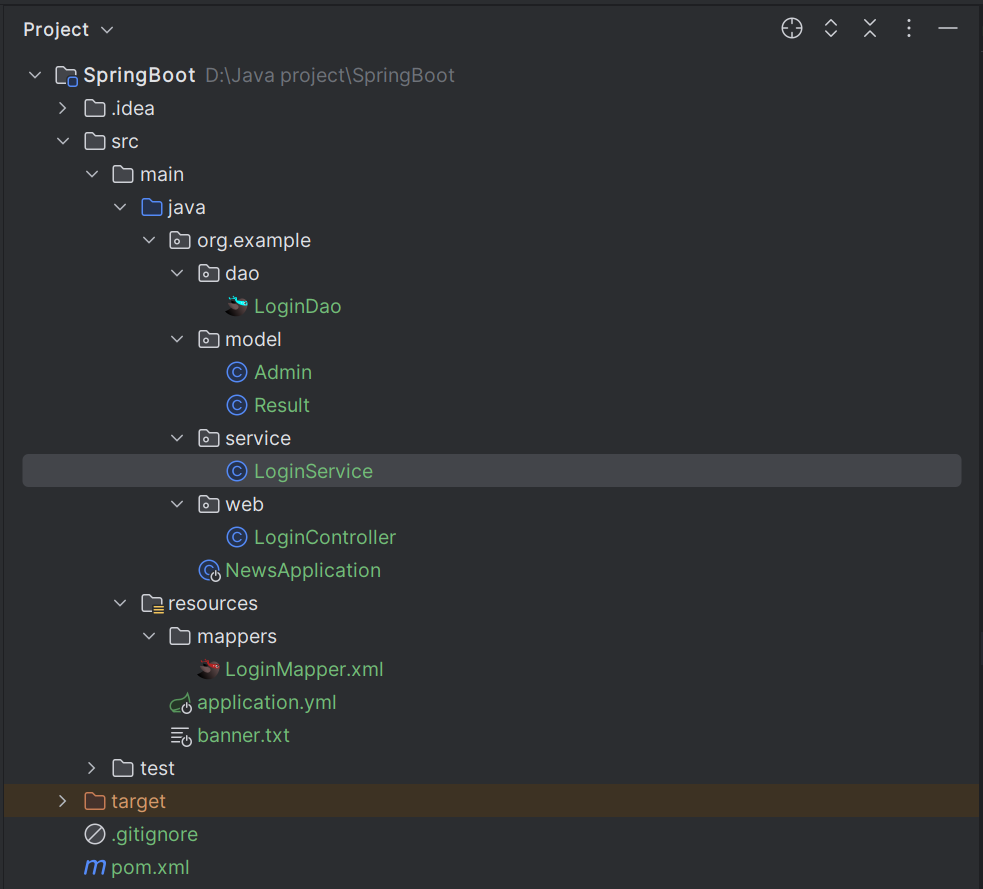
最终文件结构
SpringBoot 集成日志功能(了解)
日志?
日志是程序中重要组成部分,可以监测程序运行轨迹, 记录参数值的变化.尤其是生产环境中非常必要, 通过日志文件可以快速的定位到问题.
什么时候使用日志
答:实际生产环境
常用日志组件
slf4j(Simple Logging Facade for Java)commons-loggingLog4JLog4J2LogbackJUL(Java Utils Logging)
日志级别
从低到高:debug<info<warn<error
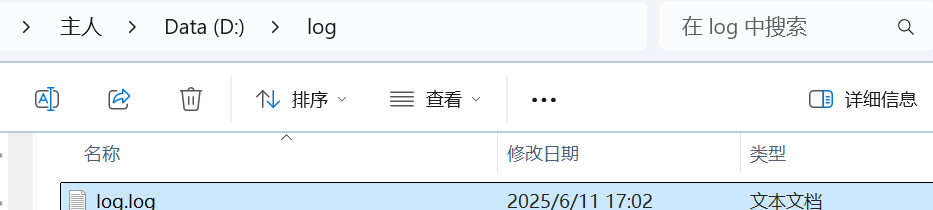
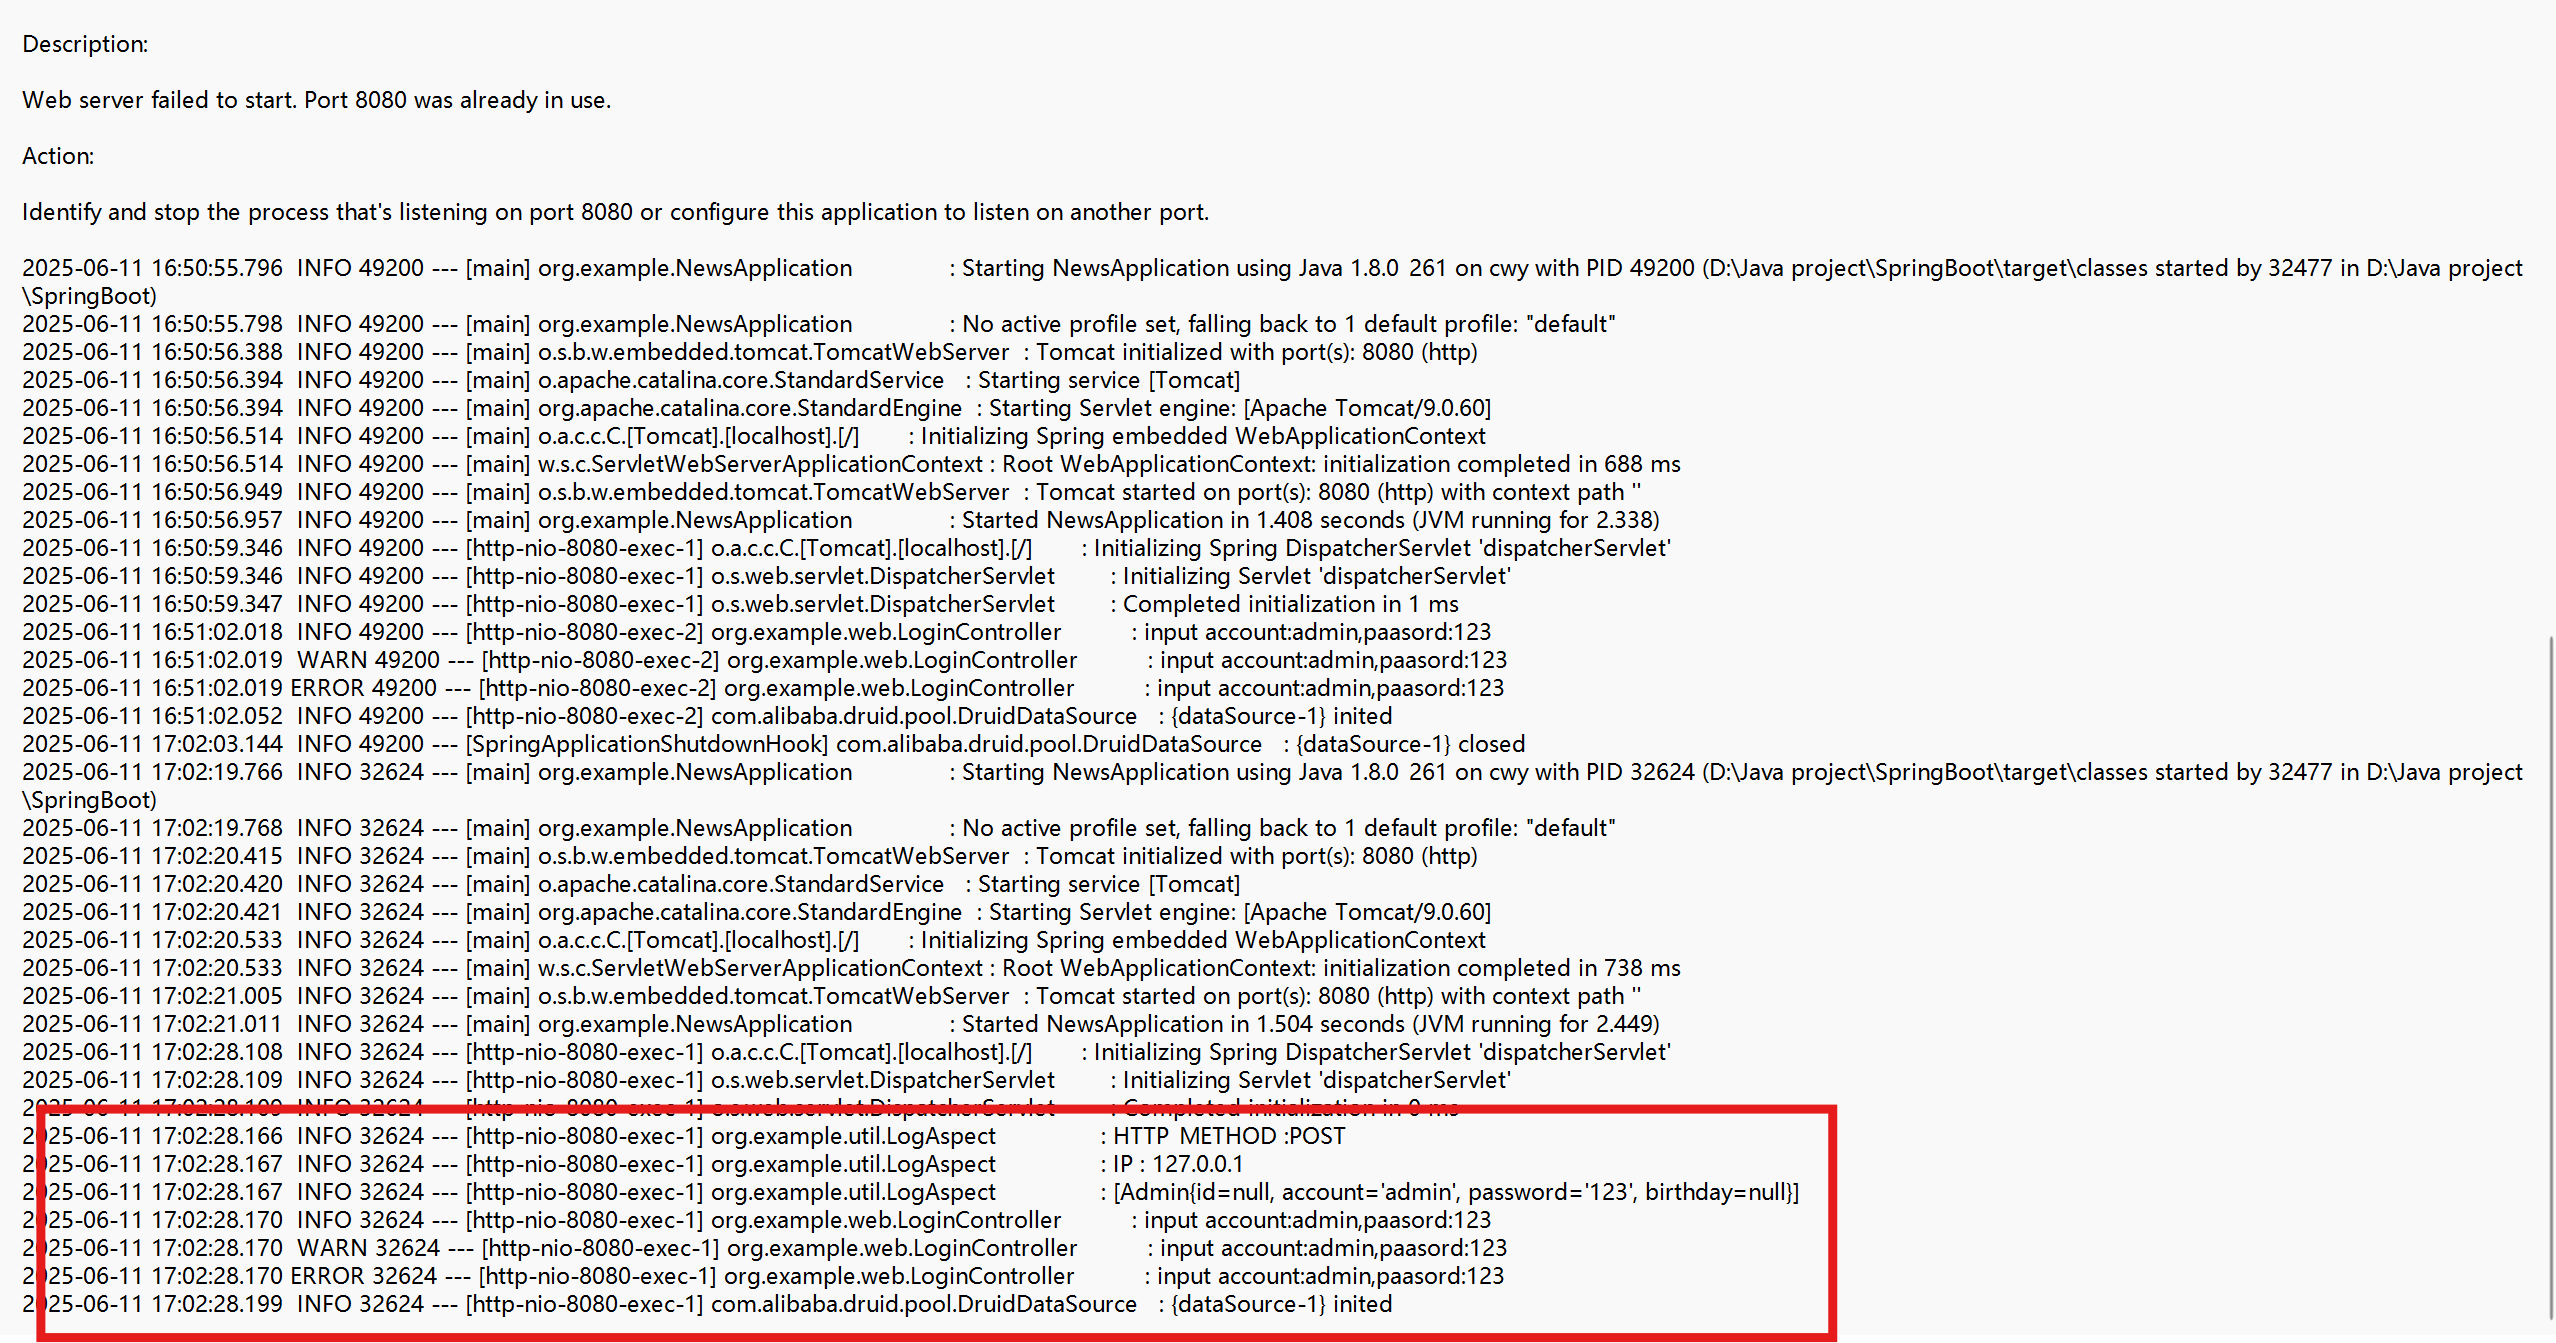
logging:level:org.example: infofile:name: D:/log/log.log#类里面配置Logger对象   private static Logger logger = LoggerFactory.getLogger(LoginController.class);logger.debug("input account:{},paasord:{}",admin.getAccount(),admin.getPassword());
logger.info("input account:{},paasord:{}",admin.getAccount(),admin.getPassword());
logger.warn("input account:{},paasord:{}",admin.getAccount(),admin.getPassword());
logger.error("input account:{},paasord:{}",admin.getAccount(),admin.getPassword());
保存位置如下
在LoginController添加Logger对象
package org.example.web;import org.example.model.Admin;
import org.example.service.LoginService;
import org.slf4j.Logger;
import org.slf4j.LoggerFactory;
import org.springframework.beans.factory.annotation.Autowired;
import org.springframework.web.bind.annotation.RequestBody;
import org.springframework.web.bind.annotation.RequestMapping;
import org.springframework.web.bind.annotation.RestController;@RestController
@RequestMapping("/loginCtl")
public class LoginController {private static Logger logger = LoggerFactory.getLogger(LoginController.class);@AutowiredLoginService loginService;@RequestMapping(path = "/login")public Admin login(@RequestBody Admin admin) {logger.debug("input account:{},paasord:{}", admin.getAccount(), admin.getPassword());logger.info("input account:{},paasord:{}",admin.getAccount(),admin.getPassword());logger.warn("input account:{},paasord:{}",admin.getAccount(),admin.getPassword());logger.error("input account:{},paasord:{}",admin.getAccount(),admin.getPassword());/*@RequestBody 作用是将请求体中的json数据绑定到Admin对象中*/Admin admin1 = loginService.login(admin);System.out.println("aaaaaaaaaaaaa");return admin1;}}
项目中统一异常打印
<dependency><groupId>org.springframework.boot</groupId><artifactId>spring-boot-starter-aop</artifactId>
</dependency>
package org.example.util;
import org.aspectj.lang.JoinPoint;
import org.aspectj.lang.annotation.Aspect;
import org.aspectj.lang.annotation.Before;
import org.slf4j.Logger;
import org.slf4j.LoggerFactory;
import org.springframework.stereotype.Component;
import org.springframework.web.context.request.ServletRequestAttributes;import javax.servlet.http.HttpServletRequest;
import java.util.Arrays;@Component
@Aspect
public class LogAspect {private static Logger logger = LoggerFactory.getLogger(LogAspect.class);@Before("execution(public * org.example.web.*.*(..))")public void savelog(JoinPoint joinPoint) {ServletRequestAttributes attributes = (ServletRequestAttributes) RequestContextHolder.getRequestAttributes();HttpServletRequest request = attributes.getRequest();// 记录下请求内容logger.info("HTTP_METHOD :{} ", request.getMethod());logger.info("IP : {}", request.getRemoteAddr());//客户端 ipObject[] objs = joinPoint.getArgs(); //获取方法参数logger.info(Arrays.toString(objs));}
}
springboot统一异常处理
/*全局统一的异常处理类*/
@RestControllerAdvice
public class GlobalExceptionHandler {private Logger logger = LoggerFactory.getLogger(GlobalExceptionHandler.class);/*** 异常处理*/@ExceptionHandler(Exception.class)public Result globalException(Exception e) {Result commonResult = new Result(500,"系统忙:"+e.getMessage(),null);logger.info("Exception : "+e.getMessage());//向日志文件打印信息return commonResult;//向前端用户响应信息}
}
统一日志打印,统一异常处理都是AOP的实际使用场景, spring中的事务管理也是AOP的使用场景
到此,后端最基本的功能搭建完成.