Simplicity studio SDK下载和安装,创建工程
下载SDK工具地址
Simplicity Studio - Silicon Labs

选择适合自己电脑的版本。
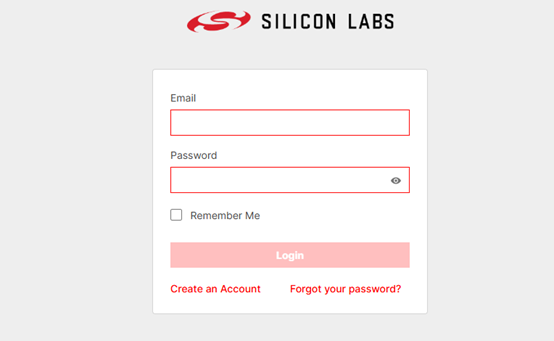
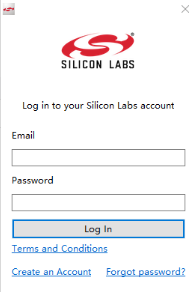
这个就使用你自己的邮箱注册一个就可以了,我是用的公司邮箱注册的。
下载完成:
![]()
安装
下载完成后右键点击安装,一路下一步
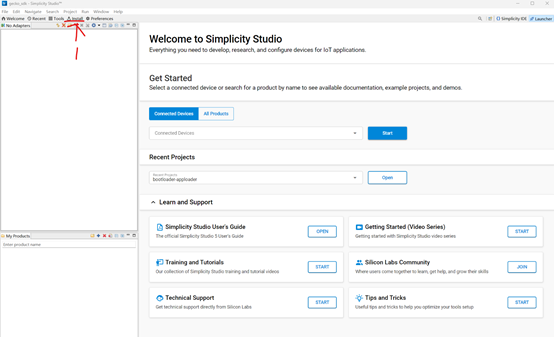
安装完成后,程序自动打开
更新sdk,安装工具install,点击红色1处。
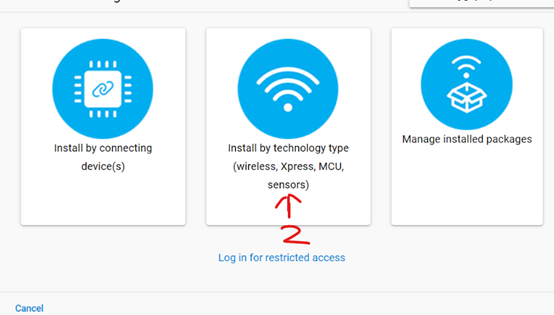
在红色2处,进行选择安装的包,第3个是安装好就有了安装的内容。
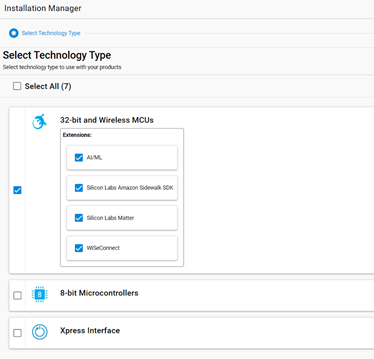
对应上面的选择。
哦对了,记得要在这个过程中,必须登录账号,使用你当时下载SDK时,使用的账号就可以。
就安装成功了。
下载库文件
Git的官方路径:Silicon Labs · GitHub
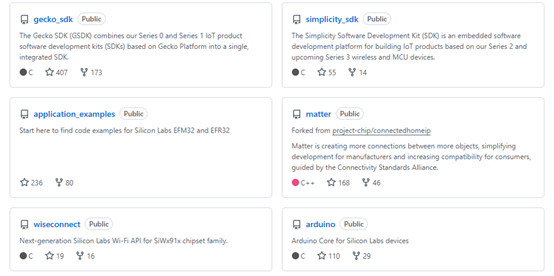
Gecko_sdk(芯片厂商提供的sdk库):
GitHub - SiliconLabs/gecko_sdk: The Gecko SDK (GSDK) combines our Series 0 and Series 1 IoT product software development kits (SDKs) based on Gecko Platform into a single, integrated SDK.
| git clone https://github.com/SiliconLabs/gecko_sdk.git |
Simplicity_sdk(芯片厂商的软件工具开发包)
GitHub - SiliconLabs/simplicity_sdk: The Simplicity Software Development Kit (SDK) is an embedded software development platform for building IoT products based on our Series 2 and upcoming Series 3 wireless and MCU devices.
Application_examples(芯片厂商提供的应用demo)
GitHub - SiliconLabs/application_examples: Start here to find code examples for Silicon Labs EFM32 and EFR32
官方的应用例程:https://github.com/SiliconLabs/peripheral_examples/tree/master/series2
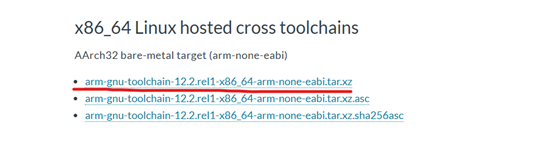
下载Toolchain
Arm GNU Toolchain Downloads | 12.2.Rel1 – Arm Developer
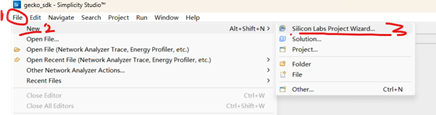
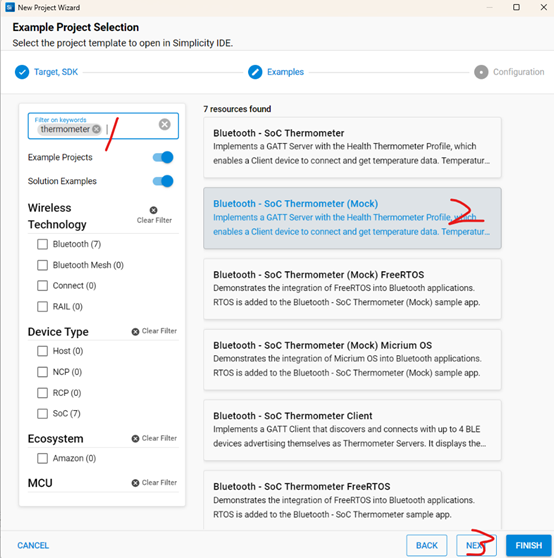
创建一个项目(工程)
创建一个应用工程
进行设置
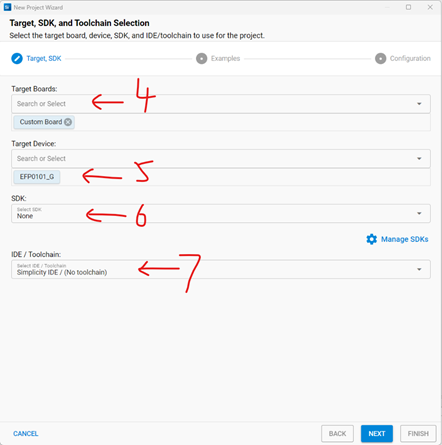
4是板子的型号,这块可以不填
5是目标板,就是芯片板子的型号EFR32BG22XXXXX型号,根据自己的板子选择
6是你使用的SDK的,这个需要在github上下载。
7是工具编译链
都选择完成后,就直接点击Next
继续Next
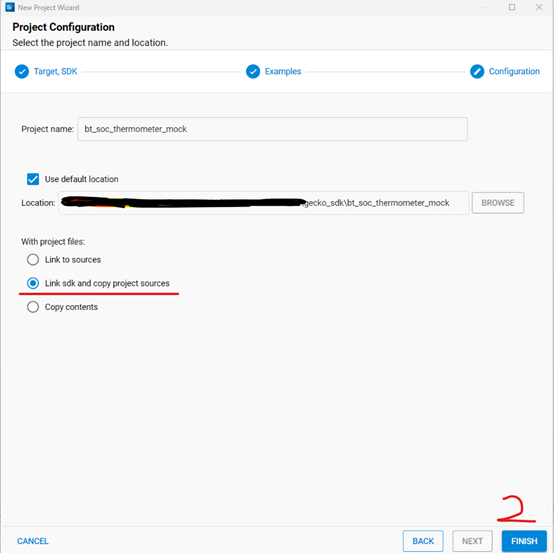
Link to source:不推荐
Link sdk and copy project sources:是只将应用工程文件复制到工程中
Copy contents:将应用工程和所有的链接文件都复制到工程中 (推荐)
点击Finish最后就可以创建成功一个demo。
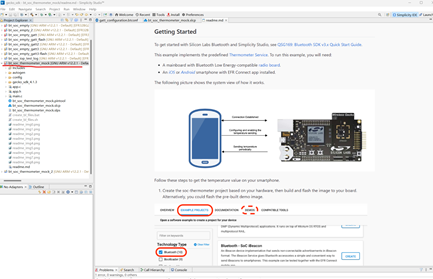
工程创建完成后,还需要做两个操作:
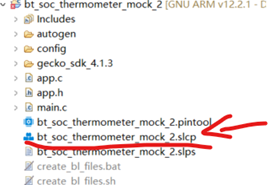
第一个打开usart 和 log的两个配置,那你的调试串口就可以使用了。
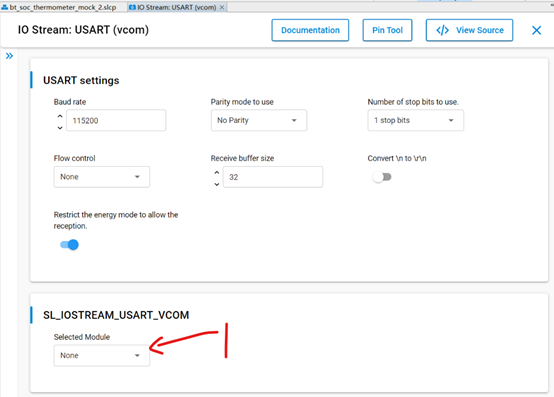
Usart进行配置。
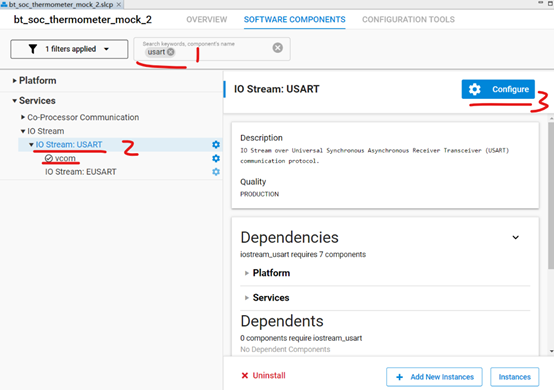
我选择UART0
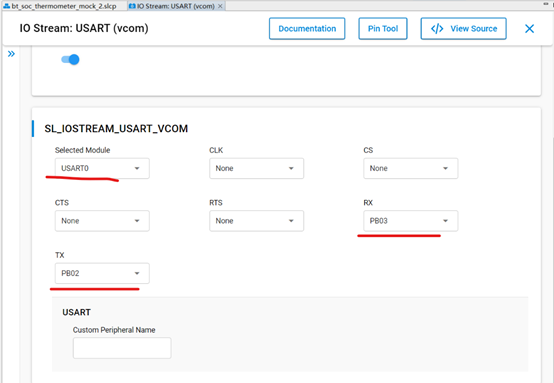
RX和TX的pin进行配置。
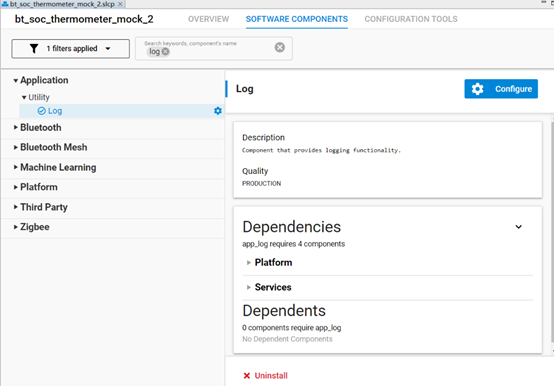
添加LOG
安装

配置完成
这样这个工程就完成了。
问题:
- SDK库如何下载和安装
答:下载 https://codeload.github.com/SiliconLabs/gecko_sdk/zip/refs/tags/v4.4.2 github上,下载比较慢,会很耗时间。
- 工具编译链如何下载和安装
答:Arm GNU Toolchain Downloads | 12.2.Rel1 – Arm Developer,下载适合自己的。