Red5 流媒体 学习(三)
马上进入实战。写一些HelloWorld的程序。
这里我要感谢http://spring.wind2006.blog.163.com/blog/static/12055865201282492811385/
我的程序的来源是出自这里。
第一步:安装Eclipse和FlashBuild
安装过程这里不作说明。
我们这里只是做Demo,所以用点简单的方法。
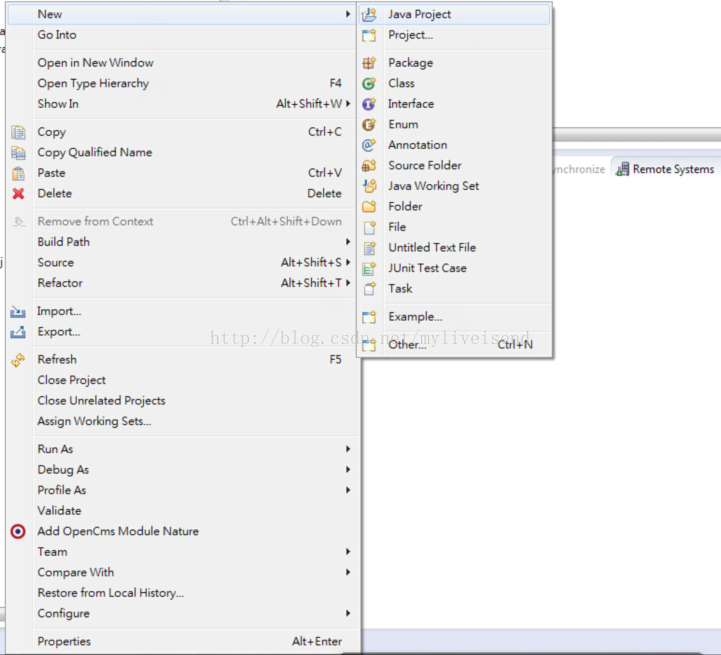
第二步:新建Server项目
在eclipse中新建一个项目名字就按上面的来叫做chapter2的普通Java项目,在项目新建lib文件夹,且加入依赖jar。jar包位置$RED5_HOME/red5.jar 和 $RED5_HOME/lib/下的jar包

将jar包加入classpath
加入如下代码
package first;import org.red5.server.adapter.ApplicationAdapter;
import org.red5.server.api.IConnection;public class Application extends ApplicationAdapter {public boolean appConnect(IConnection conn, Object[] args) {System.out.println("连接");return true;}public String change(String str) {System.out.println("客户端调用服务器");return str.toUpperCase();// 传入的字符串转换成大写后返回}
}
第三步 部署Server项目
1.进入$RED5_HOME/webapps
2.新建chapter2文件夹
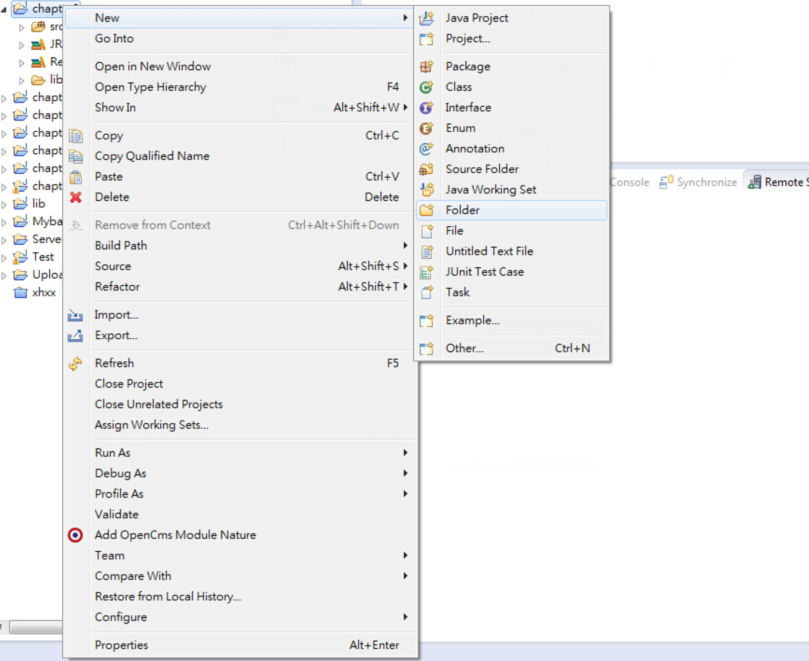
3.进入chapter,并新建WEB-INF文件夹
4.进入WEB-INF文件夹,并新建classes文件夹和red5-web.properties,red5-web.xml,web.xml文件。
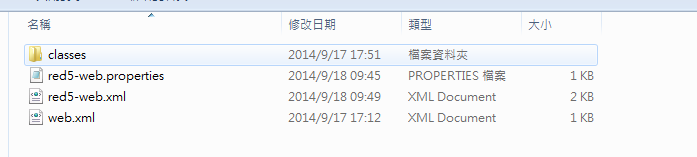
red5-web.properties
webapp.contextPath=/chapter2
webapp.virtualHosts=*
red5-web.xml
<?xml version="1.0" encoding="UTF-8" ?>
<beans xmlns="http://www.springframework.org/schema/beans"xmlns:xsi="http://www.w3.org/2001/XMLSchema-instance"xmlns:lang="http://www.springframework.org/schema/lang"xsi:schemaLocation="http://www.springframework.org/schema/beans http://www.springframework.org/schema/beans/spring-beans-3.0.xsd                            http://www.springframework.org/schema/lang http://www.springframework.org/schema/lang/spring-lang-3.0.xsd"><bean id="placeholderConfig" class="org.springframework.beans.factory.config.PropertyPlaceholderConfigurer"><property name="location" value="/WEB-INF/red5-web.properties" /></bean><bean id="web.context" class="org.red5.server.Context" autowire="byType" /><bean id="web.scope" class="org.red5.server.scope.WebScope" init-method="register"><property name="server" ref="red5.server" /><property name="parent" ref="global.scope" /><property name="context" ref="web.context" /><property name="handler" ref="chapter2.handler" /><property name="contextPath" value="${webapp.contextPath}" /><property name="virtualHosts" value="${webapp.virtualHosts}" /></bean><bean id="chapter2.handler" class="first.Application" />
</beans>
web.xml
<?xml version="1.0" encoding="ISO-8859-1"?>
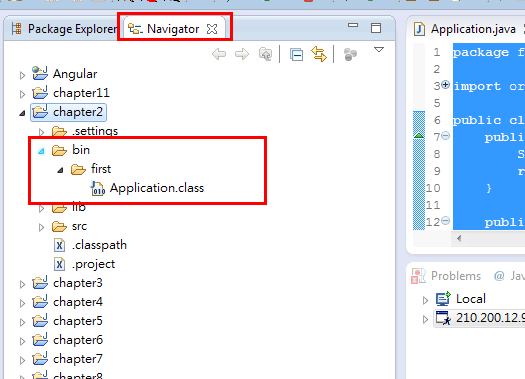
<web-app xmlns="http://java.sun.com/xml/ns/j2ee" xmlns:xsi="http://www.w3.org/2001/XMLSchema-instance"xsi:schemaLocation="http://java.sun.com/xml/ns/j2ee http://java.sun.com/xml/ns/j2ee/web-app_2_4.xsd" version="2.4"> <display-name>chapter2</display-name><context-param><param-name>webAppRootKey</param-name><param-value>/chapter2</param-value></context-param></web-app>进入classes文件夹,建立first文件
将Application.class放入first文件夹中。
获取Application.class文件的方法之一。
重新启动Red5
第四步:创建客户端
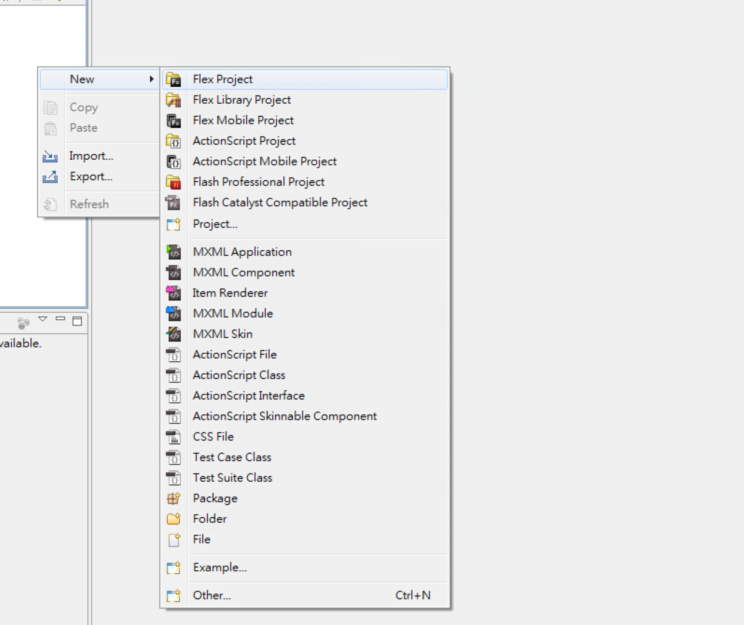
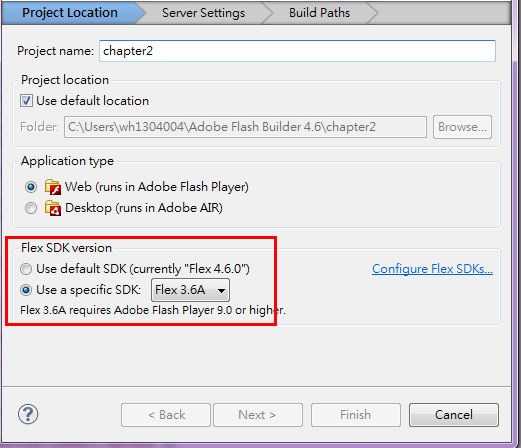
打开FlashBuild
新建项目chapter2
编辑chapter2.mxml
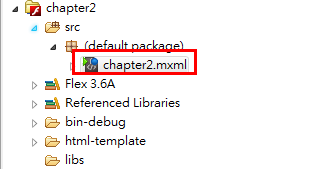
加入如下代码
<?xml version="1.0" encoding="utf-8"?>
<mx:Application xmlns:mx="http://www.adobe.com/2006/mxml"width="442" height="344" backgroundGradientAlphas="[1.0, 1.0]"backgroundGradientColors="[#FDF9F9, #FDF9F9]" fontSize="12" layout="absolute"><mx:Script><![CDATA[import mx.controls.Alert;private var rtmpURL:String="rtmp://localhost/chapter2";private var conn:NetConnection=new NetConnection();private var isConnectSuccess:Boolean=false;private var responder:Responder=new Responder(resultFun);private function resultFun(object:String):void{trace(object);result.text=object.toString();}private function clickConnect(e:MouseEvent):void{conn.addEventListener(NetStatusEvent.NET_STATUS,netStatus);conn.connect(rtmpURL);}private function click(e:MouseEvent):void{invoke();}private function invoke():void{if(isConnectSuccess){conn.call("change",responder,str.text);//change 是服务器端方法名称}else{Alert.show("还没连接到服务器");}}private function netStatus(e:NetStatusEvent):void{trace(e.info.code);if(e.info.code=="NetConnection.Connect.Success"){isConnectSuccess=true;}}]]></mx:Script><mx:Button x="224" y="175" label="调用服务器方法" click="this.click(event)"/><mx:TextInput id="str" x="129" y="145" width="212"/><mx:Label id="result" x="129" y="119" width="160" fontSize="12" text="显示从服务器端返回的字符"/><mx:Button x="129" y="175" label="连接服务器" click="this.clickConnect(event)"/>
</mx:Application>
第五步:运行客户端
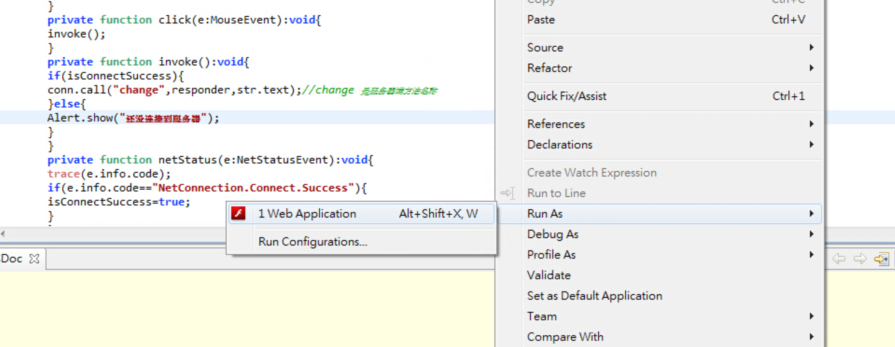
在mxml文件上右键,run as --》 Web Application
会在浏览器中显示如下画面:

输入absabs
点击连接服务器,出现下述画面即为正常:

点击调用服务器方法:
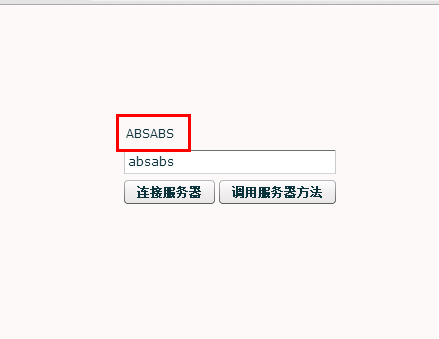
变成大写字母。完成该Demo。
后面会陆续写出自己另外的Demo。