关于 React 19 的四种组件通信方法
注意:使用的是UI库是 antd-mobile
1.父子级组件通信
- 父组件
- 单向数据流:数据从父组件流向子组件。
- 支持多种数据类型:字符串、数字、对象、数组、函数等。
- 只读性:子组件不能直接修改 props 中的数据。
import { useState } from 'react'
import YdNavbar1 from './components/Ydnavbar1'
function App() {const [right, setRight] = useState('操作')const handleDataFromChild = (data) => {setRight(data)}return (<><YdNavbar1 rightMsg={right} onSendData={handleDataFromChild}></YdNavbar1></>)
}export default App
- 子组件
- 子组件通过props接收父组件传递的函数,然后调用该函数并传递参数给父组件
- 反向通信:通过回调函数实现子组件向父组件传递数据。
- 事件驱动:通常与 onClick、onChange 等事件结合使用。
import '../App.css'
import { Toast, Space, NavBar } from 'antd-mobile'// 父传子:子组件通过props接收父组件传参(rightMsg)
const YdNavbar1 = ({ rightMsg, onSendData }) => {// 子传父:子组件通过props接收父组件传递的函数(onSendData),然后调用该函数并传递参数给父组件const handleClick = () => {Toast.show({content: '提示',afterClose: () => {onSendData('儿子的问候')},})}return (<><div className="App"><Space style={{ width: '100vw' }} direction="vertical"><NavBar right={rightMsg} onBack={handleClick}>导航栏</NavBar></Space></div></>)
}export default YdNavbar1
2.通过Ref调用子组件方法
- 父组件
- 使用 useRef(父组件调用子组件方法)
- 直接调用子组件方法:适用于需要父组件控制子组件行为的场景。
import { useState } from 'react'
import YdNavbar2 from './components/Ydnavbar2'
// 使用 useRef(父组件调用子组件方法)
import { useRef } from 'react'
function App() {const childRef = useRef(null)const callChildMethod = () => {childRef.current.sayHello()}return (<><YdNavbar2 ref={childRef}></YdNavbar2></>)
}export default App
- 子组件
- 需显式暴露方法:子组件必须通过 useImperativeHandle 暴露方法。
import '../App.css'
import { Space, NavBar } from 'antd-mobile'
import { useImperativeHandle, forwardRef } from 'react'
// props 是必须的:当使用 forwardRef 时,组件的函数参数必须包含 props 和 ref,即使没有使用 props
// 通过 forwardRef 包裹组件
const YdNavbar2 = forwardRef((props, ref) => {// 使用 useImperativeHandle 暴露给父组件方法(sayHello)useImperativeHandle(ref, () => ({sayHello: () => {console.log('使用ref调用子组件方法')},}))return (<><div className="App"><Space style={{ width: '100vw' }} direction="vertical"><NavBar>导航栏</NavBar></Space></div></>)
})export default YdNavbar2
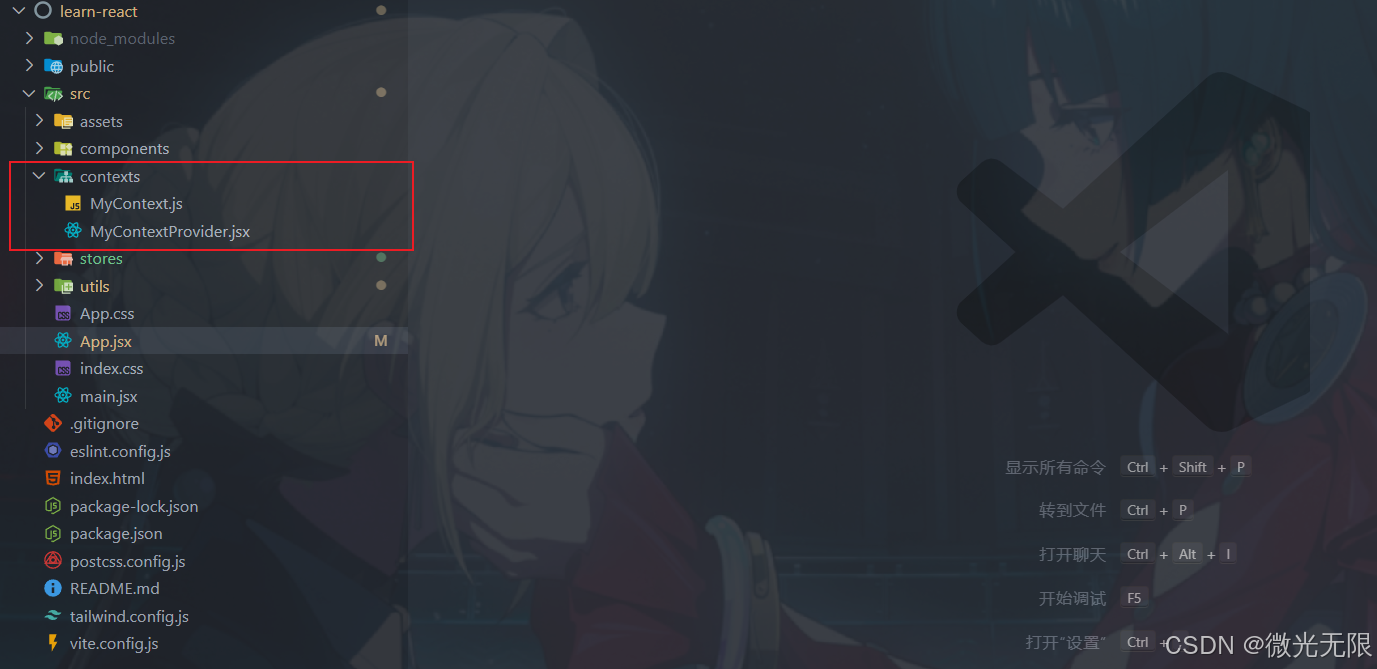
3.使用 Context API(跨层级共享数据)
- 在src目录创建文件夹 contexts 创建 MyContext.js 文件,再创建 MyContextProvider.jsx 文件,如图
- MyContext.js
import { createContext } from 'react'// 可以创建多个 Context 对象
const MyContext = createContext()export default MyContext
- MyContextProvider.jsx
import { useState } from 'react'
import MyContext from './MyContext'function MyProvider({ children }) {const [leftMsg, setLeftMsg] = useState('左边')return (<MyContext.Provider value={{ leftMsg, setLeftMsg }}>{children}</MyContext.Provider>)
}
export default MyProvider
- 组件1
import { useState } from 'react'
import YdNavbar3 from './components/Ydnavbar3'
// 使用 Context API(跨层级共享数据)
import MyProvider from './contexts/MyContextProvider'
function App() {return (<><MyProvider><YdNavbar3></YdNavbar3></MyProvider></>)
}export default App
- 组件2
import '../App.css'
import { Toast, Space, NavBar } from 'antd-mobile'
// 使用 Context API(跨层级共享数据)
import { useContext } from 'react'
// 引用上下文对象
import MyContext from '../contexts/MyContext'const YdNavbar1 = () => {const { leftMsg, setLeftMsg } = useContext(MyContext)return (<><div className="App"><Space style={{ width: '100vw' }} direction="vertical"><NavBar left={leftMsg} onBack={() => setLeftMsg('哈哈哈')}>导航栏</NavBar></Space></div></>)
}export default YdNavbar1
4.使用 Zustand 状态管理
- 首先安装 Zustand
npm i zustand- 在 src 下创建 stores 文件夹,创建文件 useStore.js 文件
// stores/userStore.js
import { create } from 'zustand'const useUserStore = create((set) => ({user: null, // 初始状态setUser: (user) => set({ user }), // 修改用户的方法
}))export default useUserStore
- 组件使用方法
import { useState } from 'react'
import { Button, Space } from 'antd-mobile'
// 使用 Zustand 状态管理
import useUserStore from './stores/userStore'
function App() {const { user, setUser } = useUserStore() // 获取状态和方法return (<><div>{user}</div><Button onClick={() => (user ? setUser(null) : setUser('132456'))}>改变用户</Button></>)
}export default App