wed前端简单解析
<!DOCTYPE html>
<html lang="zh-CN">
<head><meta charset="UTF-8"><meta name="viewport" content="width=device-width, initial-scale=1.0"><title>登录</title><style>body {display:flex;justify-content:center;align-items:center;min-height:100vh;background:#f0f2f5;}.login-box {width:300px;padding:25px;background:white;border-radius:8px;box-shadow:0 2px 10px rgba(0,0,0,0.1);}h2 {text-align:center;margin-bottom:20px;color:#333;}input {width:100%;padding:12px;margin-bottom:15px;border:1px solid #ddd;border-radius:4px;}button {width:100%;padding:12px;background:#1877f2;color:white;border:none;border-radius:4px;cursor:pointer;}</style>
</head>
<body><div class="login-box"><h2>用户登录</h2><form><input type="text" placeholder="用户名" required><input type="password" placeholder="密码" required><button>登录</button></form></div>
</body>
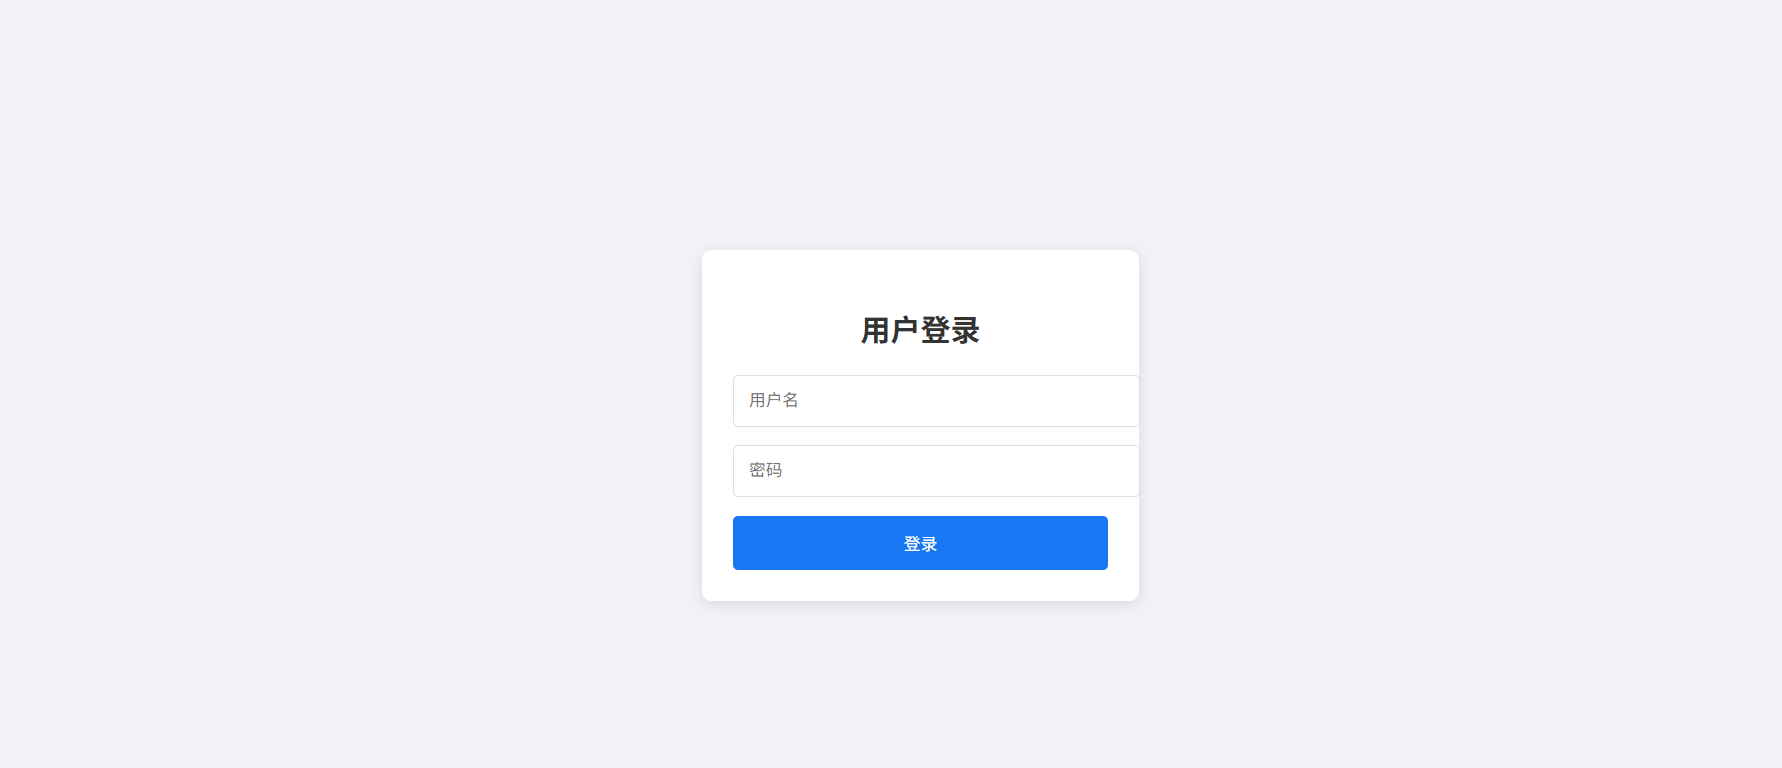
</html>运行结果
1. `<head>`
定义 HTML 文档的头部,此部分包含的信息不会直接在页面上显示,但对页面的设置和功能至关重要,例如字符编码、页面标题、样式表等的定义。
2. `<meta charset="UTF - 8">`
设置文档的字符编码为 UTF - 8,使页面能够正确显示各种语言的字符。
3. `<meta name="viewport" content="width=device - width, initial - scale = 1.0">`
定义视口相关信息。`name="viewport"` 表明是对视口的设置,`content` 中的 `width=device - width` 让页面宽度适配设备宽度,`initial - scale = 1.0` 设置初始缩放比例为 1.0,即页面在设备上不缩放显示。
4. `<title>登录</title>`
设置 HTML 文档的标题为“登录”,该标题会显示在浏览器的标题栏或标签页上,同时也有助于搜索引擎识别页面内容。
5. `<style>`
开始定义 CSS 样式块,在此块内定义的样式规则将应用于 HTML 文档中的相应元素。
6.body {display:flex;justify-content:center;align-items:center;min-height:100vh;background:#f0f2f5;}
针对 `body` 元素设置样式。`display:flex` 使用弹性盒模型布局;`justify-content:center` 让子元素在水平方向居中;`align-items:center` 让子元素在垂直方向居中;`min - height:100vh` 设置最小高度为视口高度的 100%,确保页面内容垂直填满视口;`background:#f0f2f5` 设置背景颜色为 `#f0f2f5`。
7. `.login - box {width:300px;padding:25px;background:white;border - radius:8px;box - shadow:0 2px 10px rgba(0,0,0,0.1);}`
针对具有 `login - box` 类名的元素设置样式。`width:300px` 设置宽度为 300 像素;`padding:25px`添加 25 像素内边距;`background:white`设置背景色为白色;`border - radius:8px`使元素边角呈 8 像素圆角;`box - shadow:0 2px 10px rgba(0,0,0,0.1)`添加阴影效果,水平偏移 0 像素,垂直偏移 2 像素,模糊半径 10 像素,阴影颜色透明度为 0.1 的黑色。
8. `h2 {text - align:center;margin - bottom:20px;color:#333;}`
针对 `h2` 标题元素设置样式。`text - align:center`使文本居中对齐;`margin - bottom:20px`在标题下方添加 20 像素外边距;`color:#333`设置文本颜色为 `#333`(深灰色)。
9. `input {width:100%;padding:12px;margin - bottom:15px;border:1px solid #ddd;border - radius:4px;}`
针对 `input` 输入框元素设置样式。`width:100%`设置宽度为其父元素的 100%;`padding:12px`添加 12 像素内边距;`margin - bottom:15px`在下方添加 15 像素外边距;`border:1px solid #ddd`设置 1 像素宽浅灰色边框;`border - radius:4px`使输入框边角呈 4 像素圆角。
10. `button {width:100%;padding:12px;background:#1877f2;color:white;border:none;border - radius:4px;cursor:pointer;}`
针对 `button` 按钮元素设置样式。`width:100%`设置宽度为其父元素的 100%;`padding:12px`添加 12 像素内边距;`background:#1877f2`设置背景色为 `#1877f2`(蓝色);`color:white`设置文本颜色为白色;`border:none`移除边框;`border - radius:4px`使按钮边角呈 4 像素圆角;`cursor:pointer`让鼠标悬停时指针变为手型,提示可点击。
11. `</style>`
结束 CSS 样式定义块。
12. `</head>`
结束 HTML 文档头部定义。 13. `<body>` - 开始定义 HTML 文档的主体内容,页面上实际展示的元素都在此标签内。 14. `<div class="login - box">` - 创建一个 `div` 块级元素,并赋予 `login - box` 类名,用于承载登录框相关内容,并应用 `login - box` 类对应的样式。
15. `<h2>用户登录</h2>`
创建一个二级标题 `h2`,显示文本“用户登录”,会应用之前定义的 `h2` 样式。
16. `<form>`
创建一个表单元素,用于收集用户输入的数据并提交给服务器。
17. `<input type="text" placeholder="用户名" required>`
创建一个文本类型的输入框。`type="text"`指定输入类型;`placeholder="用户名"`设置输入框为空时显示的提示文本;`required`表示该输入框为必填项。
18. `<input type="password" placeholder="密码" required>`
创建一个密码类型的输入框。`type="password"`指定输入类型;`placeholder="密码"`设置提示文本;`required`表示必填。
19. `<button>登录</button>`
创建一个按钮元素,显示文本“登录”,会应用之前定义的 `button` 样式,用于提交表单。
20. `</form>`
结束表单元素定义。
21. `</div>`
结束 `login - box` 类的 `div` 元素定义。
22. `</body>`
结束 HTML 文档主体定义。