开发中使用——鸿蒙CoreSpeechKit让文字发声
文章目录
- 开发中使用——鸿蒙CoreSpeechKit让文字发声
- 一、不得不说"小艺"
- 二、具体实现(只需三步)
- 1.创建文本转语言引擎(TextToSpeechEngine)
- 2.创建引擎需要的参数(SpeakParams、SpeakListener)
- 3.调用播报方法
- 4.停止播报
- 三、如何使用
- 1.得到语言引擎管理实例
- 2.初始化语言引擎和配置
- 3.传入文本,生成语音
- 四、使用技巧
- 五、展示(Show your Time)
- 六、参考文档
- 七、代码奉上(仅供参考)
开发中使用——鸿蒙CoreSpeechKit让文字发声
不再是一个安安静静的“APP”,做一个可以发出声音,甚至讲话、与人进行交互,是一个APP孜孜不倦的追求和最终理想。————一个APP的独白。
一、不得不说"小艺"
-
渊源:华为手机自带语言助手"小艺",也是一个语言AI,手机系统自带,同样支持鸿蒙Next(你懂得)。
-
特点:支持将一篇不超过10000字数的中英文文本(简体中文、繁体中文、数字、英文)合成为语音,并以选定音色进行播报。
-
场景:手机/平板等设备在无网状态下,系统应用无障碍(屏幕朗读)接入文本转语音能力,为视障人士或不方便阅读场景提供播报能力(无网络也用,就说牛不牛)。
-
语言:支持的语种为中文、英文
-
音色:支持的音色为聆小珊女声音色、英语(美国)劳拉女声音色、凌飞哲男声音色。
-
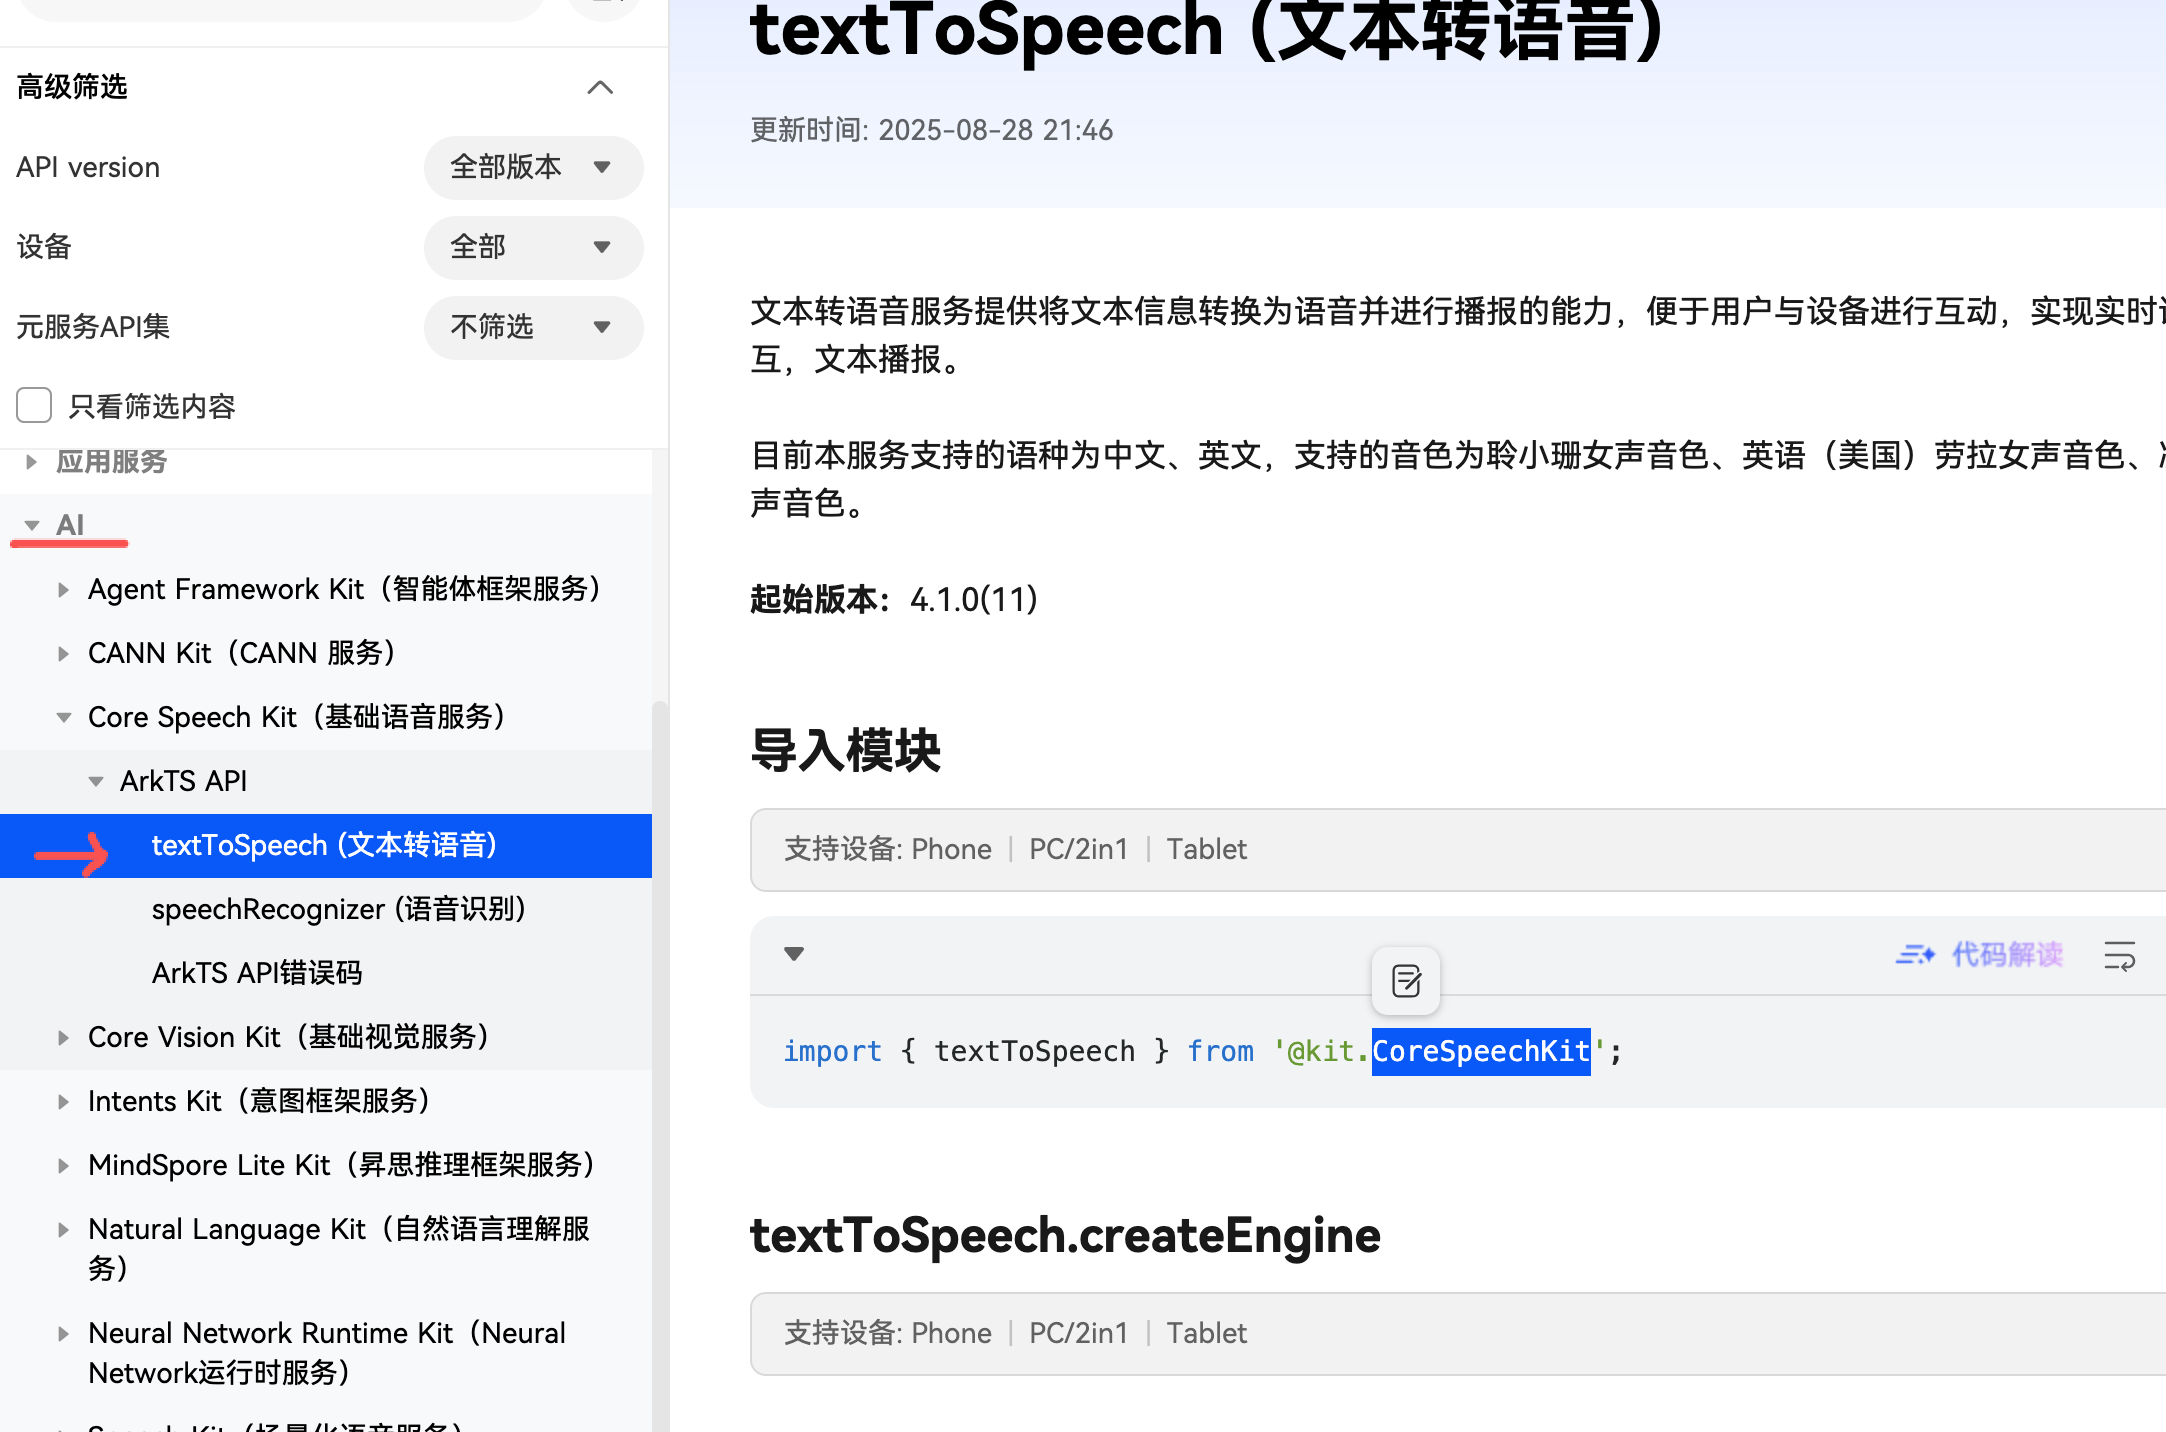
AI: 实打实的AI,这是基于手机系统提供的CoreSpeechKit基础语言服务,属于AI模块。
有下图为证。
二、具体实现(只需三步)
- 实现原理,要初始化文本转语言的引擎(TextToSpeechEngine),然后给它配置参数、配置回调;然后就可以使用它进行操作了,让它干活了。
1.创建文本转语言引擎(TextToSpeechEngine)
调用createEngine接口,创建TextToSpeechEngine实例。并初始化引擎。使用callback异步回调。
createEngine(){// 设置创建引擎参数let extraParam: Record<string, Object> = {"style": 'interaction-broadcast', "locate": 'CN', "name": 'EngineName'};let initParamsInfo: textToSpeech.CreateEngineParams = {language: 'zh-CN',person: 0,online: 1,extraParams: extraParam};// 调用createEngine方法textToSpeech.createEngine(initParamsInfo, (err: BusinessError, textToSpeechEngine: textToSpeech.TextToSpeechEngine) => {if (!err) {console.info('Succeeded in creating engine');// 接收创建引擎的实例this.ttsEngine = textToSpeechEngine;} else {console.error(`Failed to create engine. Code: ${err.code}, message: ${err.message}.`);}});}
2.创建引擎需要的参数(SpeakParams、SpeakListener)
得到TextToSpeechEngine实例对象后,实例化SpeakParams对象、SpeakListener对象,并传入待合成及播报的文本originalText,调用speak接口进行播报。
initParam(){// 设置speak的回调信息this.speakListener = {// 开始播报回调onStart(requestId: string, response: textToSpeech.StartResponse) {console.info(`onStart, requestId: ${requestId} response: ${JSON.stringify(response)}`);},// 合成完成及播报完成回调onComplete(requestId: string, response: textToSpeech.CompleteResponse) {console.info(`onComplete, requestId: ${requestId} response: ${JSON.stringify(response)}`);},// 停止播报回调onStop(requestId: string, response: textToSpeech.StopResponse) {console.info(`onStop, requestId: ${requestId} response: ${JSON.stringify(response)}`);},// 返回音频流onData(requestId: string, audio: ArrayBuffer, response: textToSpeech.SynthesisResponse) {console.info(`onData, requestId: ${requestId} sequence: ${JSON.stringify(response)} audio: ${JSON.stringify(audio)}`);},// 错误回调onError(requestId: string, errorCode: number, errorMessage: string) {console.error(`onError, requestId: ${requestId} errorCode: ${errorCode} errorMessage: ${errorMessage}`);}};// 设置回调this.ttsEngine?.setListener(this.speakListener);}
3.调用播报方法
让它干活,调用播报方法,开发者可以通过修改speakParams主动设置播报策略
speak(text:string){// 设置播报相关参数this.extraParam= {"queueMode": 0, "speed": 1, "volume": 0.1, "pitch": 1, "languageContext": 'zh-CN',"audioType": "pcm", "soundChannel": 3, "playType": 1 };this.speakParams = {requestId: new Date().getTime().toString(),extraParams: this.extraParam};// 调用播报方法// 开发者可以通过修改speakParams主动设置播报策略this.ttsEngine?.speak(text, this.speakParams);}4.停止播报
让它闭嘴,当需要停止合成及播报时,可调用stop接口。
stop(){// 当需要查询文本转语音服务是否处于忙碌状态时// 才停止播报if(this.ttsEngine?.isBusy()){this.ttsEngine?.stop();}}
三、如何使用
1.得到语言引擎管理实例
我是将上述的方法,整理出了一个单例类TextToSpeechManager,方便在APP中全局使用。
private textToSpeechManger = TextToSpeechManager.getInstance();
2.初始化语言引擎和配置
在将要进入页面时,在方法aboutToAppear()中进行初始化。
aboutToAppear() {/// 初始化文本转语言引擎this.textToSpeechManger.createEngine();this.textToSpeechManger.initParam();
}
3.传入文本,生成语音
this.textToSpeechManger.speak('Hello kit');
四、使用技巧
我是用到了就写一下,后面用到了再进行补充。
- 设置停顿,[p500],表示停顿500ms
this.textToSpeechManger.speak('Hello[p500] kit');
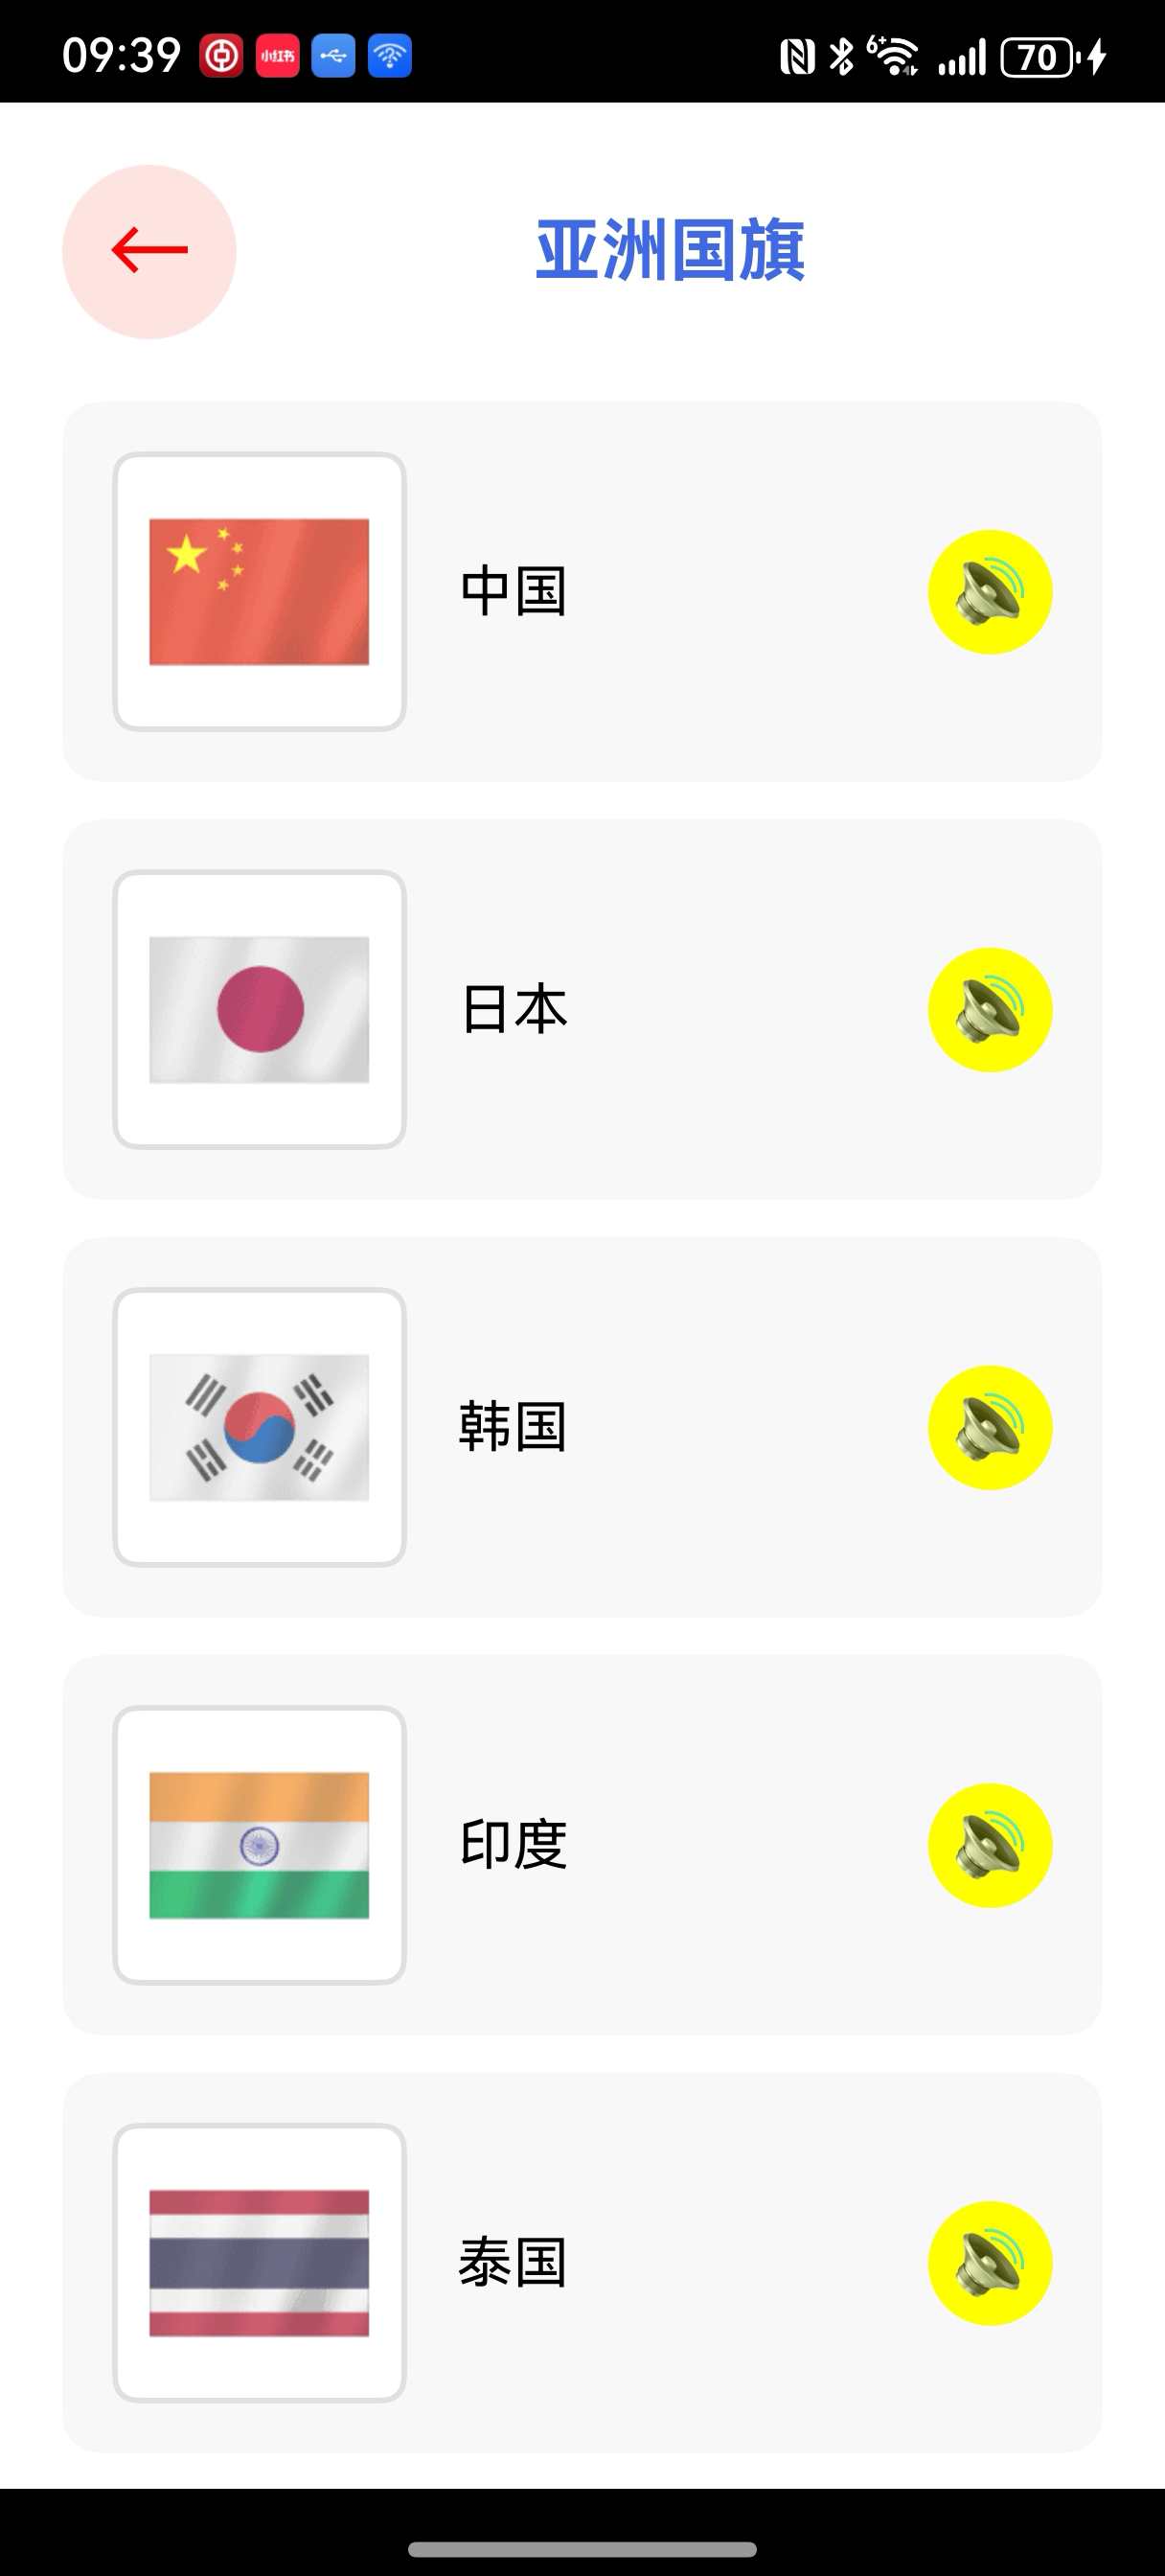
五、展示(Show your Time)
我不知道怎么上传视频,还是算了吧。就上传一张图片吧。
六、参考文档
官方文档
七、代码奉上(仅供参考)
import { textToSpeech } from '@kit.CoreSpeechKit';
import { BusinessError } from '@kit.BasicServicesKit';/*** 文本转语音* 使用:Core Speech Kit* 支持将一篇不超过10000字数的中英文文本(简体中文、繁体中文、数字、英文)合成为语音,并以选定音色进行播报。* 场景支持* 手机/平板等设备在无网状态下,系统应用无障碍(屏幕朗读)接入文本转语音能力,为视障人士或不方便阅读场景提供播报能力。*/
export class TextToSpeechManager{private static instance: TextToSpeechManager;private constructor() {}public static getInstance(): TextToSpeechManager {if (!TextToSpeechManager.instance) {TextToSpeechManager.instance = new TextToSpeechManager();}return TextToSpeechManager.instance;}// 创建TextToSpeechEngine实例private ttsEngine: textToSpeech.TextToSpeechEngine|null = null;// 设置播报相关参数private extraParam: Record<string, Object>|null = null;// 实例化SpeakParams对象private speakParams: textToSpeech.SpeakParams|null = null;// SpeakListener对象,设置speak的回调信息private  speakListener: textToSpeech.SpeakListener|null = null;/*** 调用createEngine接口,创建TextToSpeechEngine实例。* createEngine接口提供了两种调用形式,当前以其中一种作为示例,其他方式可参考API参考。* 其他创建方式:https://developer.huawei.com/consumer/cn/doc/harmonyos-references/hms-ai-texttospeech*/createEngine(){// 设置创建引擎参数let extraParam: Record<string, Object> = {"style": 'interaction-broadcast', "locate": 'CN', "name": 'EngineName'};let initParamsInfo: textToSpeech.CreateEngineParams = {language: 'zh-CN',person: 0,online: 1,extraParams: extraParam};// 调用createEngine方法textToSpeech.createEngine(initParamsInfo, (err: BusinessError, textToSpeechEngine: textToSpeech.TextToSpeechEngine) => {if (!err) {console.info('Succeeded in creating engine');// 接收创建引擎的实例this.ttsEngine = textToSpeechEngine;} else {console.error(`Failed to create engine. Code: ${err.code}, message: ${err.message}.`);}});}/*** 得到TextToSpeechEngine实例对象后,实例化SpeakParams对象、SpeakListener对象,并传入待合成及播报的文本originalText,调用speak接口进行播报。*/initParam(){// 设置speak的回调信息this.speakListener = {// 开始播报回调onStart(requestId: string, response: textToSpeech.StartResponse) {console.info(`onStart, requestId: ${requestId} response: ${JSON.stringify(response)}`);},// 合成完成及播报完成回调onComplete(requestId: string, response: textToSpeech.CompleteResponse) {console.info(`onComplete, requestId: ${requestId} response: ${JSON.stringify(response)}`);},// 停止播报回调onStop(requestId: string, response: textToSpeech.StopResponse) {console.info(`onStop, requestId: ${requestId} response: ${JSON.stringify(response)}`);},// 返回音频流onData(requestId: string, audio: ArrayBuffer, response: textToSpeech.SynthesisResponse) {console.info(`onData, requestId: ${requestId} sequence: ${JSON.stringify(response)} audio: ${JSON.stringify(audio)}`);},// 错误回调onError(requestId: string, errorCode: number, errorMessage: string) {console.error(`onError, requestId: ${requestId} errorCode: ${errorCode} errorMessage: ${errorMessage}`);}};// 设置回调this.ttsEngine?.setListener(this.speakListener);}/*** 调用播报方法* 开发者可以通过修改speakParams主动设置播报策略*/speak(text:string){// 设置播报相关参数this.extraParam= {"queueMode": 0, "speed": 1, "volume": 0.1, "pitch": 1, "languageContext": 'zh-CN',"audioType": "pcm", "soundChannel": 3, "playType": 1 };this.speakParams = {requestId: new Date().getTime().toString(),  //'123456', // requestId在同一实例内仅能用一次,请勿重复设置extraParams: this.extraParam};// 调用播报方法// 开发者可以通过修改speakParams主动设置播报策略this.ttsEngine?.speak(text, this.speakParams);}/*** 停止调用播报方法* 当需要停止合成及播报时,可调用stop接口。*/stop(){// 当需要查询文本转语音服务是否处于忙碌状态时// 才停止播报if(this.ttsEngine?.isBusy()){this.ttsEngine?.stop();}}
}/// 使用实例:// 1.初始化语言引擎和配置
// private textToSpeechManger = TextToSpeechManager.getInstance();
//
// aboutToAppear() {
//   /// 初始化文本转语言引擎
//   this.textToSpeechManger.createEngine();
//   this.textToSpeechManger.initParam();
// }// 2.传入文本,生成语音
// this.textToSpeechManger.speak('Hello kit');// 3.设置停顿 [p500],500ms
// this.textToSpeechManger.speak('Hello[p500] kit');