VTK|类似CloudCompare的比例尺实现1-源码分析
文章目录
- CloudCompare源码分析
- void ccGLWindowInterface::drawScale(const ccColor::Rgbub& color)
- 🧩 总体功能
- 🧠 函数逐步解析
- ✅ 1. 断言只在正交模式下使用
- ✅ 2. 计算显示的实际长度
- ✅ 3. 字体和图形区域准备
- ✅ 4. 计算比例尺图形的绘制位置
- ✅ 5. 绘制比例尺线段和端点刻度
- ✅ 6. 绘制文字标签(比如 “10”)
- 🧾 总结
- ✅ 推荐你关注的点
- double ccGLWindowInterface::computeActualPixelSize() const
- ✅ 函数功能概述
- 🧠 函数逐行解析
- 🔁 举个例子说明
- ✅ 总结
- inline double RoundScale(double equivalentWidth)
- ✅ 函数功能概述
- 🧠 逐行详解
- 1. 计算数量级 `k`
- 2. 计算“粒度”或跳变步长
- 3. 将输入值按 granularity 向下舍入
- ✅ 举例
- 🔧 总结
CloudCompare 的比例尺(Scale Bar)功能非常直观实用,它的实现具有以下几个关键点。下面将从 设计思想 和 实现方式 两个方面详细说明,并与我们当前的实现思路进行对比,便于你优化自己的系统。
CloudCompare源码分析
源码链接:https://github.com/CloudCompare/CloudCompare
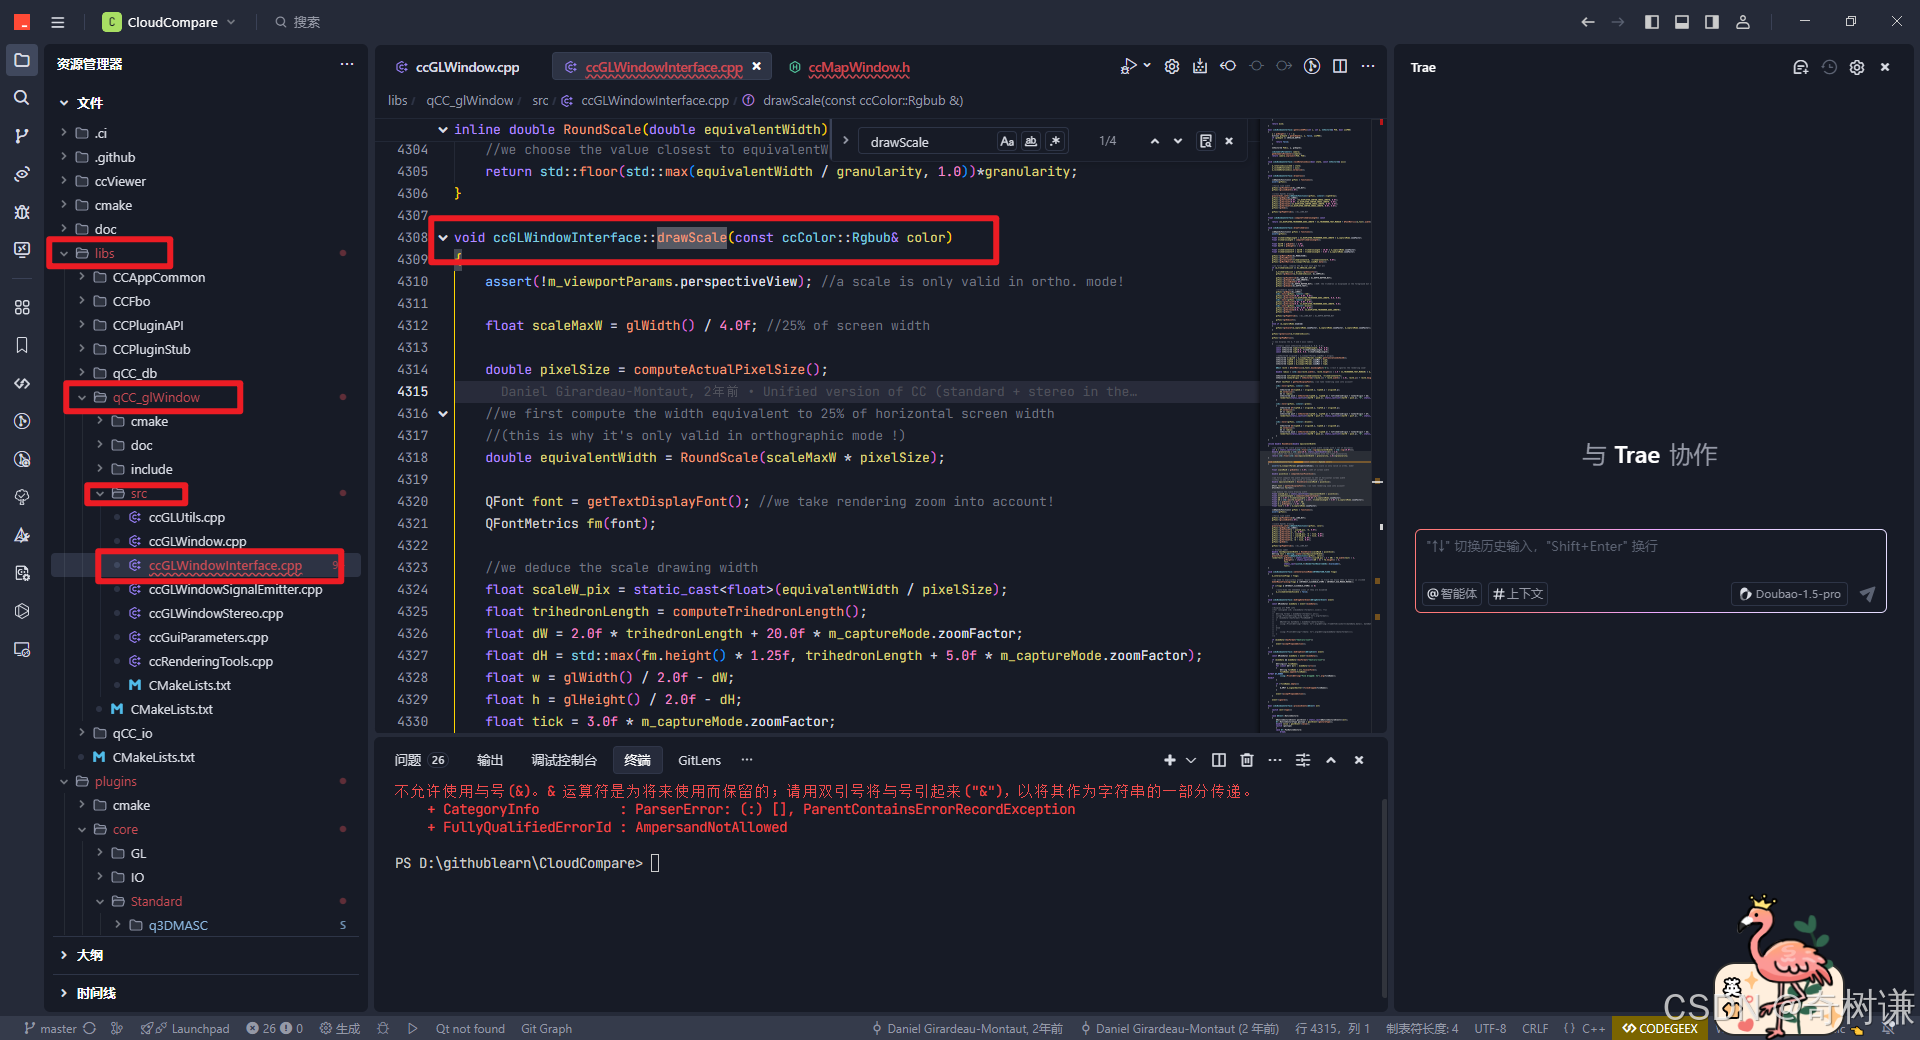
找到对应添加比例尺相关函数代码libs->qCC_glWindow->src->ccGLWindowInterface.cpp
void ccGLWindowInterface::drawScale(const ccColor::Rgbub& color)
void ccGLWindowInterface::drawScale(const ccColor::Rgbub& color)
{// 断言只在正交模式下使用assert(!m_viewportParams.perspectiveView); //a scale is only valid in ortho. mode!// 比例尺最大占屏幕宽度25%float scaleMaxW = glWidth() / 4.0f; //25% of screen width// 1像素对应的真实空间单位长度(如米)double pixelSize = computeActualPixelSize();// 将比例尺最大宽度(25% 屏幕)转换成实际长度(单位:米),并做了“美化舍入”,如 9.4 -> 10//we first compute the width equivalent to 25% of horizontal screen width//(this is why it's only valid in orthographic mode !)double equivalentWidth = RoundScale(scaleMaxW * pixelSize);// 字体和图形区域准备QFont font = getTextDisplayFont(); //we take rendering zoom into account!QFontMetrics fm(font); // 用于测量字体尺寸// 计算比例尺图形的绘制位置//we deduce the scale drawing widthfloat scaleW_pix = static_cast<float>(equivalentWidth / pixelSize);// 实际长度转换成像素长度float trihedronLength = computeTrihedronLength();// 屏幕上小坐标轴的长度float dW = 2.0f * trihedronLength + 20.0f * m_captureMode.zoomFactor;float dH = std::max(fm.height() * 1.25f, trihedronLength + 5.0f * m_captureMode.zoomFactor);float w = glWidth() / 2.0f - dW;float h = glHeight() / 2.0f - dH;float tick = 3.0f * m_captureMode.zoomFactor;ccQOpenGLFunctions* glFunc = functions();assert(glFunc);//force line widthglFunc->glPushAttrib(GL_LINE_BIT);glFunc->glLineWidth(1.0f);// 绘制比例尺线段和端点刻度//scale OpenGL drawingglColor3ubv_safe<ccQOpenGLFunctions>(glFunc, color);glFunc->glBegin(GL_LINES);// 主线段glFunc->glVertex3f(w - scaleW_pix, -h, 0.0f);glFunc->glVertex3f(w, -h, 0.0f);// 左刻度glFunc->glVertex3f(w - scaleW_pix, -h - tick, 0.0f);glFunc->glVertex3f(w - scaleW_pix, -h + tick, 0.0f);// 右刻度glFunc->glVertex3f(w, -h + tick, 0.0f);glFunc->glVertex3f(w, -h - tick, 0.0f);glFunc->glEnd();glFunc->glPopAttrib(); //GL_LINE_BIT// display label 绘制文字标签(比如 “10”)double textEquivalentWidth = RoundScale(scaleMaxW * pixelSize);QString text = QString::number(textEquivalentWidth);glColor3ubv_safe<ccQOpenGLFunctions>(glFunc, color);renderText(	glWidth() - static_cast<int>(scaleW_pix / 2 + dW) - fm.width(text) / 2,glHeight() - static_cast<int>(dH / 2) + fm.height() / 3,text,static_cast<uint16_t>(RenderTextReservedIDs::ScaleLabel),font);
}
这个函数 ccGLWindowInterface::drawScale() 是 CloudCompare 中 绘制比例尺(Scale Bar) 的主要函数。比例尺通常显示在右下角,仅在**正交视图(Orthographic View)**下启用,用于提示用户当前显示视图的空间尺度。
🧩 总体功能
绘制一个代表实际长度的线段比例尺(如 10m、100m 等),并在旁边绘制文字标签标注其长度。
🧠 函数逐步解析
✅ 1. 断言只在正交模式下使用
assert(!m_viewportParams.perspectiveView); // only valid in ortho. mode!
比例尺仅在正交投影下有效,透视模式下尺寸不再固定,比例尺无意义。
✅ 2. 计算显示的实际长度
float scaleMaxW = glWidth() / 4.0f; // 比例尺最大占屏幕宽度25%
double pixelSize = computeActualPixelSize(); // 1像素对应的真实空间单位长度(如米)
double equivalentWidth = RoundScale(scaleMaxW * pixelSize);
pixelSize: 当前视图下 1 像素等于多少“实际单位”(比如米)。equivalentWidth: 将比例尺最大宽度(25% 屏幕)转换成实际长度(单位:米),并做了“美化舍入”,如 9.4 -> 10。
✅ 3. 字体和图形区域准备
QFont font = getTextDisplayFont();
QFontMetrics fm(font); // 用于测量字体尺寸
✅ 4. 计算比例尺图形的绘制位置
float scaleW_pix = equivalentWidth / pixelSize; // 实际长度转换成像素长度
float trihedronLength = computeTrihedronLength(); // 屏幕上小坐标轴的长度
float dW = 2.0f * trihedronLength + 20.0f * m_captureMode.zoomFactor;
float dH = max(fm.height() * 1.25f, trihedronLength + 5.0f * zoomFactor);
float w = glWidth() / 2.0f - dW;
float h = glHeight() / 2.0f - dH;
scaleW_pix: 比例尺显示为多长(像素数)。w, h: 比例尺右端点坐标,一般在窗口右下角往左上偏移。dW,dH: 距离边缘和文字的位置偏移量。
✅ 5. 绘制比例尺线段和端点刻度
glFunc->glBegin(GL_LINES);
// 主线段
glVertex3f(w - scaleW_pix, -h, 0.0f);
glVertex3f(w, -h, 0.0f);
// 左刻度
glVertex3f(w - scaleW_pix, -h - tick, 0.0f);
glVertex3f(w - scaleW_pix, -h + tick, 0.0f);
// 右刻度
glVertex3f(w, -h + tick, 0.0f);
glVertex3f(w, -h - tick, 0.0f);
glFunc->glEnd();
绘制了如下图形:
| ------------ |^ 左端点 ^ 右端点
✅ 6. 绘制文字标签(比如 “10”)
QString text = QString::number(textEquivalentWidth);
renderText(..., text, ..., font);
将比例尺的实际长度以文字形式显示在比例尺下方居中位置。
🧾 总结
| 功能 | 实现 |
|---|---|
| 只在正交视图下启用 | assert(!m_viewportParams.perspectiveView) |
| 以屏幕宽度 25% 为上限,计算比例尺真实长度 | scaleMaxW * pixelSize |
| 比例尺线段与刻度绘制 | OpenGL glBegin(GL_LINES)... |
| 长度文字标签绘制 | renderText(...) |
| 缩放自适应 | 由 pixelSize 和 zoomFactor 控制 |
✅ 推荐你关注的点
RoundScale():控制比例尺长度的跳变规则(如 1/2/5/10/…)computeActualPixelSize():控制比例尺单位与视图缩放的匹配方式renderText():文字绘制细节,是否自动适配 DPI
double ccGLWindowInterface::computeActualPixelSize() const
double ccGLWindowInterface::computeActualPixelSize() const
{double pixelSize = m_viewportParams.computePixelSize(glWidth()); // we now use the width as the driving dimension for scaling// but we have to compensate for the aspect ratio is h > wdouble ar = static_cast<double>(glHeight()) / glWidth();if (ar > 1.0){pixelSize *= ar;}return pixelSize;}
你贴出的 ccGLWindowInterface::computeActualPixelSize() 是 CloudCompare 中**计算当前视图下每个像素所代表的真实空间长度(单位:米或其他单位)**的函数,是比例尺绘制逻辑的核心支撑之一。
✅ 函数功能概述
这个函数返回一个 pixelSize 值,即 “一个屏幕像素在当前视图中对应的实际长度(单位:米)”。这个值用于:
- 比例尺长度的换算(实际长度 ↔ 屏幕像素长度)
- label/文本等图元的缩放保持一致性
🧠 函数逐行解析
double pixelSize = m_viewportParams.computePixelSize(glWidth());
- 使用
viewport参数中的方法,传入当前窗口宽度(像素),计算当前视图下的单位像素长度。 m_viewportParams是ccViewportParameters类型,表示当前视角的投影和缩放状态。- 默认使用 窗口宽度(X方向) 作为基础缩放维度。
double ar = static_cast<double>(glHeight()) / glWidth();
if (ar > 1.0)
{pixelSize *= ar;
}
-
这一步是为了补偿高宽比不为1时的缩放失真:
- 当视图是竖屏(高度 > 宽度)时,Y方向单位会拉伸,比例尺就可能被拉短。
- 通过乘上
aspectRatio = height / width,来补正这种拉伸,使得比例尺长度不变形。
🔁 举个例子说明
假设窗口是 800x600:
pixelSize = m_viewportParams.computePixelSize(800):表示800像素宽对应的实际场景宽度(如20米),那 1 像素就是 0.025米。- 如果是竖屏(高大于宽,比如 1200x800),Y方向会被压缩,因此乘以
1.5来修正,让比例尺视觉效果正确。
✅ 总结
| 作用 | 说明 |
|---|---|
| 控制比例尺精度 | 决定 1 像素对应多少实际长度 |
| 正交视图缩放适配 | 保证不同窗口尺寸、缩放下比例尺始终反映真实比例 |
| 支持非等比例窗口 | 高宽比校正,避免变形显示 |
inline double RoundScale(double equivalentWidth)
inline double RoundScale(double equivalentWidth)
{//we compute the scale granularity (to avoid width values with a lot of decimals)int k = static_cast<int>(std::floor(std::log(equivalentWidth) / std::log(10.0f)));double granularity = std::pow(10.0, static_cast<double>(k)) / 2.0;//we choose the value closest to equivalentWidth with the right granularityreturn std::floor(std::max(equivalentWidth / granularity, 1.0))*granularity;
}
RoundScale() 是 CloudCompare 中用于**“美化”比例尺长度值**的函数,它会将任意的实际长度(如 92.342 米)舍入到一个“看起来舒服”的值(如 100 米)。
✅ 函数功能概述
inline double RoundScale(double equivalentWidth)
这个函数的目的:
- 将
equivalentWidth(比如 92.3 米)舍入为一个人类友好的、整洁的数值 - 保证比例尺看起来是
10/20/50/100/500这种“好看的刻度”
🧠 逐行详解
1. 计算数量级 k
int k = static_cast<int>(std::floor(std::log(equivalentWidth) / std::log(10.0f)));
-
这是在算
equivalentWidth的数量级(10 的几次方):- 若
equivalentWidth = 92.3,则log10(92.3) ≈ 1.965,floor(...) = 1,说明是两位数 ≈ 10¹。 - 若
equivalentWidth = 734,则k = 2(因为 10² = 100)。
- 若
2. 计算“粒度”或跳变步长
double granularity = std::pow(10.0, static_cast<double>(k)) / 2.0;
-
使用 10 的
k次方除以 2 得到跳变粒度:- 对于 92.3,
k = 1→10¹ / 2 = 5.0 - 对于 734,
k = 2→100 / 2 = 50.0
- 对于 92.3,
-
这就让比例尺的跳变是:
- 单位范围 10~100:每 5 增长(10, 15, 20…)
- 单位范围 100~1000:每 50 增长(100, 150, 200…)
3. 将输入值按 granularity 向下舍入
return std::floor(std::max(equivalentWidth / granularity, 1.0)) * granularity;
-
equivalentWidth / granularity得到倍数(如 92.3 / 5 = 18.46) -
std::floor(...) * granularity→ 向下舍入为最近的 granularity 倍数:- 92.3 → 18 * 5 = 90
- 734 → 14 * 50 = 700
-
std::max(..., 1.0)确保不会出现 0 值
✅ 举例
输入值 (equivalentWidth) | 粒度 (granularity) | 最终结果 (RoundScale) |
|---|---|---|
| 92.3 | 5 | 90 |
| 734 | 50 | 700 |
| 0.83 | 0.5 | 0.5 |
| 0.04 | 0.05 | 0.05 |
🔧 总结
| 目的 | 实现 |
|---|---|
| 美化比例尺数字 | 按数量级推导跳变步长 |
| 保证整齐可读 | 避免像 92.387 这样的杂数 |
| 自适应范围 | 自动在 0.05、0.5、5、50、500 之间切换 |