SpringMVC —— Spring集成web环境和SpringMVC快速入门
一、前言
本文需要导入Spring框架的坐标,还需要导入额外的坐标如下:一个是Spring的web框架,一个是Springmvc的框架,剩下两个是Servlet和JSP的坐标。
<dependency><groupId>org.springframework</groupId><artifactId>spring-web</artifactId><version>5.1.9.RELEASE</version></dependency><dependency><groupId>org.springframework</groupId><artifactId>spring-webmvc</artifactId><version>5.1.9.RELEASE</version></dependency><dependency><groupId>javax.servlet</groupId><artifactId>javax.servlet-api</artifactId><version>3.1.0</version><scope>provided</scope></dependency><dependency><groupId>javax.servlet.jsp</groupId><artifactId>javax.servlet.jsp-api</artifactId><version>2.3.3</version><scope>provided</scope></dependency>对于Spring配置文件,我们和上一篇相同:
<!-- 加载外部的properties文件--><context:property-placeholder location="classpath:jdbc.properties"/><!-- 使用spring表达式--><bean id="dataSource" class="com.mchange.v2.c3p0.ComboPooledDataSource"><property name="driverClass" value="${jdbc.driver}"></property><property name="jdbcUrl" value="${jdbc.url}"></property><property name="user" value="${jdbc.username}"></property><property name="password" value="${jdbc.password}"></property></bean><!-- 依旧使用xml注入--><bean id="userDao" class="com.yds.dao.impl.UserDaoImpl"></bean><bean id="userService" class="com.yds.service.impl.UserServiceImpl"><property name="userDao" ref="userDao"></property></bean><!-- 配置组件扫描--><context:component-scan base-package="com.yds"/>没有看上一篇的先看上一篇Spring —— 数据源配置和注解开发-CSDN博客
二、Spring集成web环境
1.准备dao层和service层
首先创建dao层和service层,内容和上一篇类似(没有用注解,还是在xml中配置):
public interface UserDao {public void save();
}
public class UserDaoImpl implements UserDao {@Overridepublic void save() {System.out.println("save running...");}
}
public interface UserService {public void save();
}
public class UserServiceImpl implements UserService {private UserDao userDao;public void setUserDao(UserDao userDao) {this.userDao = userDao;}@Overridepublic void save() {userDao.save();}
}
2.web层
我们需要创建一个servlet类来作为web层使用(第一版):
@WebServlet("/userServlet")
public class UserServlet extends HttpServlet {@Overrideprotected void doGet(HttpServletRequest request, HttpServletResponse response) throws ServletException, IOException {ApplicationContext app = new ClassPathXmlApplicationContext("applicationContext.xml");UserService userService = app.getBean(UserService.class);userService.save();}@Overrideprotected void doPost(HttpServletRequest request, HttpServletResponse response) throws ServletException, IOException {this.doGet(request, response);}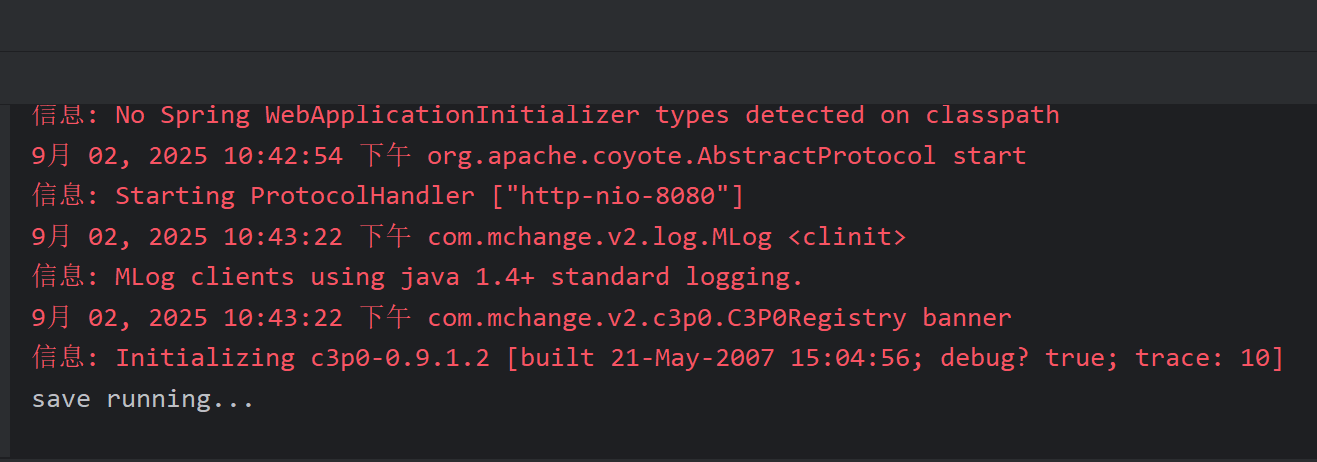
}我们尝试启动Tomcat,输入网址资源
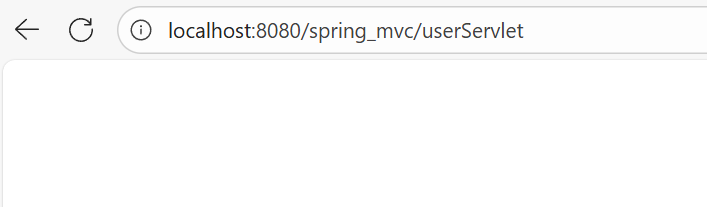
得到以下结果,表示运行正常:
3.第一次解耦和去重复化app
以往我们都是直接使用下面代码实现加载Spring配置文件的:
ApplicationContext app = new ClassPathXmlApplicationContext("applicationContext.xml");可以看到这里的配置文件时写死的,如果配置文件更改,我们需要改动servlet类,这样就会让代码耦合度增加,我们在这里需要配置配置文件,让它解耦:
<!-- 配置配置文件--><context-param><param-name>contextConfigLocation</param-name><param-value>classpath:applicationContext.xml</param-value></context-param>同时我们发现,每次访问资源,Spring框架都会从Beans中重新拿出UserService的对象,这样也不好,会使资源重复加载,所以我们使用监听器,只在初始化的时候拿出来UserService的对象即可,创建监听器如下:
我们创建app对象,然后放到servlet域中,这样在其他的servlet中都可以共享这一个app了,要使用时只需要从域中拿出来就可以了。
@WebListener
public class ContextLoaderListener implements ServletContextListener {@Overridepublic void contextInitialized(ServletContextEvent servletContextEvent) {ServletContext servletContext = servletContextEvent.getServletContext();//读取web.xml中的全局参数(配置配置文件)String contextConfigLocation = servletContext.getInitParameter("contextConfigLocation");ApplicationContext app = new ClassPathXmlApplicationContext(contextConfigLocation);//将Spring的应用上下文对象存储到ServletContext中servletContext.setAttribute("app", app);System.out.println("Spring容器创建完毕...");}@Overridepublic void contextDestroyed(ServletContextEvent servletContextEvent) {}
}
然后我们升级Servlet到第二版:
@WebServlet("/userServlet")
public class UserServlet extends HttpServlet {@Overrideprotected void doGet(HttpServletRequest request, HttpServletResponse response) throws ServletException, IOException {ServletContext servletContext = this.getServletContext();ApplicationContext app = (ApplicationContext) servletContext.getAttribute("app");UserService userService = app.getBean(UserService.class);userService.save();}@Overrideprotected void doPost(HttpServletRequest request, HttpServletResponse response) throws ServletException, IOException {this.doGet(request, response);}
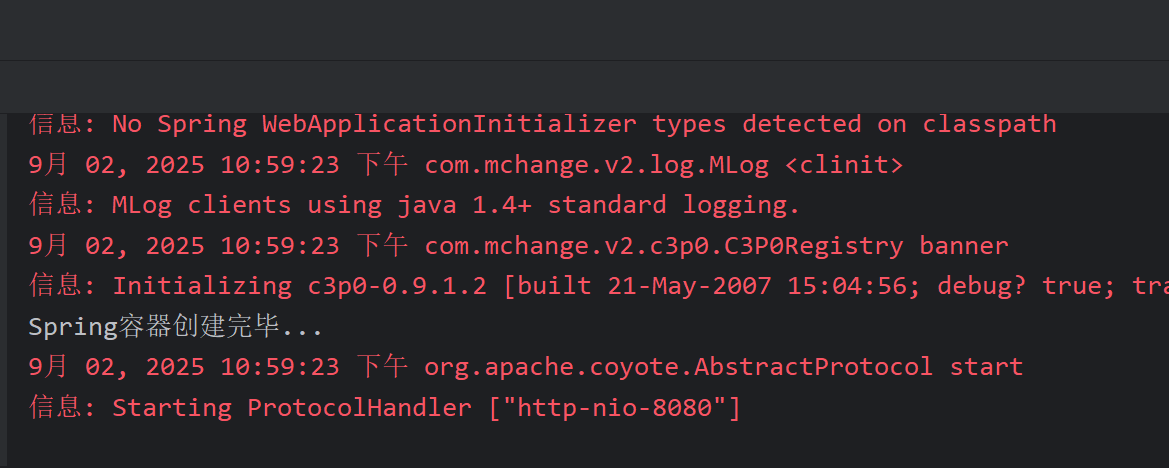
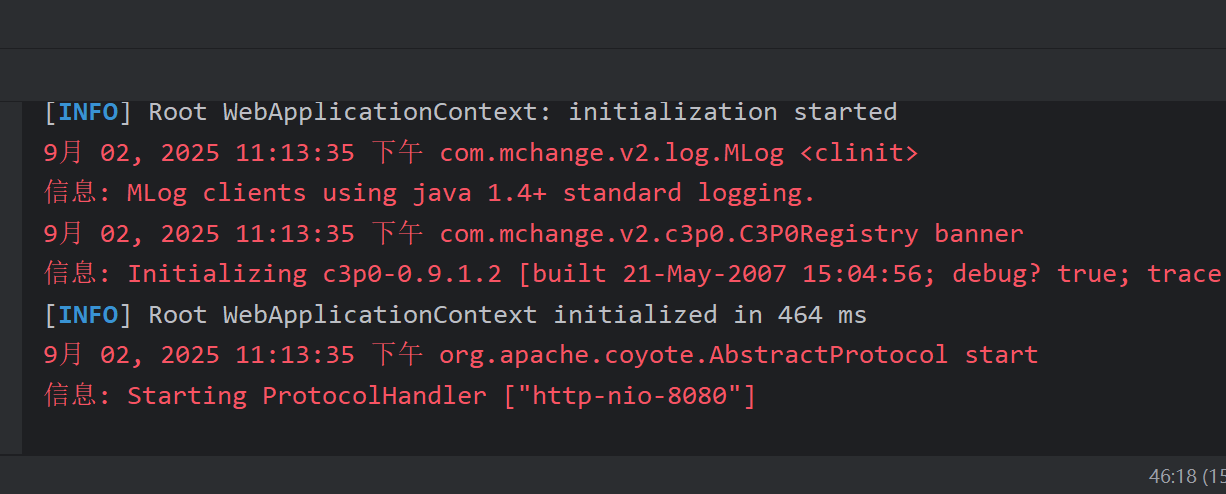
}看到Spring容器创建完毕就表示没有问题了:
4.第二次解耦
虽然已经让代码耦合度降低了,但是还有可以解耦的地方,就是我们在文本域中存储的app对象,我们把它命名为了”app“,但是这个名称不便记忆,如果能直接用get获取这个域中的对象就更好了,所以我们继续优化代码:
我们自己写一个工具类,里面用一个静态方法来获取app对象:
public class WebApplicationContextUtils {public static ApplicationContext getWebApplicationContext(ServletContext servletContext) {return (ApplicationContext) servletContext.getAttribute("app");}
}
于是升级到第三版Servlet:
@WebServlet("/userServlet")
public class UserServlet extends HttpServlet {@Overrideprotected void doGet(HttpServletRequest request, HttpServletResponse response) throws ServletException, IOException {ServletContext servletContext = this.getServletContext();//自己写的WebApplicationContextUtilsApplicationContext app = WebApplicationContextUtils.getWebApplicationContext(servletContext);UserService userService = app.getBean(UserService.class);userService.save();}@Overrideprotected void doPost(HttpServletRequest request, HttpServletResponse response) throws ServletException, IOException {this.doGet(request, response);}
}
5.使用SpringMVC框架简化代码
在上述代码中,我们的监听器和工具类都是自己写的,这是为了了解原理,但是到真正开发的时候会很麻烦,Spring中其实也有这样的类,我们可以直接使用(同名),但是我们需要先配置:
首先在web.xml中配置监听器:
<!-- 配置监听器--><listener><listener-class>org.springframework.web.context.ContextLoaderListener</listener-class></listener>这个时候我们就可以注释掉我们自己写的监听器了:
同时,获取app的工具类也可以直接使用Spring-web提供的,我们写出第四版Servlet:
@WebServlet("/userServlet")
public class UserServlet extends HttpServlet {@Overrideprotected void doGet(HttpServletRequest request, HttpServletResponse response) throws ServletException, IOException {ServletContext servletContext = this.getServletContext();//Spring-web的WebApplicationContextUtilsApplicationContext app = WebApplicationContextUtils.getWebApplicationContext(servletContext);UserService userService = app.getBean(UserService.class);userService.save();}@Overrideprotected void doPost(HttpServletRequest request, HttpServletResponse response) throws ServletException, IOException {this.doGet(request, response);}
}
最终效果如下:
三、SpringMVC快速入门
SpringMVC提供了Controller来代替Servlet,因为Servlet操作繁琐,而且耦合度更高,所以后面都使用Controller来作为web层使用,但是Controller并非脱离了Servlet,只是Servlet的更高级的封装,所以前面Servlet的知识(包括请求响应等)都会继续用到,但是步骤都会更简便,更优化。
1.准备
在这之前,我们需要配置SpringMVC的前端控制器:
<!-- 配置SpringMVC的前端控制器--><servlet><servlet-name>DispatcherServlet</servlet-name><servlet-class>org.springframework.web.servlet.DispatcherServlet</servlet-class><init-param><param-name>contextConfigLocation</param-name><param-value>classpath:spring-mvc.xml</param-value></init-param><load-on-startup>1</load-on-startup></servlet><servlet-mapping><servlet-name>DispatcherServlet</servlet-name><url-pattern>/</url-pattern></servlet-mapping>我们先创建一个JSP文件以供测试:
<%@ page contentType="text/html;charset=UTF-8" language="java" %>
<html>
<head><title>Title</title>
</head>
<body>
<h1>success</h1>
</body>
</html>
然后创建一个Controller:
首先加上@Controller注解
然后加上@RequestMapping注解,下面是RequestMapping的解析:
@RequestMapping
作用:用于建立请求URL和处理请求方法之间的对应关系
位置:
- 类上,请求URL的第一级访问目录。此处不写的话,就相当于应用的根目录
- 方法上,请求URL的第二级访问目录,与类上的使用@RequestMapping标注的一级目录一起组成访问虚拟路径
属性:
- value:用于指定请求的URL。它和path属性的作用是一样的
- method:用于指定请求的方式
- params:用于指定限制请求参数的条件。它支持简单的表达式。要求请求参数的key和value必须和配置的一模一样
- params = {"accountName"},表示请求参数必须有accountName
- params = {"moeny!100"},表示请求参数中money不能是100
//controller是通过注解来简易化替代servlet的@Controller
@RequestMapping("/user")
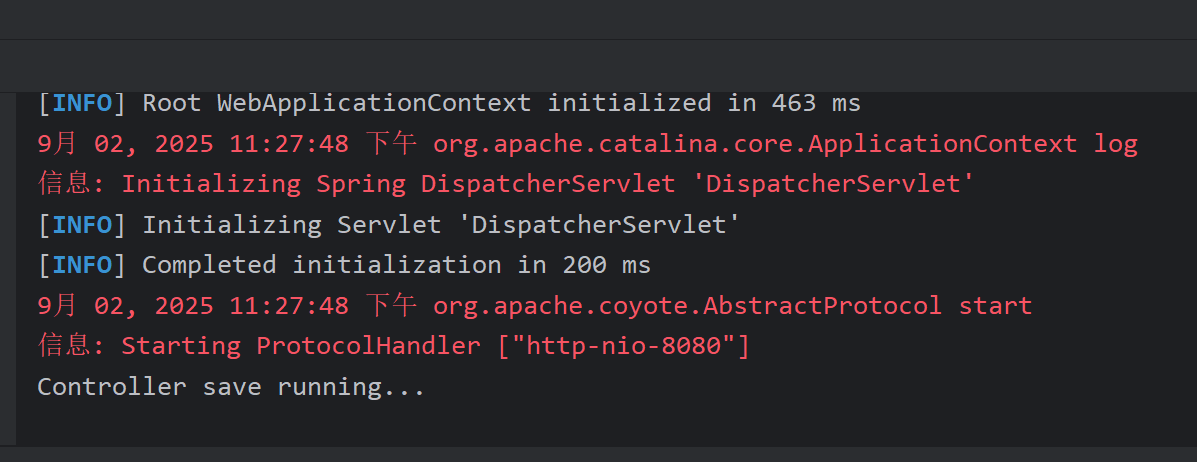
public class UserController {//请求地址 http://localhost/user/quick//三个参数value,method,@RequestMapping(value = "/quick", method = RequestMethod.GET, params = {"username"})public String save() {System.out.println("Controller save running...");//return "success.jsp" 这是相对路径 跳转页面(SpringMVC特有的简便方式)return "/success.jsp";//这是绝对路径//前后缀
// return "forward:/success.jsp";//默认省略了forward
// return "redirect:/success.jsp";//这个会直接跳转地址(重定向)}
}最后别忘了用SpringMVC扫描Controller(这里需要专门新建一个SpringMVC的配置文件):
<!--mvc组件扫描(只扫描controller),dao层和service层由spring扫描--><context:component-scan base-package="com.yds.controller"/>2.开始测试:
我们这里如果要访问save方法需要输入两级的地址,并且由于我们这里设置了get参数,所以还需要拼接一段username参数:
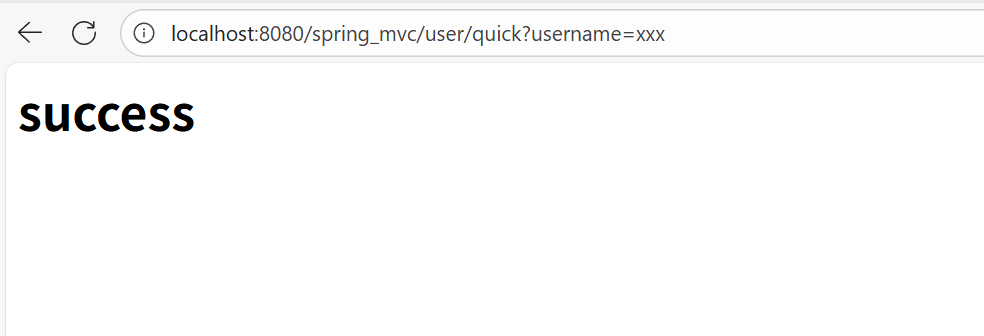
同时控制台可以看到: