全志F1c200开发笔记——移植根文件系统
1.下载buildroot
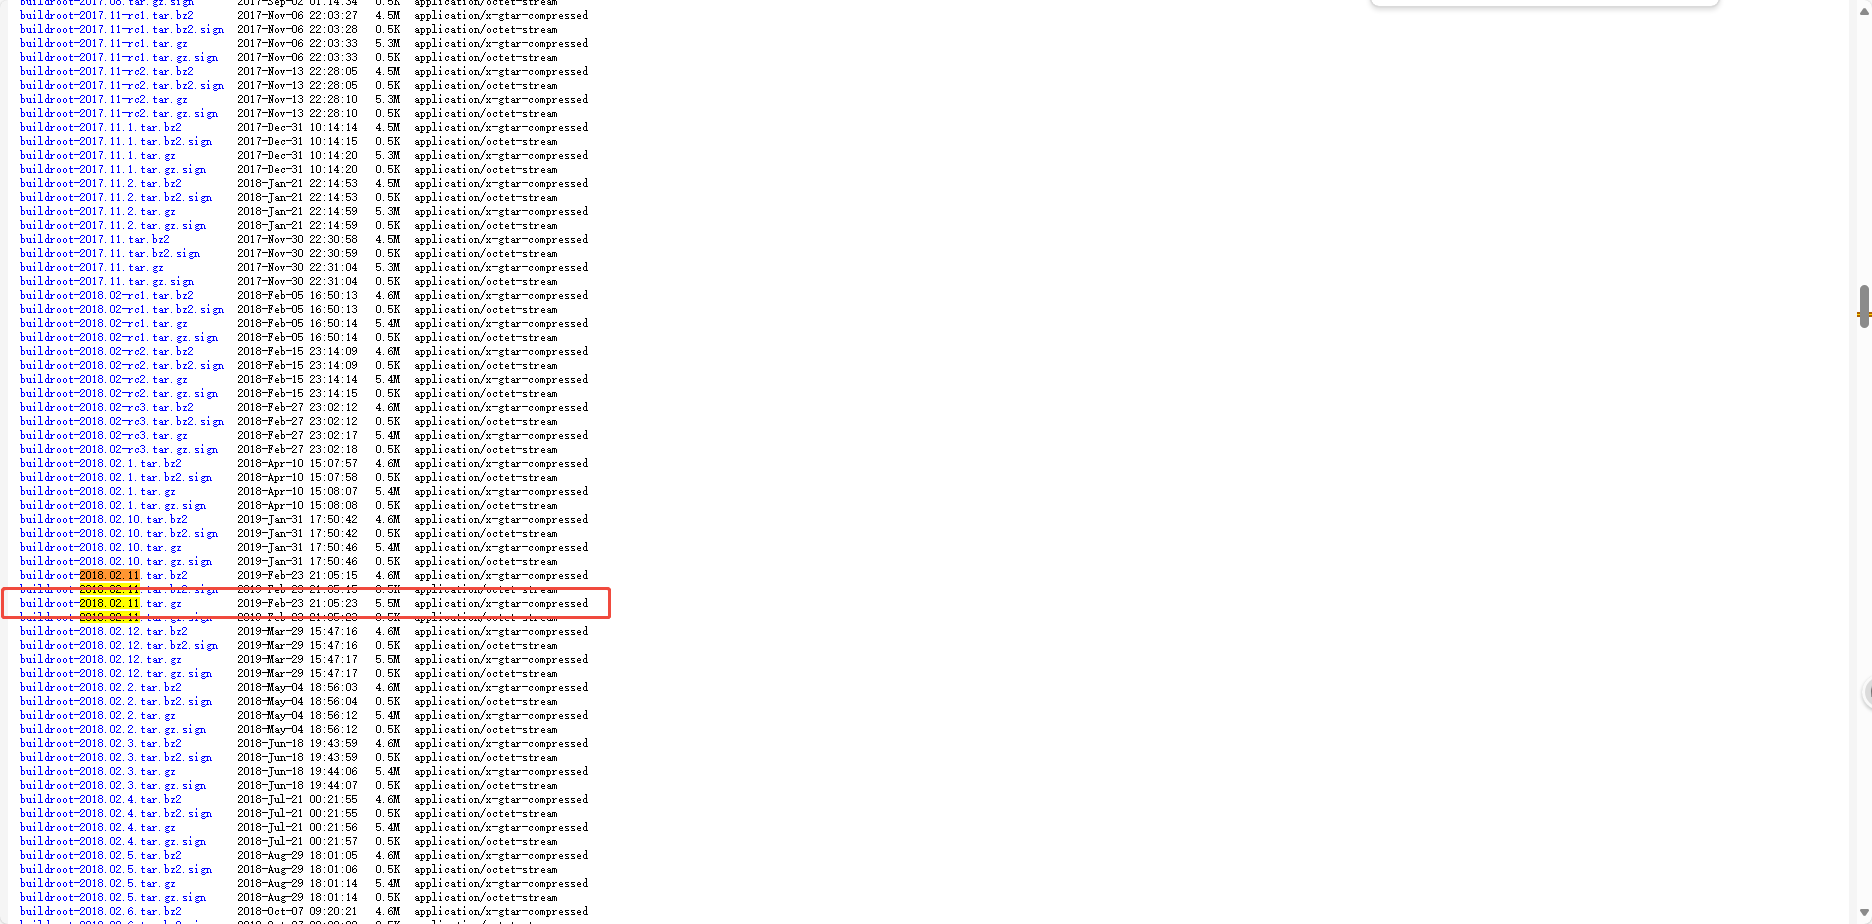
Index of /downloads/
使用2018.02.11版本
直链下载
https://buildroot.org/downloads/buildroot-2018.02.11.tar.gz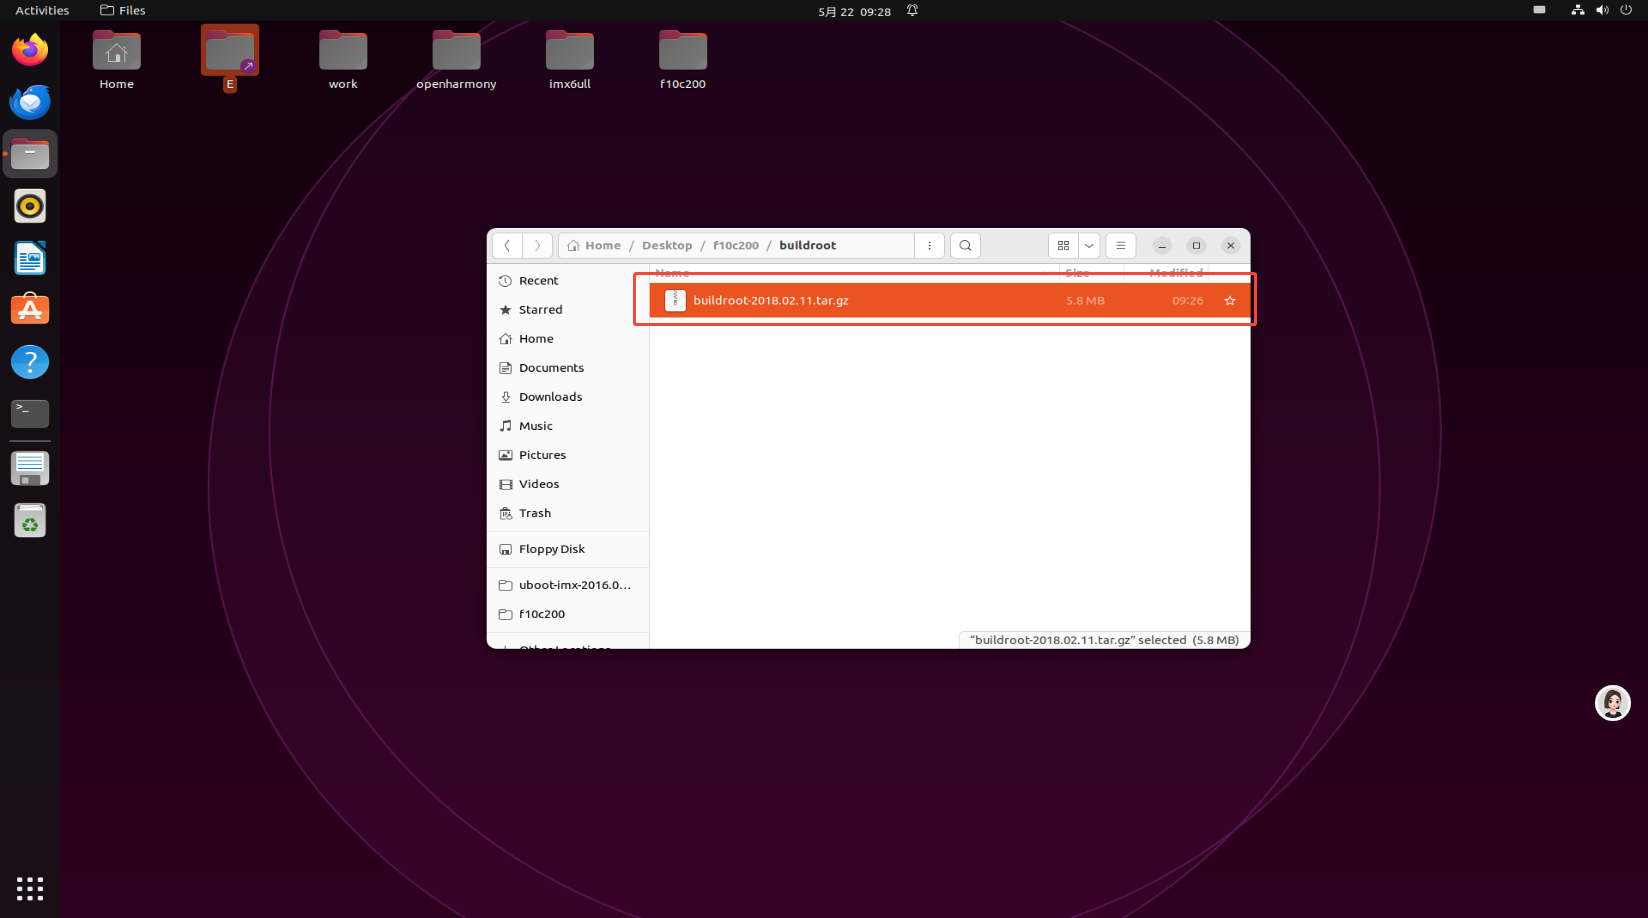
2.配置
进入buildroot压缩包目录下,使用命令解压并进入工作目录
tar -xf buildroot-2018.02.11.tar.gz
cd buildroot-2018.02.11/
2.1 图形化配置
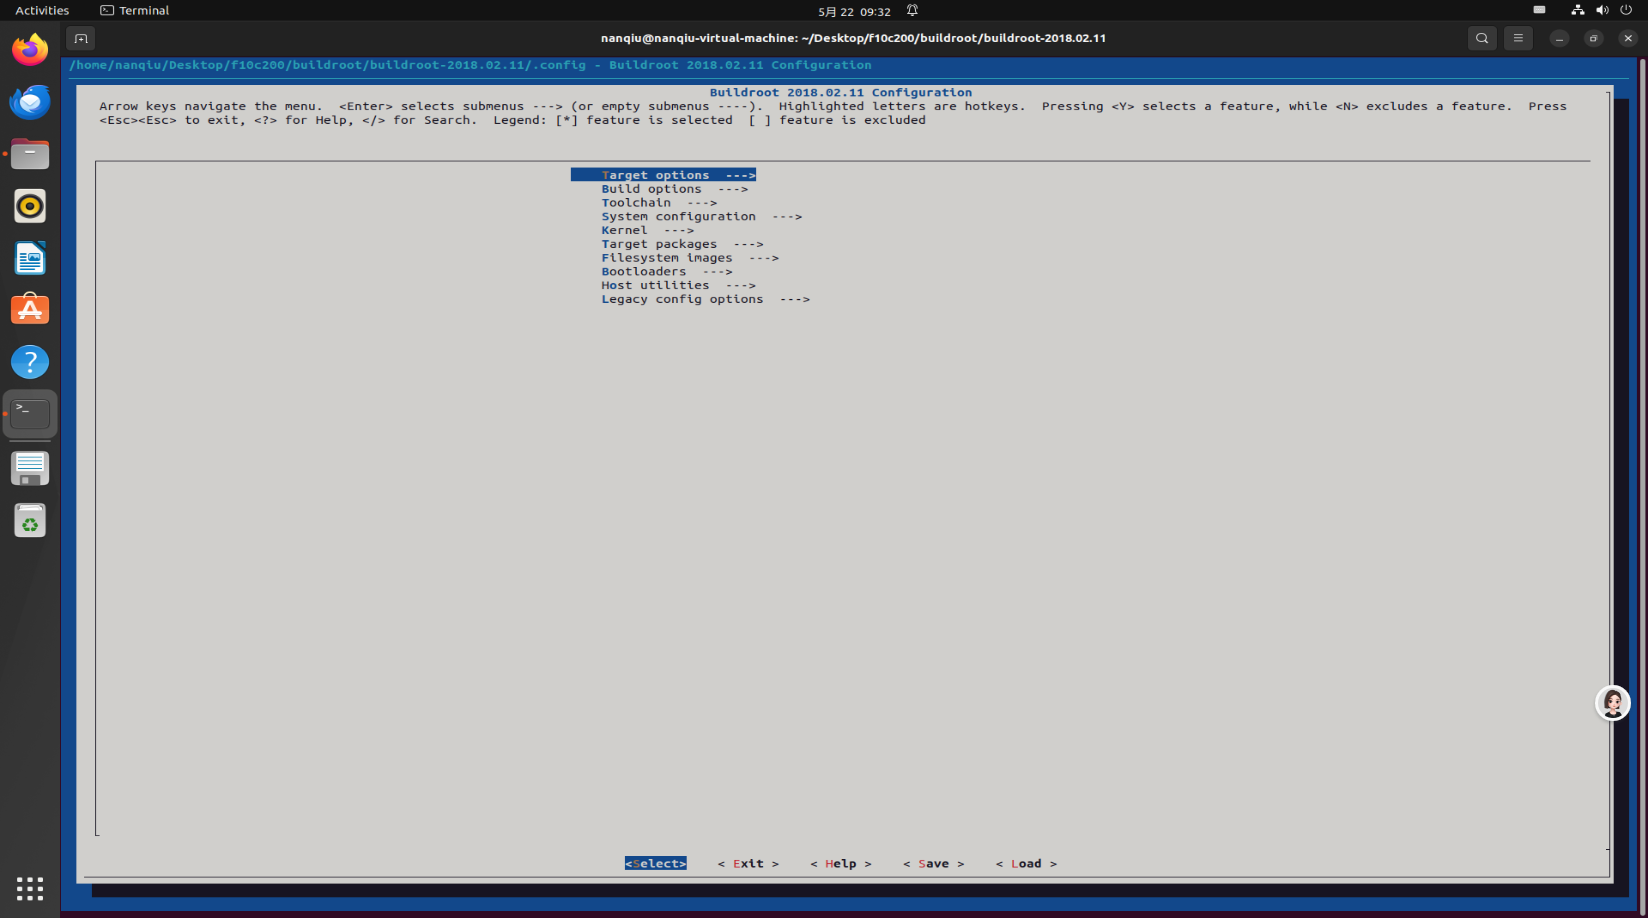
2.1.1 配置Target options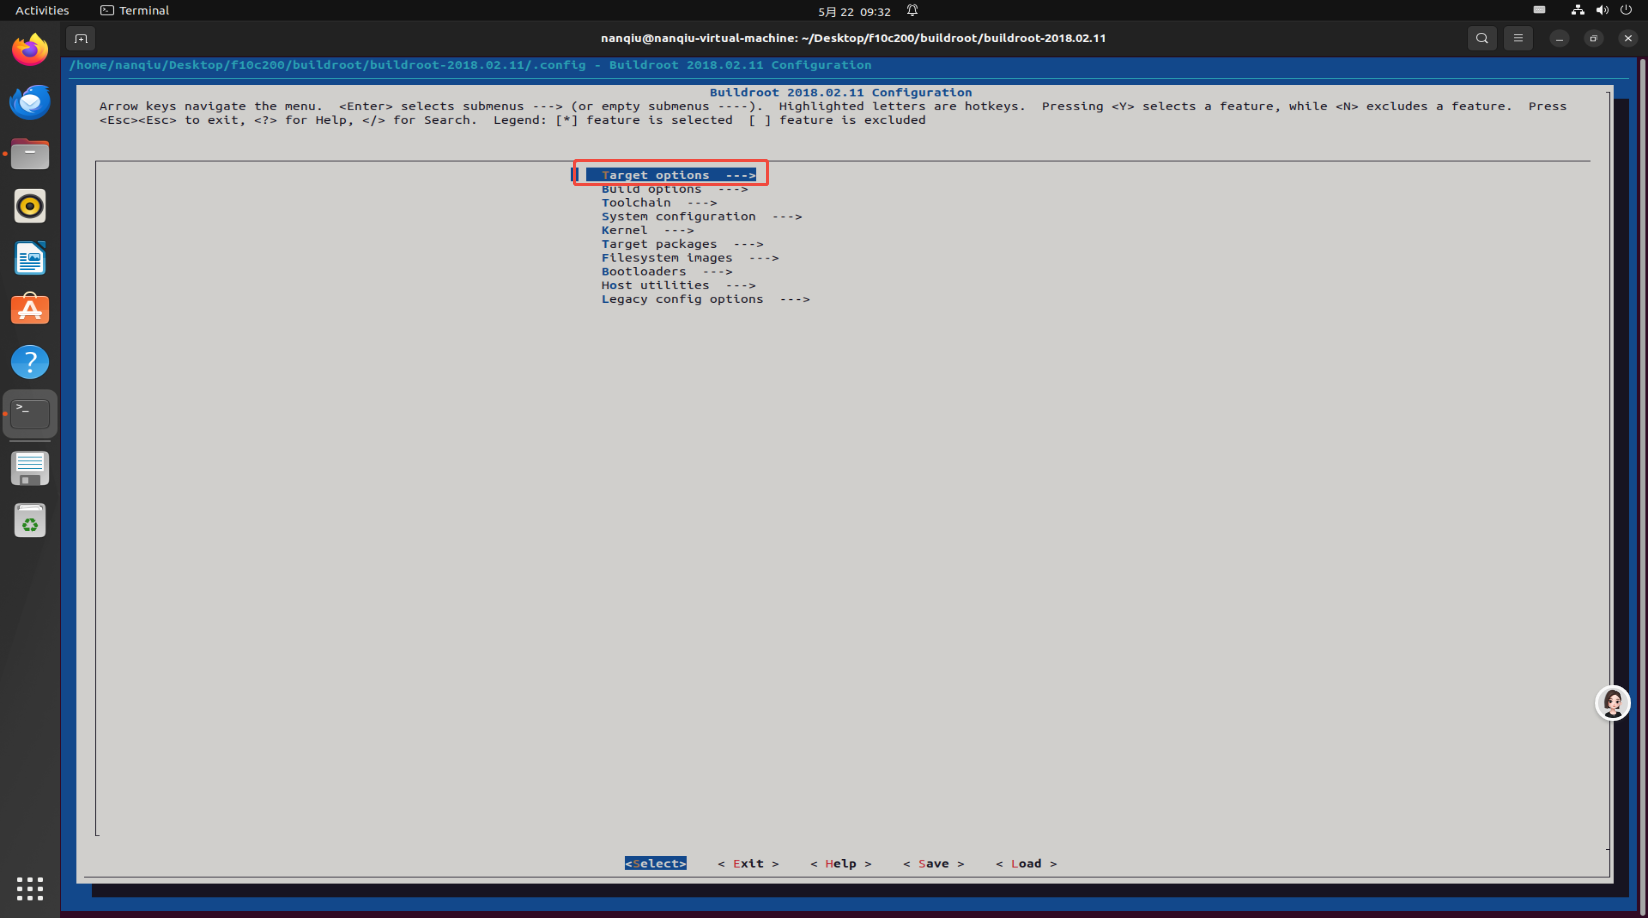
修改Target Architecture为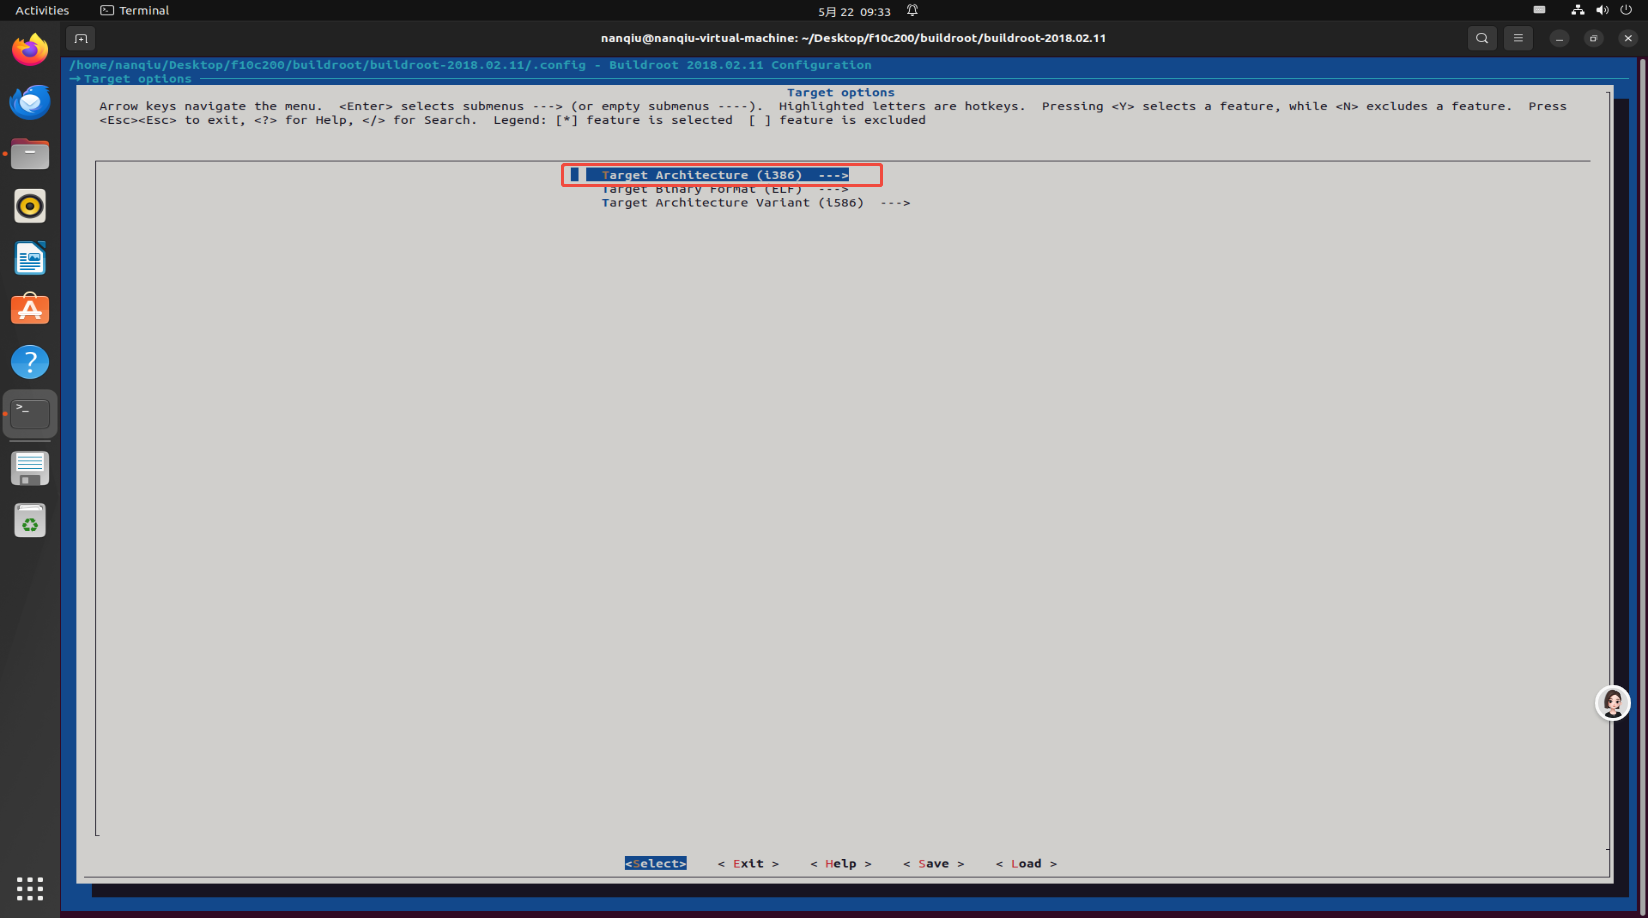
ARM(little endian)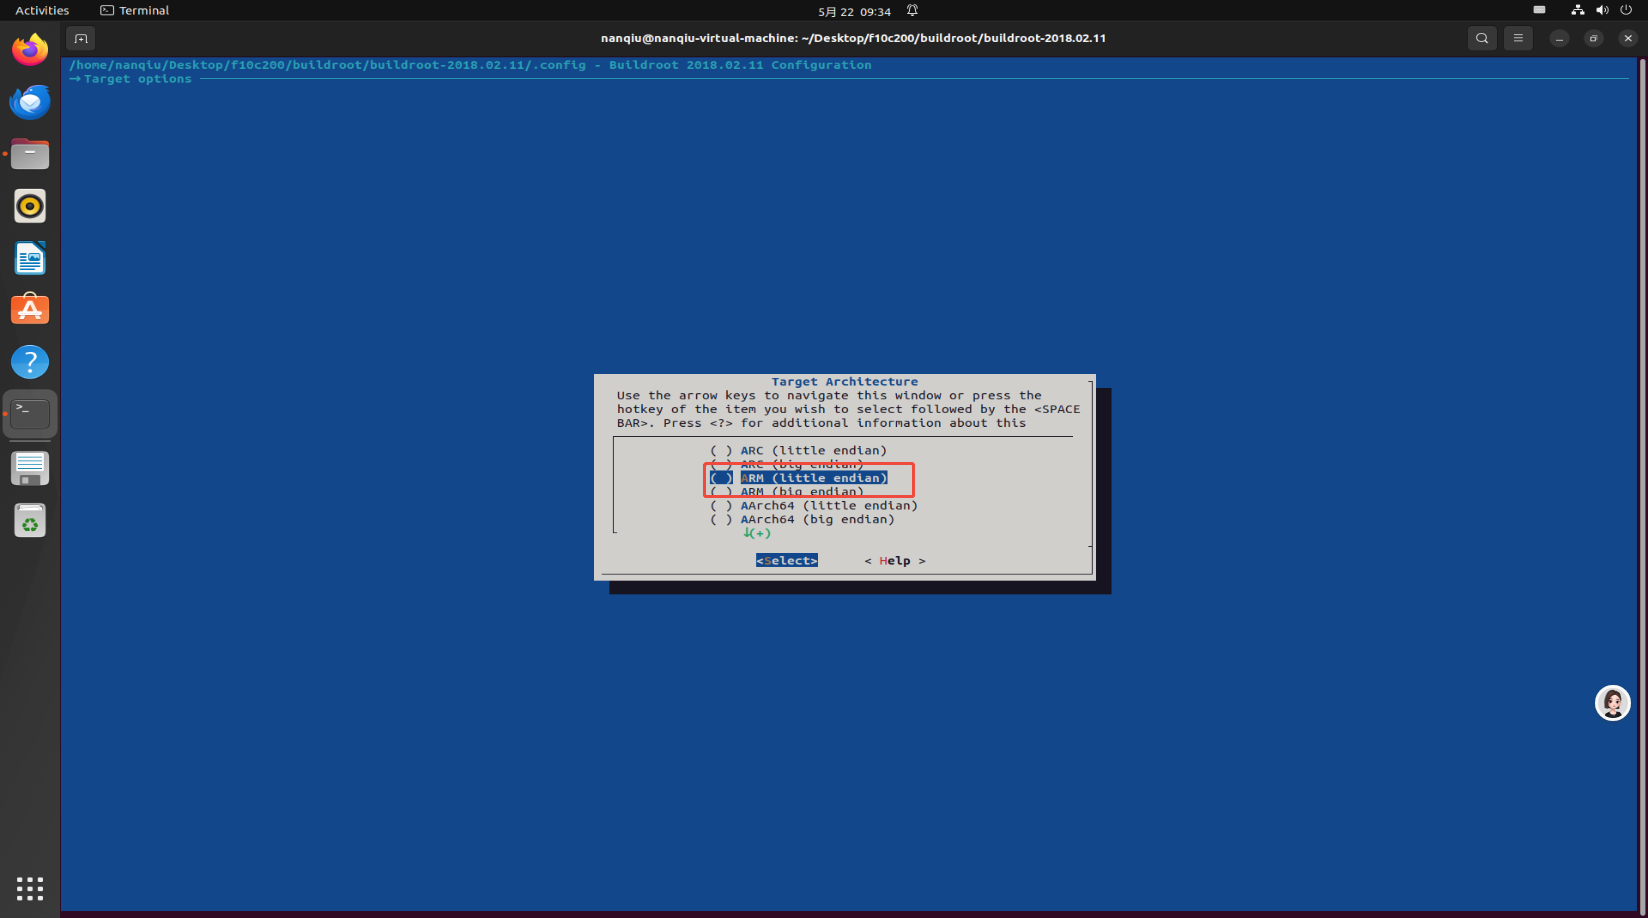
找到
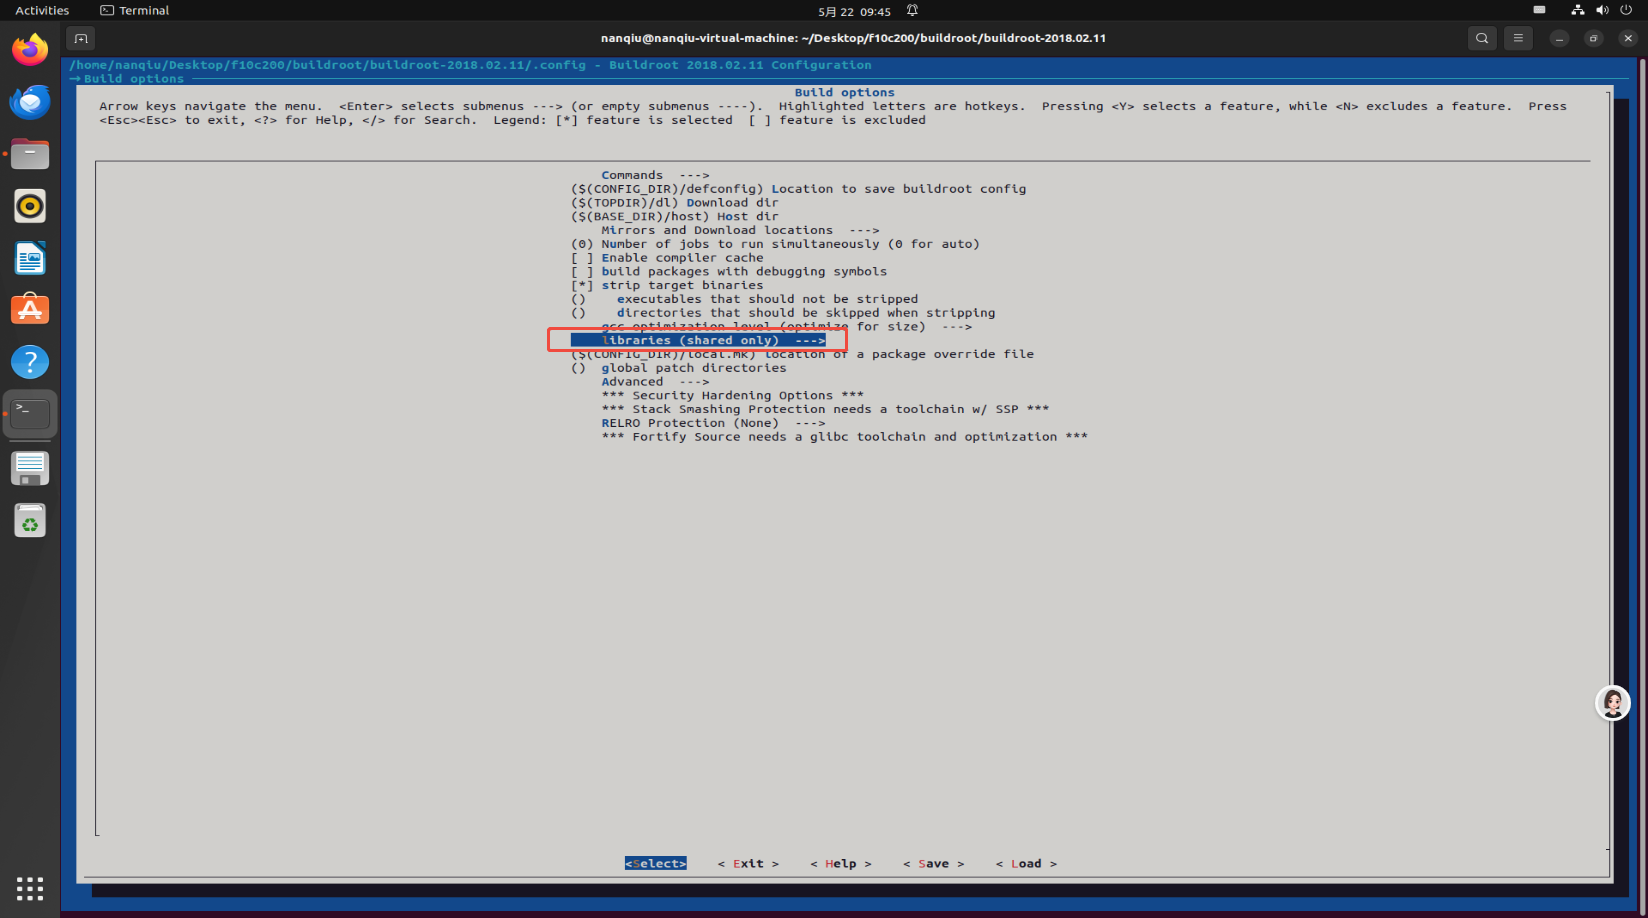
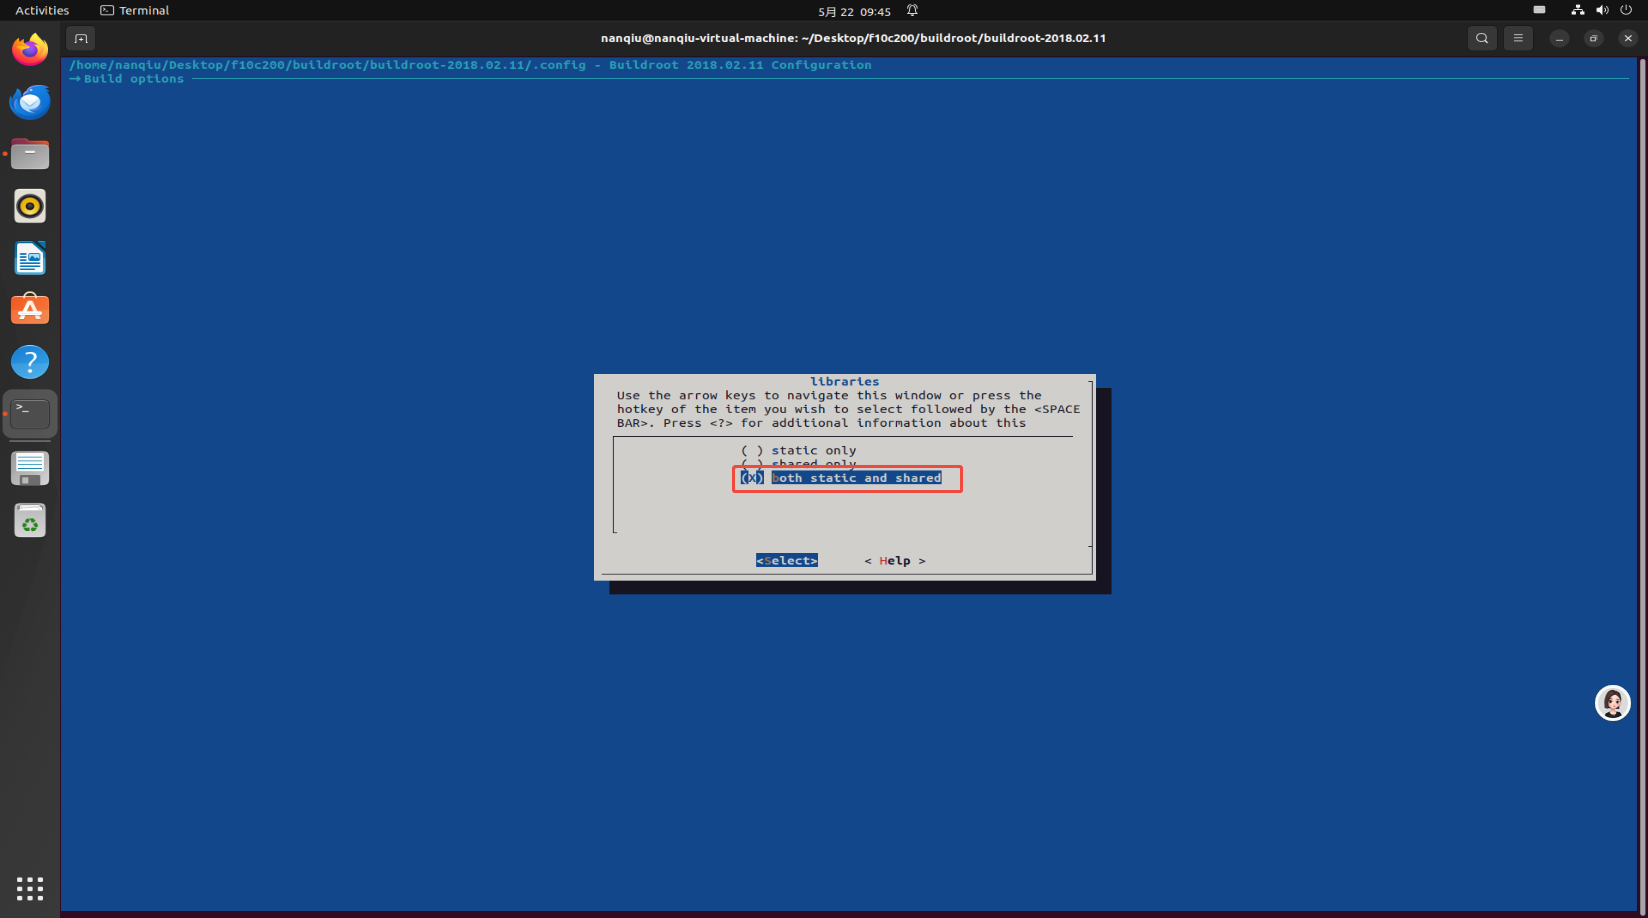
2.1.2 配置Build options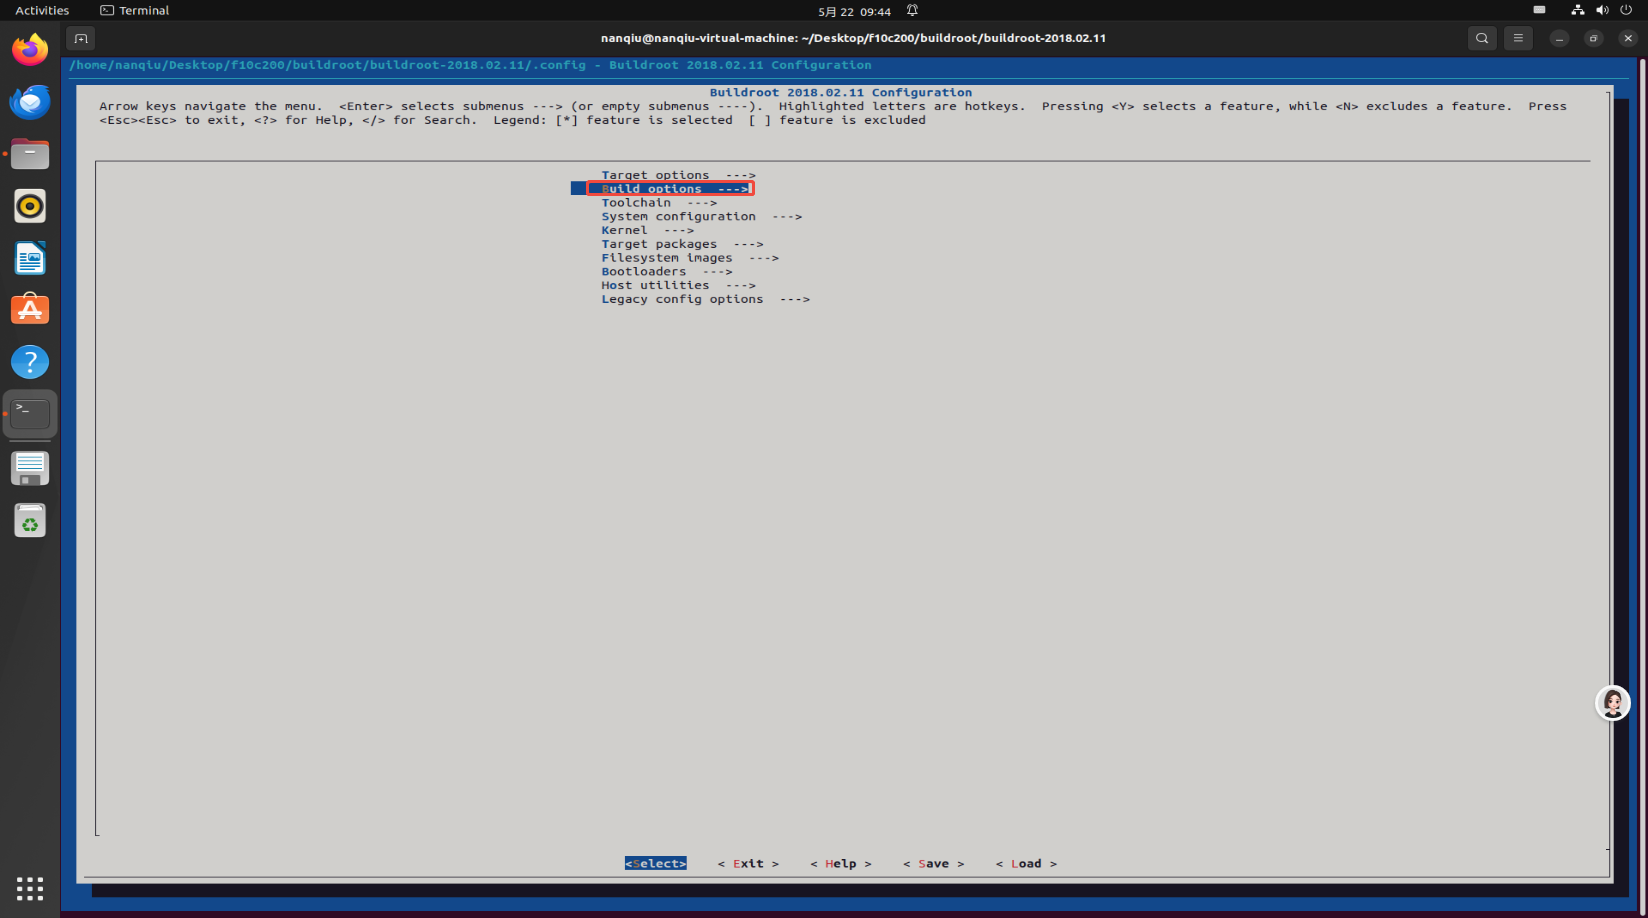
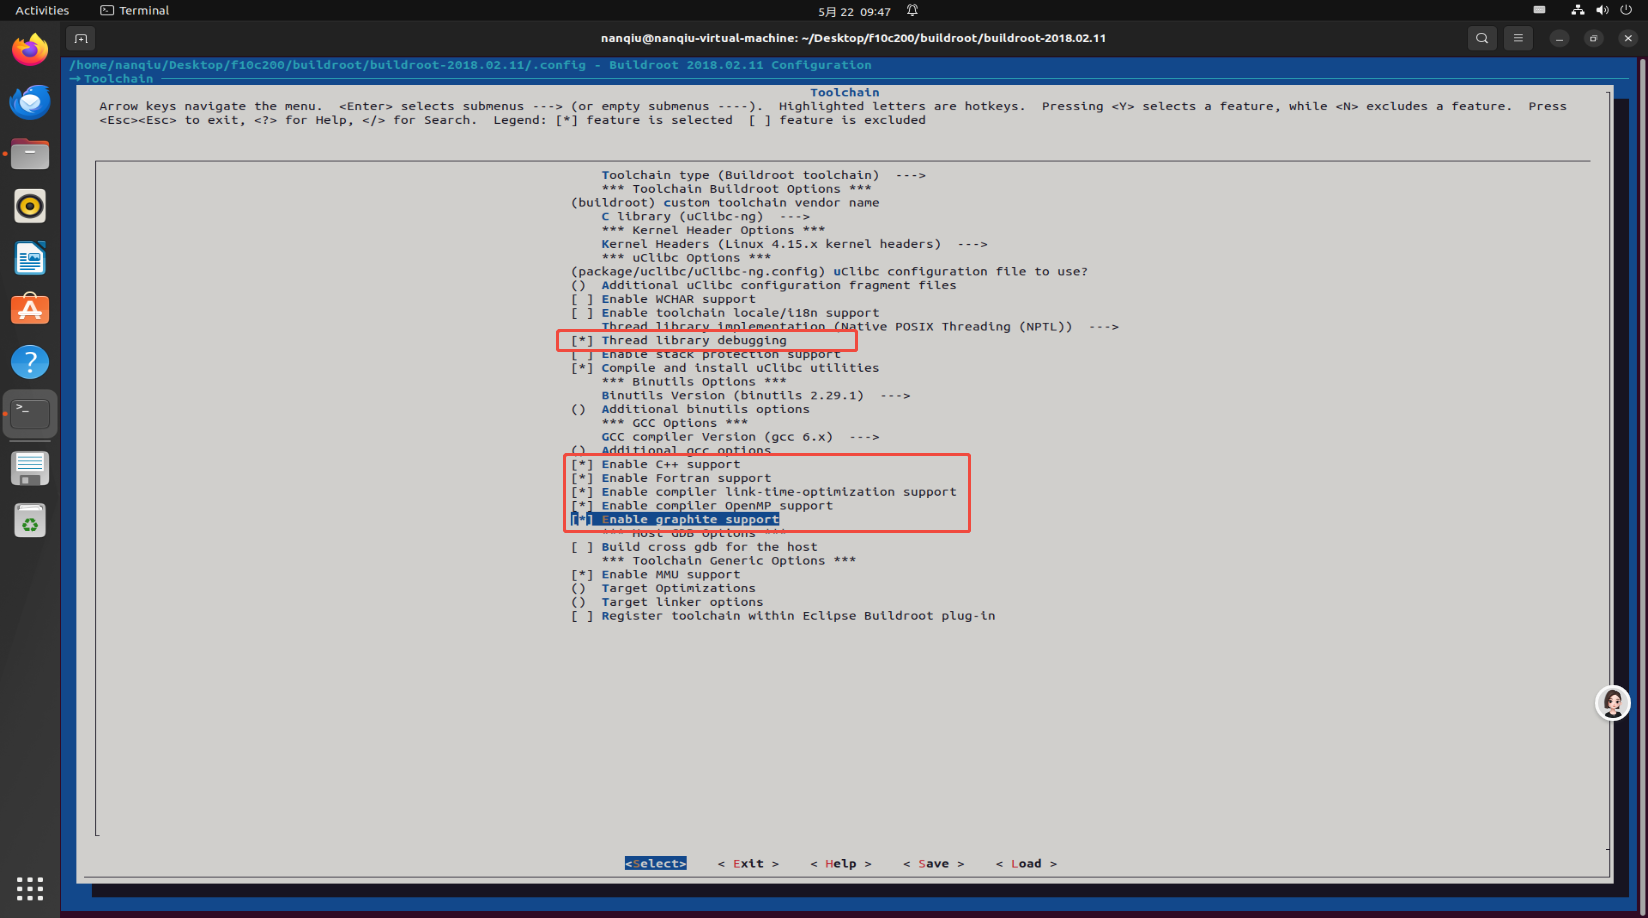
2.1.3 配置 Toolchain

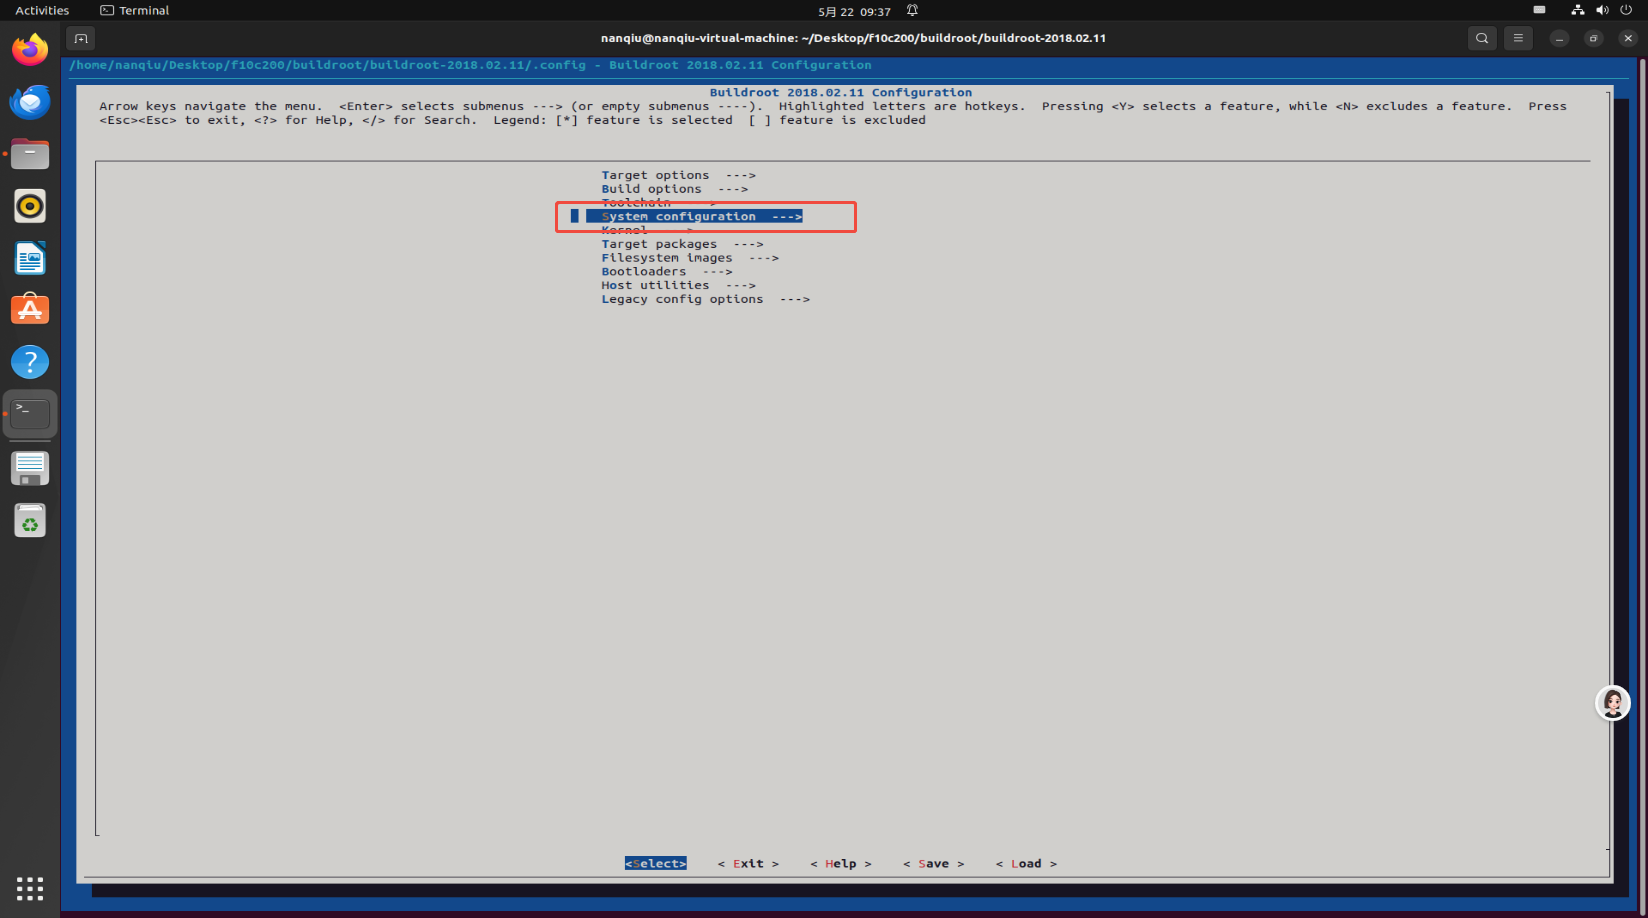
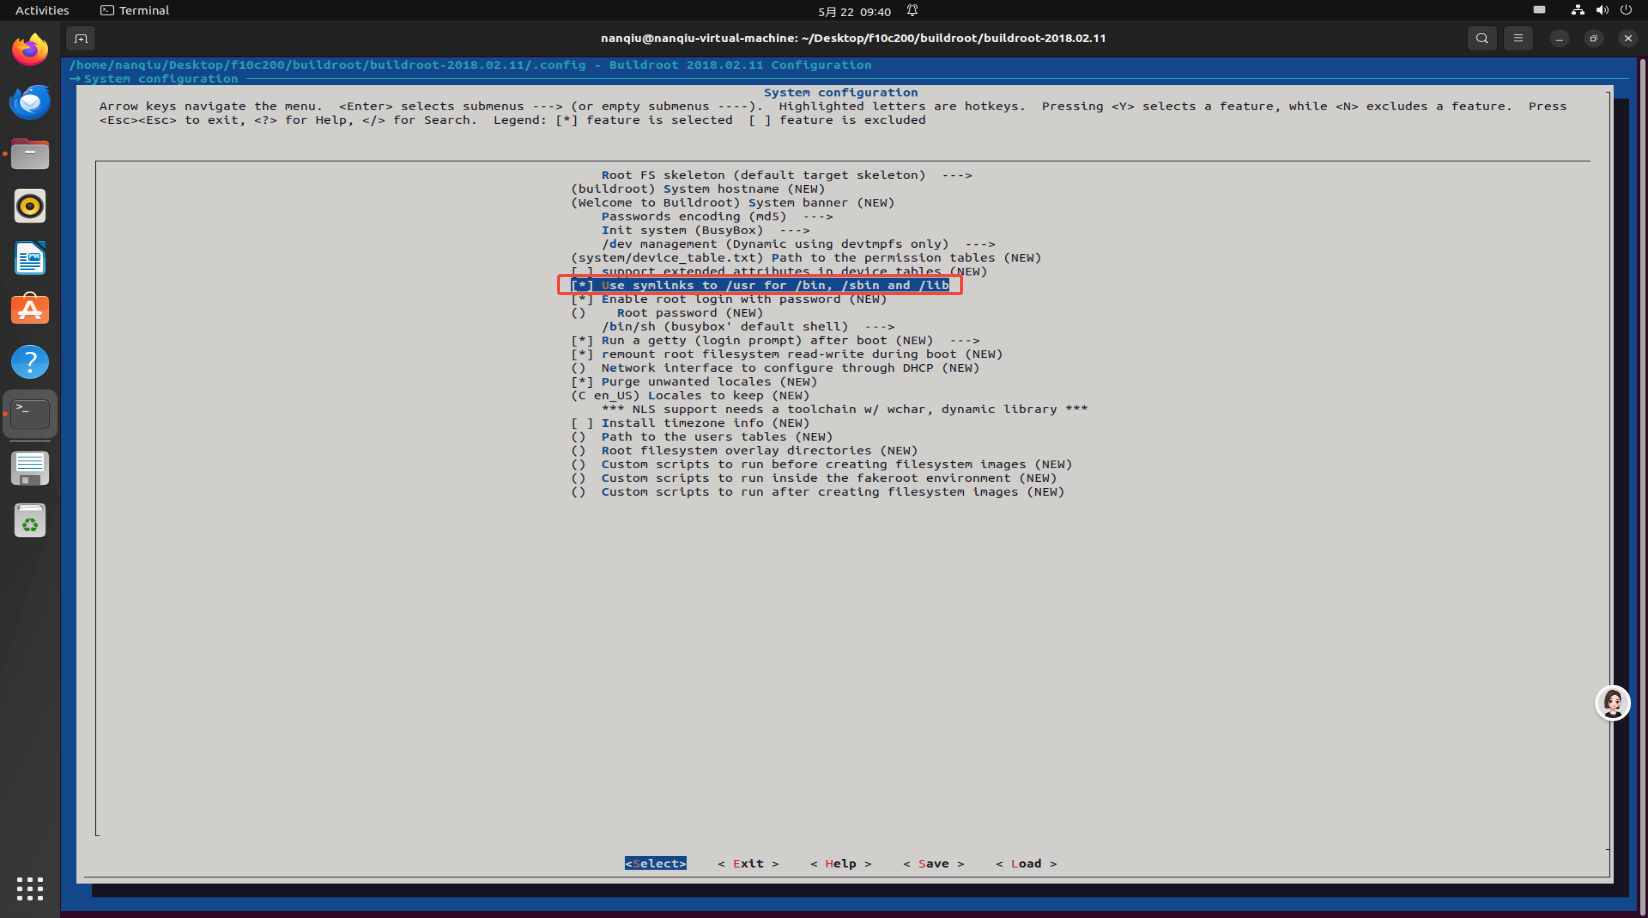
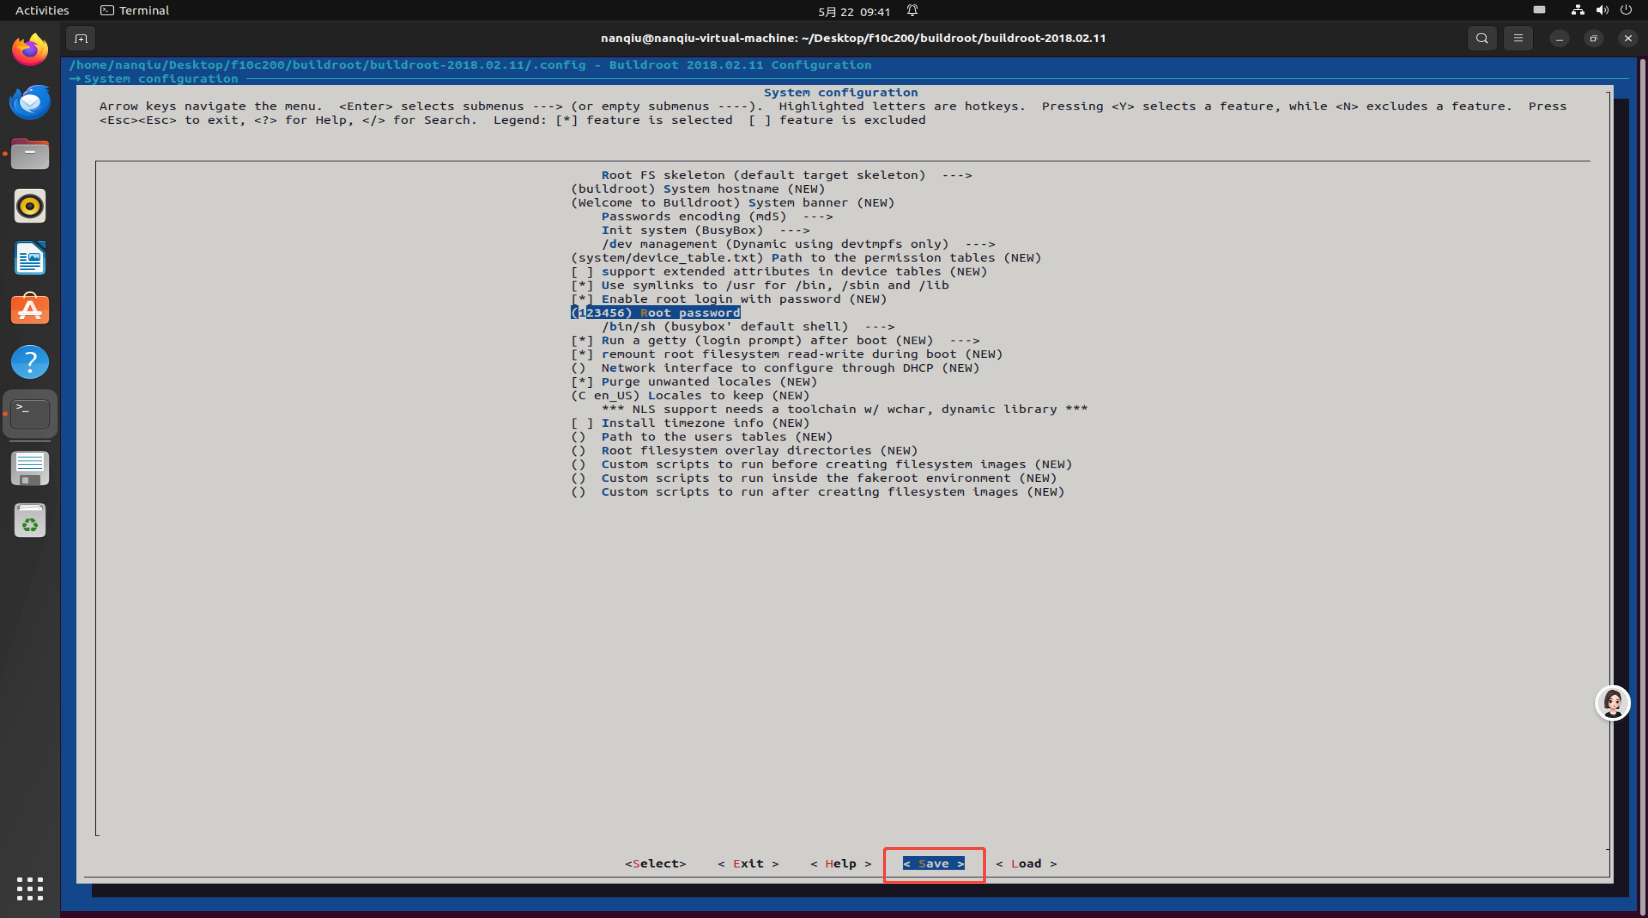
2.1.4 配置System Configration
勾选Use symlink to /usr for /bin, /sbin and /lib
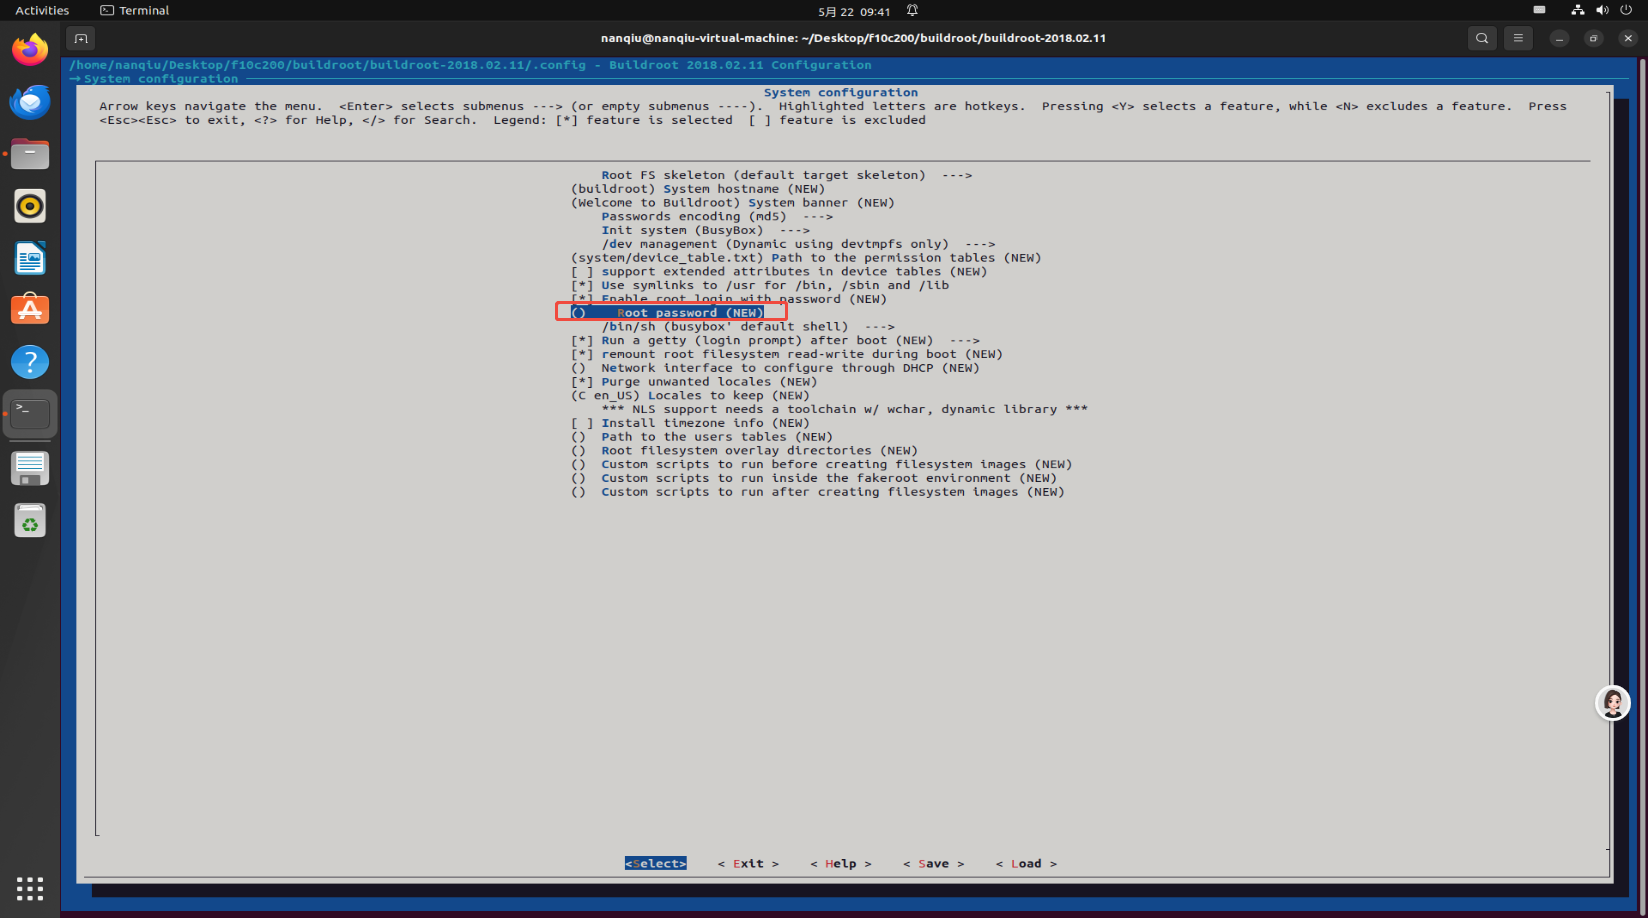
勾选Enable root login with password
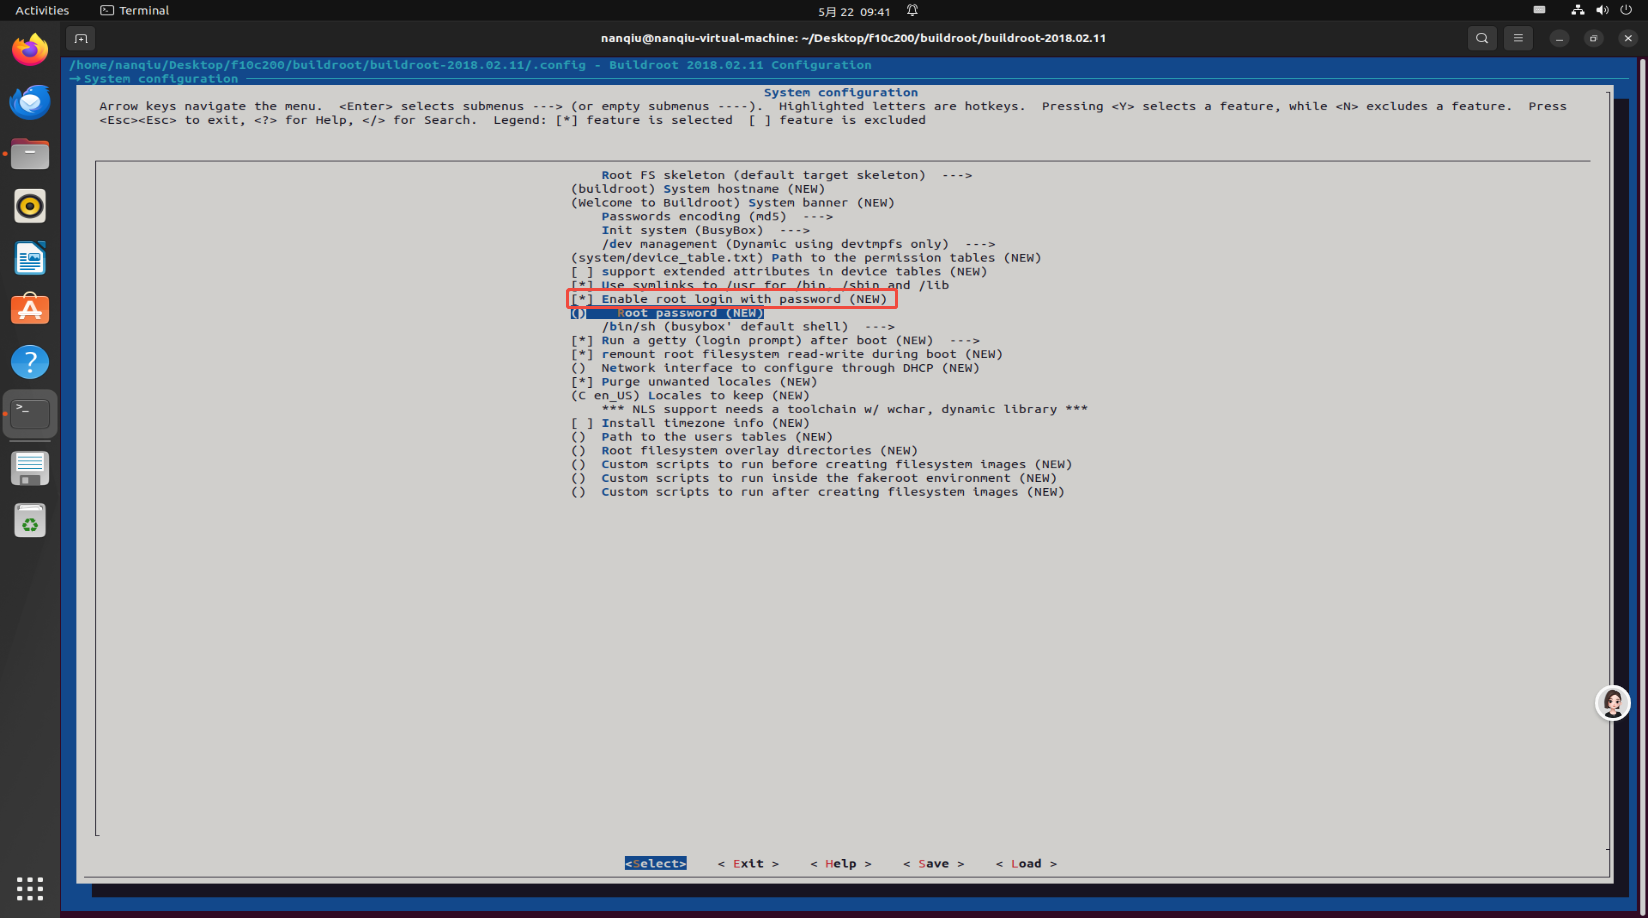
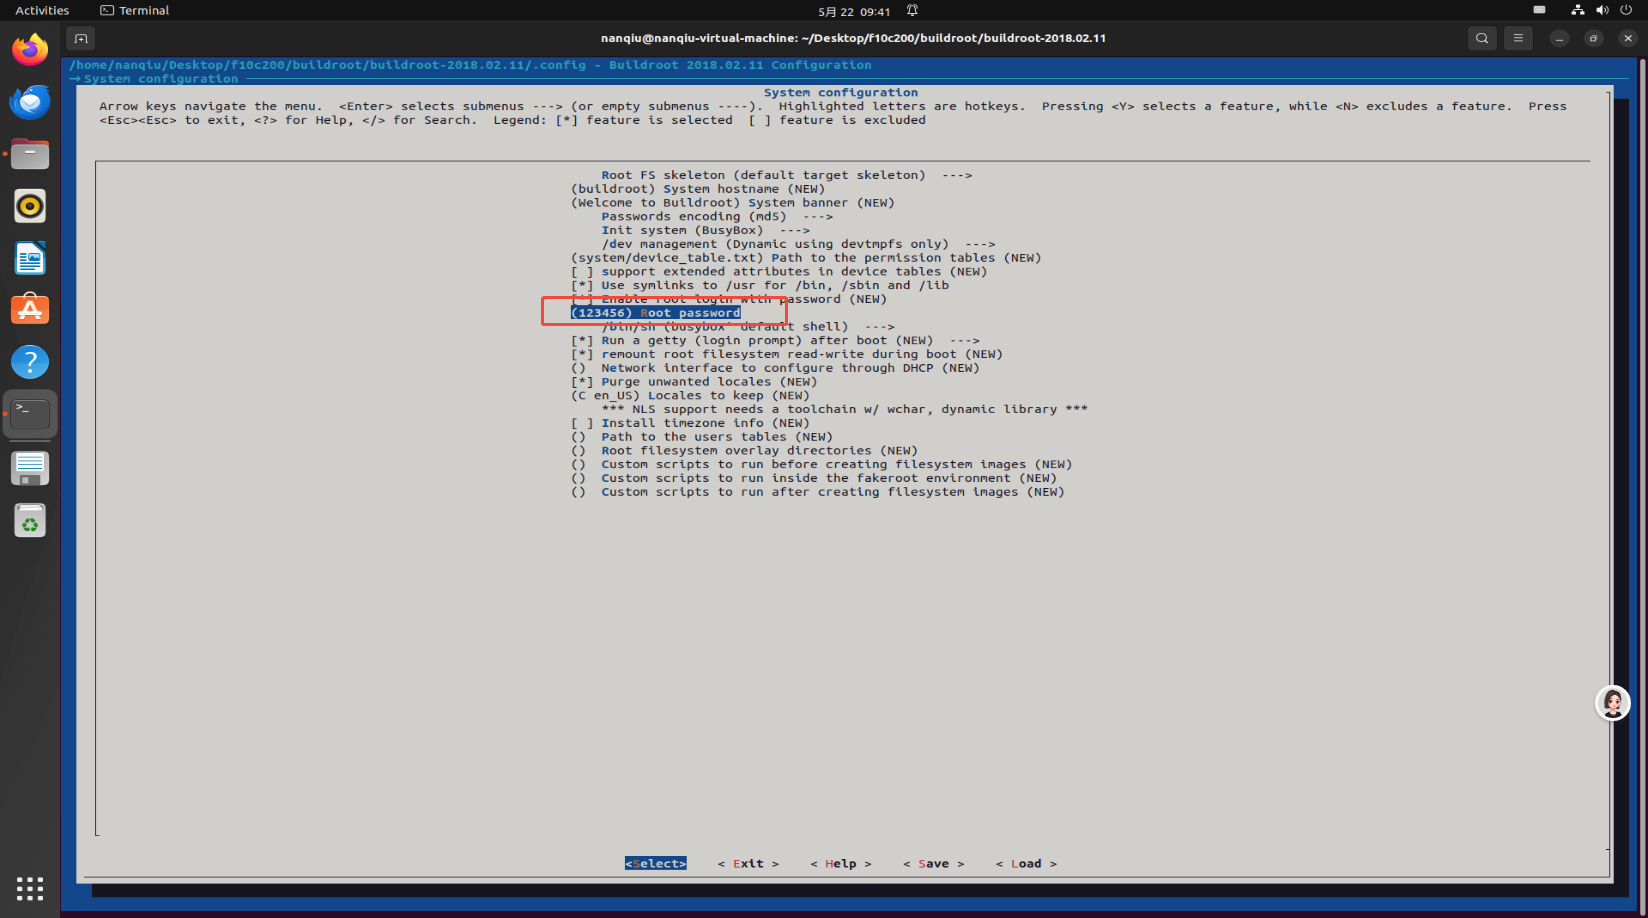
创建密码
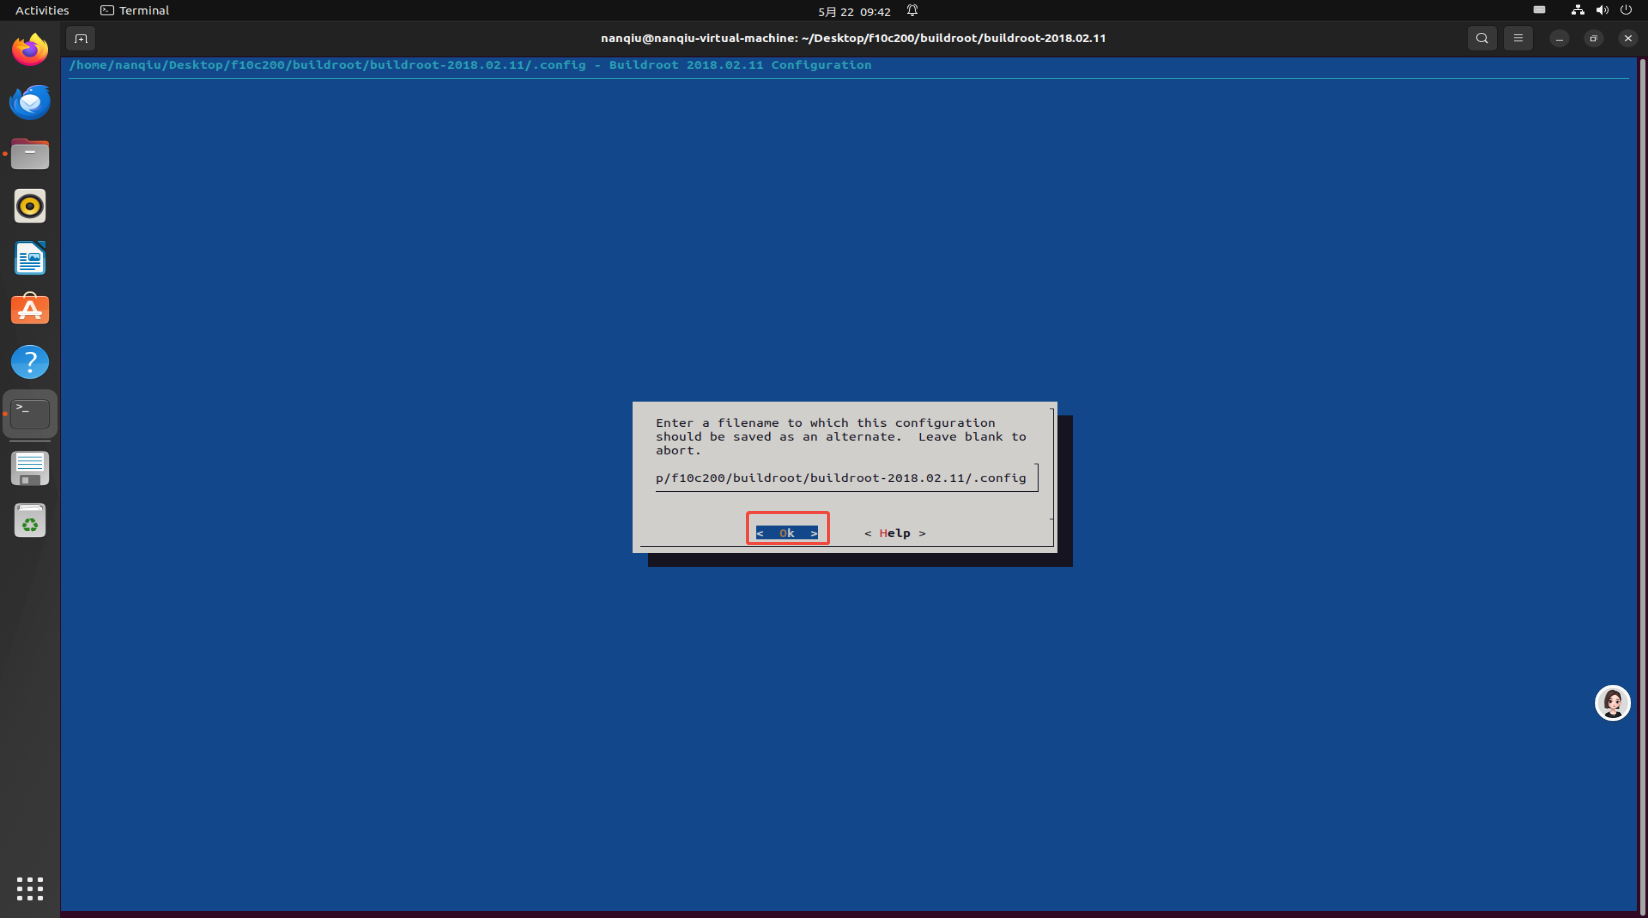
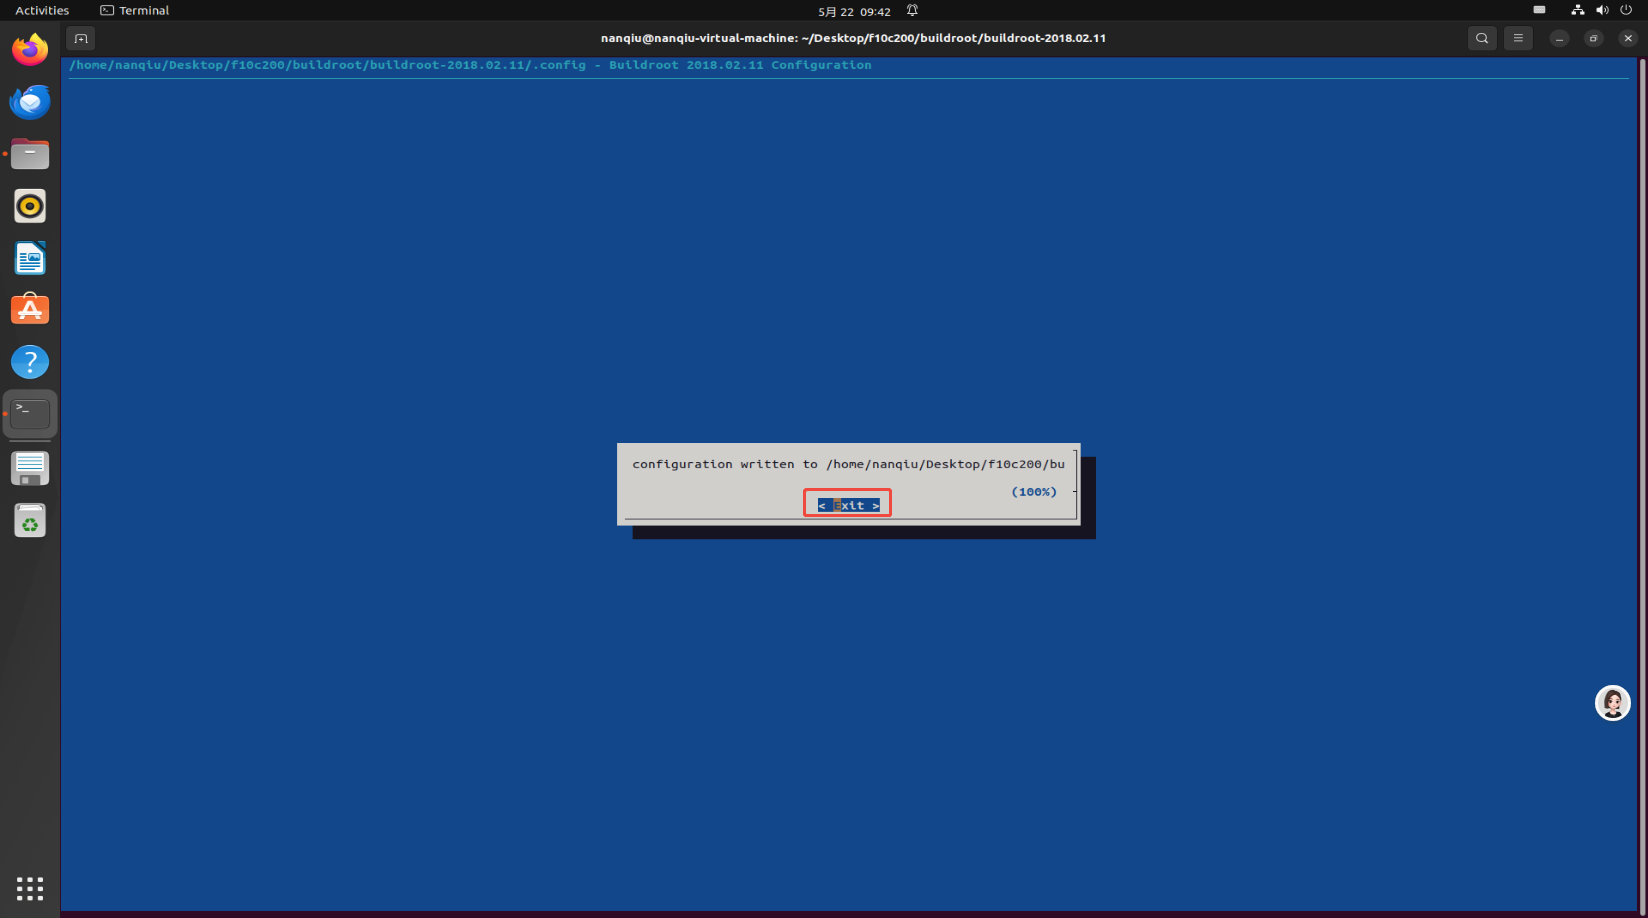
2.2 保存

3.编译
make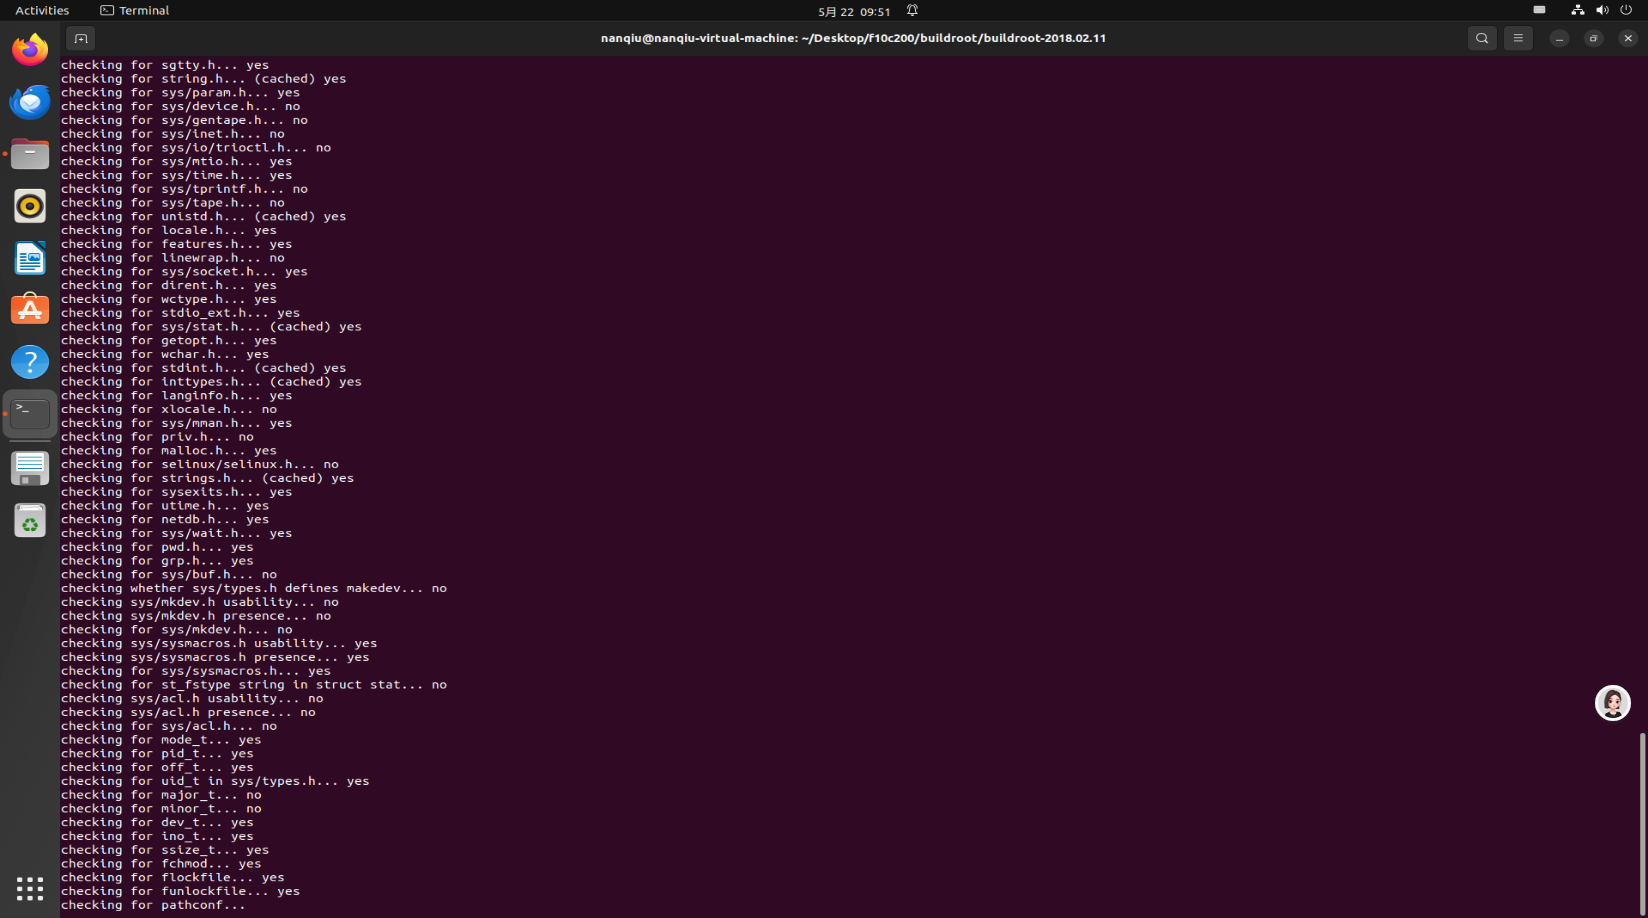
3.1 报错解决
3.1.1 HAVE_LIBSIGSEGV && SIGSTKSZ < 16384
报错信息
In file included from /usr/include/signal.h:328,
from ./signal.h:52,
from c-stack.c:49:
c-stack.c:55:26: error: missing binary operator before token "("
55 | #elif HAVE_LIBSIGSEGV && SIGSTKSZ < 16384
| ^~~~~~~~
CC close-stream.o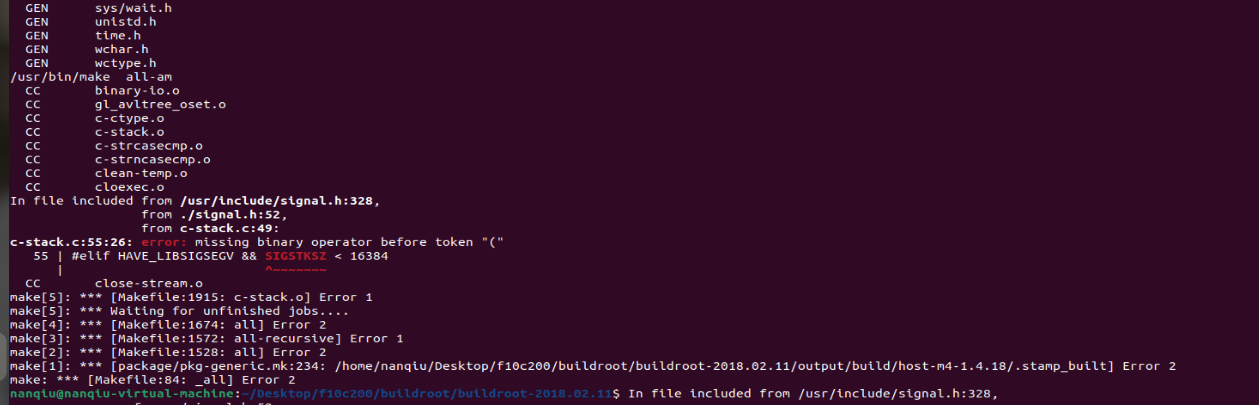
解决方法
找到output/build/host-m4-1.4.18/lib/c-stack.c文件的53行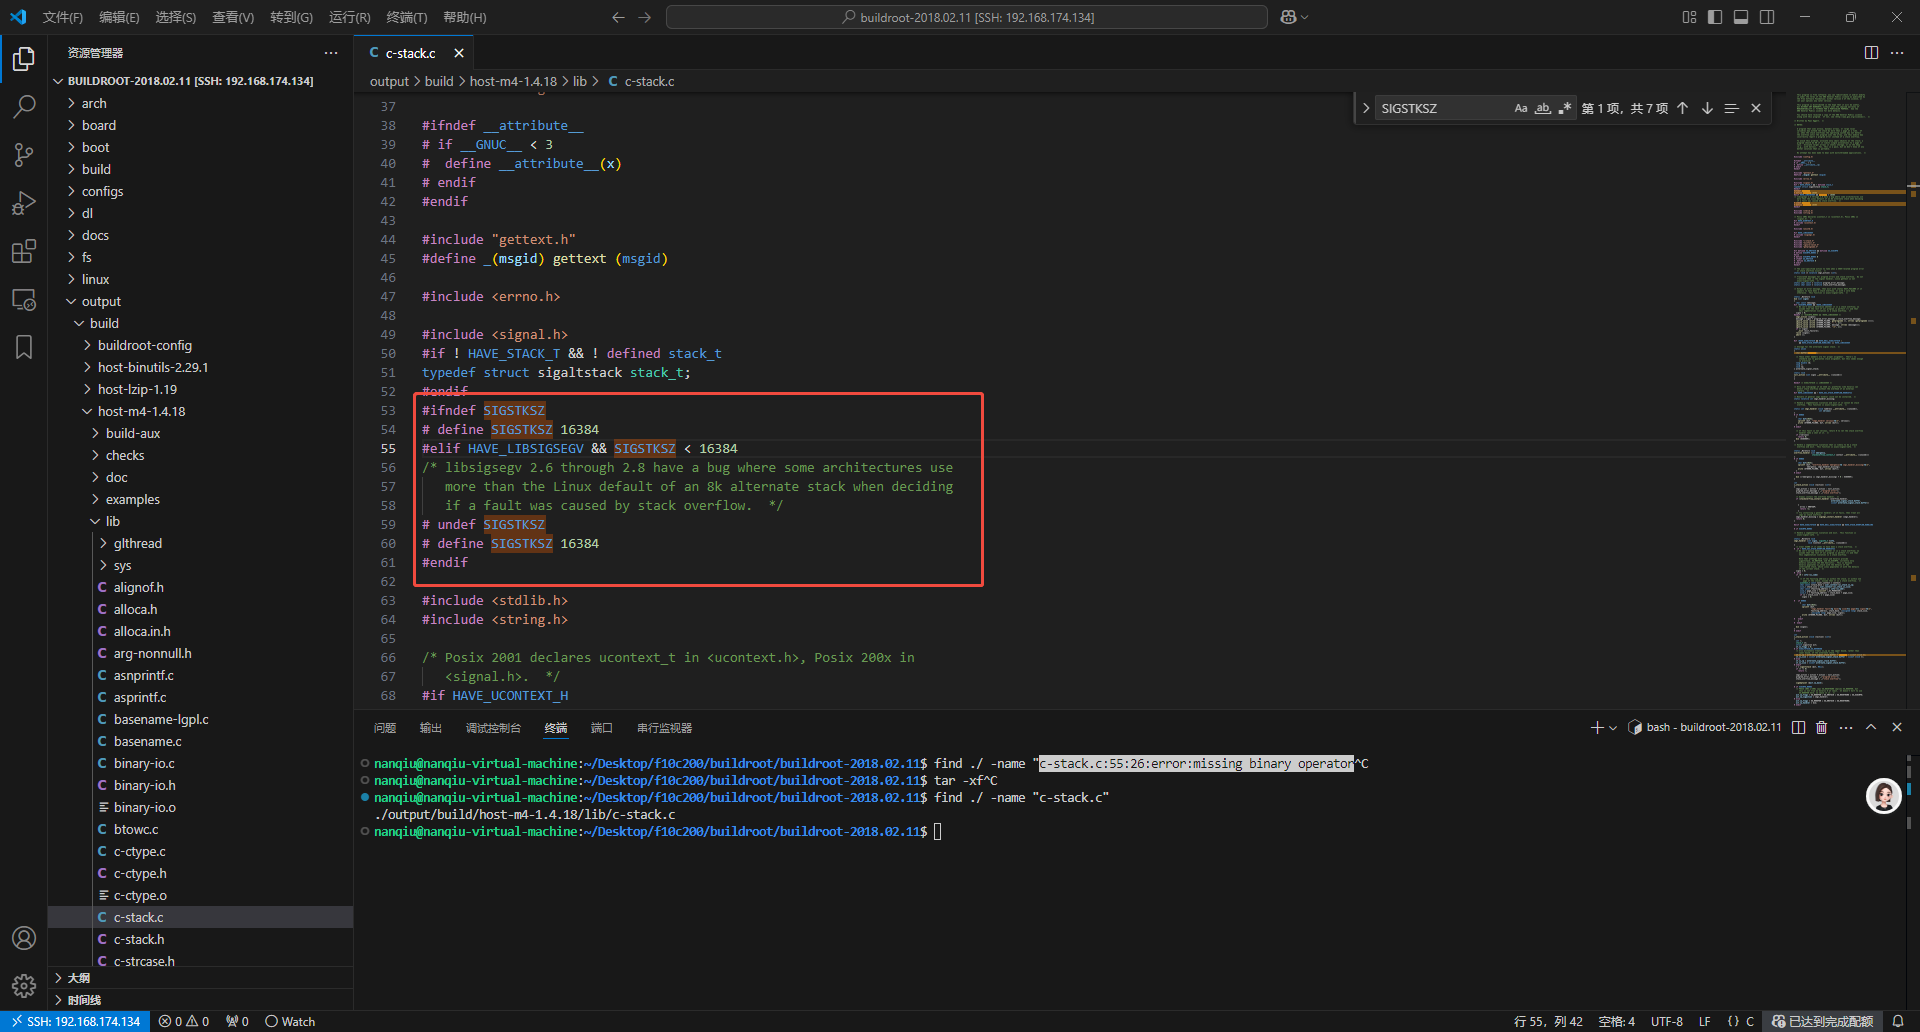
修改如下
再次编译通过
3.1.2 error: '_STAT_VER' undeclared (first use in this function)
报错信息
libfakeroot.c:99:40: error: '_STAT_VER' undeclared (first use in this function)
99 | #define INT_NEXT_STAT(a,b) NEXT_STAT64(_STAT_VER,a,b)
| ^~~~~~~~~
fakerootconfig.h:9:43: note: in definition of macro 'NEXT_STAT64'
9 | #define NEXT_STAT64(a,b,c) next___xstat64(a,b,c)
| ^
libfakeroot.c:810:5: note: in expansion of macro 'INT_NEXT_STAT'
810 | r=INT_NEXT_STAT(path, &st);
| ^~~~~~~~~~~~~
libfakeroot.c:99:40: note: each undeclared identifier is reported only once for each function it appears in
99 | #define INT_NEXT_STAT(a,b) NEXT_STAT64(_STAT_VER,a,b)
| ^~~~~~~~~
fakerootconfig.h:9:43: note: in definition of macro 'NEXT_STAT64'
9 | #define NEXT_STAT64(a,b,c) next___xstat64(a,b,c)
解决方法
进入文件output/build/host-fakeroot-1.20.2/libfakeroot.c
粘贴如下内容并进行保存
#ifndef _STAT_VER #if defined (__aarch64__) #define _STAT_VER 0 #elif defined (__x86_64__) #define _STAT_VER 1 #else #define _STAT_VER 3 #endif #endif
3.1.3 can't create node /home/nanqiu/Desktop/f10c200/buildroot/buildroot-2018.02.11/output/target/dev/console: Operation not permitted
报错信息
table='/home/nanqiu/Desktop/f10c200/buildroot/buildroot-2018.02.11/output/build/buildroot-fs/device_table.txt'
makedevs: line 23: can't create node /home/nanqiu/Desktop/f10c200/buildroot/buildroot-2018.02.11/output/target/dev/console: Operation not permitted
make[1]: *** [fs/tar/tar.mk:32: /home/nanqiu/Desktop/f10c200/buildroot/buildroot-2018.02.11/output/images/rootfs.tar] Error 1
make: *** [Makefile:84: _all] Error 2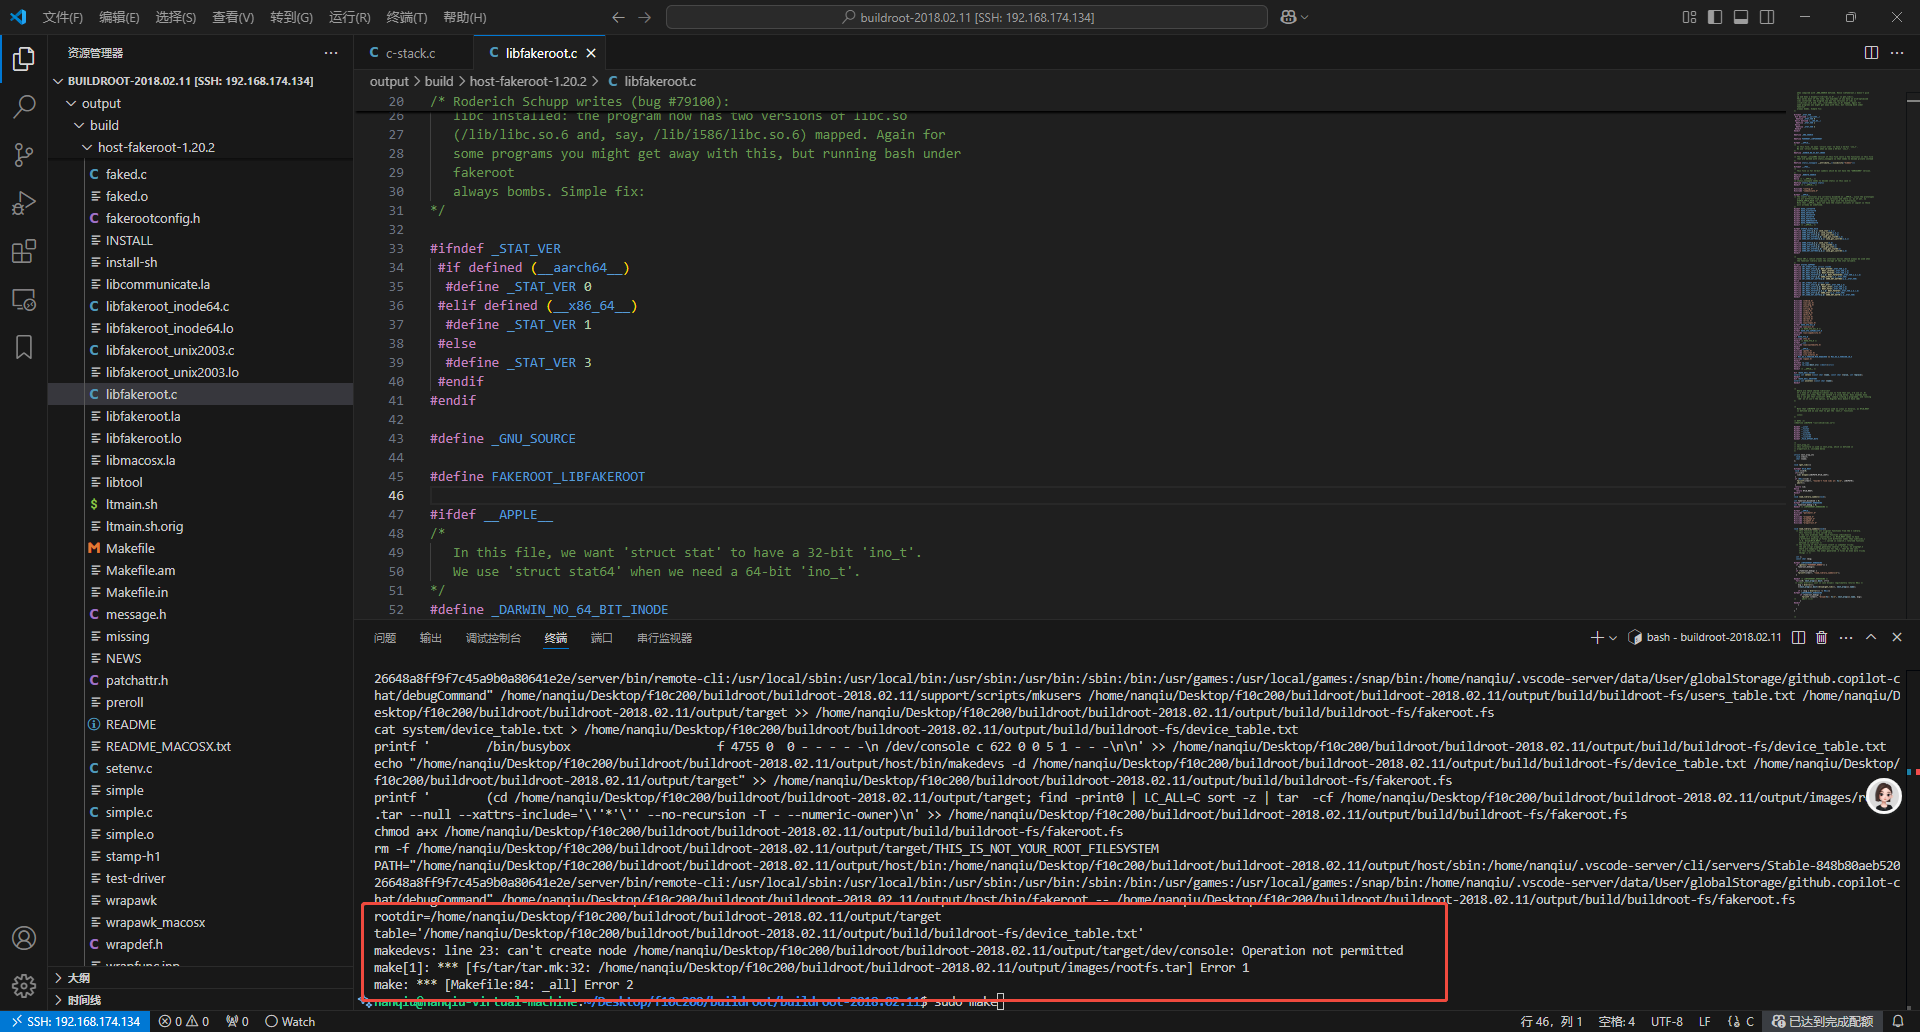
解决方法
sudo make
3.2 吐槽一下
编译过程中会拉取一下包,但是这个拉取速度,你是认真的吗?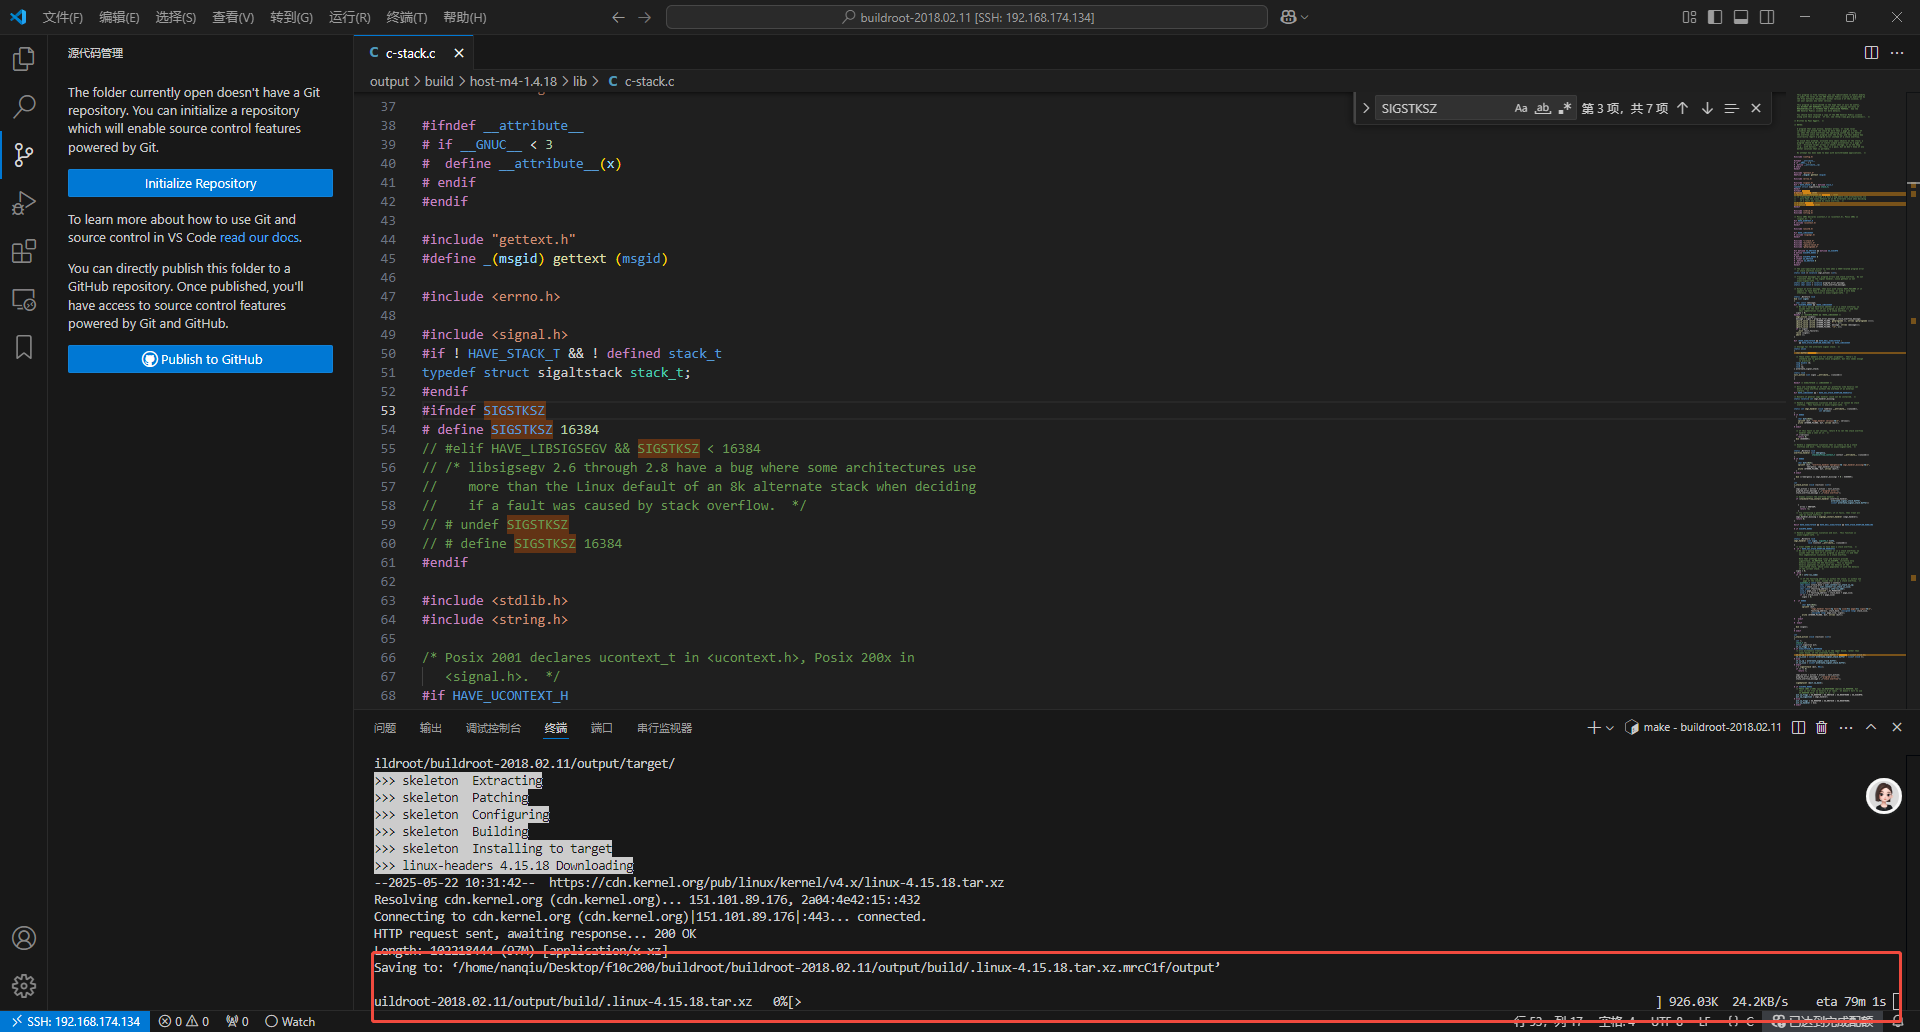
3.3 编译完成
如下,就是编译完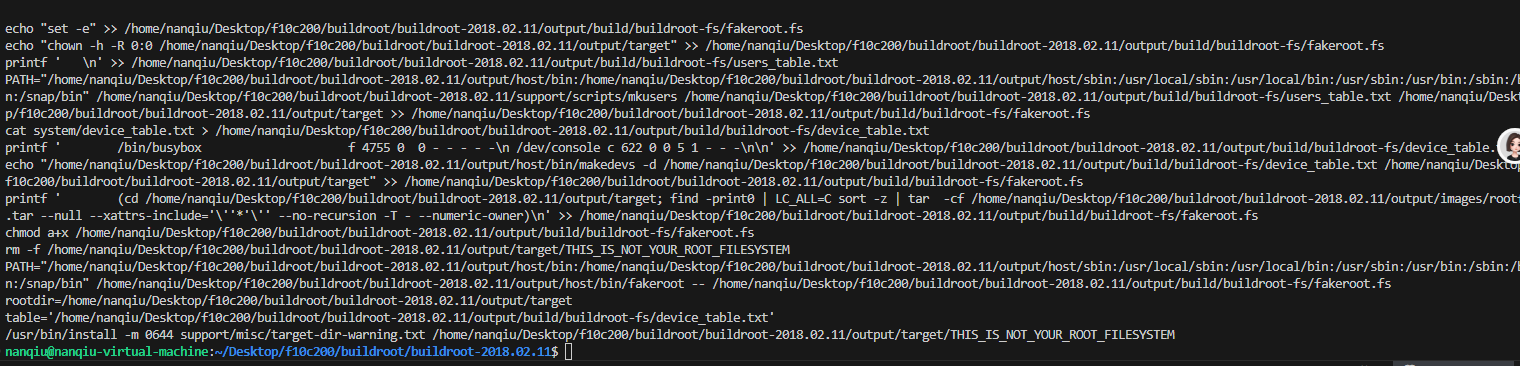
可以看到相关镜像
4.运行
4.1配置到TF卡
将这个文件复制到TF中的rootfs分区
sudo cp ./output/images/rootfs.tar /media/nanqiu/rootfs
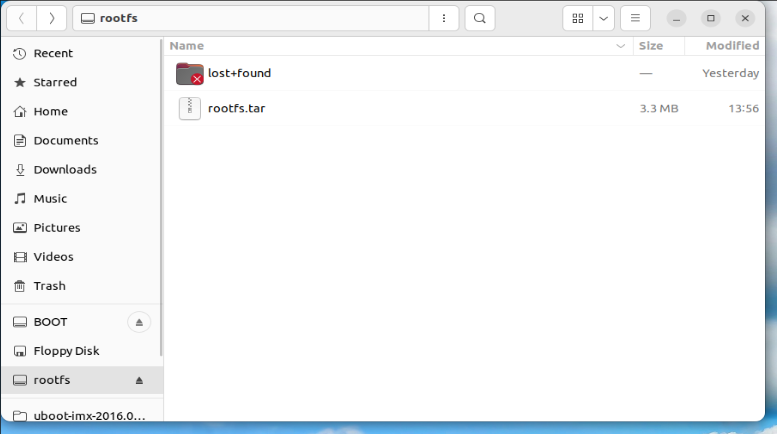
我们进入rootfs目录,解压压缩包
sudo tar -xvf rootfs.tar
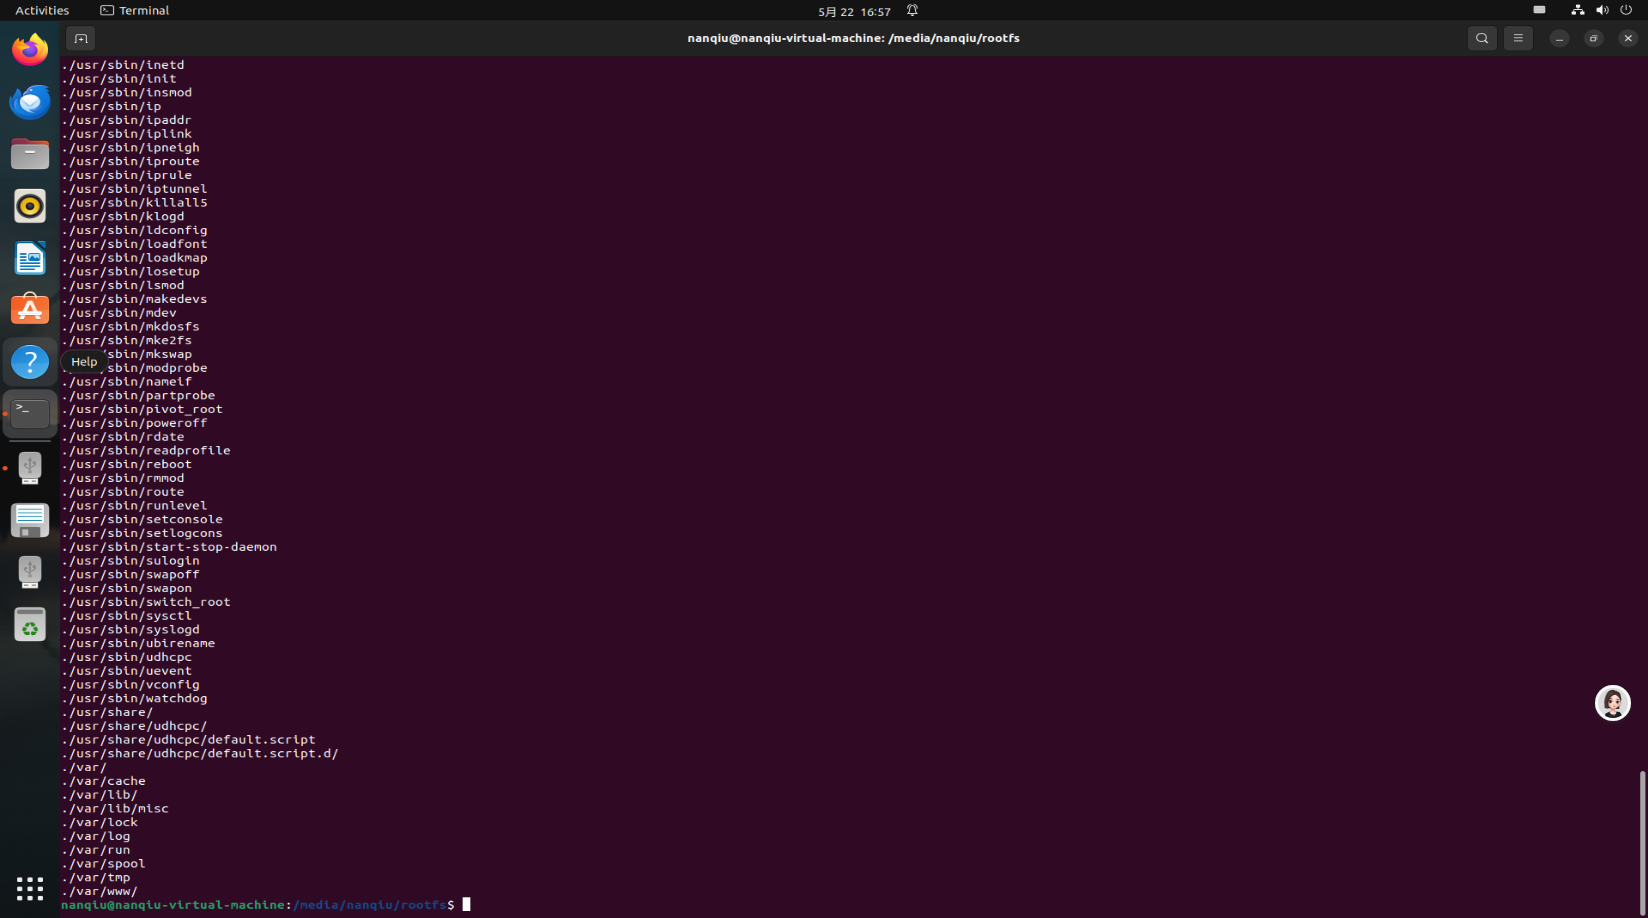
4.2运行
将TF卡连接开发板,上位机依照格式115200/8/n/1打开端口,按下开发板的复位键
依次输入如下命令
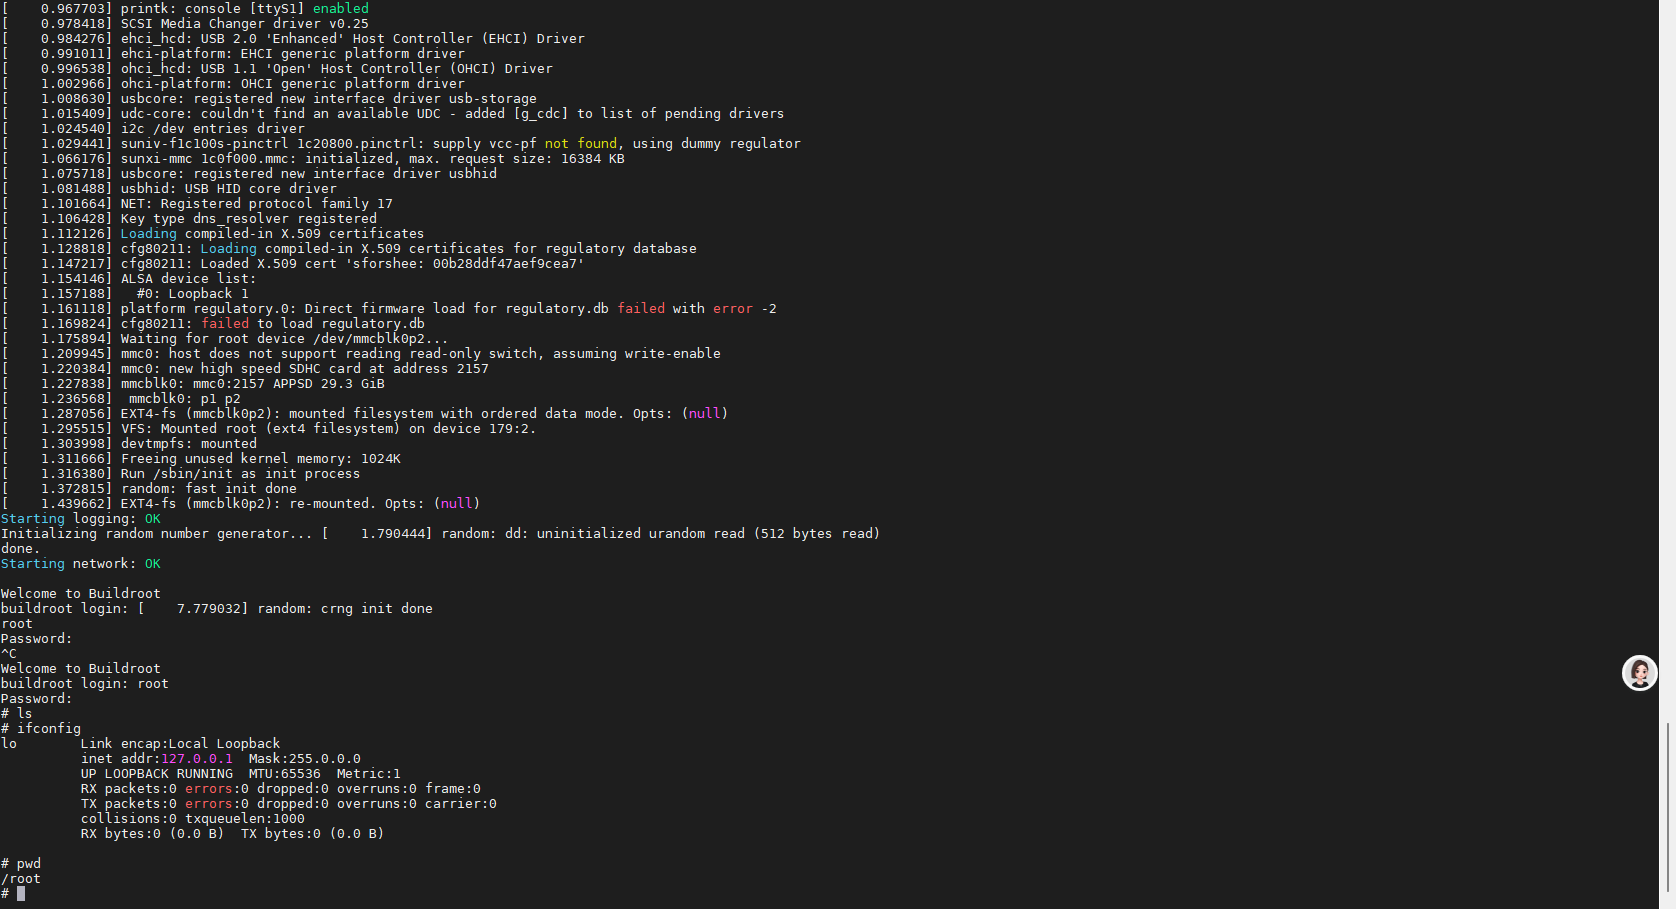
运行成功
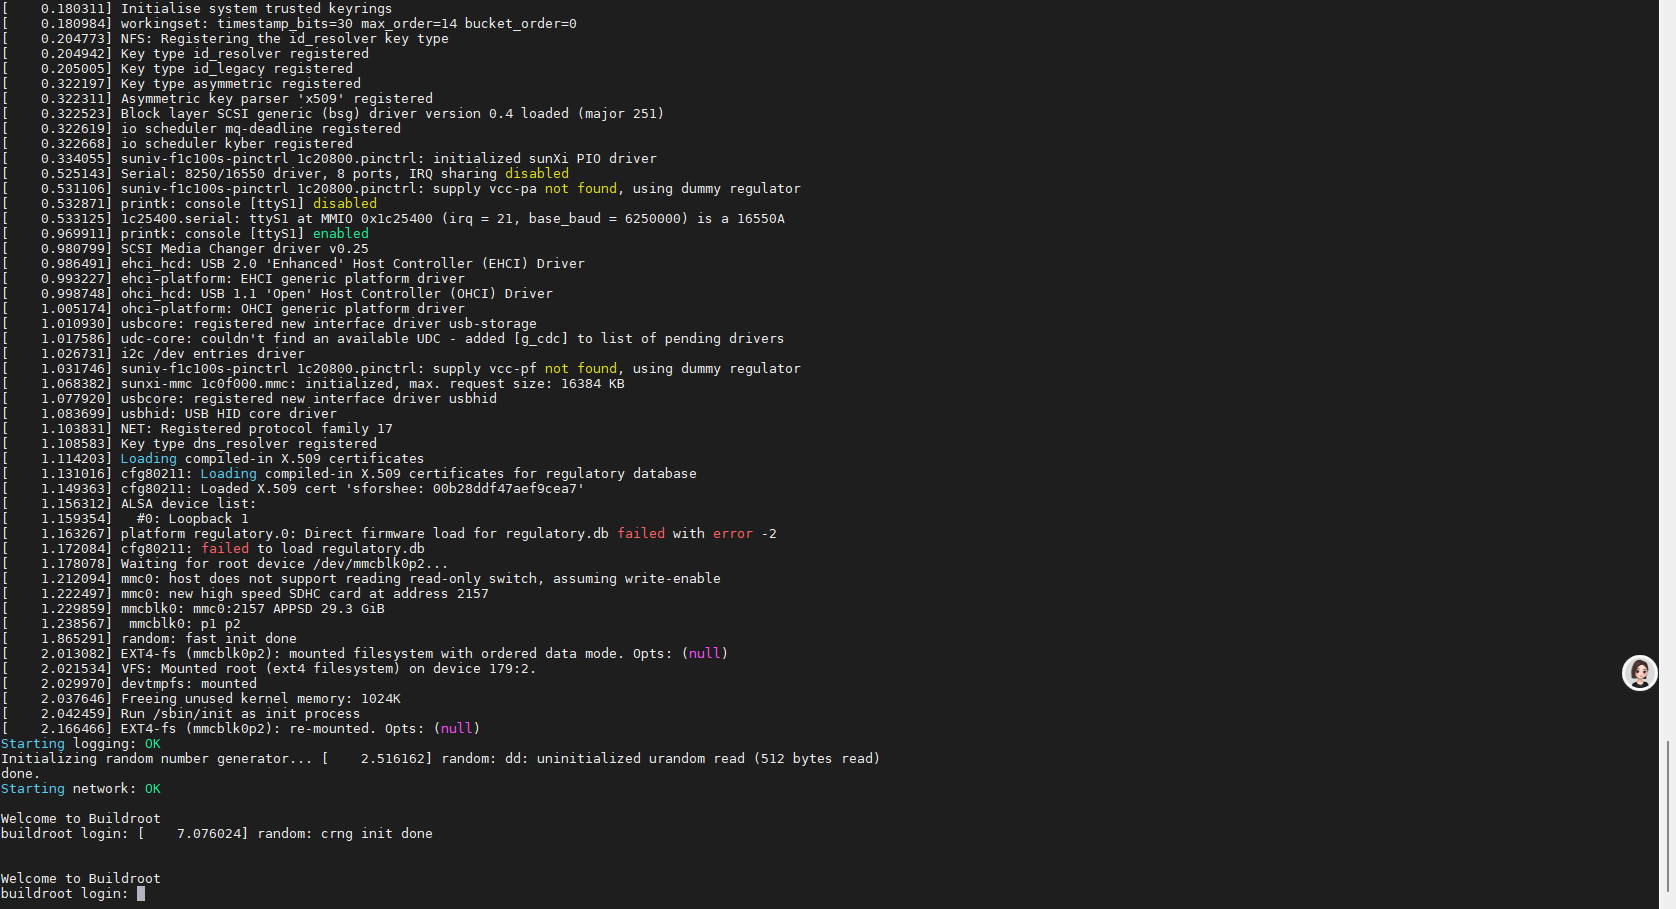
输入账密登录
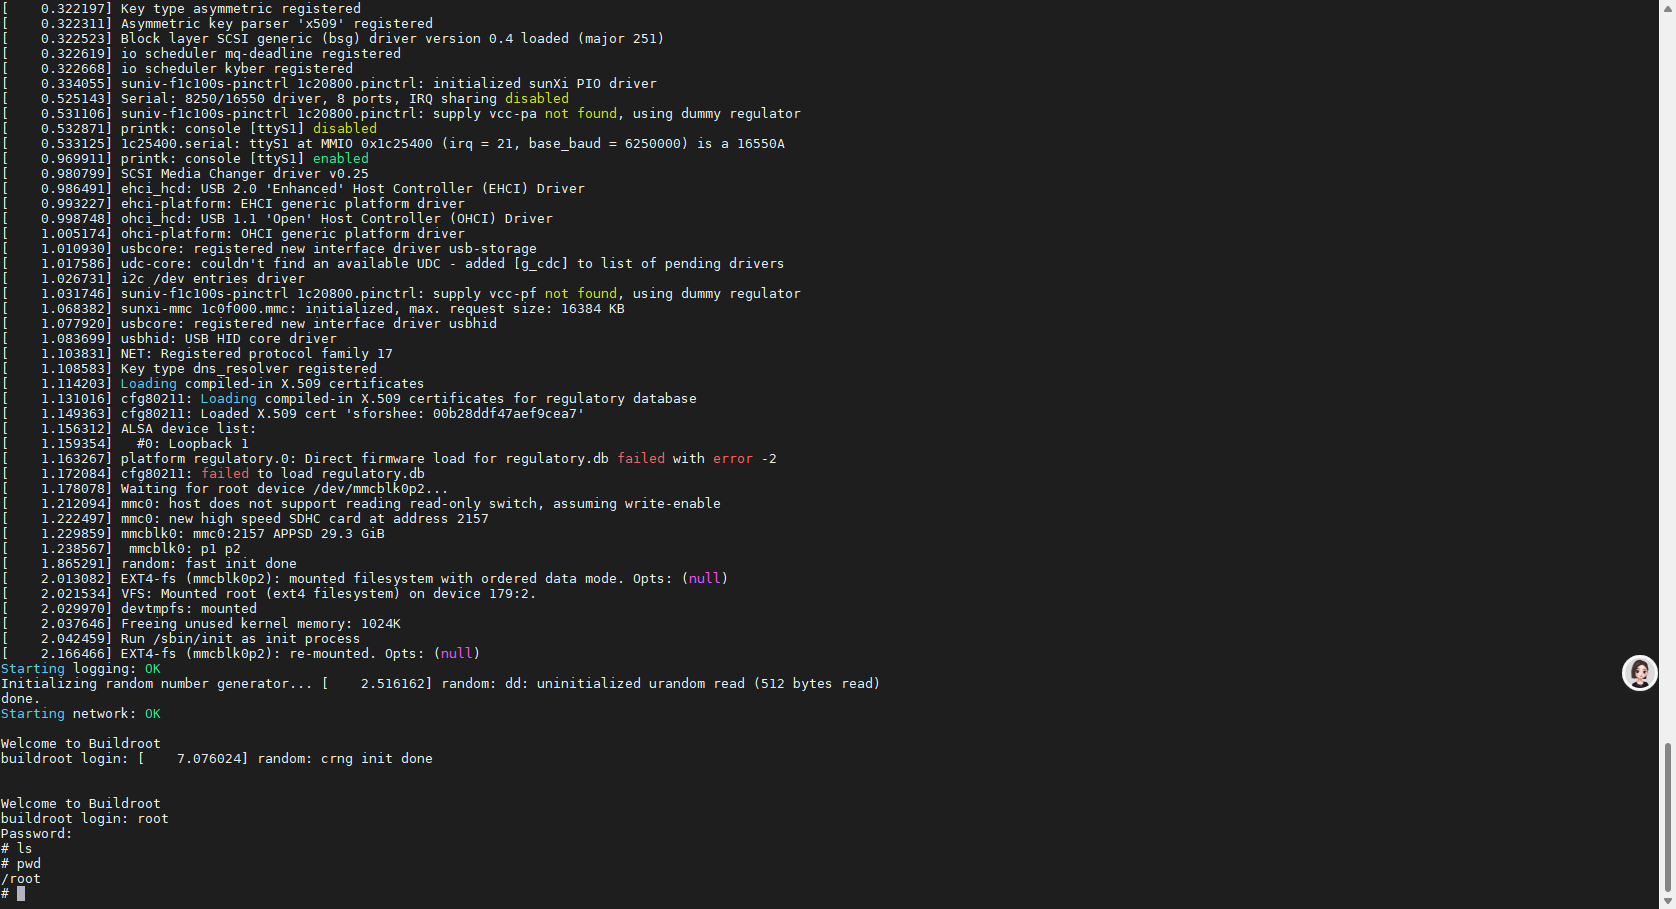
简单测试一下,没问题