Flutter图片Image、本地图片、程程图片、圆片剪切、圆形图片
目录
图片组件的介绍
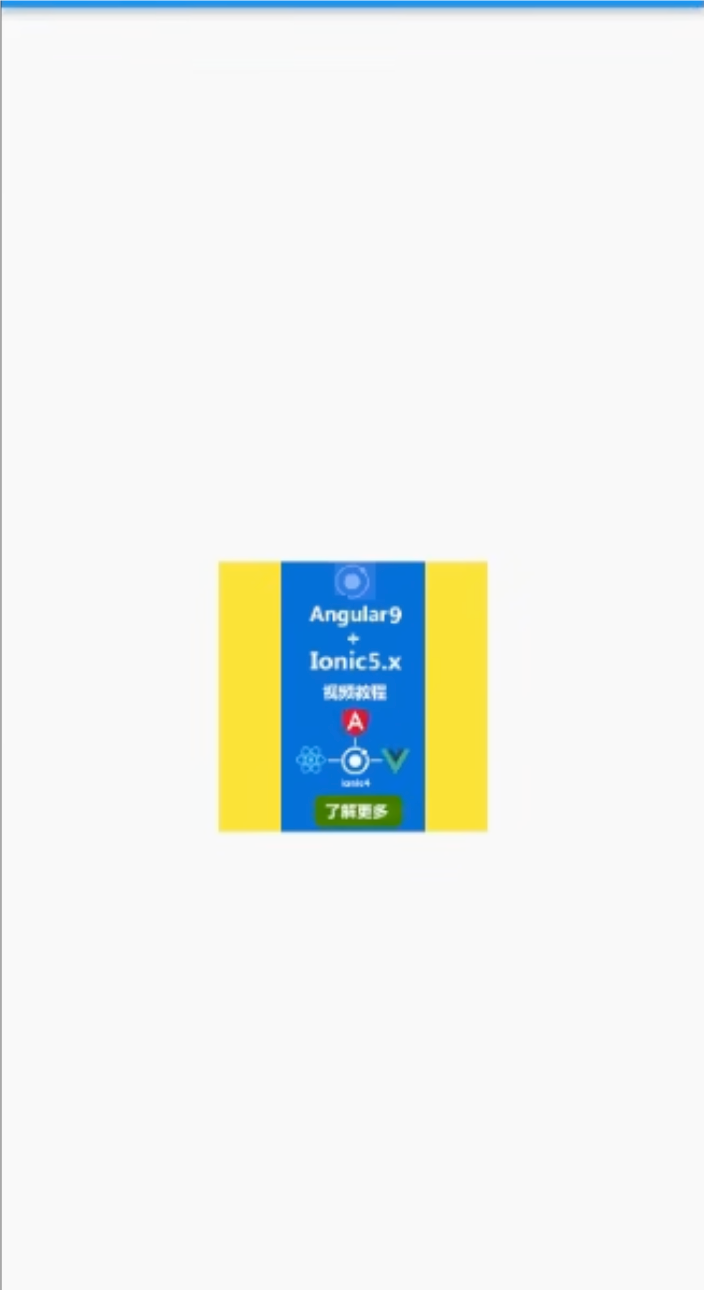
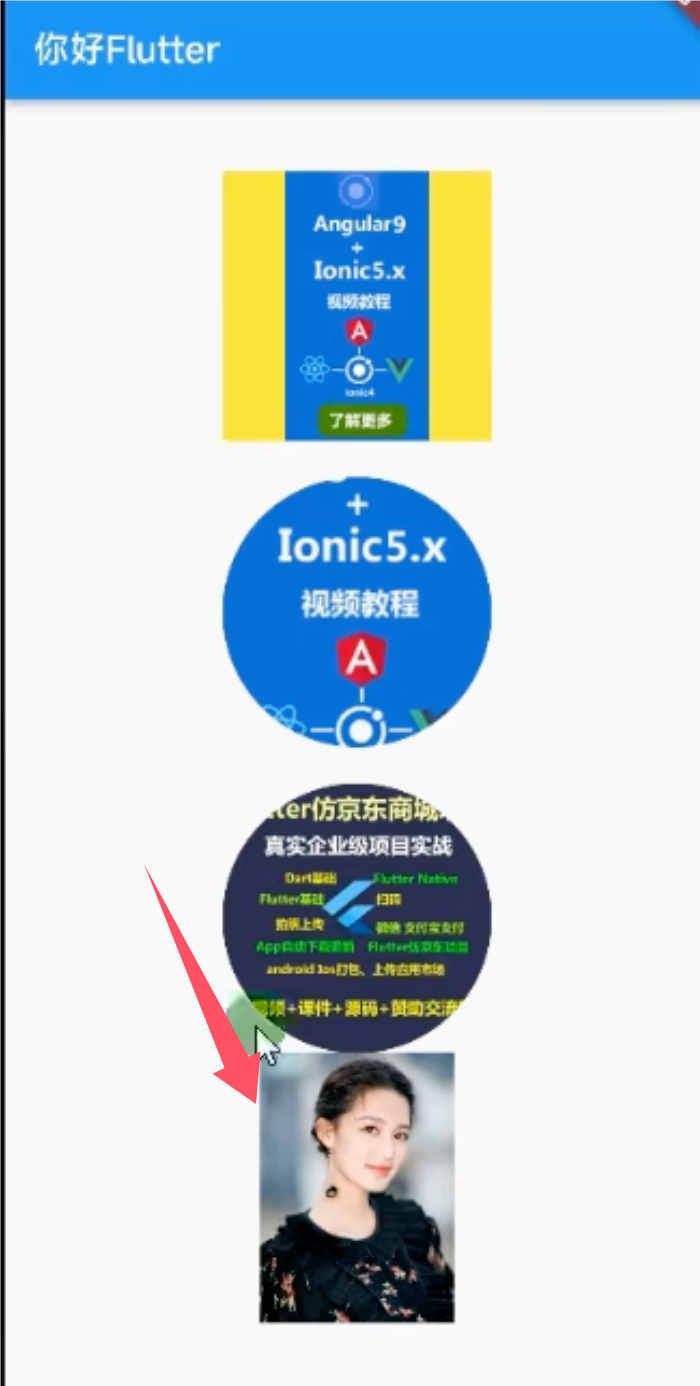
1.Image.network加载图片
1.1 Image scale图片缩小一倍
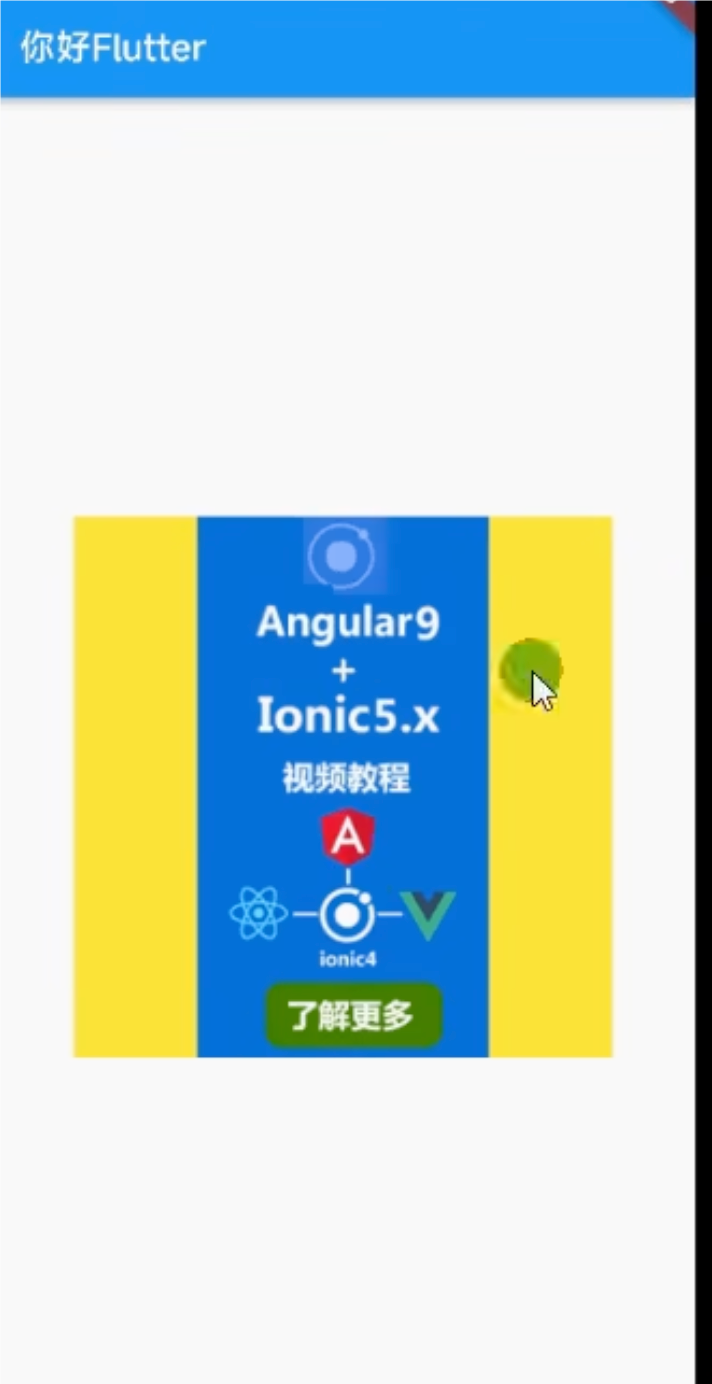
1.2 Image alignment使用
1.3 Image fit 属性的取值及说明
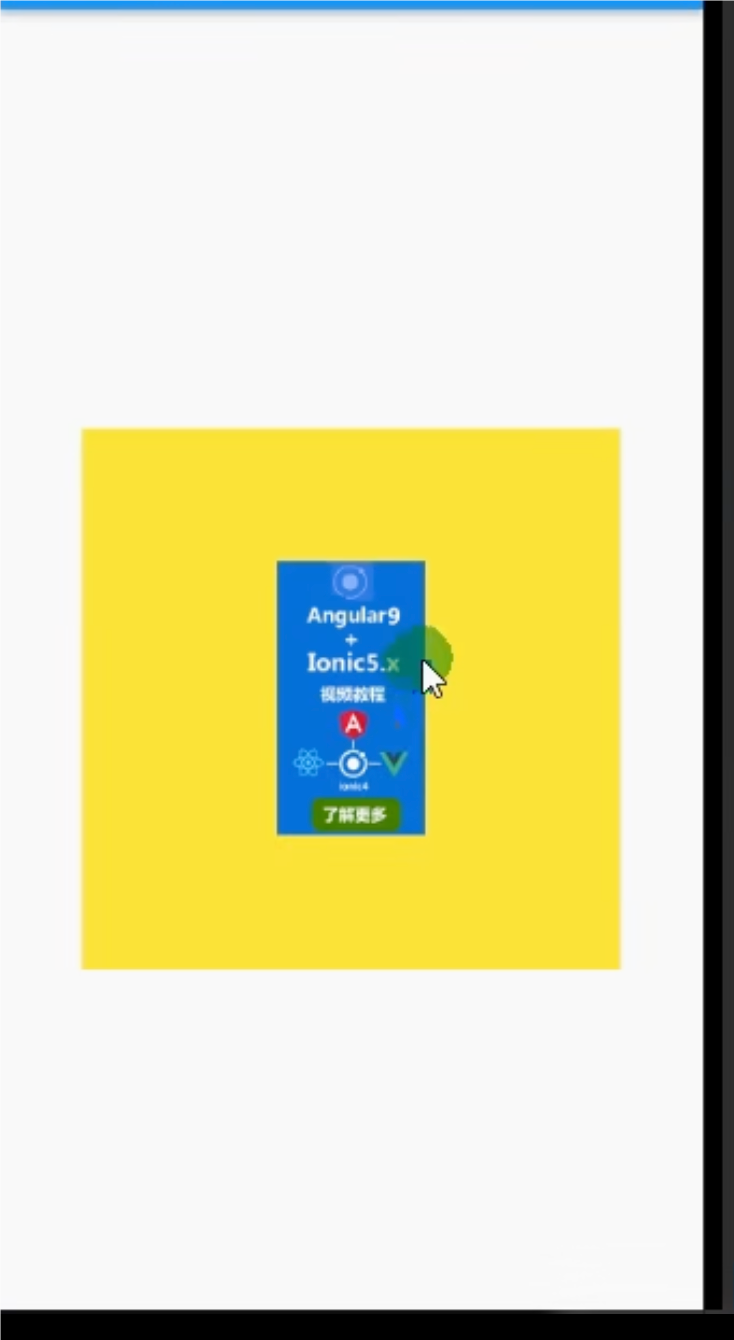
1.3.1 Contain 默认效果
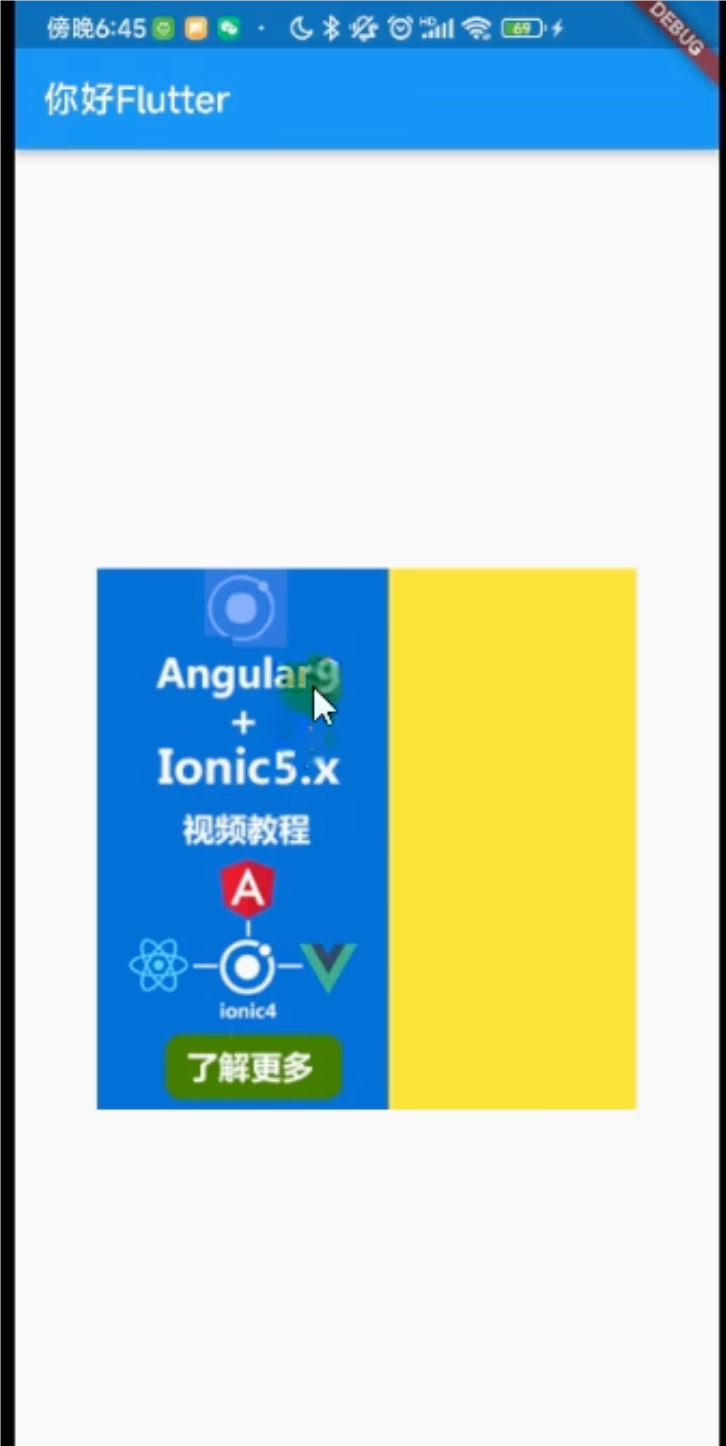
1.3.2 Fill 图片会缩放至完全填满目标区域(宽高)
1.3.3 Fill 图片会缩放至完全填满目标区域(宽高)
1.4 repeat 图片平铺
1.4.1 repeatX轴\Y轴都平铺
1.5. 实现圆角图片
1.5.1 Container 实现圆角图片
1.5.2 Container circular 圆角参数设置
1.6.1 使用ClipOval使用实现一个圆形图片
2.加载本地图片
2.1 要在 Flutter 中加载本地图片,需要完成两个主要步骤:
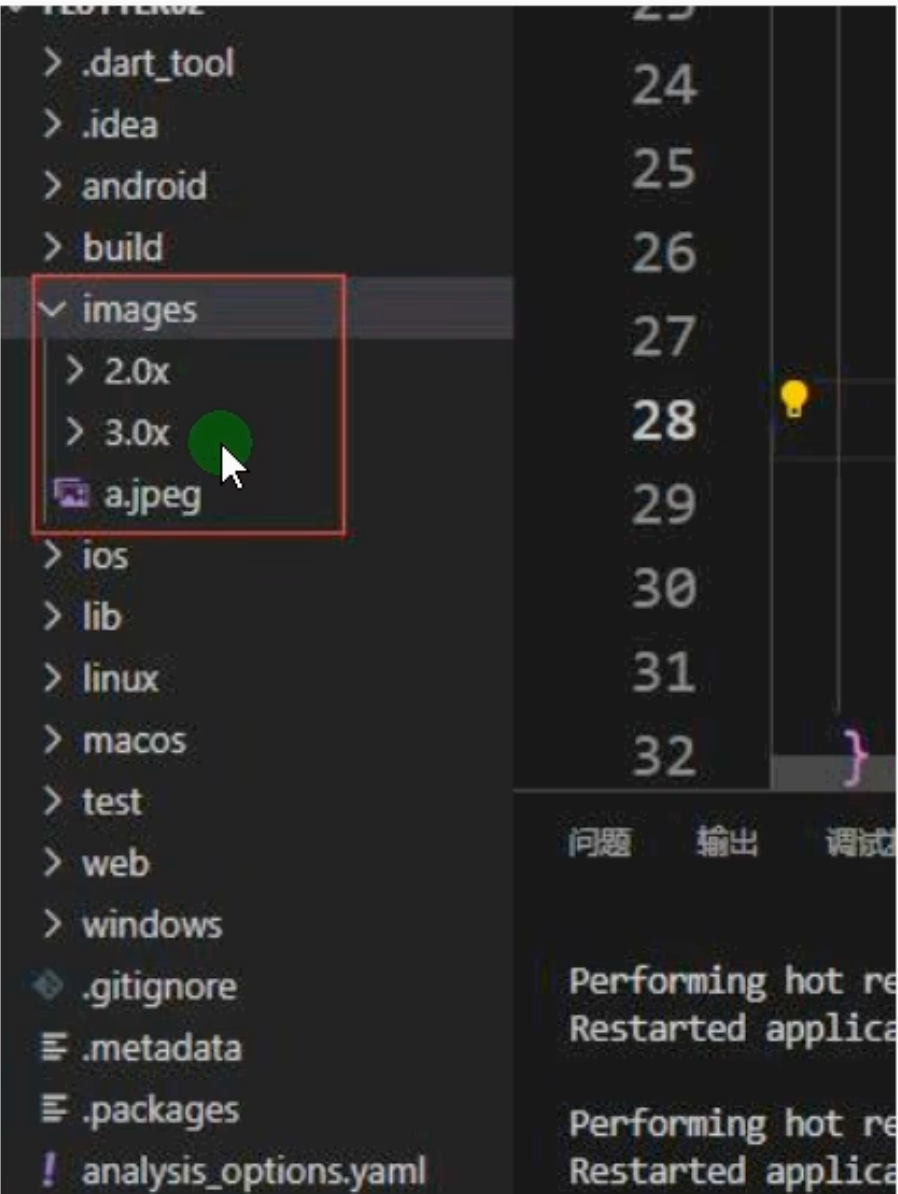
2.1.2 在 项目下创建images资源文件
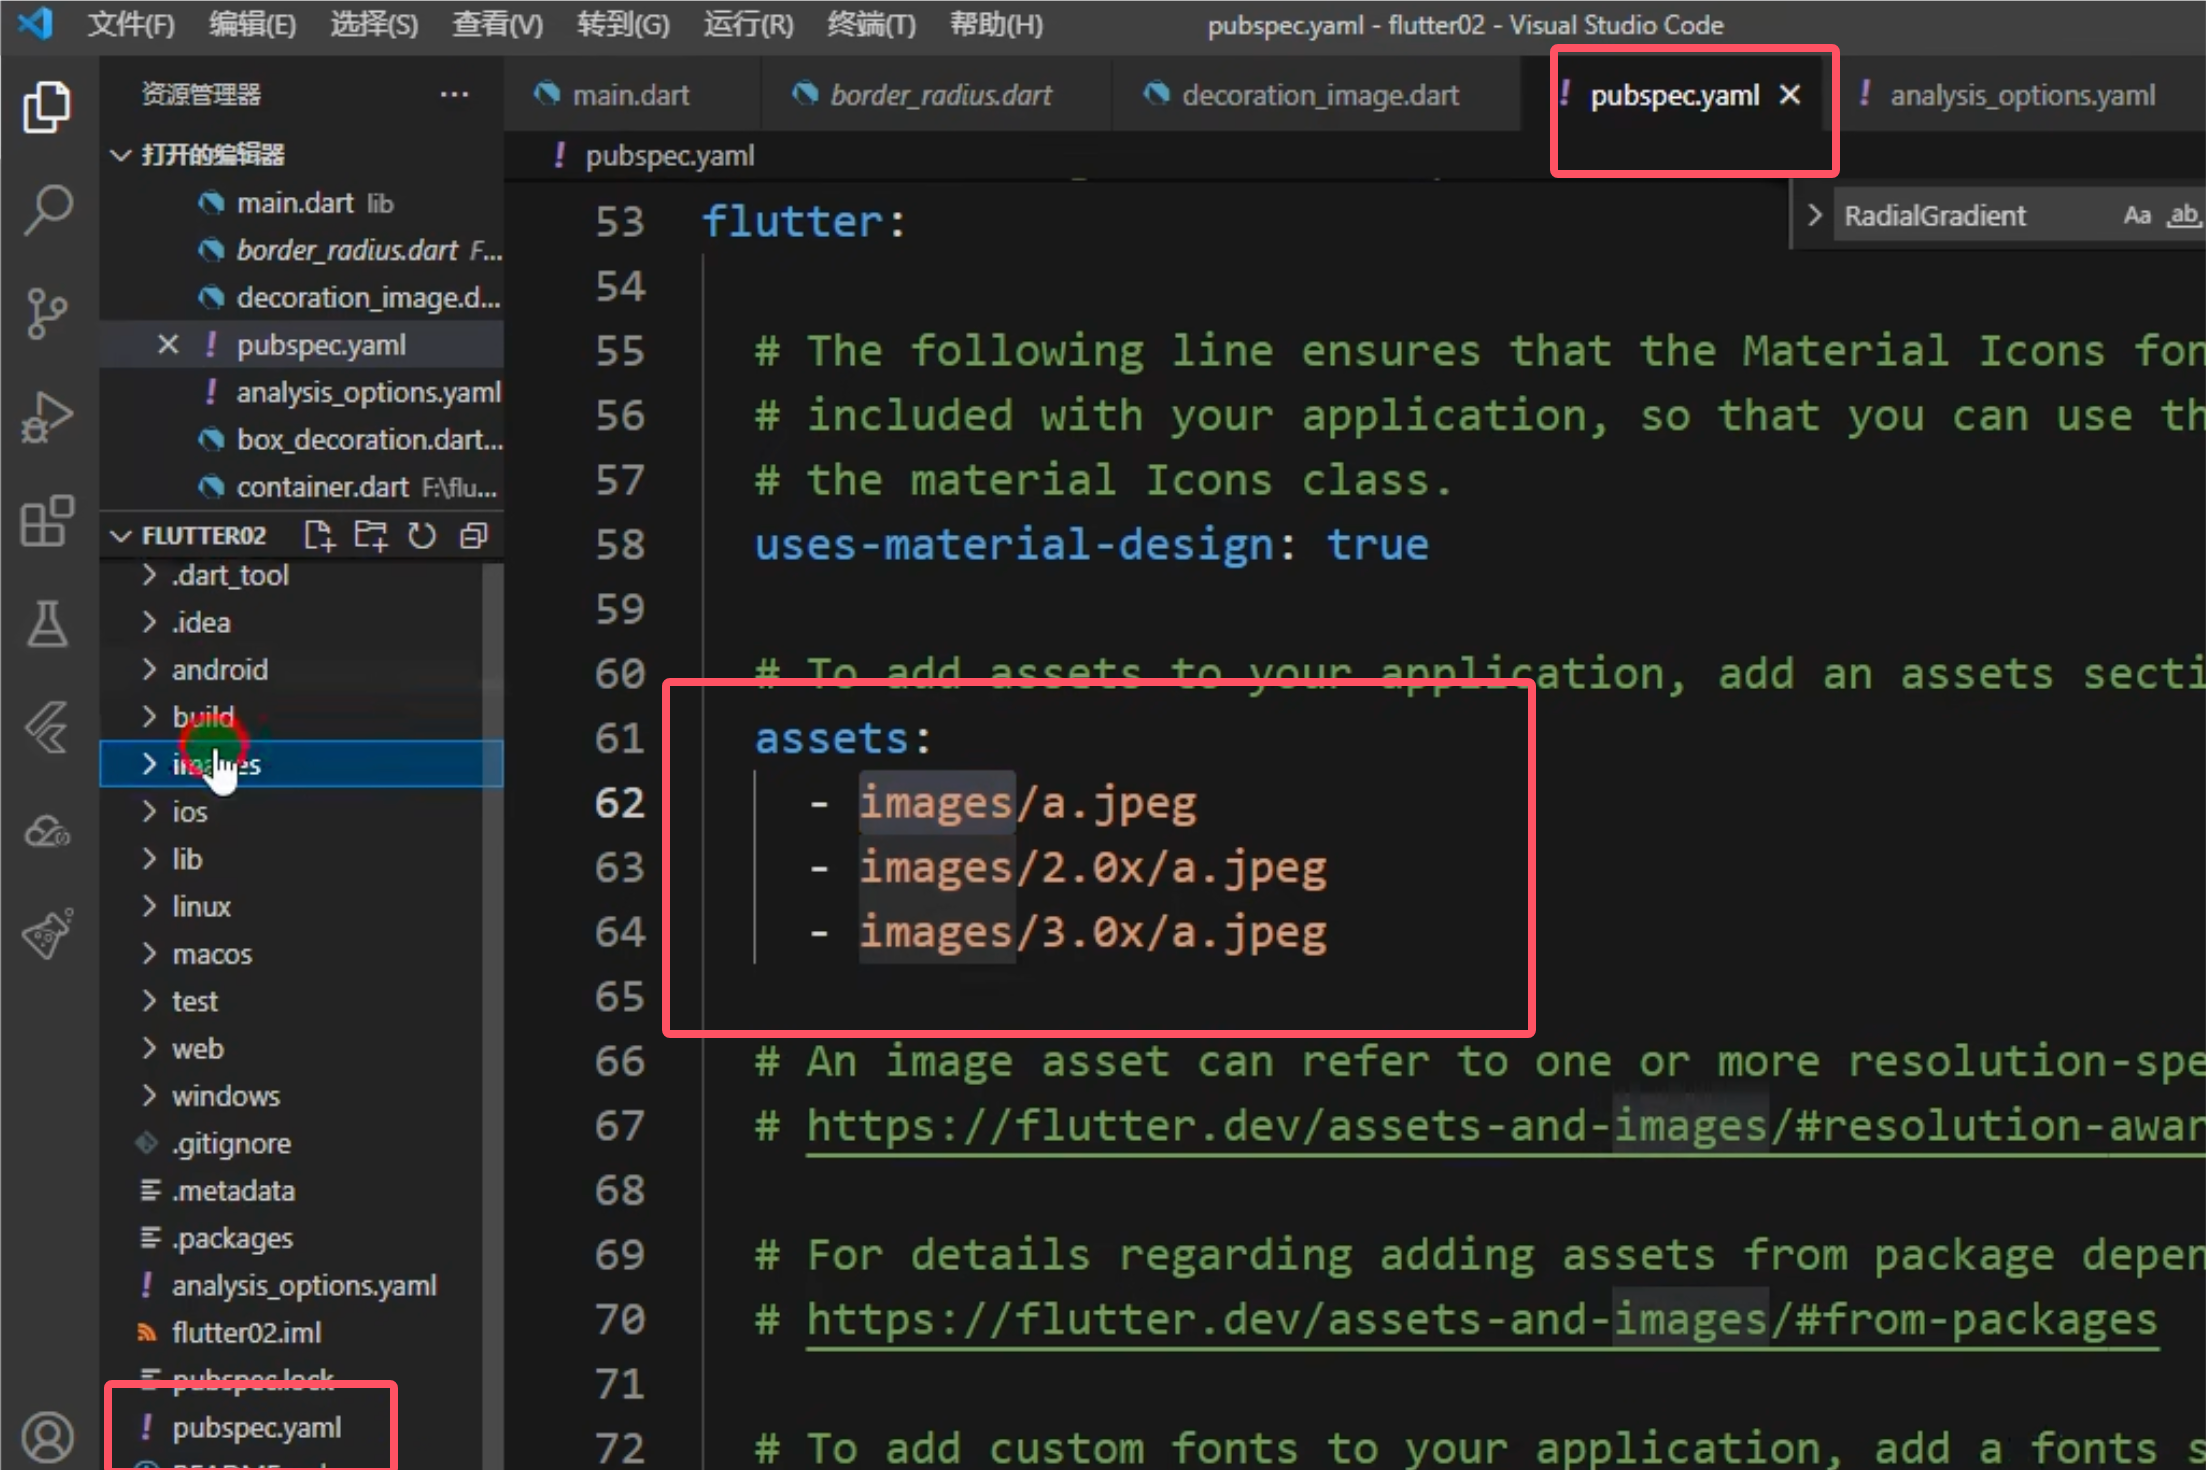
2.1.2 在 pubspec.yaml 中配置图片资源路径
2.1.3 使用 Image.asset 或 Image 组件加载图片
图片组件的介绍
1.Image.network加载图片
import 'package:flutter/material.dart';void main() {runApp(MaterialApp(home: Scaffold(appBar: AppBar(title: Text("sss")), body: MyApp2()),),);
}class MyApp2 extends StatefulWidget {@overrideState<StatefulWidget> createState() {return MyAppState();}
}class MyAppState extends State<MyApp2> {@overrideWidget build(BuildContext context) {return Center(child: Container(height: 300,width: 300,decoration: BoxDecoration(color: Colors.yellow),child: Image.network("https://img2.baidu.com/it/u=1069891123,3492077884&fm=253&fmt=auto&app=138&f=JPEG?w=304&h=456",),),);}
}
1.1 Image scale图片缩小一倍
class MyAppState extends State<MyApp2> {@overrideWidget build(BuildContext context) {return Center(child: Container(height: 300,width: 300,decoration: BoxDecoration(color: Colors.yellow),child: Image.network("https://img2.baidu.com/it/u=1069891123,3492077884&fm=253&fmt=auto&app=138&f=JPEG?w=304&h=456",scale: 2, //图片缩小),),);}
}
1.2 Image alignment使用
class MyAppState extends State<MyApp2> {@overrideWidget build(BuildContext context) {return Center(child: Container(height: 300,width: 300,decoration: BoxDecoration(color: Colors.yellow),child: Image.network("https://img2.baidu.com/it/u=1069891123,3492077884&fm=253&fmt=auto&app=138&f=JPEG?w=304&h=456",scale: 2,//缩放alignment: Alignment.centerLeft,//位置),),);}
}或者修改Container位置class MyAppState extends State<MyApp2> {@overrideWidget build(BuildContext context) {return Center(child: Container(alignment: Alignment.centerLeft, //位置height: 300,width: 300,decoration: BoxDecoration(color: Colors.yellow),child: Image.network("https://img2.baidu.com/it/u=1069891123,3492077884&fm=253&fmt=auto&app=138&f=JPEG?w=304&h=456",scale: 2,//缩放// alignment: Alignment.centerLeft, //位置),),);}
}
1.3 Image fit 属性的取值及说明
| 属性名 | 作用描述 |
|---|---|
BoxFit.fill | - 强制图片填满整个容器(宽高均与容器一致)。 - 可能导致图片变形(宽高比被忽略)。 |
BoxFit.contain | - 图片按原比例缩放,完全包含在容器内(宽或高中至少一边与容器边缘对齐)。 - 可能在另一边留有空白。 |
BoxFit.cover | - 图片按原比例缩放,覆盖整个容器(宽和高均不小于容器)。 - 超出容器的部分会被裁剪。 |
BoxFit.fitWidth | - 图片宽度与容器宽度一致,高度按比例缩放。 - 可能超出容器高度或留有空白。 |
BoxFit.fitHeight | - 图片高度与容器高度一致,宽度按比例缩放。 - 可能超出容器宽度或留有空白。 |
BoxFit.none | - 图片按原始尺寸显示,不进行任何缩放。 - 若图片尺寸大于容器,会被截断显示。 |
BoxFit.scaleDown | - 类似于 contain,但只在图片尺寸大于容器时缩小,不会放大图片。- 保持原图清晰度,避免低分辨率图片拉伸模糊。 |

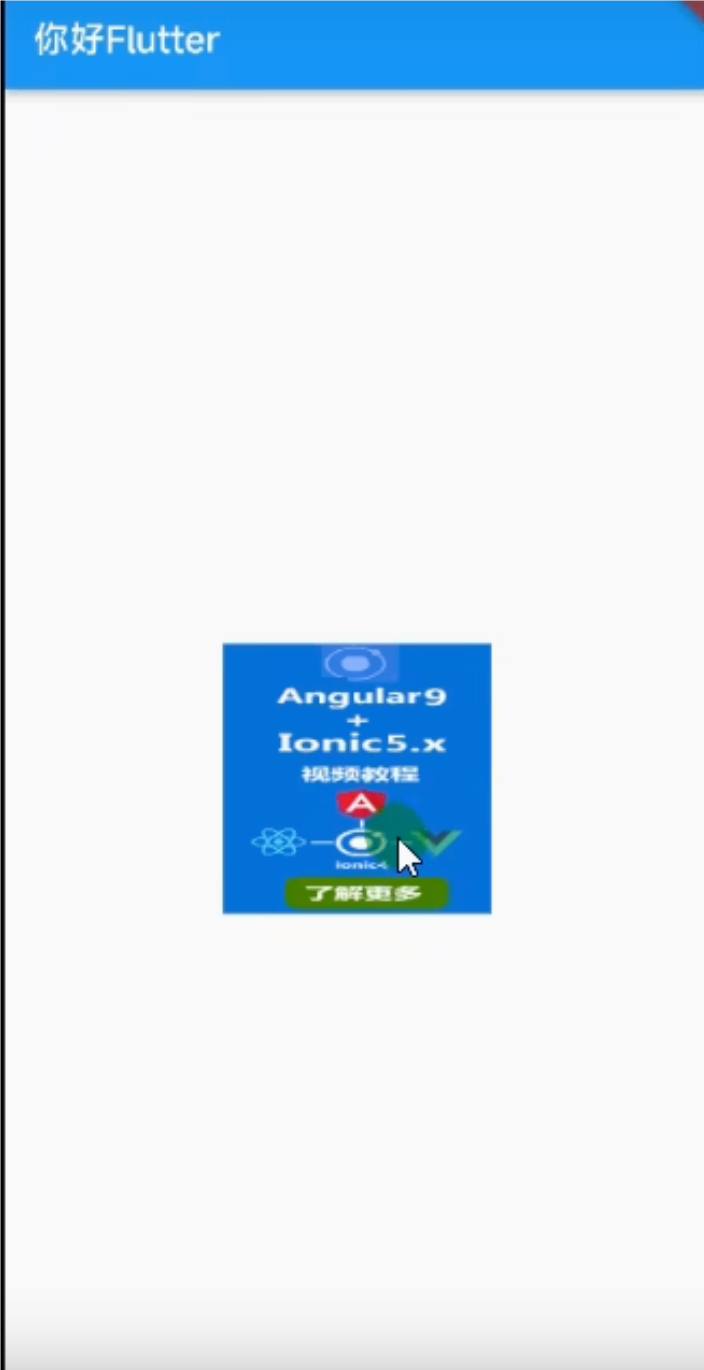
1.3.1 Contain 默认效果
class MyAppState extends State<MyApp2> {@overrideWidget build(BuildContext context) {return Center(child: Container(// alignment: Alignment.centerRight, //位置height: 300,width: 300,decoration: BoxDecoration(color: Colors.yellow),child: Image.network("https://img2.baidu.com/it/u=1069891123,3492077884&fm=253&fmt=auto&app=138&f=JPEG?w=304&h=456",// scale: 2,//缩放// alignment: Alignment.centerLeft, //位置fit: BoxFit.contain, //图片fit属性 = 默认),),);}
}
1.3.2 Fill 图片会缩放至完全填满目标区域(宽高)
1.3.3 Fill 图片会缩放至完全填满目标区域(宽高)
class MyAppState extends State<MyApp2> {@overrideWidget build(BuildContext context) {return Center(child: Container(// alignment: Alignment.centerRight, //位置height: 300,width: 300,decoration: BoxDecoration(color: Colors.yellow),child: Image.network("https://img2.baidu.com/it/u=1069891123,3492077884&fm=253&fmt=auto&app=138&f=JPEG?w=304&h=456",// scale: 2,//缩放// alignment: Alignment.centerLeft, //位置fit: BoxFit.fitWidth, //图片fit属性= 宽度充满),),);}
}
1.4 repeat 图片平铺
class MyAppState extends State<MyApp2> {@overrideWidget build(BuildContext context) {return Center(child: Container(// alignment: Alignment.centerRight, //位置height: 300,width: 500,decoration: BoxDecoration(color: Colors.yellow),child: Image.network("https://img2.baidu.com/it/u=1069891123,3492077884&fm=253&fmt=auto&app=138&f=JPEG?w=304&h=456",// scale: 2,//缩放// alignment: Alignment.centerLeft, //位置// fit: BoxFit.fitWidth, //图片fit属性= 宽度充满repeat: ImageRepeat.repeatX, //X轴平铺),),);}
}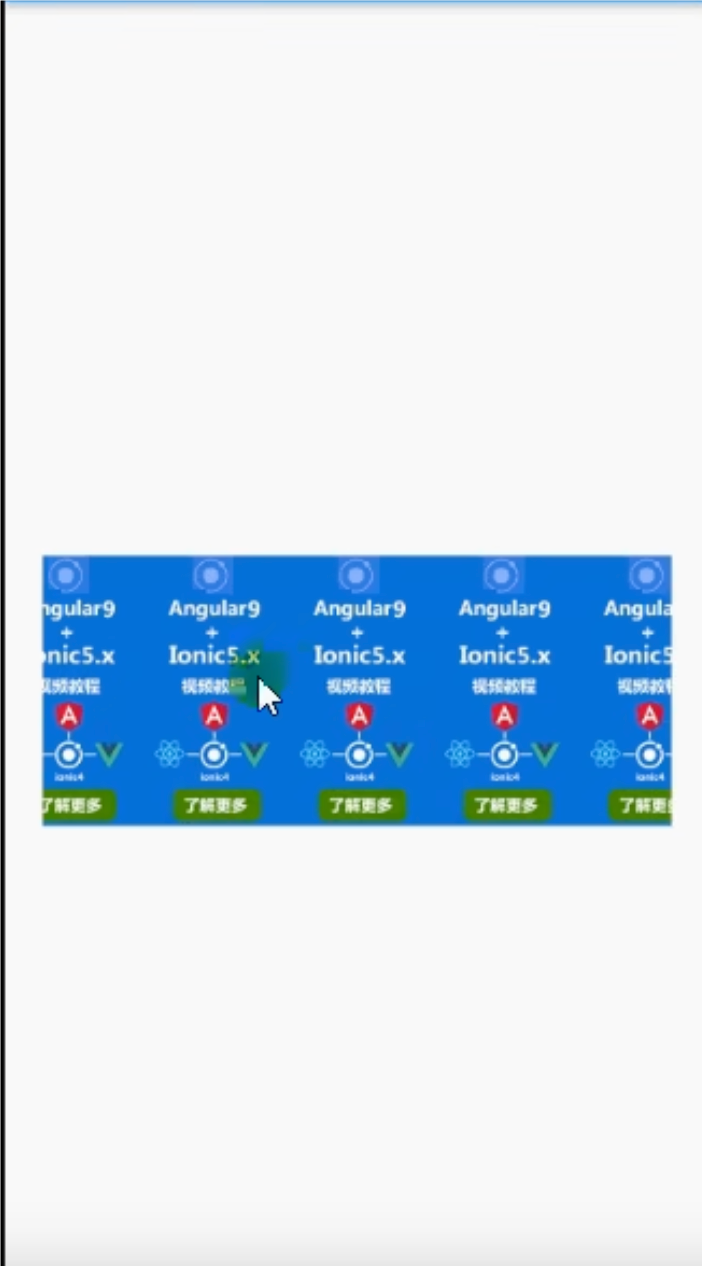
1.4.1 repeatX轴\Y轴都平铺
class MyAppState extends State<MyApp2> {@overrideWidget build(BuildContext context) {return Center(child: Container(// alignment: Alignment.centerRight, //位置height: 300,width: 500,decoration: BoxDecoration(color: Colors.yellow),child: Image.network("https://img2.baidu.com/it/u=1069891123,3492077884&fm=253&fmt=auto&app=138&f=JPEG?w=304&h=456",// scale: 2,//缩放// alignment: Alignment.centerLeft, //位置// fit: BoxFit.fitWidth, //图片fit属性= 宽度充满repeat: ImageRepeat.repeat, //X轴\Y轴都平铺),),);}
}
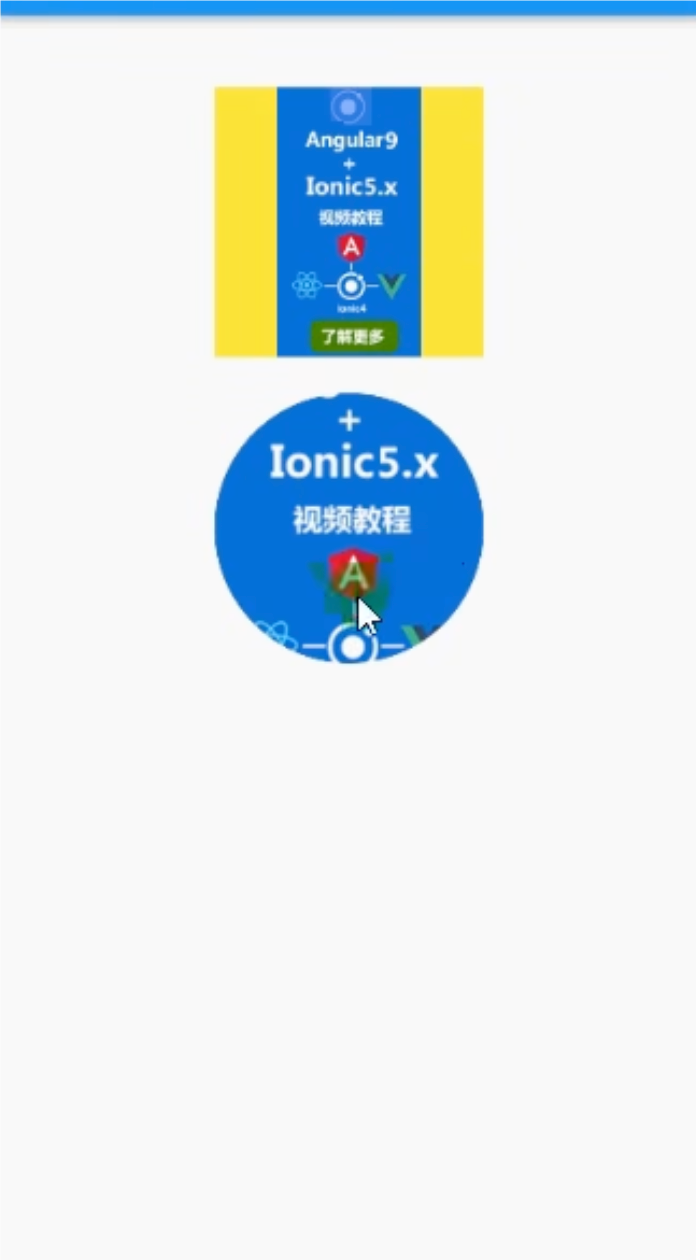
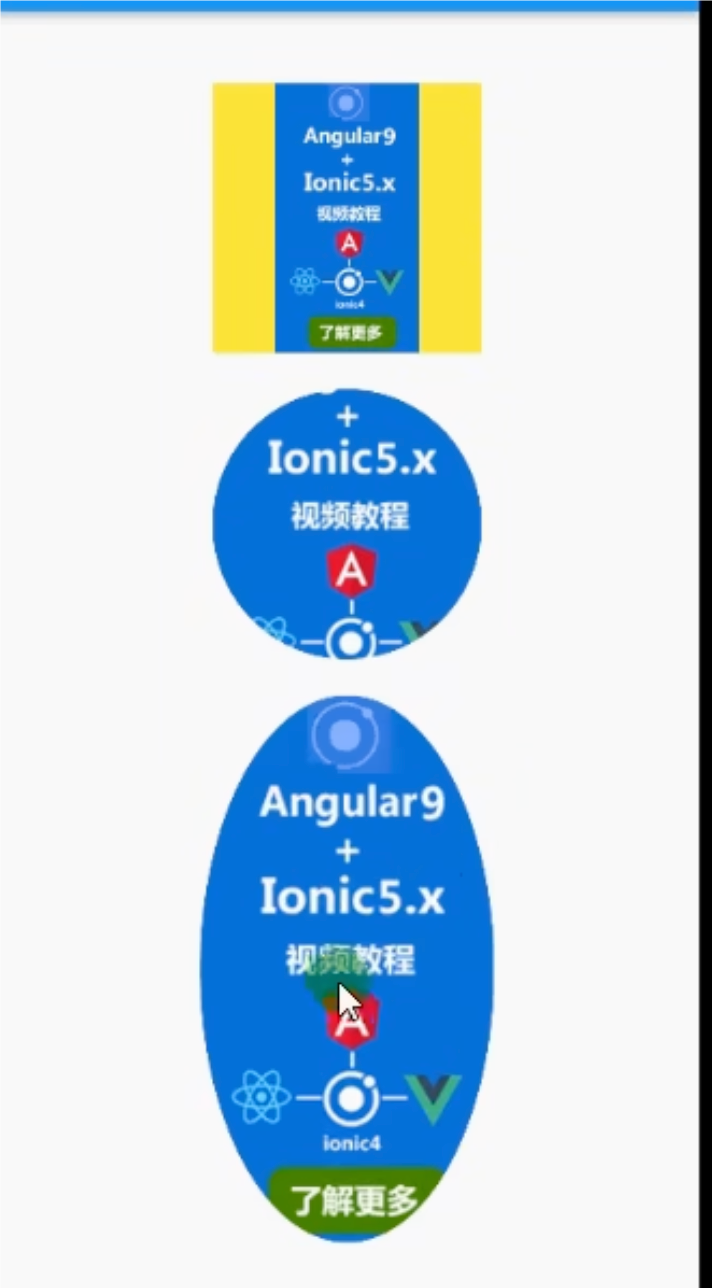
1.5. 实现圆角图片
1.5.1 Container 实现圆角图片
import 'package:flutter/material.dart';void main() {runApp(MaterialApp(home: Scaffold(appBar: AppBar(title: Text("sss")),body: Column(children: [MyApp2(), SizedBox(height: 20), Circular()]),),),);
}class MyApp2 extends StatefulWidget {@overrideState<StatefulWidget> createState() {return MyAppState();}
}class MyAppState extends State<MyApp2> {@overrideWidget build(BuildContext context) {return Center(child: Container(// alignment: Alignment.centerRight, //位置height: 300,width: 300,decoration: BoxDecoration(color: Colors.yellow),child: Image.network("https://img2.baidu.com/it/u=1069891123,3492077884&fm=253&fmt=auto&app=138&f=JPEG?w=304&h=456",// scale: 2,//缩放// alignment: Alignment.centerLeft, //位置// fit: BoxFit.fitWidth, //图片fit属性= 宽度充满repeat: ImageRepeat.repeat, //X轴\Y轴都平铺),),);}
}//实现一个圆形图片
class Circular extends StatelessWidget {@overrideWidget build(BuildContext context) {return Container(margin: EdgeInsets.fromLTRB(0, 10, 0, 0),height: 300,width: 300,decoration: BoxDecoration(color: Colors.yellow,borderRadius: BorderRadius.circular(150),image: DecorationImage(image: NetworkImage("https://img2.baidu.com/it/u=1069891123,3492077884&fm=253&fmt=auto&app=138&f=JPEG?w=304&h=456",),fit: BoxFit.cover,),),);}
}
1.5.2 Container circular 圆角参数设置
borderRadius: BorderRadius.circular(10)//圆角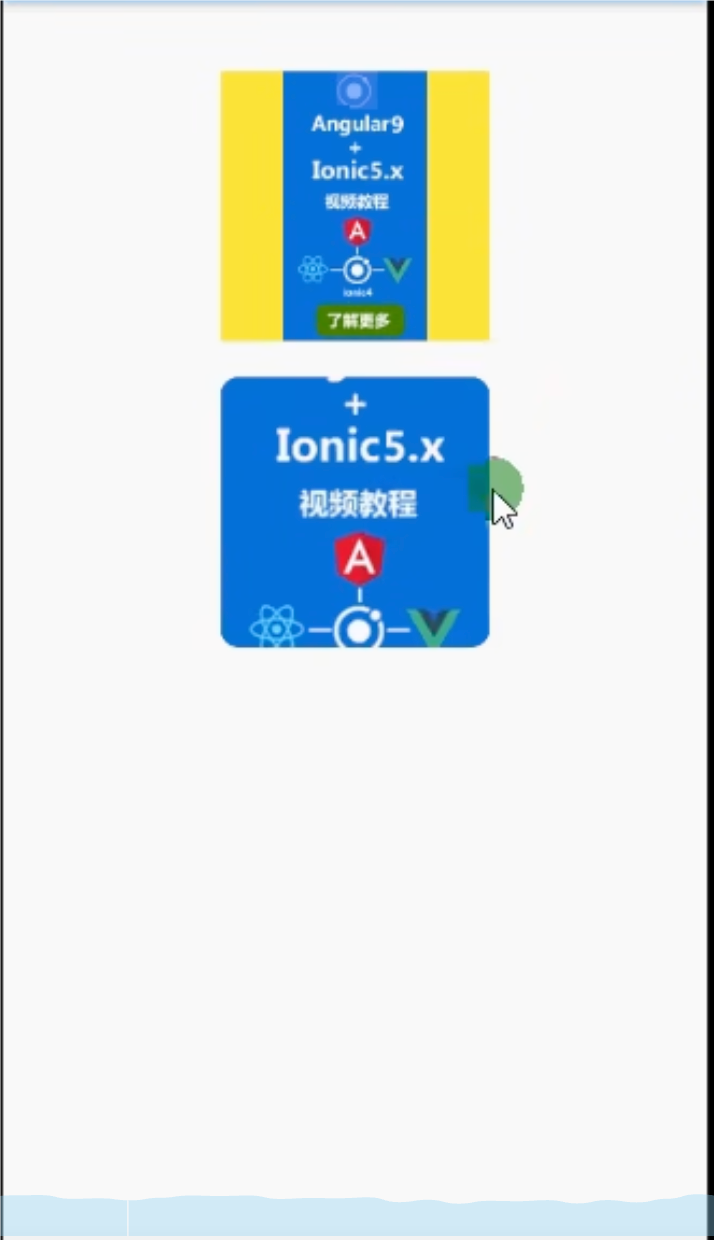
1.6.1 使用ClipOval使用实现一个圆形图片
import 'package:flutter/material.dart';void main() {runApp(MaterialApp(home: Scaffold(appBar: AppBar(title: Text("sss")),body: Column(children: [MyApp2(),SizedBox(height: 20),Circular(),SizedBox(height: 30),ClipImage(),],),),),);
}class MyApp2 extends StatefulWidget {@overrideState<StatefulWidget> createState() {return MyAppState();}
}class MyAppState extends State<MyApp2> {@overrideWidget build(BuildContext context) {return Center(child: Container(// alignment: Alignment.centerRight, //位置height: 150,width: 150,decoration: BoxDecoration(color: Colors.yellow),child: Image.network("https://img2.baidu.com/it/u=1069891123,3492077884&fm=253&fmt=auto&app=138&f=JPEG?w=304&h=456",// scale: 2,//缩放// alignment: Alignment.centerLeft, //位置// fit: BoxFit.fitWidth, //图片fit属性= 宽度充满repeat: ImageRepeat.repeat, //X轴\Y轴都平铺),),);}
}//实现一个圆形图片
class Circular extends StatelessWidget {@overrideWidget build(BuildContext context) {return Container(margin: EdgeInsets.fromLTRB(0, 10, 0, 0),height: 150,width: 150,decoration: BoxDecoration(color: Colors.yellow,borderRadius: BorderRadius.circular(10),image: DecorationImage(image: NetworkImage("https://img2.baidu.com/it/u=1069891123,3492077884&fm=253&fmt=auto&app=138&f=JPEG?w=304&h=456",),fit: BoxFit.cover,),),);}
}//使用ClipOval使用实现一个圆形图片
class ClipImage extends StatelessWidget {@overrideWidget build(BuildContext context) {return ClipOval(child: Image.network("https://img2.baidu.com/it/u=1069891123,3492077884&fm=253&fmt=auto&app=138&f=JPEG?w=304&h=456",width: 150,height: 150,fit: BoxFit.cover,),);}
}
//使用ClipOval使用实现一个圆形图片
class ClipImage extends StatelessWidget {@overrideWidget build(BuildContext context) {return ClipOval(child: Image.network("https://img2.baidu.com/it/u=1069891123,3492077884&fm=253&fmt=auto&app=138&f=JPEG?w=304&h=456",width: 150,height: 150,fit: BoxFit.cover,),);}
}

2.加载本地图片
2.1 要在 Flutter 中加载本地图片,需要完成两个主要步骤:
2.1.2 在 项目下创建images资源文件
2.1.2 在 pubspec.yaml 中配置图片资源路径
2.1.3 使用 Image.asset 或 Image 组件加载图片
//加载一个本地图片
class LocalImage extends StatelessWidget {@overrideWidget build(BuildContext context) {return Container(width: 150,height: 150,child: Image.asset("images/a.png"),);}
}
class LocalImage extends StatelessWidget {const MyApp({Key? key}) : super(key: key);@overrideWidget build(BuildContext context) {return MaterialApp(home: Scaffold(appBar: AppBar(title: const Text('本地圆形图片加载示例')),body: Center(child: Column(mainAxisAlignment: MainAxisAlignment.center,children: [// 使用CircleAvatar加载圆形图片CircleAvatar(radius: 100,backgroundImage: AssetImage('images/profile.png'),),const SizedBox(height: 30),// 使用ClipOval自定义圆形图片ClipOval(child: Image.asset('images/background.jpg',width: 200,height: 200,fit: BoxFit.cover,),),const SizedBox(height: 30),// 使用Container的decoration属性Container(width: 150,height: 150,decoration: BoxDecoration(shape: BoxShape.circle,image: DecorationImage(image: AssetImage('images/icon.png'),fit: BoxFit.cover,),),),],),),),);}
}