使用Service对外发布集群中的应用程序
使用Service对外发布集群中的应用程序
文章目录
- 使用Service对外发布集群中的应用程序
- @[toc]
文章目录
- 使用Service对外发布集群中的应用程序
- @[toc]
在Kubernetes集群中创建NodePort类型的Service来对外发布应用程序,可以为Service在每台节点主机上绑定一个端口(节点端口),让集群外部的客户端可以通过“NodeIP:NodePort”格式的地址来访问该应用程序。
(1)service的后端是pod,一般都是通过控制器创建相应的pod来运行负载
[root@master ~]# vim nginx-deploy.yaml
[root@master ~]# cat nginx-deploy.yaml
apiVersion: apps/v1                # 版本号
kind: Deployment                    # 类型为Deployment
metadata:                            # 元数据name: nginx-deploy          labels:                             # 标签app: nginx-deploy
spec:                                 # 详细信息replicas: 2                        # 副本数量selector:                          # 选择器,指定该控制器管理哪些PodmatchLabels:                     # 匹配规则app: nginx-podtemplate:                          # 定义模板,当副本数量不足时会根据模板定义创建Pod副本metadata:labels:app: nginx-pod               # Pod的标签spec:containers:                     # 容器列表(本例仅定义一个容器)- name: nginx                   # 容器的名称image: nginx:1.14.2          # 容器所用的镜像ports:- name: nginx-portcontainerPort: 80         # 容器需要暴露的端口
[root@master ~]# kubectl apply -f nginx-deploy.yaml
deployment.apps/nginx-deploy created
除了创建一个Deployment,还会创建一个关联的ReplicaSet。这个ReplicaSet有两个pod,每个pod都运行nginx
[root@master ~]# kubectl get rs -o wide
NAME                      DESIRED   CURRENT   READY   AGE    CONTAINERS   IMAGES         SELECTOR
nginx-deploy-59c566bbbb   2         2         2       107s   nginx        nginx:1.14.2   app=nginx-pod,pod-template-hash=59c566bbbb
(2)修改Service配置文件,另存为nginx-nodeport-service.yaml文件
[root@master ~]# vim nginx-nodeport-service.yaml
[root@master ~]# cat nginx-nodeport-service.yaml
apiVersion: v1
kind: Service
metadata:name: nginx-svc      #设置service的显示名字
spec:type: NodePort          # Service类型selector:app: nginx-pod        #指定pod的标签ports:- port: 8080               # 让集群知道service绑定的端口targetPort: 80           # 目标Pod的端口nodePort: 30008          # 节点上绑定的端口
如果不设置nodePort字段,默认情况下Kubernetes控制平面节点会自动从30000~32767范围内分配一个端口
(3)基于新的Service配置文件创建Service来发布nginx
[root@master ~]# kubectl apply -f nginx-nodeport-service.yaml
service/nginx-svc created
(4)查看该Service详细信息
[root@master ~]# kubectl describe service nginx-svc
Name:                     nginx-svc
Namespace:                default
Labels:                   <none>
Annotations:              <none>
Selector:                 app=nginx-pod
Type:                     NodePort
IP Family Policy:         SingleStack
IP Families:              IPv4
IP:                       10.111.155.147
IPs:                      10.111.155.147
Port:                     <unset>  8080/TCP
TargetPort:               80/TCP
NodePort:                 <unset>  30008/TCP
Endpoints:                10.244.104.62:80,10.244.166.133:80
Session Affinity:         None
External Traffic Policy:  Cluster
Events:                   <none>
(5)列出运行的nginx的pod,可以发现部署在两个不同的节点上
[root@master ~]# kubectl get pods --selector="app=nginx-pod" -o wide
NAME                            READY   STATUS    RESTARTS   AGE    IP               NODE    NOMINATED NODE   READINESS GATES
nginx-deploy-59c566bbbb-5q4lz   1/1     Running   0          8m9s   10.244.104.62    node2   <none>           <none>
nginx-deploy-59c566bbbb-k9twz   1/1     Running   0          8m9s   10.244.166.133   node1   <none>           <none>
(6)获取节点的IP地址
[root@master ~]# kubectl get node node1 -o wide
NAME    STATUS   ROLES    AGE   VERSION   INTERNAL-IP     EXTERNAL-IP   OS-IMAGE          KERNEL-VERSION          CONTAINER-RUNTIME
node1   Ready    <none>   26d   v1.28.0   192.168.10.31   <none>        CentOS Stream 8   4.18.0-394.el8.x86_64   docker://26.1.3
[root@master ~]# kubectl get node node2 -o wide
NAME    STATUS   ROLES    AGE   VERSION   INTERNAL-IP     EXTERNAL-IP   OS-IMAGE          KERNEL-VERSION          CONTAINER-RUNTIME
node2   Ready    <none>   26d   v1.28.0   192.168.10.32   <none>        CentOS Stream 8   4.18.0-394.el8.x86_64   docker://26.1.3
(7)确保节点主机相关的防火墙规则开放NodePort表示的端口。本例各节点都已禁用防火墙。如果防火墙开启,运行CentOS的节点可以通过执行以下命令开放30008端口
firewall-cmd --query-port=30008/tcp
(8)使用节点地址和节点端口来访问发布的应用程序
[root@master ~]# curl 192.168.10.32:30008
<!DOCTYPE html>
<html>
<head>
<title>Welcome to nginx!</title>
<style>body {width: 35em;margin: 0 auto;font-family: Tahoma, Verdana, Arial, sans-serif;}
</style>
</head>
<body>
<h1>Welcome to nginx!</h1>
<p>If you see this page, the nginx web server is successfully installed and
working. Further configuration is required.</p><p>For online documentation and support please refer to
<a href="http://nginx.org/">nginx.org</a>.<br/>
Commercial support is available at
<a href="http://nginx.com/">nginx.com</a>.</p><p><em>Thank you for using nginx.</em></p>
</body>
</html>
[root@master ~]#
(9)网页访问测试
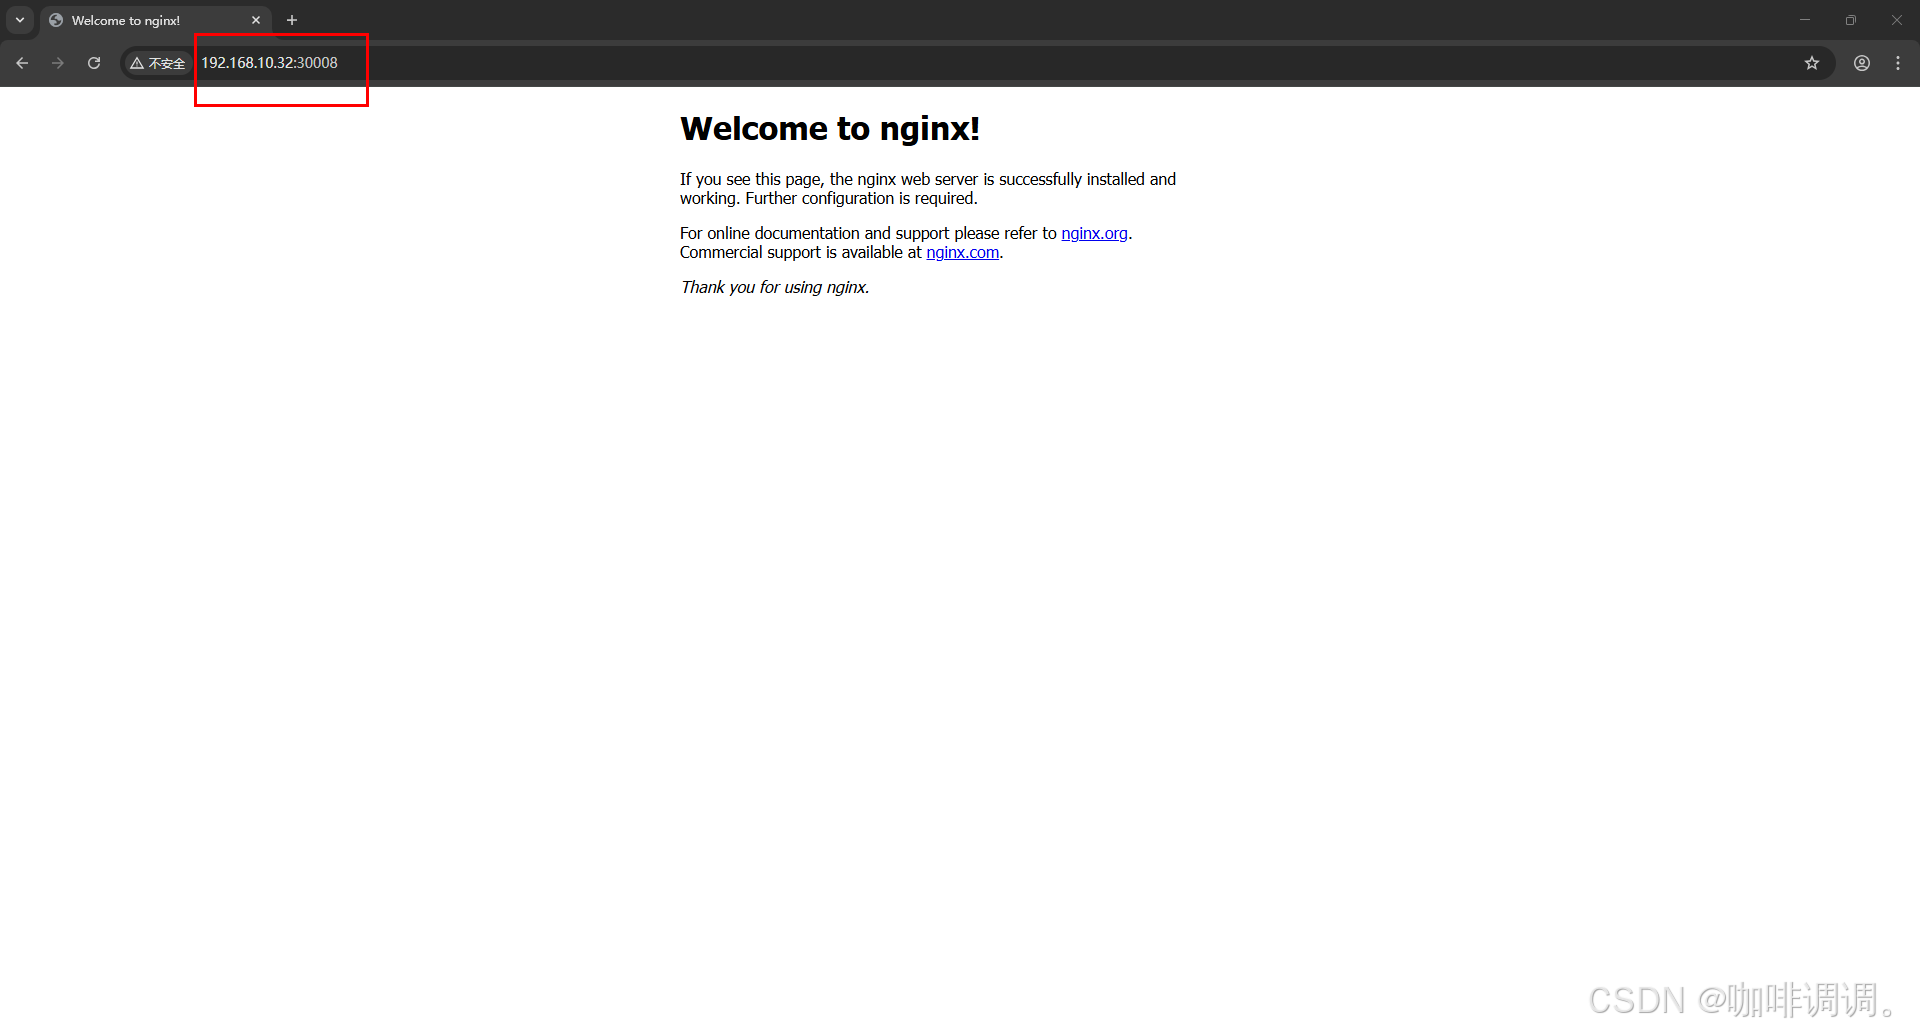
这表明,使用NodePort类型的Service对外发布nginx是成功的
(10)删除创建的Service和Deployment
[root@master ~]# kubectl delete -f nginx-deploy.yaml
deployment.apps "nginx-deploy" deleted
[root@master ~]# kubectl delete -f nginx-nodeport-service.yaml
service "nginx-svc" deleted