HTML5 Canvas 绘制圆弧效果
HTML5 Canvas 绘制圆弧效果
以下是一个使用HTML5 Canvas绘制圆弧的完整示例,你可以直接在浏览器中运行看到效果:
<!DOCTYPE html>
<html lang="zh-CN">
<head><meta charset="UTF-8"><meta name="viewport" content="width=device-width, initial-scale=1.0"><title>圆弧绘制示例</title><style>body {font-family: Arial, sans-serif;display: flex;flex-direction: column;align-items: center;padding: 20px;}canvas {border: 1px solid #ccc;margin: 20px 0;box-shadow: 0 0 10px rgba(0,0,0,0.1);}.controls {margin: 20px 0;padding: 15px;background: #f5f5f5;border-radius: 5px;width: 600px;}.control-group {margin: 10px 0;}label {display: inline-block;width: 120px;}button {padding: 8px 15px;background: #4CAF50;color: white;border: none;border-radius: 4px;cursor: pointer;margin-right: 10px;}button:hover {background: #45a049;}</style>
</head>
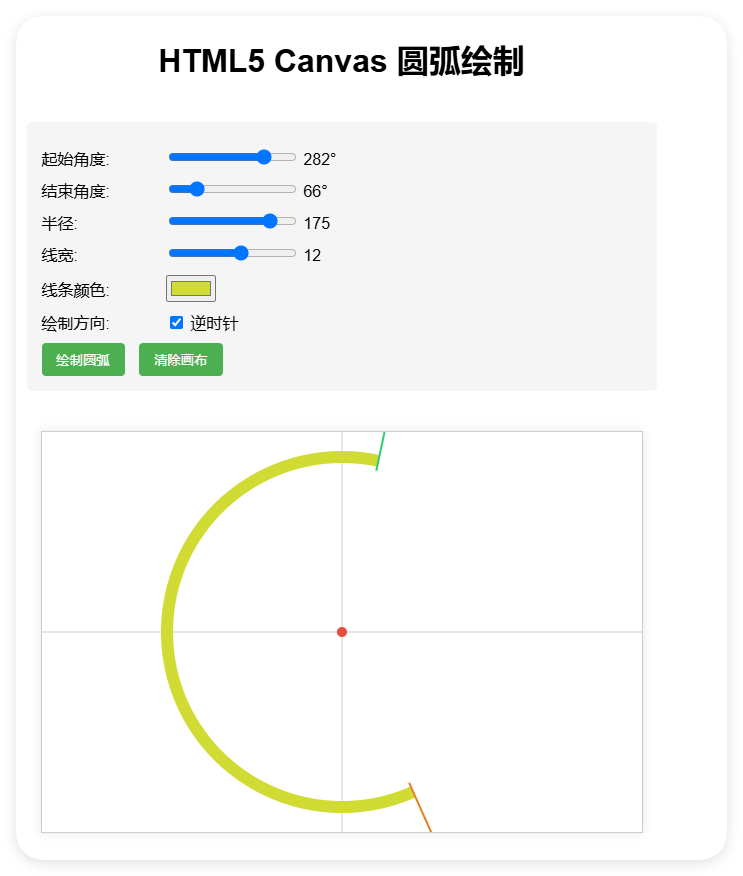
<body><h1>HTML5 Canvas 圆弧绘制</h1><div class="controls"><div class="control-group"><label for="startAngle">起始角度:</label><input type="range" id="startAngle" min="0" max="360" value="0" step="1"><span id="startAngleValue">0°</span></div><div class="control-group"><label for="endAngle">结束角度:</label><input type="range" id="endAngle" min="0" max="360" value="90" step="1"><span id="endAngleValue">90°</span></div><div class="control-group"><label for="radius">半径:</label><input type="range" id="radius" min="50" max="200" value="100" step="5"><span id="radiusValue">100</span></div><div class="control-group"><label for="lineWidth">线宽:</label><input type="range" id="lineWidth" min="1" max="20" value="3" step="1"><span id="lineWidthValue">3</span></div><div class="control-group"><label for="lineColor">线条颜色:</label><input type="color" id="lineColor" value="#3498db"></div><div class="control-group"><label for="counterClockwise">绘制方向:</label><input type="checkbox" id="counterClockwise"><span>逆时针</span></div><button id="drawBtn">绘制圆弧</button><button id="clearBtn">清除画布</button></div><canvas id="arcCanvas" width="600" height="400"></canvas><script>const canvas = document.getElementById('arcCanvas');const ctx = canvas.getContext('2d');const centerX = canvas.width / 2;const centerY = canvas.height / 2;// 更新显示值document.getElementById('startAngle').addEventListener('input', function() {document.getElementById('startAngleValue').textContent = this.value + '°';});document.getElementById('endAngle').addEventListener('input', function() {document.getElementById('endAngleValue').textContent = this.value + '°';});document.getElementById('radius').addEventListener('input', function() {document.getElementById('radiusValue').textContent = this.value;});document.getElementById('lineWidth').addEventListener('input', function() {document.getElementById('lineWidthValue').textContent = this.value;});// 绘制函数function drawArc() {const startAngle = document.getElementById('startAngle').value * Math.PI / 180;const endAngle = document.getElementById('endAngle').value * Math.PI / 180;const radius = document.getElementById('radius').value;const lineWidth = document.getElementById('lineWidth').value;const lineColor = document.getElementById('lineColor').value;const counterClockwise = document.getElementById('counterClockwise').checked;// 清除之前的绘图ctx.clearRect(0, 0, canvas.width, canvas.height);// 绘制坐标轴ctx.beginPath();ctx.strokeStyle = '#ccc';ctx.lineWidth = 1;ctx.moveTo(centerX, 0);ctx.lineTo(centerX, canvas.height);ctx.moveTo(0, centerY);ctx.lineTo(canvas.width, centerY);ctx.stroke();// 绘制圆弧ctx.beginPath();ctx.strokeStyle = lineColor;ctx.lineWidth = lineWidth;ctx.arc(centerX, centerY, radius, startAngle, endAngle, counterClockwise);ctx.stroke();// 绘制圆心ctx.beginPath();ctx.fillStyle = '#e74c3c';ctx.arc(centerX, centerY, 5, 0, Math.PI * 2);ctx.fill();// 绘制角度标记drawAngleMarker(startAngle, radius, '#2ecc71');drawAngleMarker(endAngle, radius, '#e67e22');}// 绘制角度标记function drawAngleMarker(angle, radius, color) {const markerRadius = radius + 20;const x = centerX + Math.cos(angle) * markerRadius;const y = centerY + Math.sin(angle) * markerRadius;ctx.beginPath();ctx.strokeStyle = color;ctx.lineWidth = 2;ctx.moveTo(centerX + Math.cos(angle) * (radius - 10), centerY + Math.sin(angle) * (radius - 10));ctx.lineTo(x, y);ctx.stroke();ctx.beginPath();ctx.fillStyle = color;ctx.arc(x, y, 5, 0, Math.PI * 2);ctx.fill();}// 清除画布function clearCanvas() {ctx.clearRect(0, 0, canvas.width, canvas.height);}// 绑定按钮事件document.getElementById('drawBtn').addEventListener('click', drawArc);document.getElementById('clearBtn').addEventListener('click', clearCanvas);// 初始绘制drawArc();</script>
</body>
</html>
功能说明
这个HTML示例提供了以下功能:
-
可交互的圆弧绘制:
- 可以调整起始角度(0-360度)
- 可以调整结束角度(0-360度)
- 可以调整圆弧半径(50-200像素)
-
样式自定义:
- 可调整线条宽度(1-20像素)
- 可选择线条颜色
- 可选择绘制方向(顺时针/逆时针)
-
视觉效果:
- 显示坐标轴作为参考
- 标记圆心位置
- 标记起始和结束角度位置
- 实时更新参数显示
核心绘制代码解析
关键绘制代码是使用Canvas的arc()方法:
ctx.arc(centerX, centerY, radius, startAngle, endAngle, counterClockwise);
参数说明:
centerX, centerY: 圆心坐标radius: 圆弧半径startAngle: 起始角度(弧度)endAngle: 结束角度(弧度)counterClockwise: 布尔值,true表示逆时针绘制,false表示顺时针绘制
如何扩展
你可以根据需要扩展这个示例:
- 添加填充圆弧的功能
- 实现圆弧动画效果
- 添加更多样式选项(虚线、渐变等)
- 保存绘制的图像到本地
这个示例可以直接复制到HTML文件中运行,无需任何额外依赖。