【K8s】harbor安装与推送镜像
引言
在开发中,先推送镜像到docker,然后直接在docker运行。但是在K8S中,需要动态创建或者分配机器,这里需要将镜像推送到harbor仓库,然后再从仓库拉取到每台集群机器。
docker安装harbor:https://learnku.com/articles/29884
docker和compose安装:https://github.com/duiying/ops/tree/master/docker-ce-yum-install
安装就按照上述的安装文档
设置开机自启动
1.vim /usr/lib/systemd/system/harbor.service
2.
[Unit]
Description=Harbor
After=docker.service systemd-networkd.service systemd-resolved.service
Requires=docker.service
Documentation=http://github.com/vmware/harbor[Service]
Type=simple
Restart=on-failure
RestartSec=5
##########docker-compose和harbor的安装位置
ExecStart=/usr/local/bin/docker-compose -f  /opt/harbor/docker-compose.yml up
ExecStop=/usr/local/bin/docker-compose -f /opt/harbor/docker-compose.yml down[Install]
WantedBy=multi-user.target3.
systemctl enable harbor
systemctl start harbor
4.docker ps -a
**参考:**如何推送docker镜像到harbor:[https://blog.csdn.net/wh_computers/article/details/115644071](https://blog.csdn.net/wh_computers/article/details/115644071)<font style="color:rgb(34, 34, 38);">KubeSphere添加Harbor镜像仓库秘钥失败解决方法:</font>[https://blog.csdn.net/wenyichuan/article/details/108380842](https://blog.csdn.net/wenyichuan/article/details/108380842)**解决报错凭证**:[https://v3-1.docs.kubesphere.io/zh/docs/project-user-guide/configuration/image-registry/](https://v3-1.docs.kubesphere.io/zh/docs/project-user-guide/configuration/image-registry/)**<font style="color:rgb(54, 67, 92);">HTTP</font>**1. <font style="color:rgb(54, 67, 92);">您需要修改集群中所有节点的 Docker 配置。例如,如果外部 Harbor 仓库的 IP 地址为 </font><font style="color:rgb(54, 67, 92);">http://192.168.0.99</font><font style="color:rgb(54, 67, 92);">,您需要在 </font><font style="color:rgb(54, 67, 92);">/etc/systemd/system/docker.service.d/docker-options.conf</font><font style="color:rgb(54, 67, 92);"> 文件中增加 </font><font style="color:rgb(54, 67, 92);">--insecure-registry=192.168.0.99</font><font style="color:rgb(54, 67, 92);"> 标签。</font>[Service]Environment="DOCKER_OPTS=--registry-mirror=[https://registry.docker-cn.com](https://registry.docker-cn.com) --insecure-registry=10.233.0.0/18 --data-root=/var/lib/docker --log-opt max-size=50m --log-opt max-file=5 \--insecure-registry=192.168.0.99"
 docker login --username=admin 172.16.1.23:9010700  cd /data/testnginx701  docker build -t auth:latest -f Dockerfile  .702  docker tag auth:latest 172.16.1.23:9010/jpaasywz/auth:latest703  docker push 172.16.1.23:9010/jpaasywz/auth:latest704  docker build -t gateway:latest -f Dockerfile  .705  docker tag gateway:latest 172.16.1.23:9010/jpaasywz/gateway:latest706  docker build -t gateway:latest -f Dockerfile  .707  docker tag gateway:latest 172.16.1.23:9010/jpaasywz/gateway:latest708  docker push 172.16.1.23:9010/jpaasywz/gateway:latestdocker build -t portal:latest -f jpaas-portal-Dockerfile  .
docker build -t system:latest -f jpaas-system-Dockerfile  .
docker build -t user:latest -f jpaas-user-Dockerfile  .
docker build -t bpm:latest -f jpaas-bpm-Dockerfile  .
docker build -t form:latest -f jpaas-form-Dockerfile  .docker tag portal:latest 172.16.1.23:9010/jpaasywz/portal:latest
docker tag system:latest 172.16.1.23:9010/jpaasywz/system:latest
docker tag user:latest 172.16.1.23:9010/jpaasywz/user:latest
docker tag bpm:latest 172.16.1.23:9010/jpaasywz/bpm:latest
docker tag form:latest 172.16.1.23:9010/jpaasywz/form:latestdocker push 172.16.1.23:9010/jpaasywz/portal:latest
docker push 172.16.1.23:9010/jpaasywz/system:latest
docker push 172.16.1.23:9010/jpaasywz/user:latest
docker push 172.16.1.23:9010/jpaasywz/bpm:latest
docker push 172.16.1.23:9010/jpaasywz/form:latest
在解决问题时,可以直接用K8S的dashboard来看错误,这样不用去敲命令去看容器日志事件之类的:
https://172.16.2.238:32484/#/pod/kubesphere-sample-dev/scm-77bd8d4d9b-jg26h?namespace=kubesphere-sample-dev
解决k8s无法拉取本地http镜像私服问题
在不同的集群都要加一下 docker的不安全 因为你不知道他会分配到哪台机器
vi /etc/docker/daemon.json
添加
在不同的集群都要加一下 docker的不安全 因为你不知道他会分配到哪台机器
vi /etc/docker/daemon.json
添加
{"insecure-registries": ["172.16.1.150:30006"]
}"insecure-registries": ["172.16.1.150:30006","172.16.1.23:9010"],
"registry-mirrors": ["https://82m9ar63.mirror.aliyuncs.com"],"insecure-registries": ["172.16.1.150:30006","172.16.1.23:9010"],
重启docker
systemctl daemon-reload
systemctl restart docker
重启docker
systemctl daemon-reload
systemctl restart docker
推送docker容器镜像到harbor
docker login --username=admin 172.16.1.23:9010
docker login <harbor所在服务器的IP>:<端口>
输入前面注册的账号密码
 [root@SR-OSDL-029 ~]# docker login --username=yeweizheng 172.16.2.238:30020
Password:
WARNING! Your password will be stored unencrypted in /root/.docker/config.json.
Configure a credential helper to remove this warning. See
https://docs.docker.com/engine/reference/commandline/login/#credentials-store
Login Succeeded
[root@SR-OSDL-029 ~]#
# 不需要的情况下退出docker仓库
docker logout
按照上述步骤应该是登陆成功,如果失败注意检查网络,账号密码,防火墙等
5.推送镜像
对要推送的镜像按照格式打上tag,然后docker push新tag的镜像
docker tag SOURCE_IMAGE[:TAG] 172.16.2.238:30020/test/REPOSITORY[:TAG]
docker push 172.16.2.238:30020/test/REPOSITORY[:TAG]
docker build -t hkbid:latest -f Dockerfile .
docker tag hkbid:latest 172.16.1.23:9010/hkbid/hkbid:latest
docker push 172.16.1.23:9010/hkbid/hkbid:latest
docker tag renren/fast_0517180414:latest 172.16.2.238:30020/test/renren/fast_0517180414:latest
docker tag server-gateway:latest 172.16.2.238:30020/test/server-gateway:latest
docker push 172.16.2.238:30020/test/renren/fast_0517180414
[root@SR-OSDL-029 test527]# docker tag server-gateway:latest  172.16.2.238:30020/test/server-gateway:latest
[root@SR-OSDL-029 test527]# docker images
[root@SR-OSDL-029 test527]# docker push 172.16.2.238:30020/test/server-gateway
Using default tag: latest
The push refers to repository [172.16.2.238:30020/test/server-gateway]
5ed6e1851ba1: Pushing [==================================> ] 43.42MB/63.32MB
3e7b4560b089: Pushed
bff9fe6e429c: Pushing [=========> ] 37.98MB/209.2MB
7c245b2fe4f1: Pushed
f9e18e59a565: Pushed
26a504e63be4: Pushing [==================> ] 56.8MB/151.9MB
8bf42db0de72: Pushed
31892cc314cb: Pushed
11936051f93b: Pushing [======> ] 15.17MB/123.9MB
或者
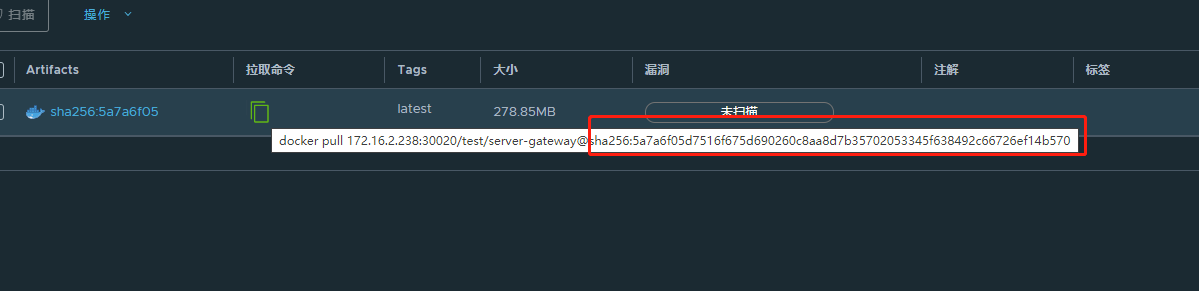
docker pull 172.16.2.238:30020/test/server-gateway@sha256:5a7a6f05d7516f675d690260c8aa8d7b35702053345f638492c66726ef14b570
或者用下面标签的方式
docker pull 172.16.2.238:30020/test/server-gateway:latest
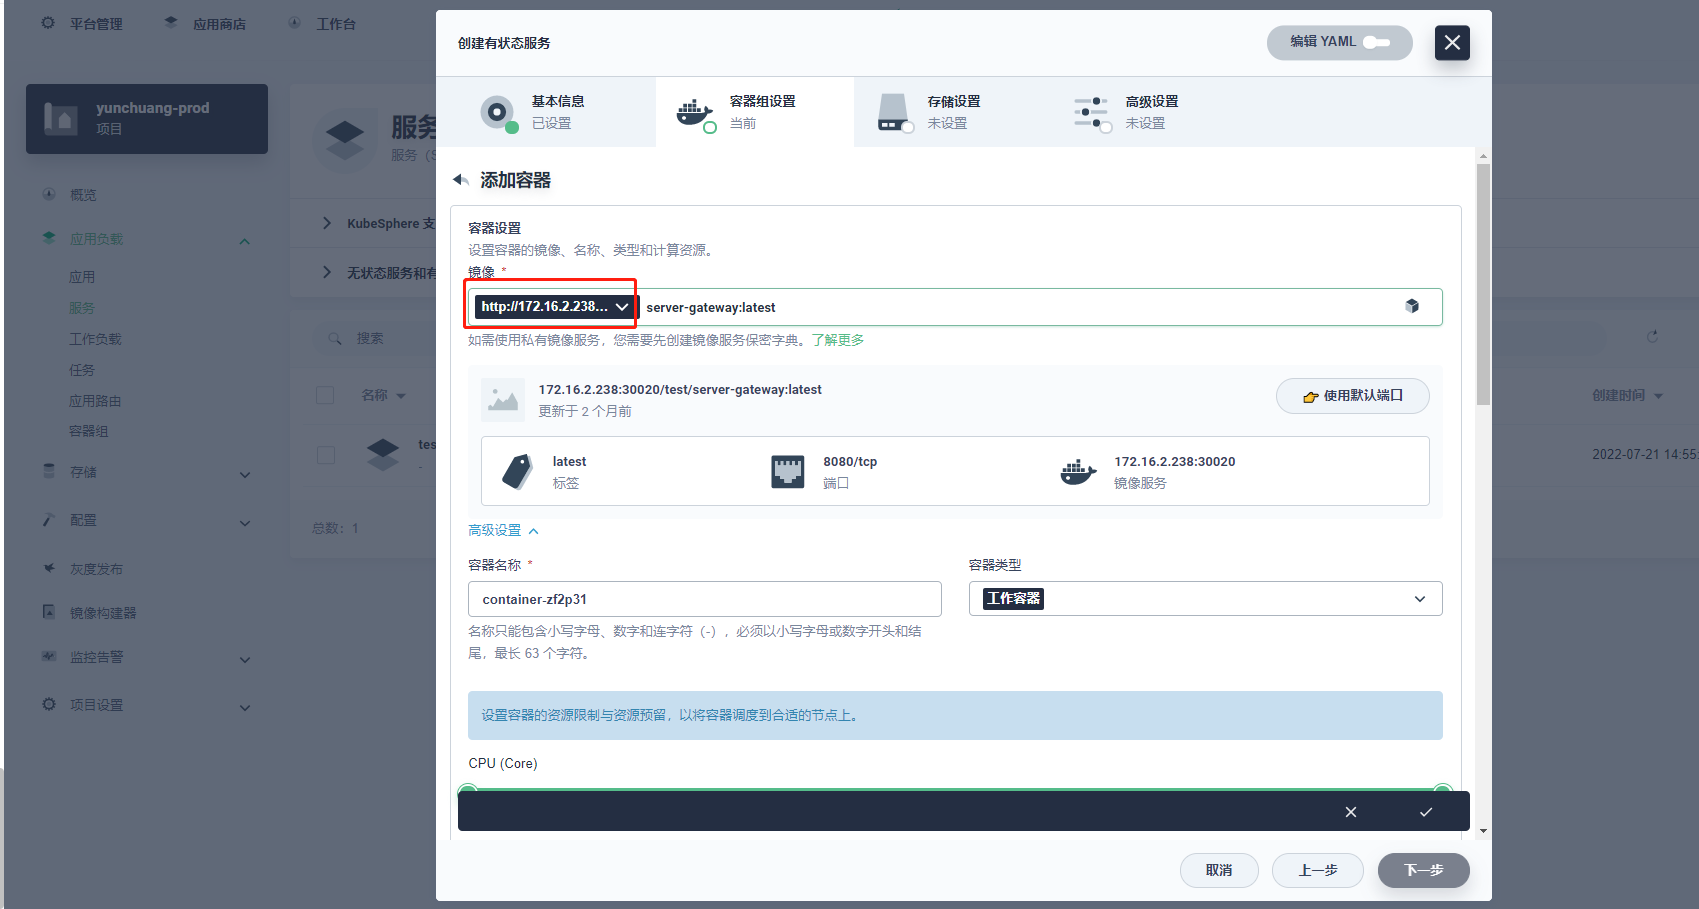
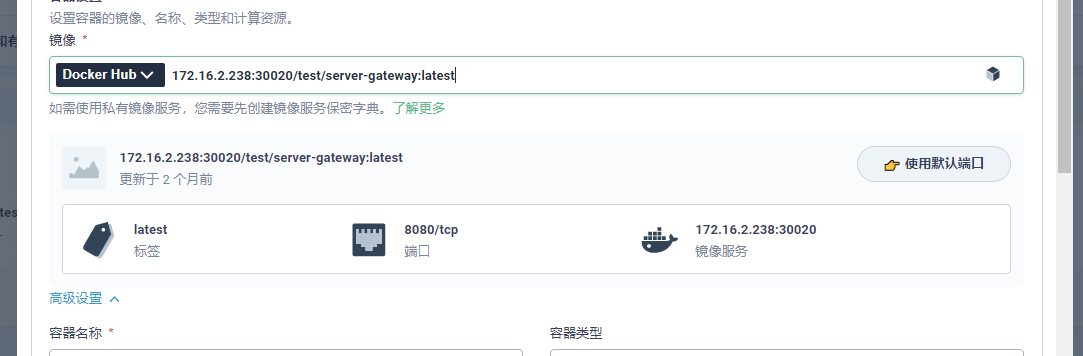
直接在dockerhub选项下 输入网址即可
6.获取镜像
不需要docker login,直接docker pull 新tag的镜像即可
docker pull 172.16.2.238:30020/test/renren/fast_0517180414@sha256:f3b88c731d5b4648d220ffe936cfb1e99a86d62f7e0ad745c414c3eddc54332c
ks流水线文件 ——推送镜像配置
以下为harbor推送镜像的命令:
docker tag SOURCE_IMAGE[:TAG] 172.16.2.238:30020/test/REPOSITORY[:TAG]
docker push 172.16.2.238:30020/test/REPOSITORY[:TAG]
Jenkinsfile:
stage('推送service-user镜像') {
agent none
steps {
container('maven') {
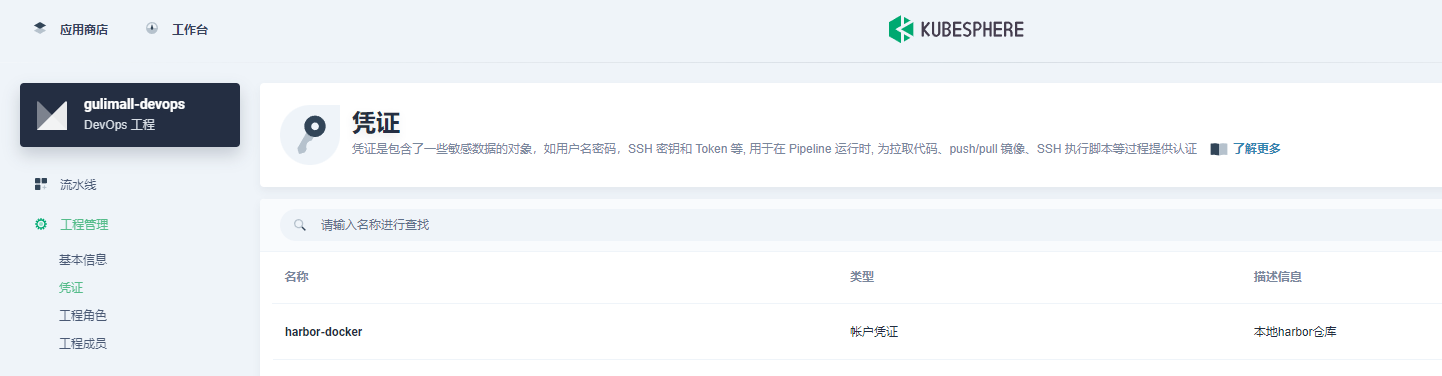
withCredentials([usernamePassword(credentialsId : 'harbor-docker' ,usernameVariable : 'DOCKER_USER_VAR' ,passwordVariable : 'DOCKER_PWD_VAR' ,)]) {
sh 'echo "$DOCKER_PWD_VAR" | docker login $REGISTRY -u "$DOCKER_USER_VAR" --password-stdin'
sh 'docker tag service-user:latest $REGISTRY/$DOCKERHUB_NAMESPACE/service-user:SNAPSHOT-$BUILD_NUMBER'
sh 'docker push $REGISTRY/$DOCKERHUB_NAMESPACE/service-user:SNAPSHOT-$BUILD_NUMBER'
}
}}
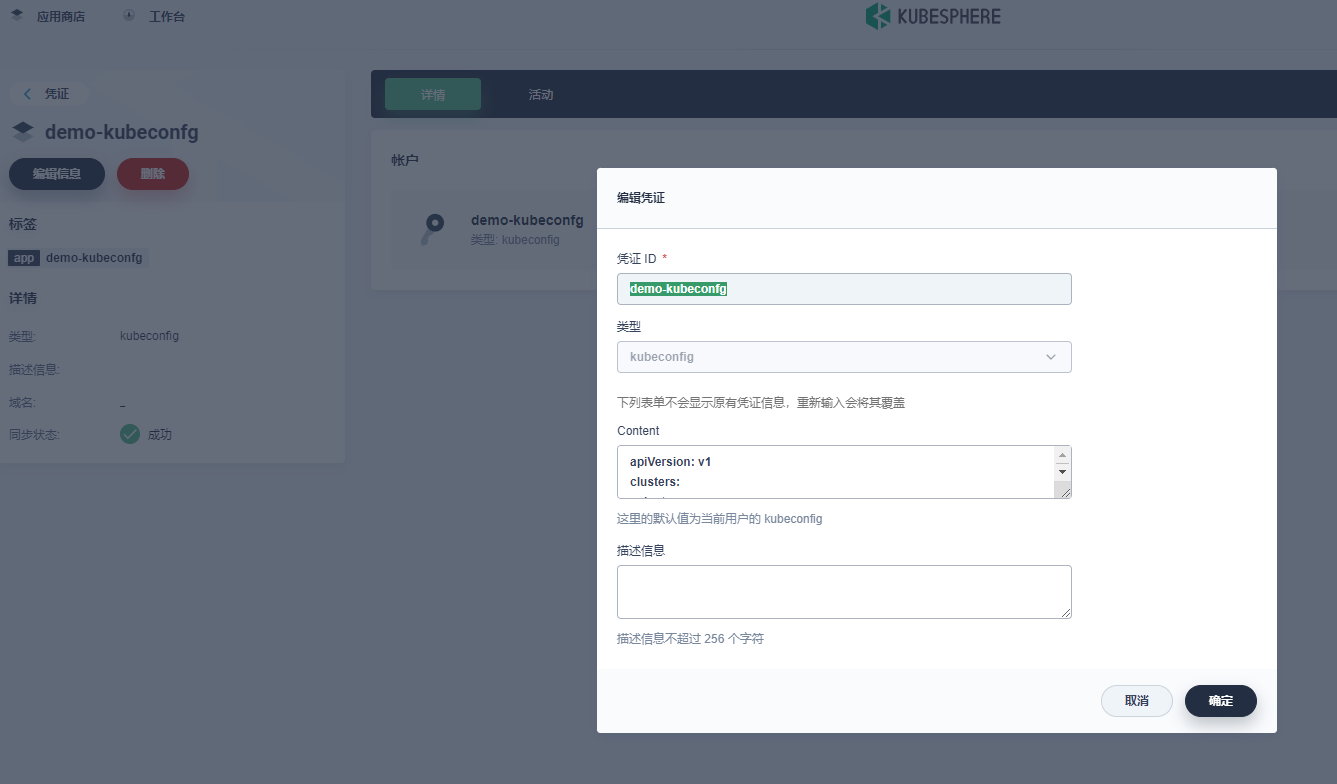
harbor-docker是在devops创建的凭证名称
environment {
DOCKER_CREDENTIAL_ID = 'dockerhub-id'
GITHUB_CREDENTIAL_ID = 'github-id'
KUBECONFIG_CREDENTIAL_ID = 'demo-kubeconfig'
REGISTRY = '172.16.2.238:30020'
DOCKERHUB_NAMESPACE = 'test'
GITHUB_ACCOUNT = 'kubesphere'
APP_NAME = 'devops-java-sample'
ALIYUNHUB_NAMESPACE = 'lfy_hello'
}
parameters {
string(name: 'TAG_NAME', defaultValue: '', description: '')
}