Python打包工具PyInstaller,打包之后的反编译工具pyinstxtractor
在Python开发中,我们经常需要将Python脚本打包成独立的可执行文件,方便分发和部署。同时,有时我们也需要从已有的exe文件中提取源代码。本文将详细介绍如何使用PyInstaller进行打包,以及使用pyinstxtractor进行反编译的完整流程。
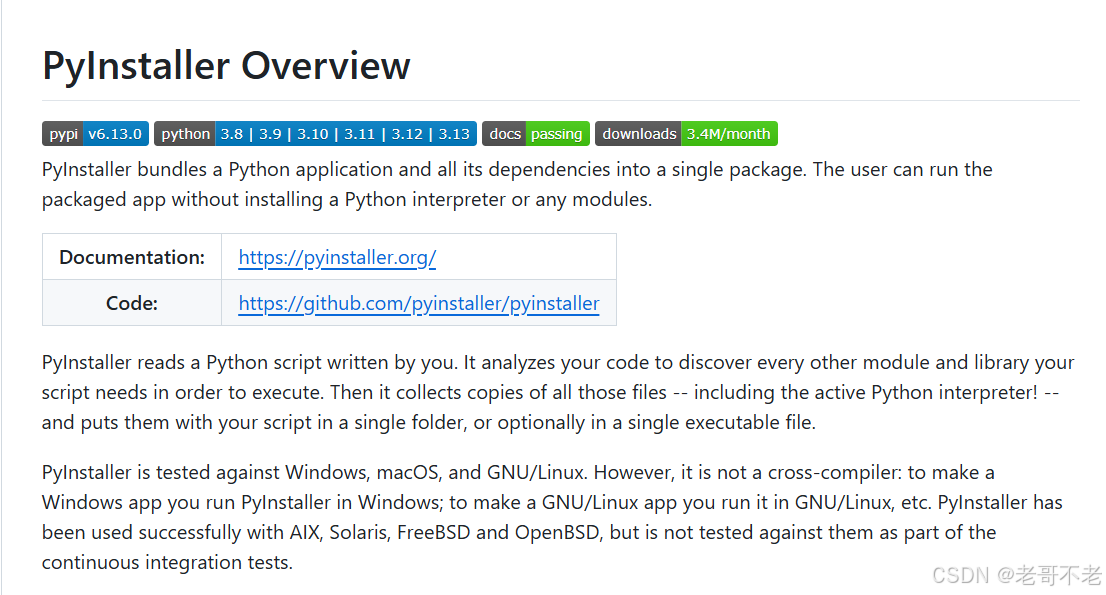
一、PyInstaller:将Python脚本编译成exe文件
1.1 安装PyInstaller
首先,我们需要安装PyInstaller。打开命令行或终端,执行以下命令:
pip install pyinstaller
1.2 基本打包命令
将Python脚本打包成exe文件的最简单方法是:
pyinstaller your_script.py
这将在当前目录下创建以下文件夹:
build/:包含打包过程中的临时文件dist/:包含最终的可执行文件your_script.spec:打包配置文件
1.3 常用参数说明
PyInstaller提供了多个参数来定制打包过程:
# 生成单个exe文件(推荐)
pyinstaller --onefile your_script.py# 不显示命令行窗口(适用于GUI程序)
pyinstaller --noconsole your_script.py# 指定图标
pyinstaller --icon=icon.ico your_script.py# 组合使用多个参数
pyinstaller --onefile --noconsole --icon=icon.ico your_script.py
1.3.1 基础打包参数
-F, --onefile
将所有文件打包成单个可执行文件
# 创建单个exe文件
pyinstaller -F script.py
pyinstaller --onefile script.py
-n NAME, --name NAME
指定生成的可执行文件名称
# 生成名为MyApp.exe的文件
pyinstaller -n MyApp script.py
pyinstaller --name "我的应用" script.py
-w, --windowed, --noconsole
不显示控制台窗口(适用于GUI程序)
# GUI程序,隐藏控制台
pyinstaller -w gui_app.py
pyinstaller --windowed tkinter_app.py
-c, --console, --nowindowed
显示控制台窗口(默认行为)
# 需要控制台的程序
pyinstaller -c console_app.py
1.3.2 图标和界面
-i, --icon
设置可执行文件的图标
# Windows系统
pyinstaller -i app.ico script.py
pyinstaller --icon=myicon.ico script.py# macOS系统
pyinstaller -i app.icns script.py
–splash IMAGE_FILE
添加启动画面(仅支持PNG/JPG)
# 添加启动画面
pyinstaller --splash splash.png script.py
–hide-console
控制控制台窗口的显示时机(Windows特有)
# 控制台最小化到托盘
pyinstaller --hide-console minimize-early script.py
# 延迟隐藏控制台
pyinstaller --hide-console hide-late script.py
1.3.3 依赖和模块管理
–hidden-import MODULENAME
添加隐式导入的模块(解决导入错误)
# 添加单个隐藏导入
pyinstaller --hidden-import sklearn.utils._weight_vector script.py# 添加多个隐藏导入
pyinstaller --hidden-import pandas._libs --hidden-import numpy.core._multiarray_umath script.py
–exclude-module EXCLUDES
排除不需要的模块(减小文件大小)
# 排除matplotlib
pyinstaller --exclude-module matplotlib script.py# 排除多个模块
pyinstaller --exclude-module tkinter --exclude-module test script.py
–collect-all MODULENAME
收集指定包的所有内容(包括子模块、数据、二进制文件)
# 收集整个包
pyinstaller --collect-all sklearn script.py
pyinstaller --collect-all requests script.py
1.3.4 数据和资源文件
–add-data SOURCE:DEST
添加数据文件或目录
# Windows使用分号
pyinstaller --add-data "config.ini;." script.py
pyinstaller --add-data "images/*;images" script.py# Linux/macOS使用冒号
pyinstaller --add-data "config.ini:." script.py
pyinstaller --add-data "templates:templates" script.py
–add-binary SOURCE:DEST
添加二进制文件(如DLL、SO文件)
# 添加DLL文件
pyinstaller --add-binary "custom.dll;." script.py# 添加多个二进制文件
pyinstaller --add-binary "*.dll;lib" --add-binary "driver.sys;drivers" script.py
1.3.5 优化选项
-s, --strip
从可执行文件和共享库中删除符号表(减小文件大小)
pyinstaller -s script.py
pyinstaller --strip script.py
–optimize LEVEL
Python优化级别(0、1或2)
# 优化级别1:删除assert语句
pyinstaller --optimize 1 script.py# 优化级别2:删除assert和文档字符串
pyinstaller --optimize 2 script.py
–noupx
禁用UPX压缩
# 不使用UPX压缩
pyinstaller --noupx script.py
–upx-dir UPX_DIR
指定UPX工具的路径
# 使用自定义位置的UPX
pyinstaller --upx-dir /path/to/upx script.py
1.3.6 输出和路径
–distpath DIR
指定输出目录(默认是dist)
# 输出到build目录
pyinstaller --distpath ./build script.py
–workpath WORKPATH
指定临时工作目录(默认是build)
# 使用自定义临时目录
pyinstaller --workpath /tmp/pyinstaller script.py
–specpath DIR
指定spec文件的输出目录
# spec文件保存到specs目录
pyinstaller --specpath ./specs script.py
1.3.7 调试和日志
-d, --debug
启用调试输出
# 显示所有调试信息
pyinstaller -d all script.py# 只显示导入调试信息
pyinstaller -d imports script.py# bootloader调试
pyinstaller --debug bootloader script.py
–log-level LEVEL
设置日志级别
# 设置为DEBUG级别
pyinstaller --log-level DEBUG script.py# 只显示错误
pyinstaller --log-level ERROR script.py
-y, --noconfirm
自动确认,不询问是否覆盖
# 不询问直接覆盖
pyinstaller -y script.py
–clean
清理临时文件和缓存
# 清理后重新打包
pyinstaller --clean script.py
1.4 实战示例
让我们创建一个简单的GUI程序并打包:
# calculator.py
import tkinter as tkdef calculate():try:result = eval(entry.get())label_result.config(text=f"结果: {result}")except:label_result.config(text="输入错误")root = tk.Tk()
root.title("简易计算器")
root.geometry("300x150")entry = tk.Entry(root, width=30)
entry.pack(pady=10)button = tk.Button(root, text="计算", command=calculate)
button.pack(pady=5)label_result = tk.Label(root, text="结果: ")
label_result.pack(pady=10)root.mainloop()
打包命令:
pyinstaller --onefile --noconsole --name="计算器" calculator.py
执行后,在dist文件夹中会生成计算器.exe文件。
1.5 处理依赖问题
如果你的程序依赖第三方库,PyInstaller通常会自动检测并包含它们。但有时需要手动指定:
# 添加隐式导入
pyinstaller --hidden-import=module_name your_script.py# 添加数据文件
pyinstaller --add-data "data.txt;." your_script.py# Windows下使用分号,Linux/Mac使用冒号
pyinstaller --add-data "data.txt:." your_script.py
1.6 优化文件大小
打包后的exe文件可能很大,可以使用以下方法优化:
# 使用UPX压缩(需要先安装UPX)
pyinstaller --upx-dir=/path/to/upx --onefile your_script.py# 排除不需要的模块
pyinstaller --exclude-module matplotlib --onefile your_script.py
二、pyinstxtractor:反编译exe文件

2.1 下载pyinstxtractor
pyinstxtractor不能通过pip安装,需要从GitHub下载:
- 访问 https://github.com/extremecoders-re/pyinstxtractor
- 下载
pyinstxtractor.py文件
2.2 提取exe文件内容
使用pyinstxtractor提取exe文件的基本命令:
python pyinstxtractor.py your_program.exe
这将创建一个名为your_program.exe_extracted的文件夹,包含提取出的所有文件。
2.3 查找主要文件
在提取的文件夹中,你会看到:
.pyc文件:编译后的Python字节码.pyd文件:Python扩展模块- 各种依赖库文件
主程序通常是与exe同名的.pyc文件。
2.4 反编译pyc文件
提取出的.pyc文件需要进一步反编译成.py文件。我们可以使用uncompyle6或decompyle3:
# 安装反编译工具
pip install uncompyle6  # 支持Python 2.7-3.8
# 或
pip install decompyle3  # 支持Python 3.7-3.9# 反编译pyc文件
uncompyle6 your_program.pyc > your_program.py
2.5 完整反编译流程示例
假设我们要反编译名为calculator.exe的程序:
# 步骤1:提取exe内容
python pyinstxtractor.py calculator.exe# 步骤2:进入提取的文件夹
cd calculator.exe_extracted# 步骤3:找到主程序文件(通常是calculator.pyc)
# 步骤4:反编译pyc文件
uncompyle6 calculator.pyc > calculator_decompiled.py
2.6 处理反编译问题
有时反编译可能遇到问题:
- 版本不匹配:确保使用正确的Python版本
- 加密或混淆:某些exe可能加密或混淆了代码
- 魔术数字错误:可能需要手动修复pyc文件头
对于魔术数字问题,可以尝试:
# fix_pyc.py
import struct
import syswith open(sys.argv[1], 'rb') as f:data = f.read()# 添加正确的魔术数字和时间戳
magic = b'\x55\x0d\x0d\x0a'  # Python 3.7的魔术数字
timestamp = b'\x00\x00\x00\x00'
size = struct.pack('I', len(data))with open(sys.argv[1] + '.fixed', 'wb') as f:f.write(magic + timestamp + size + data)
三、安全性考虑
3.1 保护你的代码
如果不希望代码被轻易反编译,可以考虑:
- 代码混淆:使用pyarmor等工具
- Cython编译:将关键代码编译成C扩展
- 加密关键算法:将核心逻辑放在服务器端
3.2 示例:使用pyarmor保护代码
# 安装pyarmor
pip install pyarmor# 加密Python脚本
pyarmor obfuscate your_script.py# 打包加密后的脚本
cd dist
pyinstaller --onefile your_script.py
四、最佳实践
- 测试打包结果:在不同环境下测试exe文件
- 版本控制:保留源代码的版本管理
- 文档说明:提供清晰的使用说明
- 错误处理:添加适当的异常处理
- 日志记录:便于调试和问题排查
五、常见问题解答
Q1: 打包后的exe文件太大怎么办?
A: 可以使用--onefile参数,配合UPX压缩,并排除不必要的模块。
Q2: 如何处理图片、配置文件等资源?
A: 使用--add-data参数添加资源文件,或使用sys._MEIPASS获取资源路径:
import sys
import osdef resource_path(relative_path):if hasattr(sys, '_MEIPASS'):return os.path.join(sys._MEIPASS, relative_path)return os.path.join(os.path.abspath("."), relative_path)
Q3: 反编译失败怎么办?
A: 检查Python版本是否匹配,尝试不同的反编译工具,或手动修复pyc文件头。
总结
PyInstaller和pyinstxtractor是Python开发中非常实用的工具。前者帮助我们将Python程序打包成独立的可执行文件,便于分发;后者则能从exe文件中提取源代码,用于学习和调试。
在使用这些工具时,我们应该:
- 合理使用打包参数优化程序
- 注意代码安全,采取适当的保护措施
- 遵守软件许可和法律法规
- 将其用于正当的学习和开发目的
希望这篇教程能帮助你更好地理解和使用这些工具。记住,工具本身是中性的,关键在于我们如何使用它们。