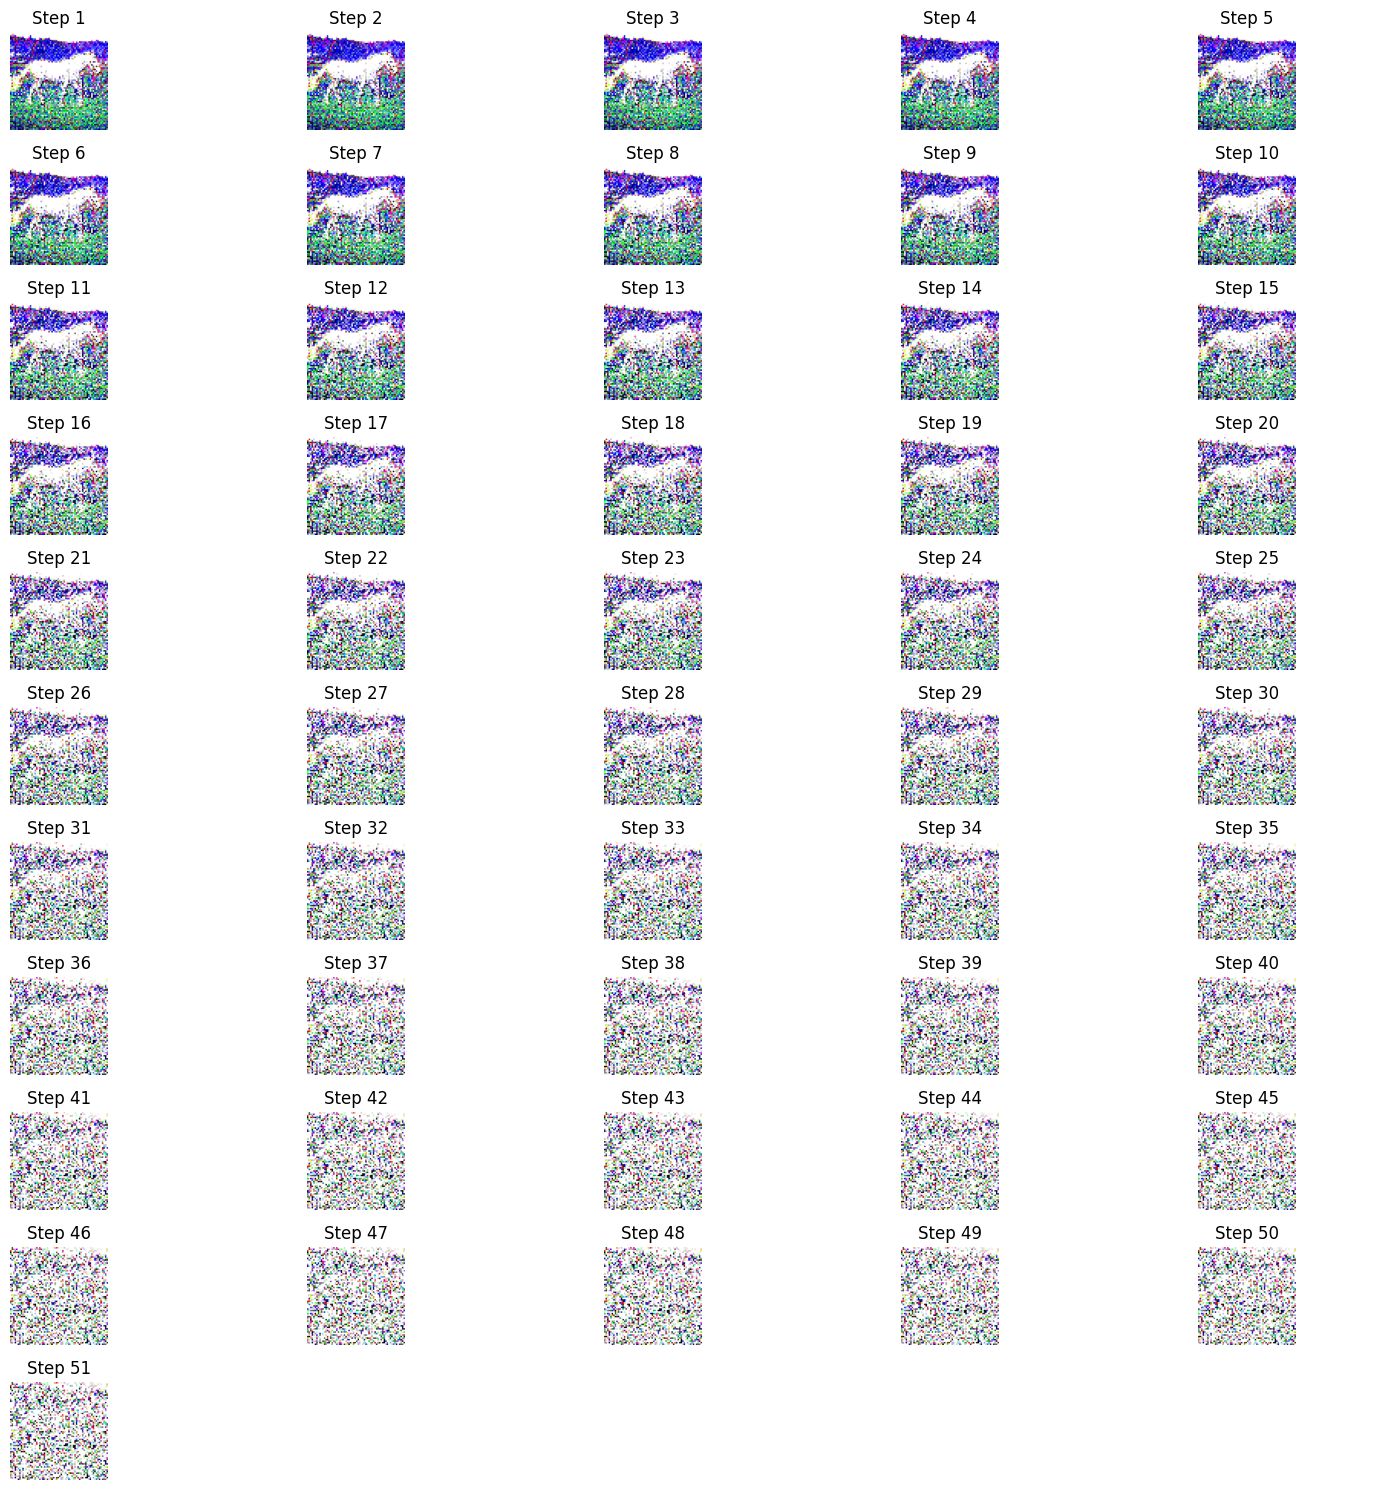
Diffusion inversion后的latent code与标准的高斯随机噪音不一样
可视化latents_list如下;
可视化最后一步与标准的噪声:
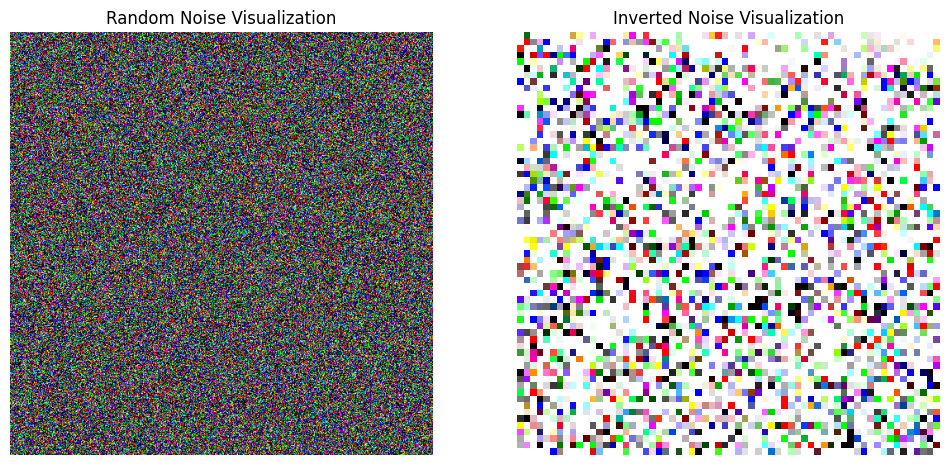
能隐约看出到最后一步还是会有“马”的形状
整个代码(及可视化代码如下):
## 参考freeprompt(FPE)的代码
import os
import torch
import torch.nn as nn
import torch.nn.functional as F
import random
from diffusers import DDIMScheduler
from typing import Optional
import numpy as np
from Freeprompt.diffuser_utils import FreePromptPipeline
from Freeprompt.freeprompt_utils import register_attention_control_new
from torchvision.utils import save_image
from torchvision.io import read_image
from Freeprompt.freeprompt import SelfAttentionControlEdit,AttentionStore, AttentionControl# Note that you may add your Hugging Face token to get access to the models
device = torch.device("cuda") if torch.cuda.is_available() else torch.device("cpu")
model_path = "runwayml/stable-diffusion-v1-5"
scheduler = DDIMScheduler(beta_start=0.00085, beta_end=0.012, beta_schedule="scaled_linear", clip_sample=False, set_alpha_to_one=False)
pipe = FreePromptPipeline.from_pretrained(model_path, scheduler=scheduler).to(device)import yaml
def load_image_data(yaml_file):with open(yaml_file, 'r') as file:data = yaml.safe_load(file)return data# Note that you may add your Hugging Face token to get access to the models
device = torch.device("cuda") if torch.cuda.is_available() else torch.device("cpu")def load_image(image_path, device):image = read_image(image_path)image = image[:3].unsqueeze_(0).float() / 127.5 - 1.  # [-1, 1]image = F.interpolate(image, (512, 512))image = image.to(device)return imageself_replace_steps = .8
NUM_DIFFUSION_STEPS = 50   # 替换40步out_dir = "examples/outputs_noise_test"# SOURCE_IMAGE_PATH = "examples/img/000141.jpg"
SOURCE_IMAGE_PATH = "/opt/data/private/ywx/EasyNLP/diffusion/FreePromptEditing/data/wild-ti2i/data/horse.png"
source_image = load_image(SOURCE_IMAGE_PATH, device)source_prompt = ""# invert the source image
start_code, latents_list = pipe.invert(source_image,source_prompt,guidance_scale=7.5,num_inference_steps=50,return_intermediates=True)
# latents_list, 从最后一个到第一个时间步的中间特征, 51个中间潜在变量# target_prompt = 'a red car'
target_prompt = 'a photo of a pink horse in the beach'latents = torch.randn(start_code.shape, device=device)
prompts = [source_prompt, target_prompt]start_code = start_code.expand(len(prompts), -1, -1, -1)
controller = SelfAttentionControlEdit(prompts, NUM_DIFFUSION_STEPS, self_replace_steps=self_replace_steps) # 自定义模块register_attention_control_new(pipe, controller)# Note: querying the inversion intermediate features latents_list
# may obtain better reconstruction and editing results
results = pipe(prompts,latents=start_code,guidance_scale=7.5,ref_intermediate_latents=latents_list) #latents_list:51save_image(results[0], os.path.join(out_dir, str(target_prompt)+'_recon.jpg'))
save_image(results[1], os.path.join(out_dir, str(target_prompt)+'.jpg'))
可视化:
import torch
import matplotlib.pyplot as pltnum_images = len(latents_list)
grid_size = (num_images // 5 + (num_images % 5 > 0), 5)  # 自动计算行数,确保所有图像都显示fig, axes = plt.subplots(*grid_size, figsize=(15, 15))
axes = axes.flatten()  # 将二维网格展平成一维,便于索引for i in range(num_images):latent_image = latents_list[i].squeeze().cpu().detach().numpy().transpose(1, 2, 0)axes[i].imshow(latent_image)axes[i].set_title(f"Step {i+1}")axes[i].axis('off') for j in range(num_images, len(axes)):axes[j].axis('off')plt.tight_layout()
plt.show()