k8s部署grafana
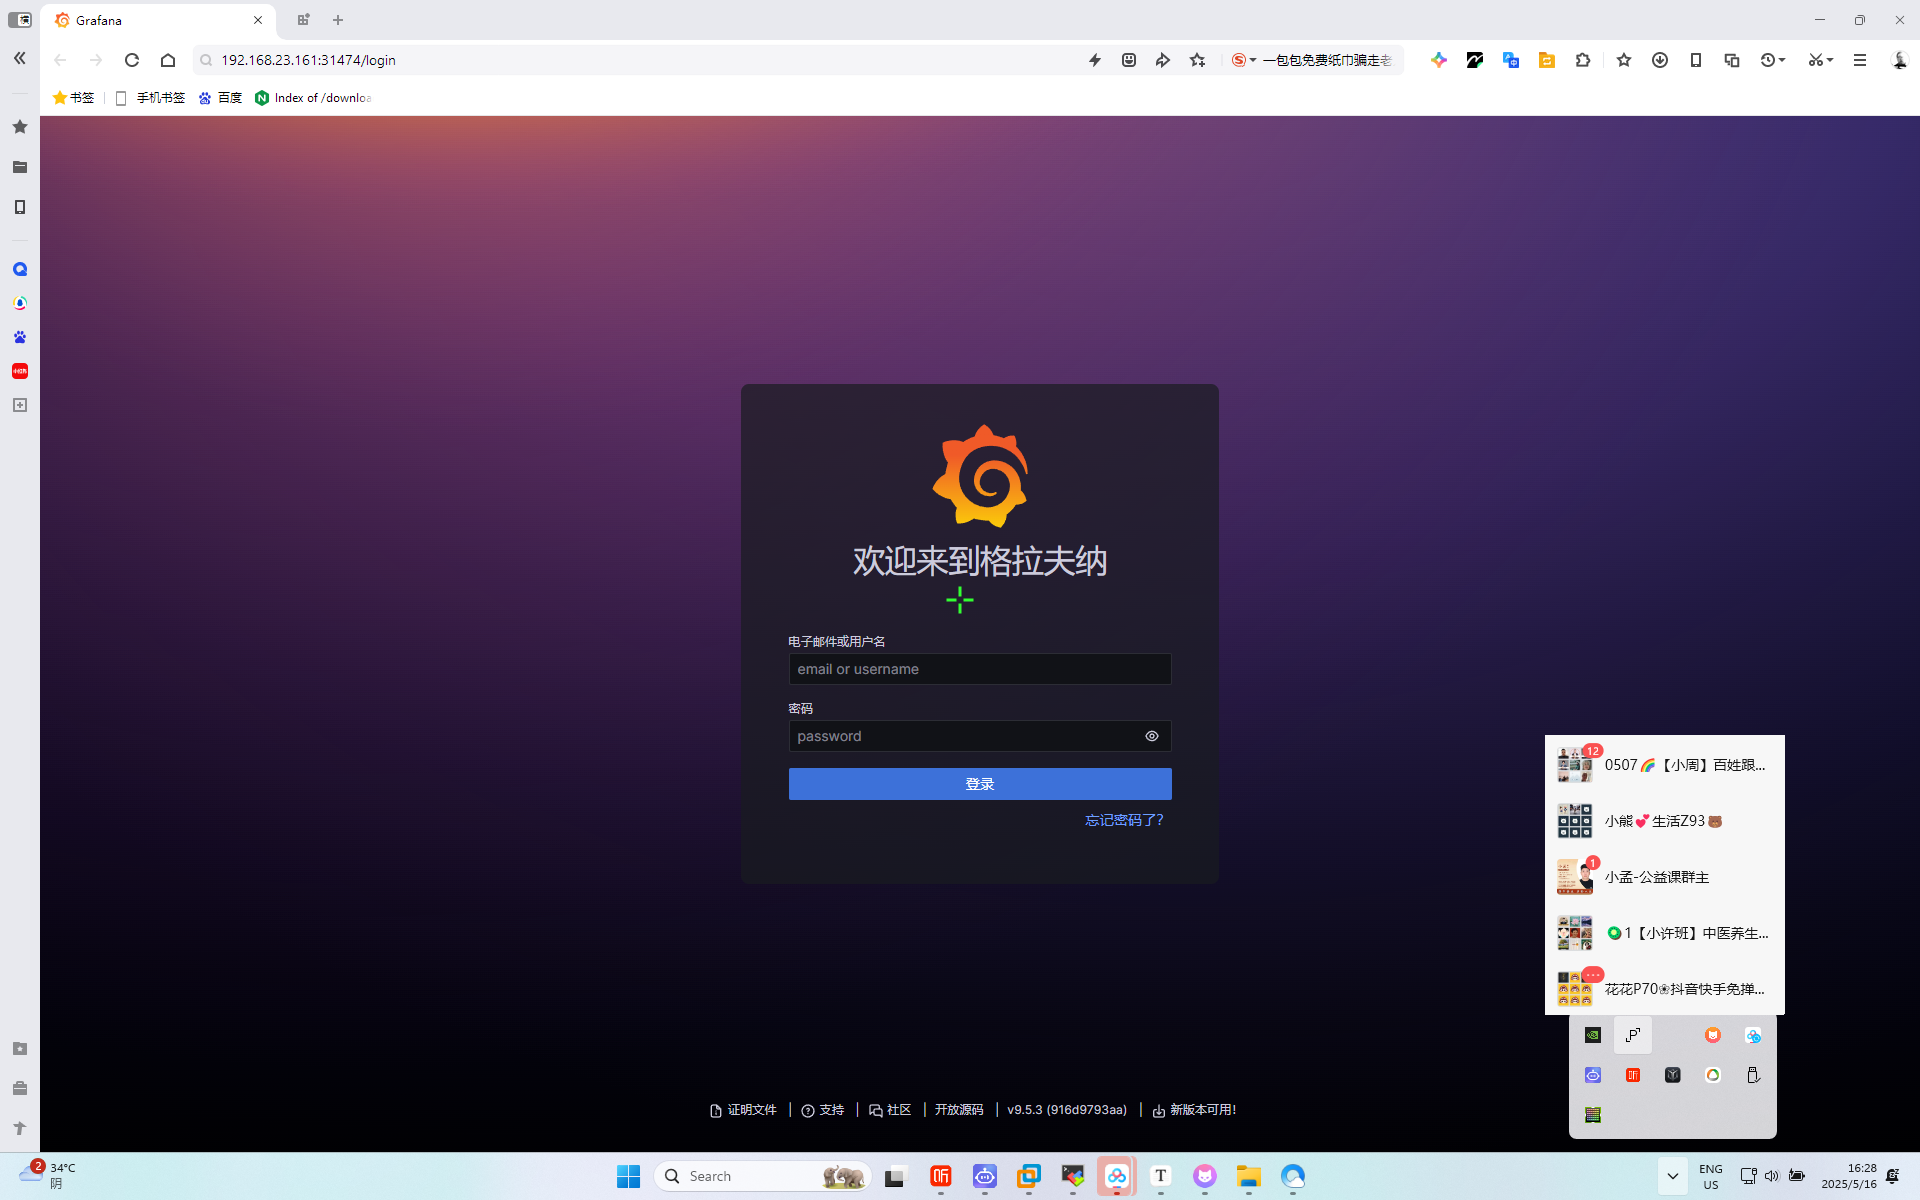
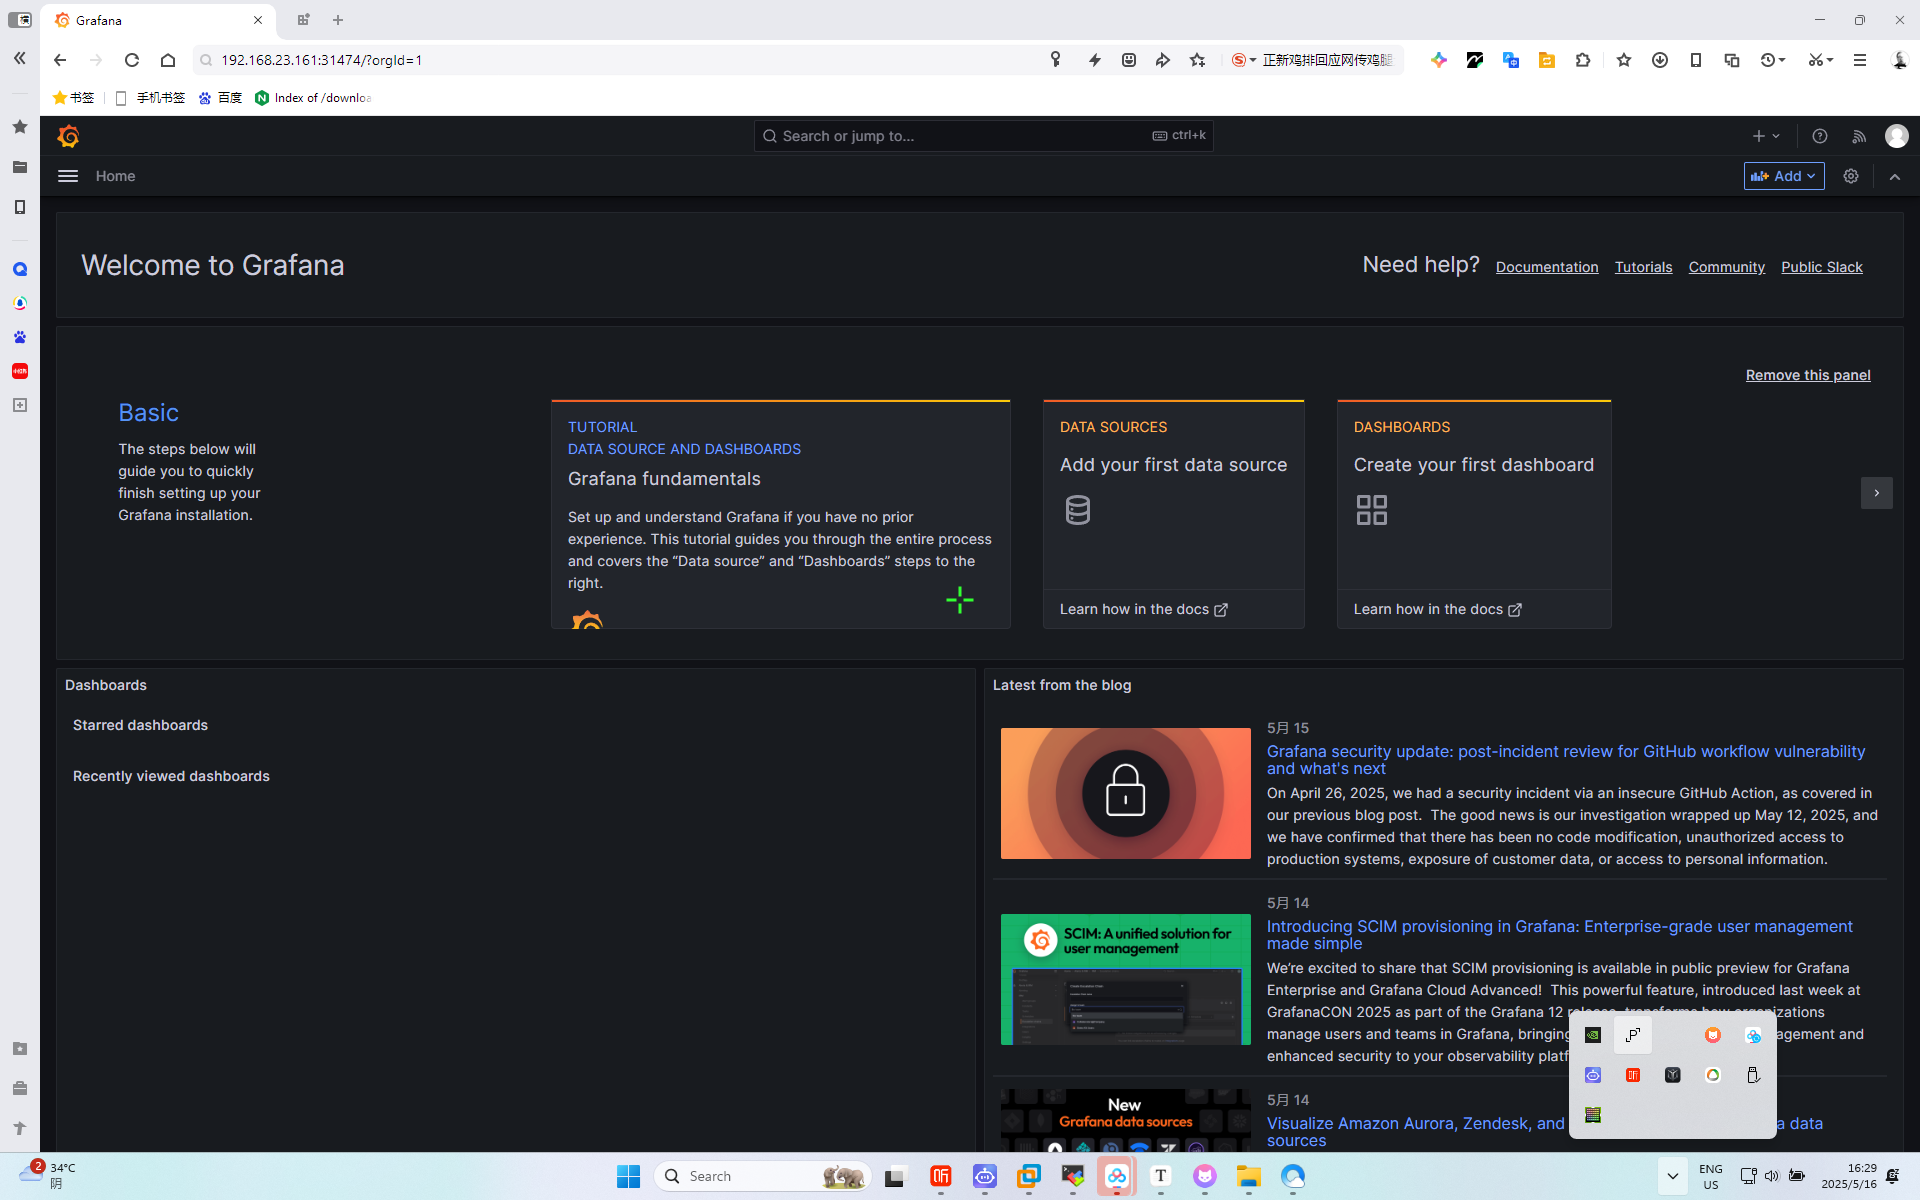
部署成功截图:
要在 Kubernetes (K8s) 集群中拉取 Grafana 镜像并创建 Grafana 容器,您可以按照以下步骤使用命令行完成操作。下面是完整的命令步骤,包括如何创建 Deployment 和 Service,以及如何将 Grafana 容器暴露给外部。1. 创建一个 Deployment 文件 (grafana-deployment.yaml)
首先,您需要创建一个 Kubernetes Deployment 来运行 Grafana 容器。使用以下命令来创建该文件。cat <<EOF > grafana-deployment.yaml
apiVersion: apps/v1
kind: Deployment
metadata:name: grafananamespace: kube-pm  # 可以根据需要修改命名空间
spec:replicas: 1  # 创建一个副本selector:matchLabels:app: grafanatemplate:metadata:labels:app: grafanaspec:containers:- name: grafanaimage: grafana/grafana:9.5.3  # 拉取的 Grafana 镜像版本imagePullPolicy: IfNotPresent  # 如果本地没有该镜像,则会拉取ports:- containerPort: 3000  # Grafana 服务监听的端口env:- name: GF_SECURITY_ADMIN_USERvalue: admin- name: GF_SECURITY_ADMIN_PASSWORDvalue: admin123resources:limits:cpu: "250m"memory: "512Mi"requests:cpu: "250m"memory: "512Mi"readinessProbe:httpGet:path: /api/healthport: 3000initialDelaySeconds: 30periodSeconds: 10livenessProbe:httpGet:path: /api/healthport: 3000initialDelaySeconds: 60periodSeconds: 10
EOF2. 创建一个 Service 文件 (grafana-service.yaml)
然后,创建一个 Kubernetes Service 来暴露 Grafana 服务,让它可以通过集群外部访问。cat <<EOF > grafana-service.yaml
apiVersion: v1
kind: Service
metadata:name: grafananamespace: kube-pm  # 与 Deployment 使用相同的命名空间
spec:type: NodePort  # 使用 NodePort 类型ports:- port: 3000  # 容器端口targetPort: 3000  # 服务端口nodePort: 31474  # 外部访问的端口selector:app: grafana
EOF3. 创建 PersistentVolume 和 PersistentVolumeClaim 文件 (grafana-pv-pvc.yaml)
Grafana 会将数据(如 dashboard 和插件)保存在 /var/lib/grafana 目录下,因此需要持久化存储数据。下面是 PersistentVolume 和 PersistentVolumeClaim 的创建命令。cat <<EOF > grafana-pv-pvc.yaml
apiVersion: v1
kind: PersistentVolume
metadata:name: grafana-locallabels:app: grafana
spec:accessModes:- ReadWriteOncecapacity:storage: 1GistorageClassName: local-storagelocal:path: /data/k8s/grafana  # 确保宿主机节点上该路径存在并具有适当权限persistentVolumeReclaimPolicy: RetainnodeAffinity:required:nodeSelectorTerms:- matchExpressions:- key: kubernetes.io/hostnameoperator: Invalues:- k8swork2  # 选择正确的节点
---
apiVersion: v1
kind: PersistentVolumeClaim
metadata:name: grafana-datanamespace: kube-pm
spec:selector:matchLabels:app: grafanaaccessModes:- ReadWriteOnceresources:requests:storage: 1GistorageClassName: local-storage
EOF4. 执行命令部署 Grafana
接下来,使用 kubectl 命令将这些 YAML 文件应用到 Kubernetes 集群中。1). 部署 PersistentVolume 和 PersistentVolumeClaim:
kubectl apply -f grafana-pv-pvc.yaml
2). 部署 Grafana Deployment:
kubectl apply -f grafana-deployment.yaml
3). 部署 Grafana Service:
kubectl apply -f grafana-service.yaml5. 验证部署
您可以使用以下命令来检查 Pods 和服务是否正常工作:
1). 查看 Grafana Pods 状态:
kubectl get pods -n kube-pm -l app=grafana
2). 查看 Grafana 服务:
kubectl get svc -n kube-pm6. 访问 Grafana
如果所有资源都创建成功并且 Pod 正在运行,您就可以通过浏览器访问 Grafana:
http://<任意节点IP>:31474
这里的 <任意节点IP></任意节点IP>`` 是 Kubernetes 集群中任何一个节点的 IP 地址。例如,如果节点的 IP 是 192.168.1.100,那么 Grafana 将通过 http://192.168.1.100:31474` 访问。总结
以上步骤展示了如何:
使用 kubectl 创建一个 Deployment 来拉取 Grafana 镜像并启动容器。
使用 Service 暴露 Grafana 服务。
配置持久化存储,确保 Grafana 的数据不会丢失。