Triton编译
Triton & Triton Shared代码下载
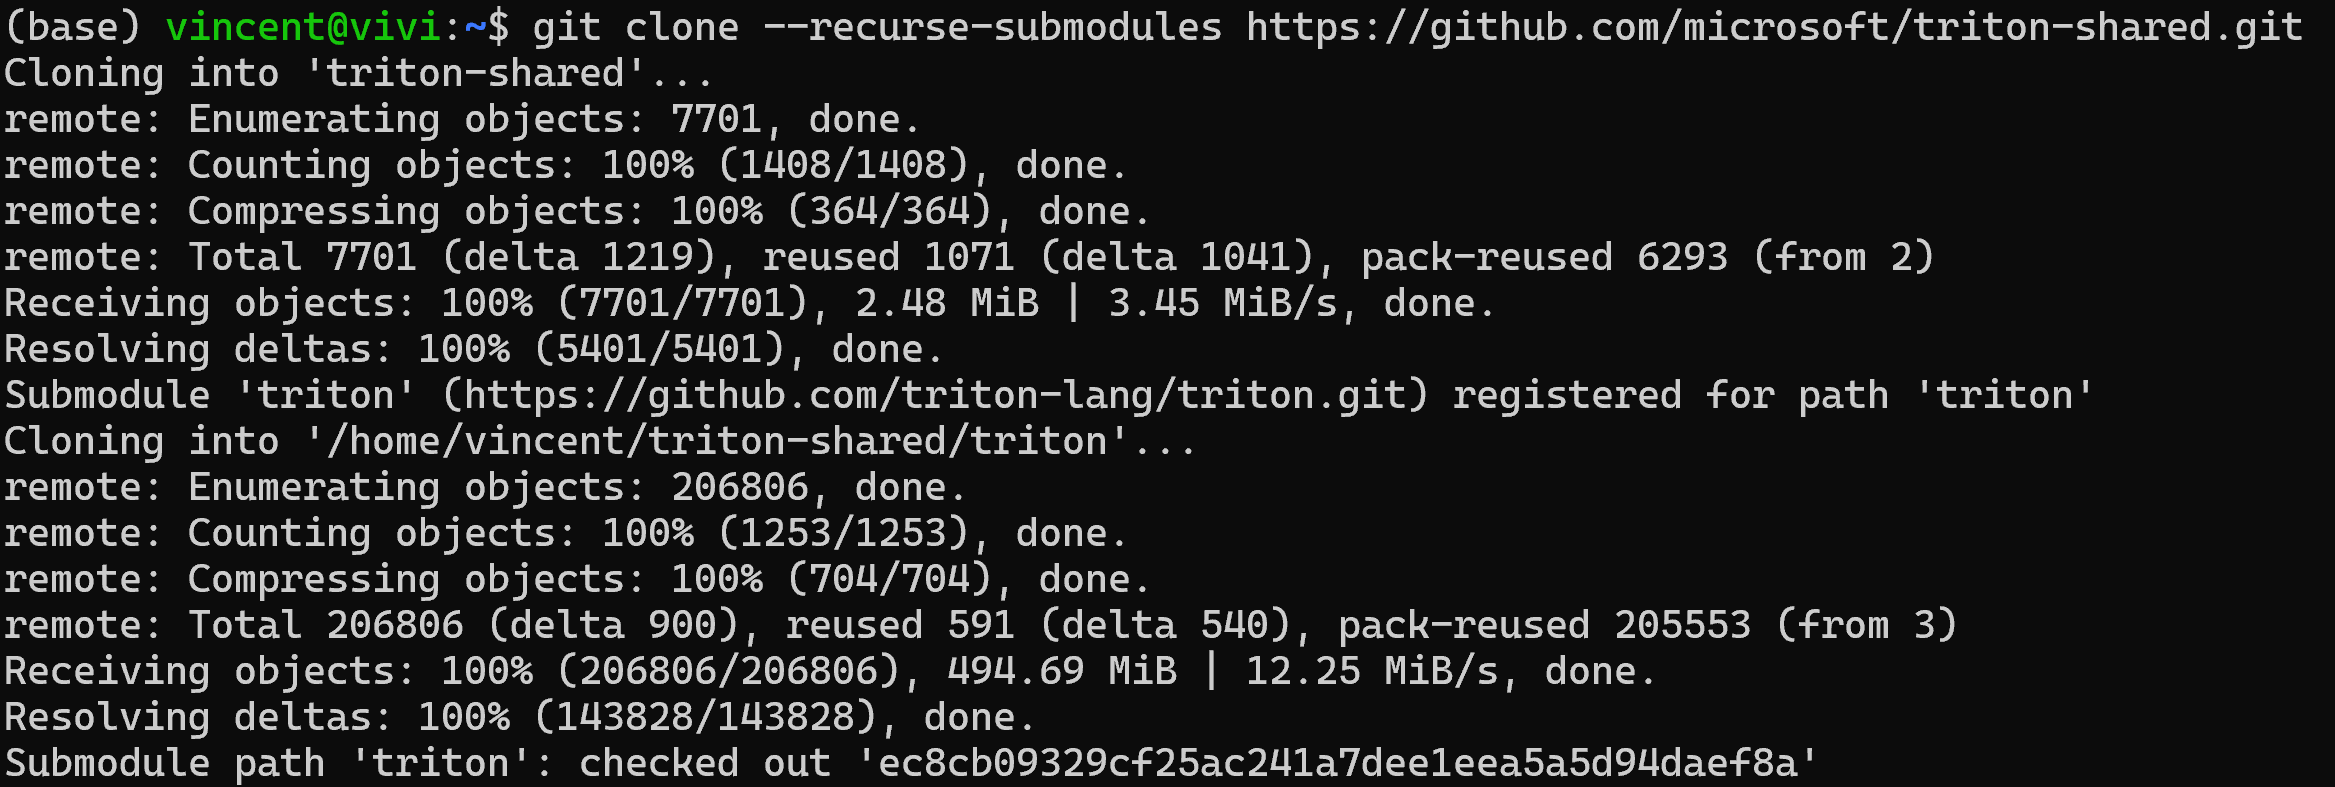
git clone --recurse-submodules https://github.com/microsoft/triton-shared.git可以看到在clone triton-shared的同时,也clone了triton代码,并checkout到了配套的commit id:ec8cb09329cf25ac241a7dee1eea5a5d94daef8a:
LLVM代码下载&编译
查看配套的llvm的commit id:
cat triton-shared/triton/cmake/llvm-hash.txt得到:

clone llvm代码(可以选择任意目录,作者选择放到和triton-shared平行的目录):
git clone https://github.com/llvm/llvm-project.git再checkout到配套的commit id:
git checkout 570885128351868c1308bb22e8ca351d318bc4a1LLVM编译:
mkdir build && cd build
cmake -G Ninja -DCMAKE_BUILD_TYPE=Release -DLLVM_ENABLE_ASSERTIONS=ON ../llvm -DLLVM_ENABLE_PROJECTS="mlir;llvm;lld" -DLLVM_TARGETS_TO_BUILD="host;NVPTX;AMDGPU"
ninja -j$(nproc)
LLVM编译结果验证
待补充
Triton & Triton Shared编译
进入到之前下载好的triton-shared目录,设置TRITON_PLUGIN_DIRS为当前目录,让Triton编译时能找到triton-shared:
export TRITON_PLUGIN_DIRS=$(pwd)
安装pytorch和numpy:
pip install numpy
pip install torch==2.7.1
进入triton目录,安装依赖:
pip install -r python/requirements.txt
再设置LLVM路径,让triton编译时使用刚才本地源码编译的版本:
export LLVM_BUILD_DIR=$HOME/llvm-project/build
export LLVM_INCLUDE_DIRS=$LLVM_BUILD_DIR/include
export LLVM_LIBRARY_DIR=$LLVM_BUILD_DIR/lib
export LLVM_SYSPATH=$LLVM_BUILD_DIR
设置triton编译的临时下载缓存路径(默认是/home/$USER):
export TRITON_HOME=~/triton-shared/triton接下来就可以启动triton编译:
pip install -e .
查看TRITON_HOME路径下,会看到一个.triton文件夹,可以看到里面的llvm路径是一个软链接:

在编译过程中,可能会遇到如下错误:
![]()
通常是因为系统资源不足(比如内存),可通过如下配置解决:
export MAX_JOBS=8Triton编译结果验证
待补充