vue3+three 搭建平面上滚动旋转的几何体
嗨,我是小路。今天主要和大家分享的主题是“vue3+three 搭建平面上滚动旋转的几何体”。
在现代前端开发中,结合 Vue 3 的响应式能力和 Three.js 的强大 3D 渲染能力,可以轻松构建出令人惊叹的交互式三维场景。本文将带你一步步实现一个基础但极具视觉吸引力的效果 —— 在平面上滚动并自转的几何体。
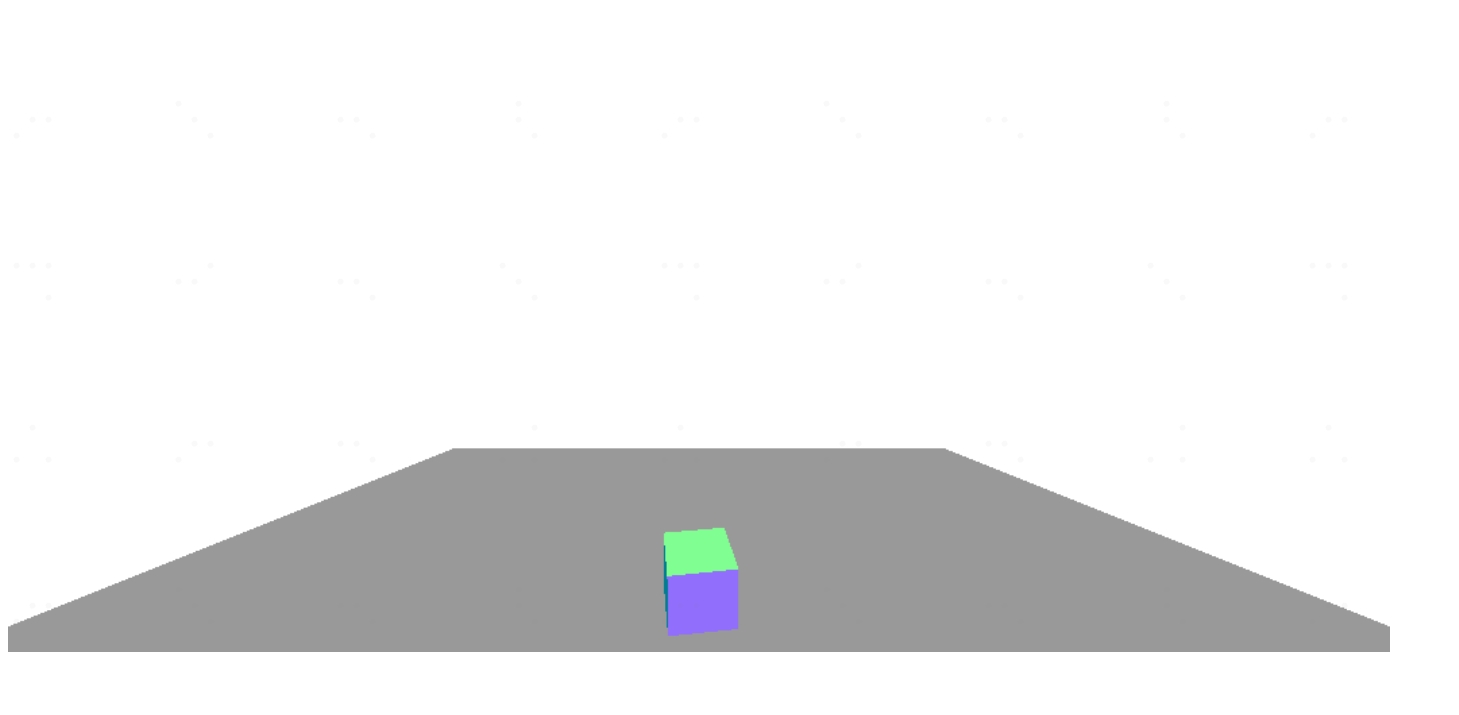
vue3+three 搭建平面上滚动旋转的几何体示例图
一、主要属性
1.基础模块搭建
定义:首先搭建屏幕、相机、持续渲染脚本。
// 定义相机输出画布的尺寸(单位:像素px)
let width = window.innerWidth; //宽度
let height = window.innerHeight; //高度
// 创建3D场景对象Scene
const scene = new THREE.Scene();
//设置背景色
scene.background = new THREE.Color(0xffffff);const camera = new THREE.PerspectiveCamera(75, width / height, 0.1, 1000);
camera.position.set(0, 20, 30);2.创建平面
定义:平面注意设置平面的颜色和面数,一般有单面和双面的效果;尤其要注意平面需要进行渲染,如果不选择,平面会在Y轴方向。
//创建一个平面
let plane;
const createPlan = () => {const planeGeometry = new THREE.PlaneGeometry(100, 100);const planMaterial = new THREE.MeshBasicMaterial({color: 0x999999, side: THREE.DoubleSide});plane = new THREE.Mesh(planeGeometry, planMaterial);plane.rotation.x = -Math.PI / 2scene.add(plane);
}3.创建几何体
定义:几何体的大小要根据平面的大小的比例设置。注册在函数外面添加一个变量box,便于做动画效果设置
let box;
const createBox = () => {const boxGeometry = new THREE.BoxGeometry(5, 5, 5);const boxMaterial = new THREE.MeshNormalMaterial({color: 0xff0000,//0xff0000设置材质颜色为红色});box = new THREE.Mesh(boxGeometry,boxMaterial);box.position.set(0, 2.5, 0)scene.add(box);
}4.添加相机控件
//添加相机空间const controls = new OrbitControls(camera, renderer.domElement);// 如果OrbitControls改变了相机参数,重新调用渲染器渲染三维场景controls.addEventListener('change', function () {renderer.render(scene, camera); //执行渲染操作});//监听鼠标、键盘事件5.设置动画
//渲染
let clock = new THREE.Clock();
const render = () => {//重复渲染requestAnimationFrame(render);//请求再次执行渲染函数render,渲染下一帧const delta = clock.getDelta();box.position.x += delta * 5;//x轴平移速度box.rotation.x += delta * 5;//x轴旋转速度box.rotation.y += delta * 5;//y轴旋转速度if (box.position.x > 50) box.position.x = -50;renderer.render(scene, camera); //执行渲染操作
}
二、实例代码
<template><div class="pageBox"><div class="leftBox" ref="leftRef"></div><div class="rightBox" ref="rightRef" :style="{ background: bgColor }"></div></div></template>
<script setup>
import { onMounted, ref } from 'vue';
import * as THREE from 'three';
// 引入轨道控制器扩展库OrbitControls.js
import { OrbitControls } from 'three/addons/controls/OrbitControls.js';const bgColor = ref("")const leftRef = ref();
const rightRef = ref()
// 定义相机输出画布的尺寸(单位:像素px)
let width = window.innerWidth; //宽度
let height = window.innerHeight; //高度
// 创建3D场景对象Scene
const scene = new THREE.Scene();
//设置背景色
scene.background = new THREE.Color(0xffffff);const camera = new THREE.PerspectiveCamera(75, width / height, 0.1, 1000);
camera.position.set(0, 20, 30);//创建一个平面
let plane;
const createPlan = () => {const planeGeometry = new THREE.PlaneGeometry(100, 100);const planMaterial = new THREE.MeshBasicMaterial({color: 0x999999, side: THREE.DoubleSide});plane = new THREE.Mesh(planeGeometry, planMaterial);plane.rotation.x = -Math.PI / 2scene.add(plane);
}
let box;
const createBox = () => {const boxGeometry = new THREE.BoxGeometry(5, 5, 5);const boxMaterial = new THREE.MeshNormalMaterial({color: 0xff0000,//0xff0000设置材质颜色为红色});box = new THREE.Mesh(boxGeometry,boxMaterial);box.position.set(0, 2.5, 0)scene.add(box);
}
// 创建渲染器对象
const renderer = new THREE.WebGLRenderer();onMounted(() => {initData()//添加相机空间const controls = new OrbitControls(camera, renderer.domElement);// 如果OrbitControls改变了相机参数,重新调用渲染器渲染三维场景controls.addEventListener('change', function () {renderer.render(scene, camera); //执行渲染操作});//监听鼠标、键盘事件renderer.setSize(width, height); //设置three.js渲染区域的尺寸(像素px)//将innerHTML置空,避免append重复添加渲染leftRef.value.innerHTML = ''leftRef.value.append(renderer.domElement);})
const initData = () => {createPlan();createBox();render();
}//渲染
let clock = new THREE.Clock();
const render = () => {//重复渲染requestAnimationFrame(render);//请求再次执行渲染函数render,渲染下一帧const delta = clock.getDelta();box.position.x += delta * 5;//x轴平移速度box.rotation.x += delta * 5;//x轴旋转速度box.rotation.y += delta * 5;//y轴旋转速度if (box.position.x > 50) box.position.x = -50;renderer.render(scene, camera); //执行渲染操作
}</script>
<style scoped lang="less">
.pageBox {width: 100%;height: 100vh;padding: 0;margin: 0;display: flex;justify-content: space-between;align-items: center;.rightBox {width: 100%;height: 100%;}
}
</style>
三、注意事项
注意当前场景的应用,在做其它相似的项目是,可以参考以上的基础方法。搭建基础环境、添加模型、设置动画。
如果是创建模型,也可以按照上面的步骤,将几何体换成模型。
都看到这里了,记得【点赞】+【关注】哟。