Dexcap复现代码运行逻辑全流程(二)——realsense T265测试使用
T265 算是 realsense 一款比较老的相机了,更建议更换成别的型号
但是它有一些独特的特点:
- 内置了 Intel 的自研 V-SLAM 算法,可以实时估算摄像头的空间位置和方向
- 两个鱼眼镜头
- T265 不输出深度图(点云),主要用于空间定位。如果需要深度信息,可以选择 D435/D455 等相机联合使用

和 D435/D455 区别:
| 模型 | T265 | D435/D455 |
|---|---|---|
| 类型 | 视觉惯性定位相机 | 主动/被动立体深度相机 |
| 主要用途 | 运动追踪、定位 | 三维重建、物体识别 |
| 输出 | 6DoF 位姿 | 深度图、RGB图像 |
| 是否有IMU | 有(T265为惯性视觉) | D435i/D455有IMU |
| SLAM支持 | 硬件端实现 | 需外部算法 |
目录
1. 安装 SDK
2 使用 pyrealsense2 获取数据
1. 安装 SDK
首先,如果之前安装过,先清除之前版本,如果未安装则略过就好:
dpkg -l | grep realsense | awk '{print $2}' | xargs sudo dpkg --purge
sudo apt autoremove
因为T265属于已停产的老款相机,失去了后续支持,因此下载 Intel RealSense SDK 2.0 的 v2.50.0 版本
git clone -b v2.50.0 https://github.com/IntelRealSense/librealsense
按照官方流程 Install dependencies:
1. 升级 ubuntu:
sudo apt-get update && sudo apt-get upgrade && sudo apt-get dist-upgrade2. 安装 core packages:
sudo apt-get install libssl-dev libusb-1.0-0-dev libudev-dev pkg-config libgtk-3-dev3. 安装 build tools:
sudo apt-get install git wget cmake build-essential4. 准备 Linux 后端和开发环境,拔下任何连接的 Intel RealSense 相机并运行:
sudo apt-get install libglfw3-dev libgl1-mesa-dev libglu1-mesa-dev at================================分割线================================
Install librealsense2:
1. 下载想安装版本的 librealsense2 repo,此处为 2.50.0:
git clone -b v2.50.0 https://github.com/IntelRealSense/librealsense2. 在 repo 中运行 Intel Realsense permissions script:
sudo ./scripts/setup_udev_rules.sh这一步让你在新版 LTS 内核上,也能像在 Intel 官方测试过的老内核上一样,稳定地使用 T265、D435/D455 等 RealSense 摄像头
================================分割线================================
Building librealsense2 SDK:
进入 librealsense2 root directory 并运行:
mkdir build && cd build(不建议选项)For systems without OpenGL or X11 build only textual examples:
cmake ../ -DBUILD_EXAMPLES=true -DBUILD_GRAPHICAL_EXAMPLES=false因为:
OpenGL:RealSense Viewer 和部分图形化示例依赖它来把相机采集到的图像、点云、IMU/pose 信息渲染到窗口中
X11(X Window System):所有基于 X11 的 GUI 应用(包括 RealSense Viewer、那些依赖 GLFW/GLUT 的 demo)都需要通过 X11 与显示服务器通信,创建窗口、接收键盘/鼠标事件
因此,先检查一下是否已安装过:
检查 X11:
xdpyinfo | head -n 5有输出则表示能连上 X server,若报错 unable to open display,就说明没有
检查 OpenGL:
先安装一下工具:
sudo apt update
sudo apt install -y mesa-utils
运行:
glxinfo | grep "OpenGL version"输出:

(建议选项)Builds librealsense2 along with the demos and tutorials:
cmake ../ -DBUILD_EXAMPLES=true -DBUILD_GRAPHICAL_EXAMPLES=true重新编译并安装 librealsense2 binaries:
sudo make uninstall && make clean && make && sudo make install安装完成:

测试:
realsense-viewer图像:

轨迹:

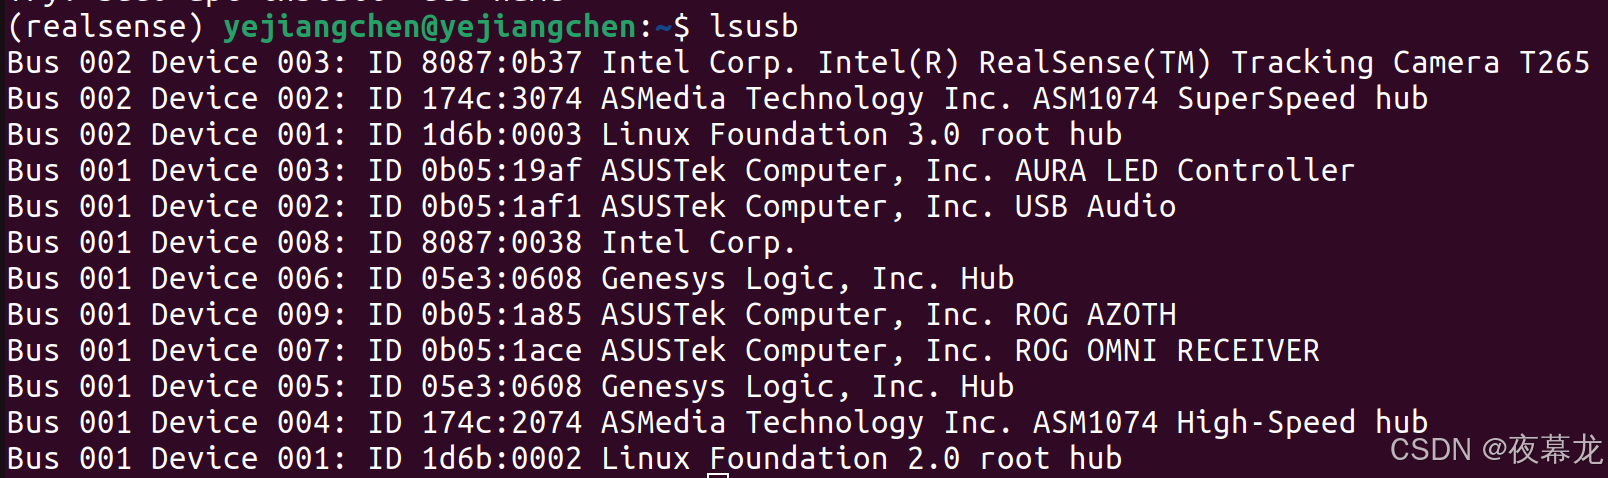
端口已经可以正确识别:
2 使用 pyrealsense2 获取数据
为了保证 pyrealsense2(Python binding)和刚编译安装的 librealsense2 v2.50.0 内核库兼容,需要安装一个版本号严格对应的 Python 包。否则会因为 ABI/API 不匹配而 import 失败或运行出错
首先,通过 pip 安装对应版本:
#创建环境
conda create -n realsense python=3.8激活环境
conda activate realsense# 卸载旧版本(如已安装过)
pip uninstall -y pyrealsense2# 安装与 librealsense2 v2.50.0 对应的 Python 包
pip install pyrealsense2==2.50.0.3812
================================分割线================================
安装 opencv2:
# 激活环境
conda activate realsense# 从 conda-forge 安装最新版 OpenCV
conda install -c conda-forge opencv
运行脚本,得到图像和位姿矩阵:
import pyrealsense2 as rs
import numpy as np
import time
import cv2def get_pose_matrix(pose_data):"""将 rs.pose_frame.get_pose_data() 返回的 pose_data转换为 4×4 齐次变换矩阵。"""# 平移向量t = np.array([pose_data.translation.x,pose_data.translation.y,pose_data.translation.z])print(t)# 以追加模式写入,单行逗号分隔#with open('output.txt', 'a') as f:#    f.write(','.join(map(str, t)) + '\n')  # 例如:1.0,2.0,3.0# 四元数 (w, x, y, z)q = np.array([pose_data.rotation.w,pose_data.rotation.x,pose_data.rotation.y,pose_data.rotation.z])# 从四元数构造旋转矩阵w, x, y, z = qR = np.array([[1 - 2*(y*y+z*z),     2*(x*y - z*w),   2*(x*z + y*w)],[  2*(x*y + z*w),   1 - 2*(x*x+z*z),   2*(y*z - x*w)],[  2*(x*z - y*w),     2*(y*z + x*w), 1 - 2*(x*x+y*y)]])# 拼接成 4×4 矩阵M = np.eye(4)M[:3,:3] = RM[:3, 3] = treturn Mdef main():# 1) 检测设备ctx = rs.context()devs = ctx.query_devices()if len(devs) == 0:raise RuntimeError("No device connected")serial = devs[0].get_info(rs.camera_info.serial_number)print(f"Using device S/N: {serial}")# 2) 设置 pipeline + configpipeline = rs.pipeline()config   = rs.config()config.enable_device(serial)# 使能 pose 数据流config.enable_stream(rs.stream.pose)# T265 带两个 fisheye 摄像头(ID=1,2),打开并可视化config.enable_stream(rs.stream.fisheye, 1)      # 左眼config.enable_stream(rs.stream.fisheye, 2)      # 右眼# 3) 启动pipeline.start(config)print("Pipeline started. Press Ctrl+C to stop.")try:while True:frames = pipeline.wait_for_frames()# 左眼fisheye1 = frames.get_fisheye_frame(1)img1 = np.asanyarray(fisheye1.get_data())cv2.imshow("Left Eye", img1)# 右眼fisheye2 = frames.get_fisheye_frame(2)img2 = np.asanyarray(fisheye2.get_data())cv2.imshow("Right Eye", img2)cv2.waitKey(1)# 位姿pose_frame = frames.get_pose_frame()if not pose_frame:continuepose_data = pose_frame.get_pose_data()M = get_pose_matrix(pose_data)# 打印或者进一步处理 4×4 齐次矩阵#print("Pose 4×4 matrix:")#print(np.array_str(M, precision=3, suppress_small=True))time.sleep(0.1)except KeyboardInterrupt:print("\nStopping...")finally:pipeline.stop()if __name__ == "__main__":main()