Ubuntu24.04.2 + kubectl1.33.1 + containerdv1.7.27 + calicov3.30.0
Ubuntu24.04.2 + kubectl1.33.1 + containerdv1.7.27 + calicov3.30.0
安装Ubuntu24.04.2 + kubectl1.33.1 + containerdv1.7.27 + calicov3.30.0
1.安装Ubuntu24.04.2,设置阿里云镜像地址
$ sudo vim /etc/apt/sources.list.d/ubuntu.sources
URIs: https://mirrors.aliyun.com/ubuntu/
1.设置主机名
#k8s-master
$ sudo hostname k8smaster ##临时生效
$ sudo hostnamectl set-hostname k8smaster ##重启后永久生效#k8s-node1
$ sudo hostname k8snode1  ##临时生效
$ sudo hostnamectl set-hostname k8snode1  ##重启后永久生效
2.关闭防火墙
sudo systemctl disable --now ufw
3.配置静态ip
vim /etc/netplan/50-cloud-init.yaml
network:version: 2ethernets:ens33:dhcp4: noaddresses: [192.168.1.181/24]gateway4: 192.168.1.1nameservers:addresses: [192.168.1.1,8.8.8.8,114.114.114.114]#生效
$ sudo netplan apply
4.开启ssh
sudo apt update
sudo apt install openssh-serversudo vim /etc/ssh/ssh_config
#开启密码和端口
5.禁用交换分区
sudo swapoff -a
打开 /etc/fstab
注释最后一行
#/swap.img      none    swap    sw      0       0
6. 转发 IPv4 并让 iptables 看到桥接流量
执行下述命令:$ cat <<EOF | sudo tee /etc/modules-load.d/k8s.conf
overlay
br_netfilter
EOF$ sudo modprobe overlay
$ sudo modprobe br_netfilter# 设置所需的 sysctl 参数,参数在重新启动后保持不变
$ cat <<EOF | sudo tee /etc/sysctl.d/k8s.conf
net.bridge.bridge-nf-call-iptables  = 1
net.bridge.bridge-nf-call-ip6tables = 1
net.ipv4.ip_forward                 = 1
EOF# 应用 sysctl 参数而不重新启动
$ sudo sysctl --system#确认2个模块被加载
$ lsmod | grep br_netfilter
$ lsmod | grep overlay# 确认系统变量被设置为1
$ sysctl net.bridge.bridge-nf-call-iptables net.bridge.bridge-nf-call-ip6tables net.ipv4.ip_forward
7.安装containerd
第一种:github文档https://github.com/containerd/containerd/blob/main/docs/getting-started.md
1.第一种安装方法
1. Add Docker’s official GPG key:$ sudo apt-get update$ sudo apt-get install ca-certificates curl gnupg$ sudo install -m 0755 -d /etc/apt/keyrings$ sudo curl -fsSL https://download.docker.com/linux/ubuntu/gpg | sudo gpg --dearmor -o /etc/apt/keyrings/docker.gpg$ sudo chmod a+r /etc/apt/keyrings/docker.gpg2. Add the repository to Apt sources: $ echo \"deb [arch="$(dpkg --print-architecture)" signed-by=/etc/apt/keyrings/docker.gpg] https://download.docker.com/linux/ubuntu \"$(. /etc/os-release && echo "$VERSION_CODENAME")" stable" | \sudo tee /etc/apt/sources.list.d/docker.list > /dev/null3. Update theaptpackage index:$ sudo apt-get update4. 安装 http://containerd.io$ sudo apt-get install containerd.io5. 上面的安装需要手动安装CNI插件注意,http://containerd.io包括了runc, 但是不包括CNI插件,我们需要手动安装CNI插件:访问:Releases · containernetworking/plugins (github.com)获取最新版本的插件,然后将其安装到/opt/cni/bin中:$ wget https://github.com/containernetworking/plugins/releases/download/v1.3.0/cni-plugins-linux-amd64-v1.3.0.tgz$ sudo mkdir -p /opt/cni/bin$ sudo tar Cxzvf /opt/cni/bin cni-plugins-linux-amd64-v1.3.0.tgz
2.第二种安装方式
1.下载containerd的容器运行时,下载地址:https://github.com/containerd/containerd/releases/download/v1.7.27/cri-containerd-cni-1.7.27-linux-amd64.tar.gz,可以通过下面命令进行下载:$ curl -LO https://github.com/containerd/containerd/releases/download/v1.7.27/cri-containerd-cni-1.7.27-linux-amd64.tar.gz2.解压:$ sudo tar -zxvf cri-containerd-cni-1.7.27-linux-amd64.tar.gz -C /3.创建目录和生成配置文件$ sudo mkdir /etc/containerd$ containerd config default | sudo tee /etc/containerd/config.toml
3. 配置 containerd 的systemd cgroup 驱动
#生成默认配置文件
$ containerd config default | sudo tee /etc/containerd/config.toml#在 /etc/containerd/config.toml 中设置:[plugins."io.containerd.grpc.v1.cri".containerd.runtimes.runc]...[plugins."io.containerd.grpc.v1.cri".containerd.runtimes.runc.options]SystemdCgroup = true //false改成true
4.重载沙箱(pause)镜像
#在 /etc/containerd/config.toml 中设置:
[plugins."io.containerd.grpc.v1.cri"]sandbox_image = "registry.aliyuncs.com/google_containers/pause:3.10"#重新启动 containerd:
$ sudo systemctl restart containerd
8.安装k8s
1.官网安装方法
官网地址:https://kubernetes.io/zh-cn/docs/setup/production-environment/tools/kubeadm/install-kubeadm/
1.更新 apt 包索引并安装使用 Kubernetes apt 仓库所需要的包:
$ sudo apt-get update
$ sudo apt-get install -y apt-transport-https ca-certificates curl gpg2.如果 `/etc/apt/keyrings` 目录不存在,则应在 curl 命令之前创建它,请阅读下面的注释。
$ sudo mkdir -p -m 755 /etc/apt/keyrings
$ curl -fsSL https://pkgs.k8s.io/core:/stable:/v1.33/deb/Release.key | sudo gpg --dearmor -o /etc/apt/keyrings/kubernetes-apt-keyring.gpg3.此操作会覆盖 /etc/apt/sources.list.d/kubernetes.list 中现存的所有配置。
$ echo 'deb [signed-by=/etc/apt/keyrings/kubernetes-apt-keyring.gpg] https://pkgs.k8s.io/core:/stable:/v1.33/deb/ /' | sudo tee /etc/apt/sources.list.d/kubernetes.list4.更新 apt 包索引,安装 kubelet、kubeadm 和 kubectl,并锁定其版本:
$ sudo apt-get update
$ sudo apt-get install -y kubelet kubeadm kubectl
$ sudo apt-mark hold kubelet kubeadm kubectl5.初始化平面
$ sudo kubeadm init \
--apiserver-advertise-address=192.168.1.181 \
--pod-network-cidr=192.168.0.0/16 \
--image-repository=registry.aliyuncs.com/google_containers \
--cri-socket=unix:///run/containerd/containerd.sock \
--kubernetes-version=v1.33.1最后输出:
Your Kubernetes control-plane has initialized successfully!To start using your cluster, you need to run the following as a regular user:mkdir -p $HOME/.kubesudo cp -i /etc/kubernetes/admin.conf $HOME/.kube/configsudo chown $(id -u):$(id -g) $HOME/.kube/configAlternatively, if you are the root user, you can run:export KUBECONFIG=/etc/kubernetes/admin.confYou should now deploy a pod network to the cluster.
Run "kubectl apply -f [podnetwork].yaml" with one of the options listed at:https://kubernetes.io/docs/concepts/cluster-administration/addons/Then you can join any number of worker nodes by running the following on each as root:kubeadm join 192.168.1.181:6443 --token 03x52t.80r5lnek3r3lnijv1 \--discovery-token-ca-cert-hash sha256:b17b309ed4b8f687a63061717bea099f31a045116cd311ea7c7963389556e41d1#如有需要可以重置
$ sudo kubeadm reset
9.安装calico(node服务器不需要安装)
1.第一种方法:
根据官网指导来:https://docs.tigera.io/calico/latest/getting-started/kubernetes/quickstart
$ kubectl create -f https://raw.githubusercontent.com/projectcalico/calico/v3.30.0/manifests/tigera-operator.yaml
$ kubectl create -f https://raw.githubusercontent.com/projectcalico/calico/v3.30.0/manifests/custom-resources.yaml
$ watch kubectl get tigerastatus
NAME                            AVAILABLE   PROGRESSING   DEGRADED   SINCE
apiserver                       True        False         False      4m9s
calico                          True        False         False      3m29s
goldmane                        True        False         False      3m39s
ippools                         True        False         False      6m4s
whisker                         True        False         False      3m19s
2.第二种方法:
1.下载yaml文件
$ weget https://projectcalico.docs.tigera.io/archive/v3.25/manifests/calico.yaml2.修改镜像地址为华为云:
$ sed -i 's|docker.io/calico/|swr.cn-north-4.myhuaweicloud.com/ddn-k8s/docker.io/calico/|g' calico.yaml最后为 image:swr.cn-north-4.myhuaweicloud.com/ddn-k8s/docker.io/calico/cni...:v3.25.03.修改CALICO_IPV4POOL_CIDR的value
value: "192.168.0.0/16"4.应用
$ kubectl apply -f calico.yaml
10.node节点加入集群
node join:
$ sudo kubeadm join 192.168.1.181:6443 --token 03x52t.80r5lnek3r3lnijv1 \--discovery-token-ca-cert-hash sha256:b17b309ed4b8f687a63061717bea099f31a045116cd311ea7c7963389556e41d1 \--cri-socket=unix:///run/containerd/containerd.sock11.安装kubesphere
官网:https://kubesphere.io/zh/docs/v4.1/03-installation-and-upgrade/02-install-kubesphere/02-install-kubernetes-and-kubesphere/
1.安装helm
helm upgrade --install \
-n kubesphere-system \
--create-namespace ks-core https://charts.kubesphere.com.cn/main/ks-core-1.1.3.tgz \
--debug --wait \
--set global.imageRegistry=swr.cn-southwest-2.myhuaweicloud.com/ks \
--set extension.imageRegistry=swr.cn-southwest-2.myhuaweicloud.com/ks \
--set hostClusterName=k8s-pacoThank you for choosing KubeSphere Helm Chart.Please be patient and wait for several seconds for the KubeSphere deployment to complete.1. Wait for Deployment CompletionConfirm that all KubeSphere components are running by executing the following command:kubectl get pods -n kubesphere-system
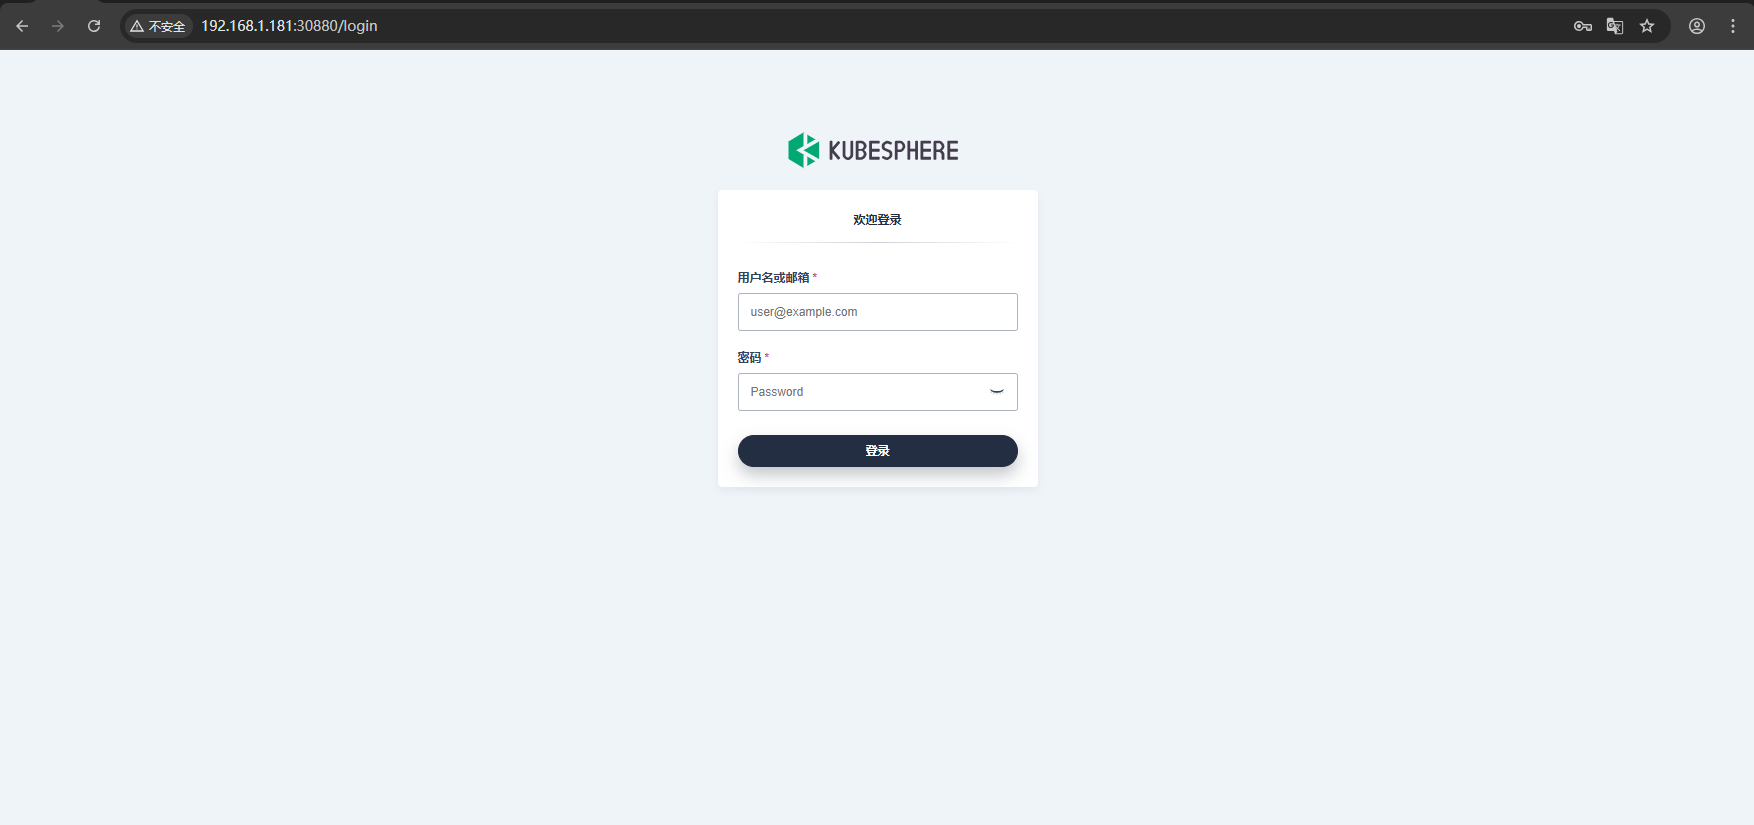
2. Access the KubeSphere ConsoleOnce the deployment is complete, you can access the KubeSphere console using the following URL: http://192.168.1.181:308803. Login to KubeSphere ConsoleUse the following credentials to log in:Account: adminPassword: P@88w0rdNOTE: It is highly recommended to change the default password immediately after the first login.